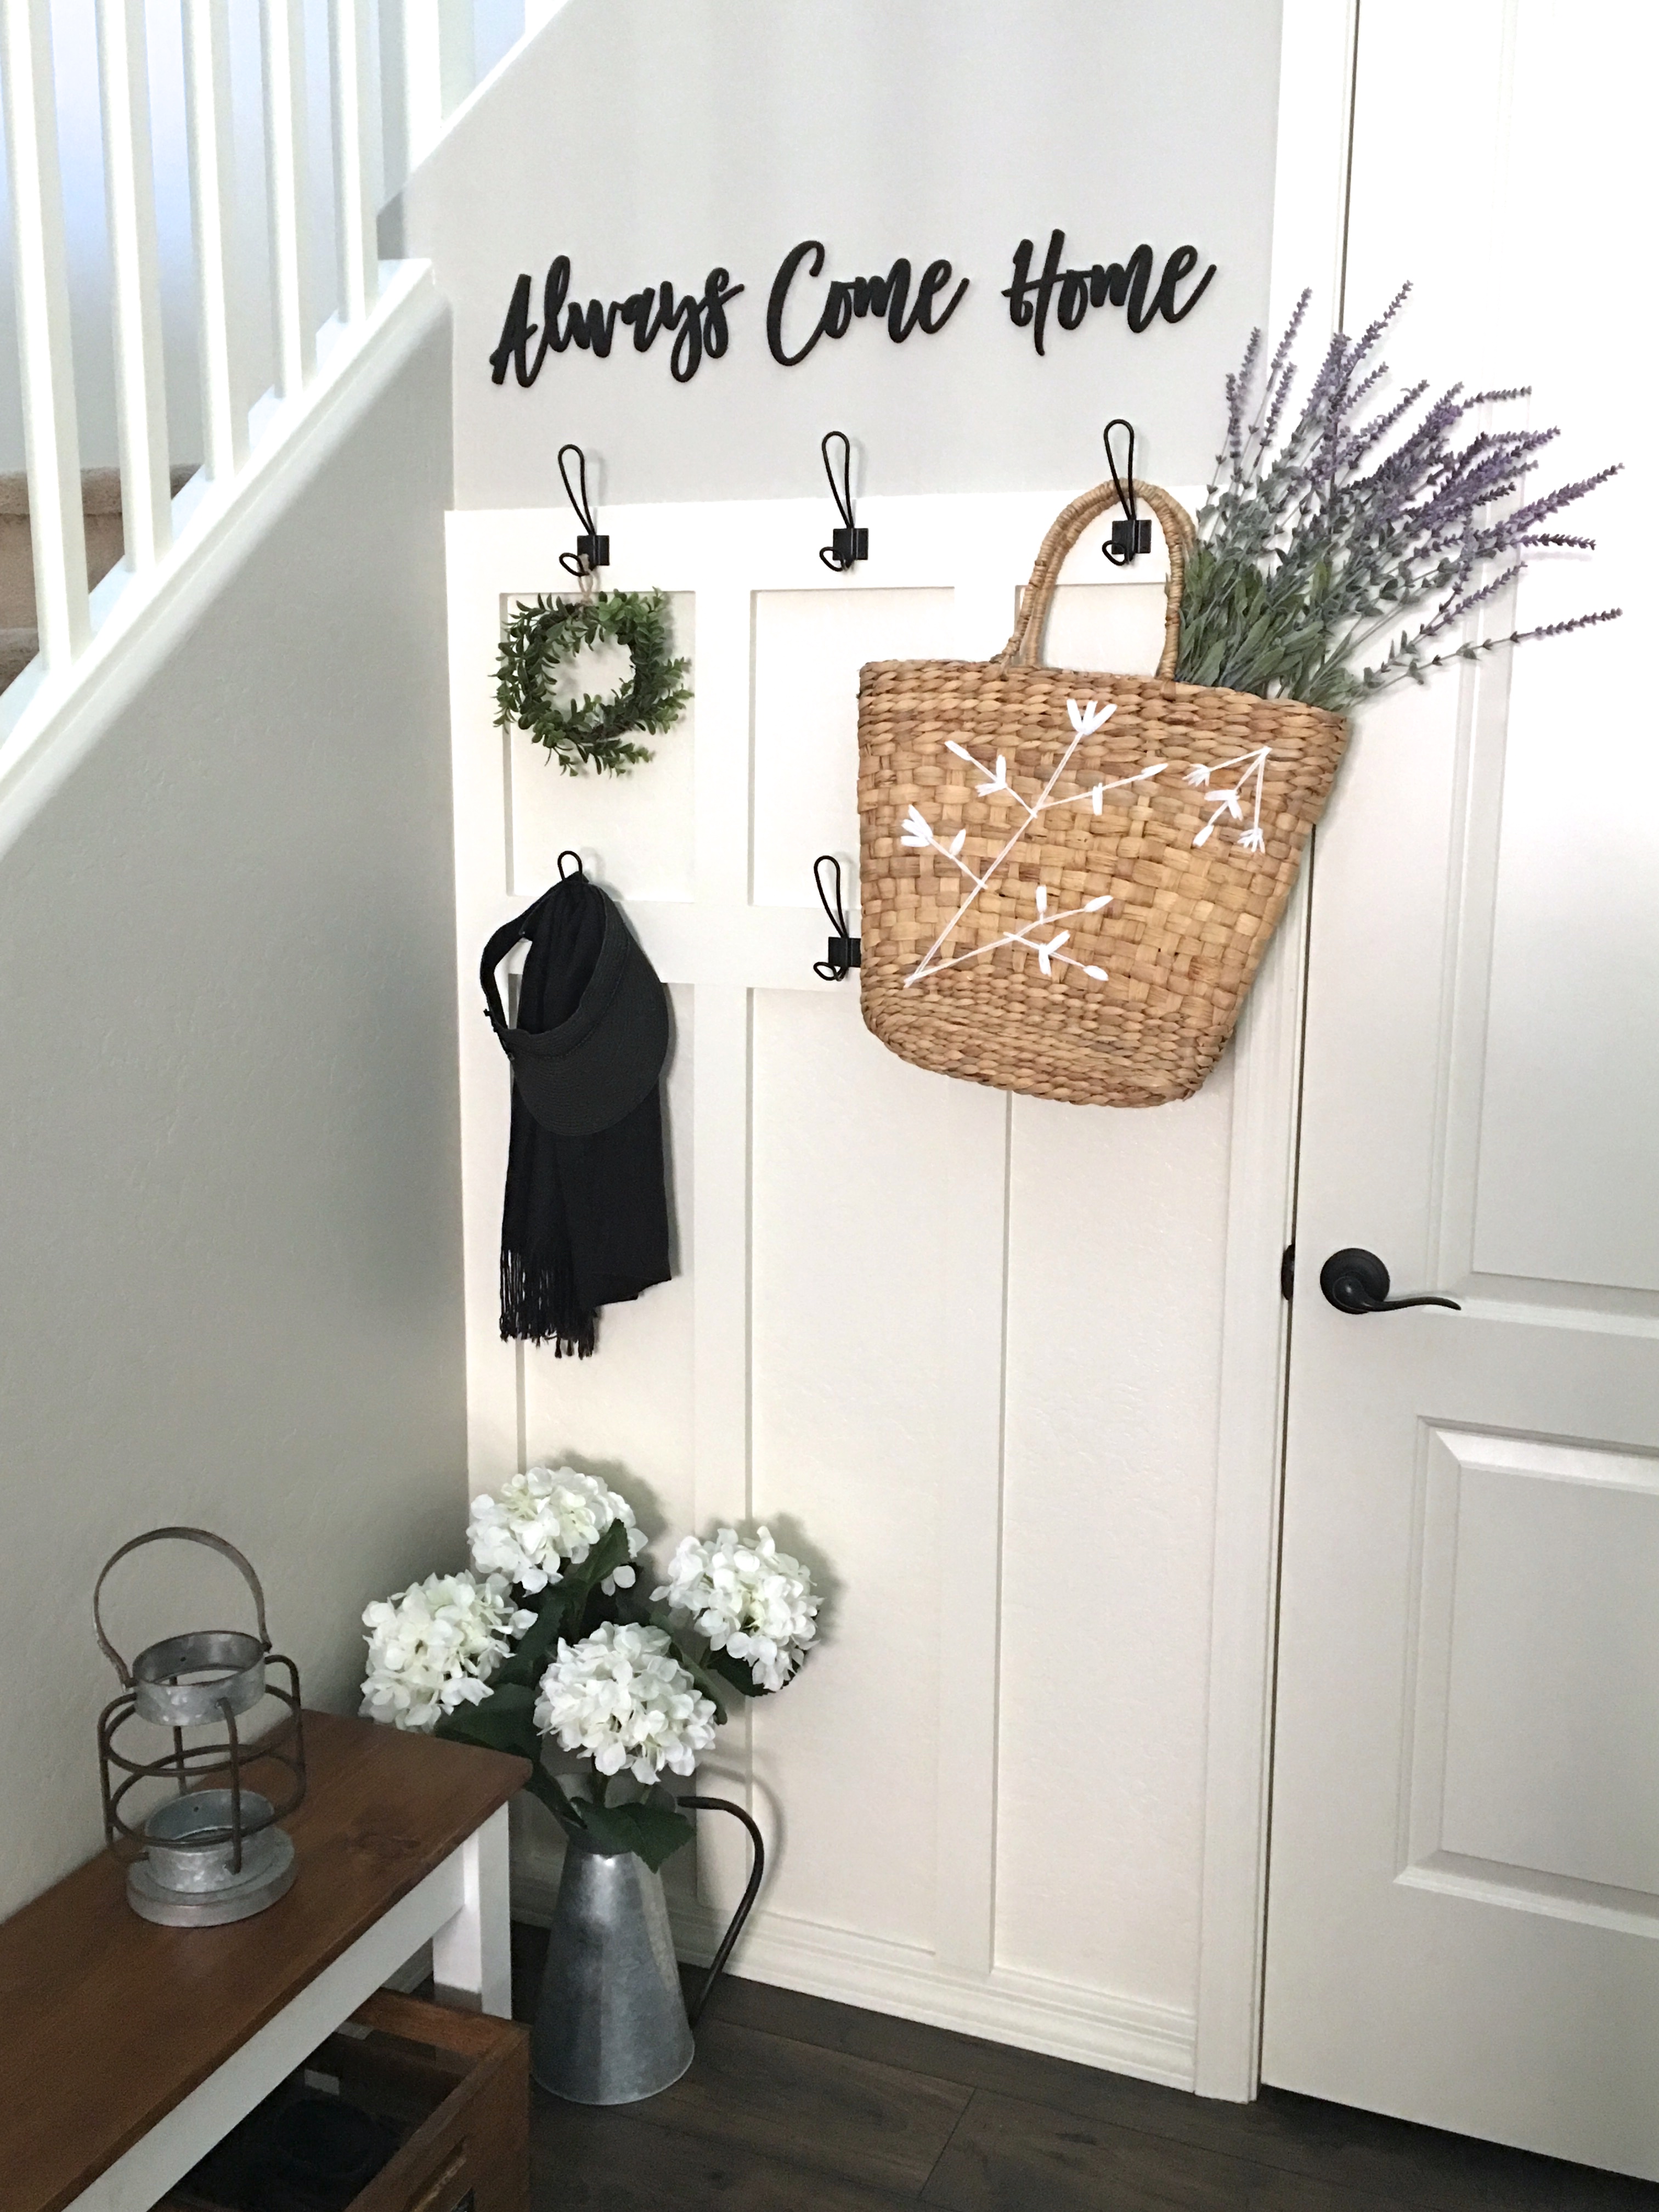
Recently we gave our garage door entryway a little makeover. After completing our DIY number crates in January to help with the shoe problem, I knew I wanted some sort of hooks on the wall to hang bags or jackets when we came in the door. I love the way it all turned out! 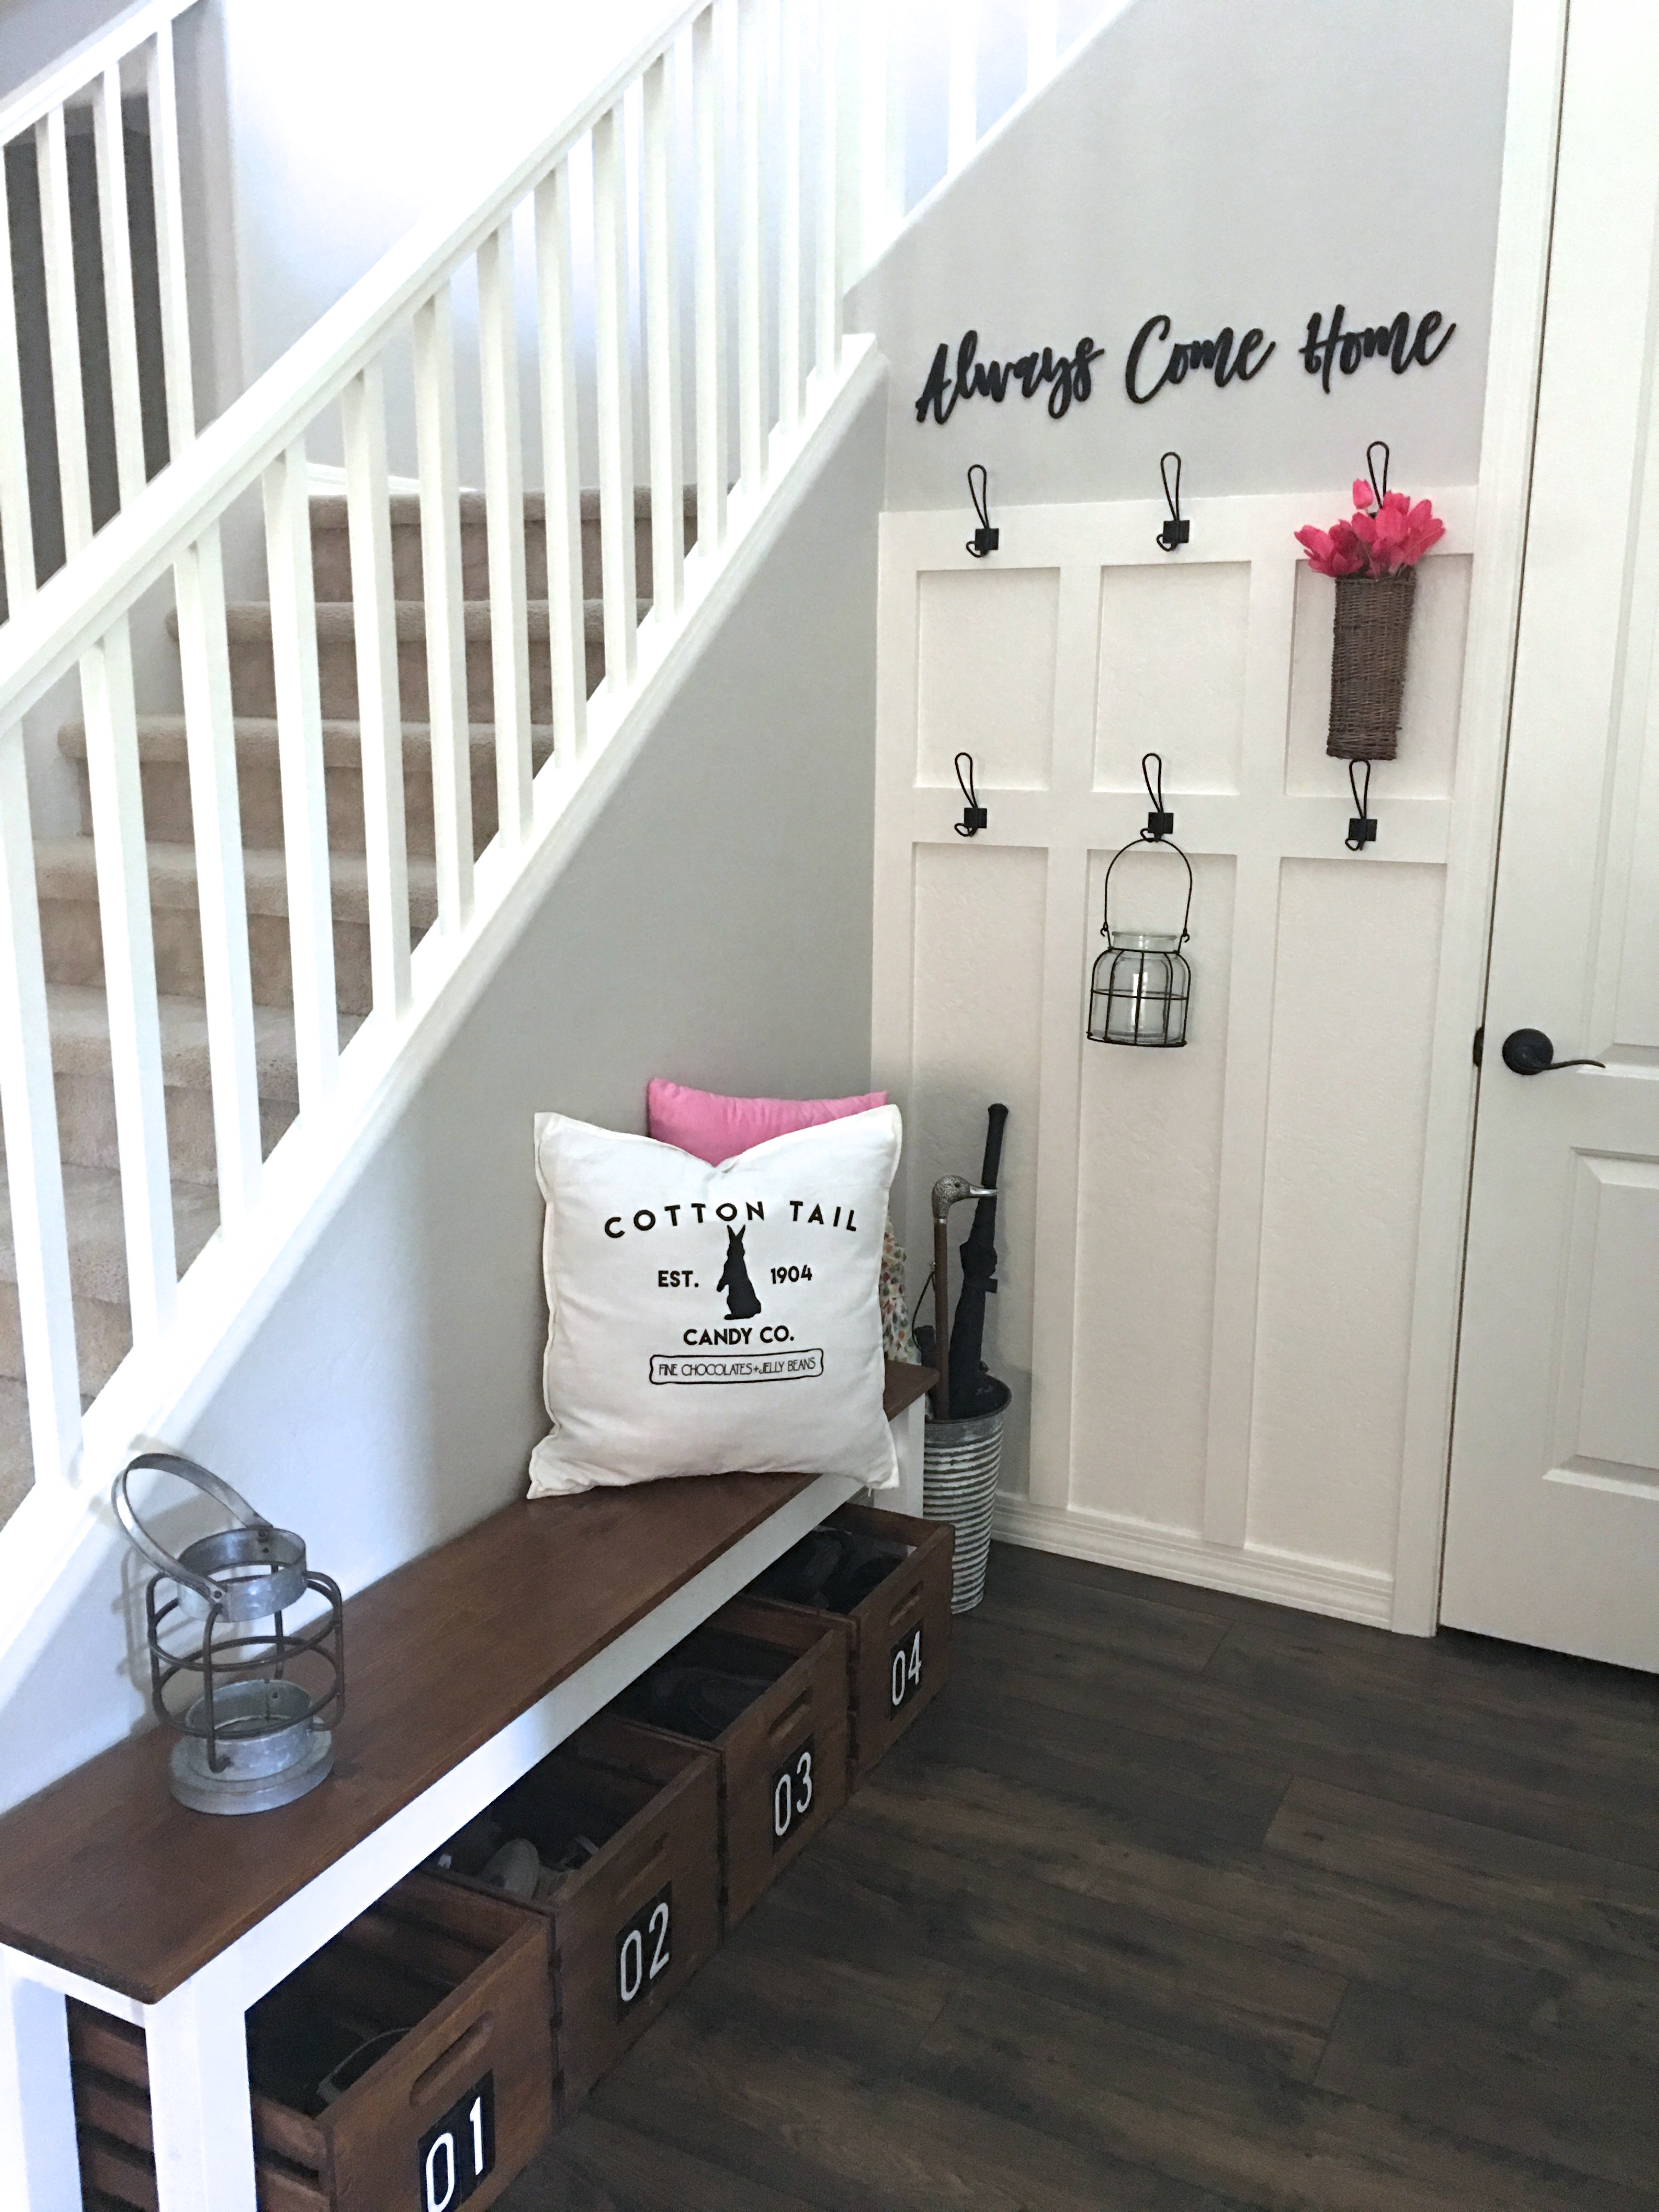
Originally I was thinking about putting up a stained board with hooks on it but I’m so glad I changed my mind to go with the board and batten. I love how the white really brightens up the space! The hooks are really sturdy too so I can even hang my heavy purse on there. Here is what we used to make the board and batten.
Supplies-
- 3 1/2 inch x 3/4 inch pine boards for the horizontal – purchased at Home Depot
- 2 1/2 inch x 3/4 inch pine boards for the vertical
- table saw or circular saw
- Wood glue
- 2 1/2-3 inch screws
- 2 1/2 inch nails
- Wood putty
- calking
- white paint (we used Dover White semi-gloss)
- hooks (any hardware to hang up your hooks)
This was such a small and perfect space for us to try out our skills with board and batten. We are by no means experts, but I thought I would share with you what we did in case you want to try tackling this in your own home!
Directions-
First we measured out our space, approximately, and then went to Home Depot to purchase the boards. We went with Pine so it would be nice and solid. I wanted to be able to actually hang stuff on these boards. At home we figured out exactly how high we wanted the board and batten to go and we, my husband 🙂 , cut one of the 2 1/2 inch boards to that height and we attached it to the left side in the corner. My husband just used a circular saw to make the cuts. I wanted to use 2 1/2 inch boards to run vertical and 3 1/2 inch boards to run horizontal. On the back of the boards he added wood glue before putting them on the wall. Then he used nails to nail it in place. 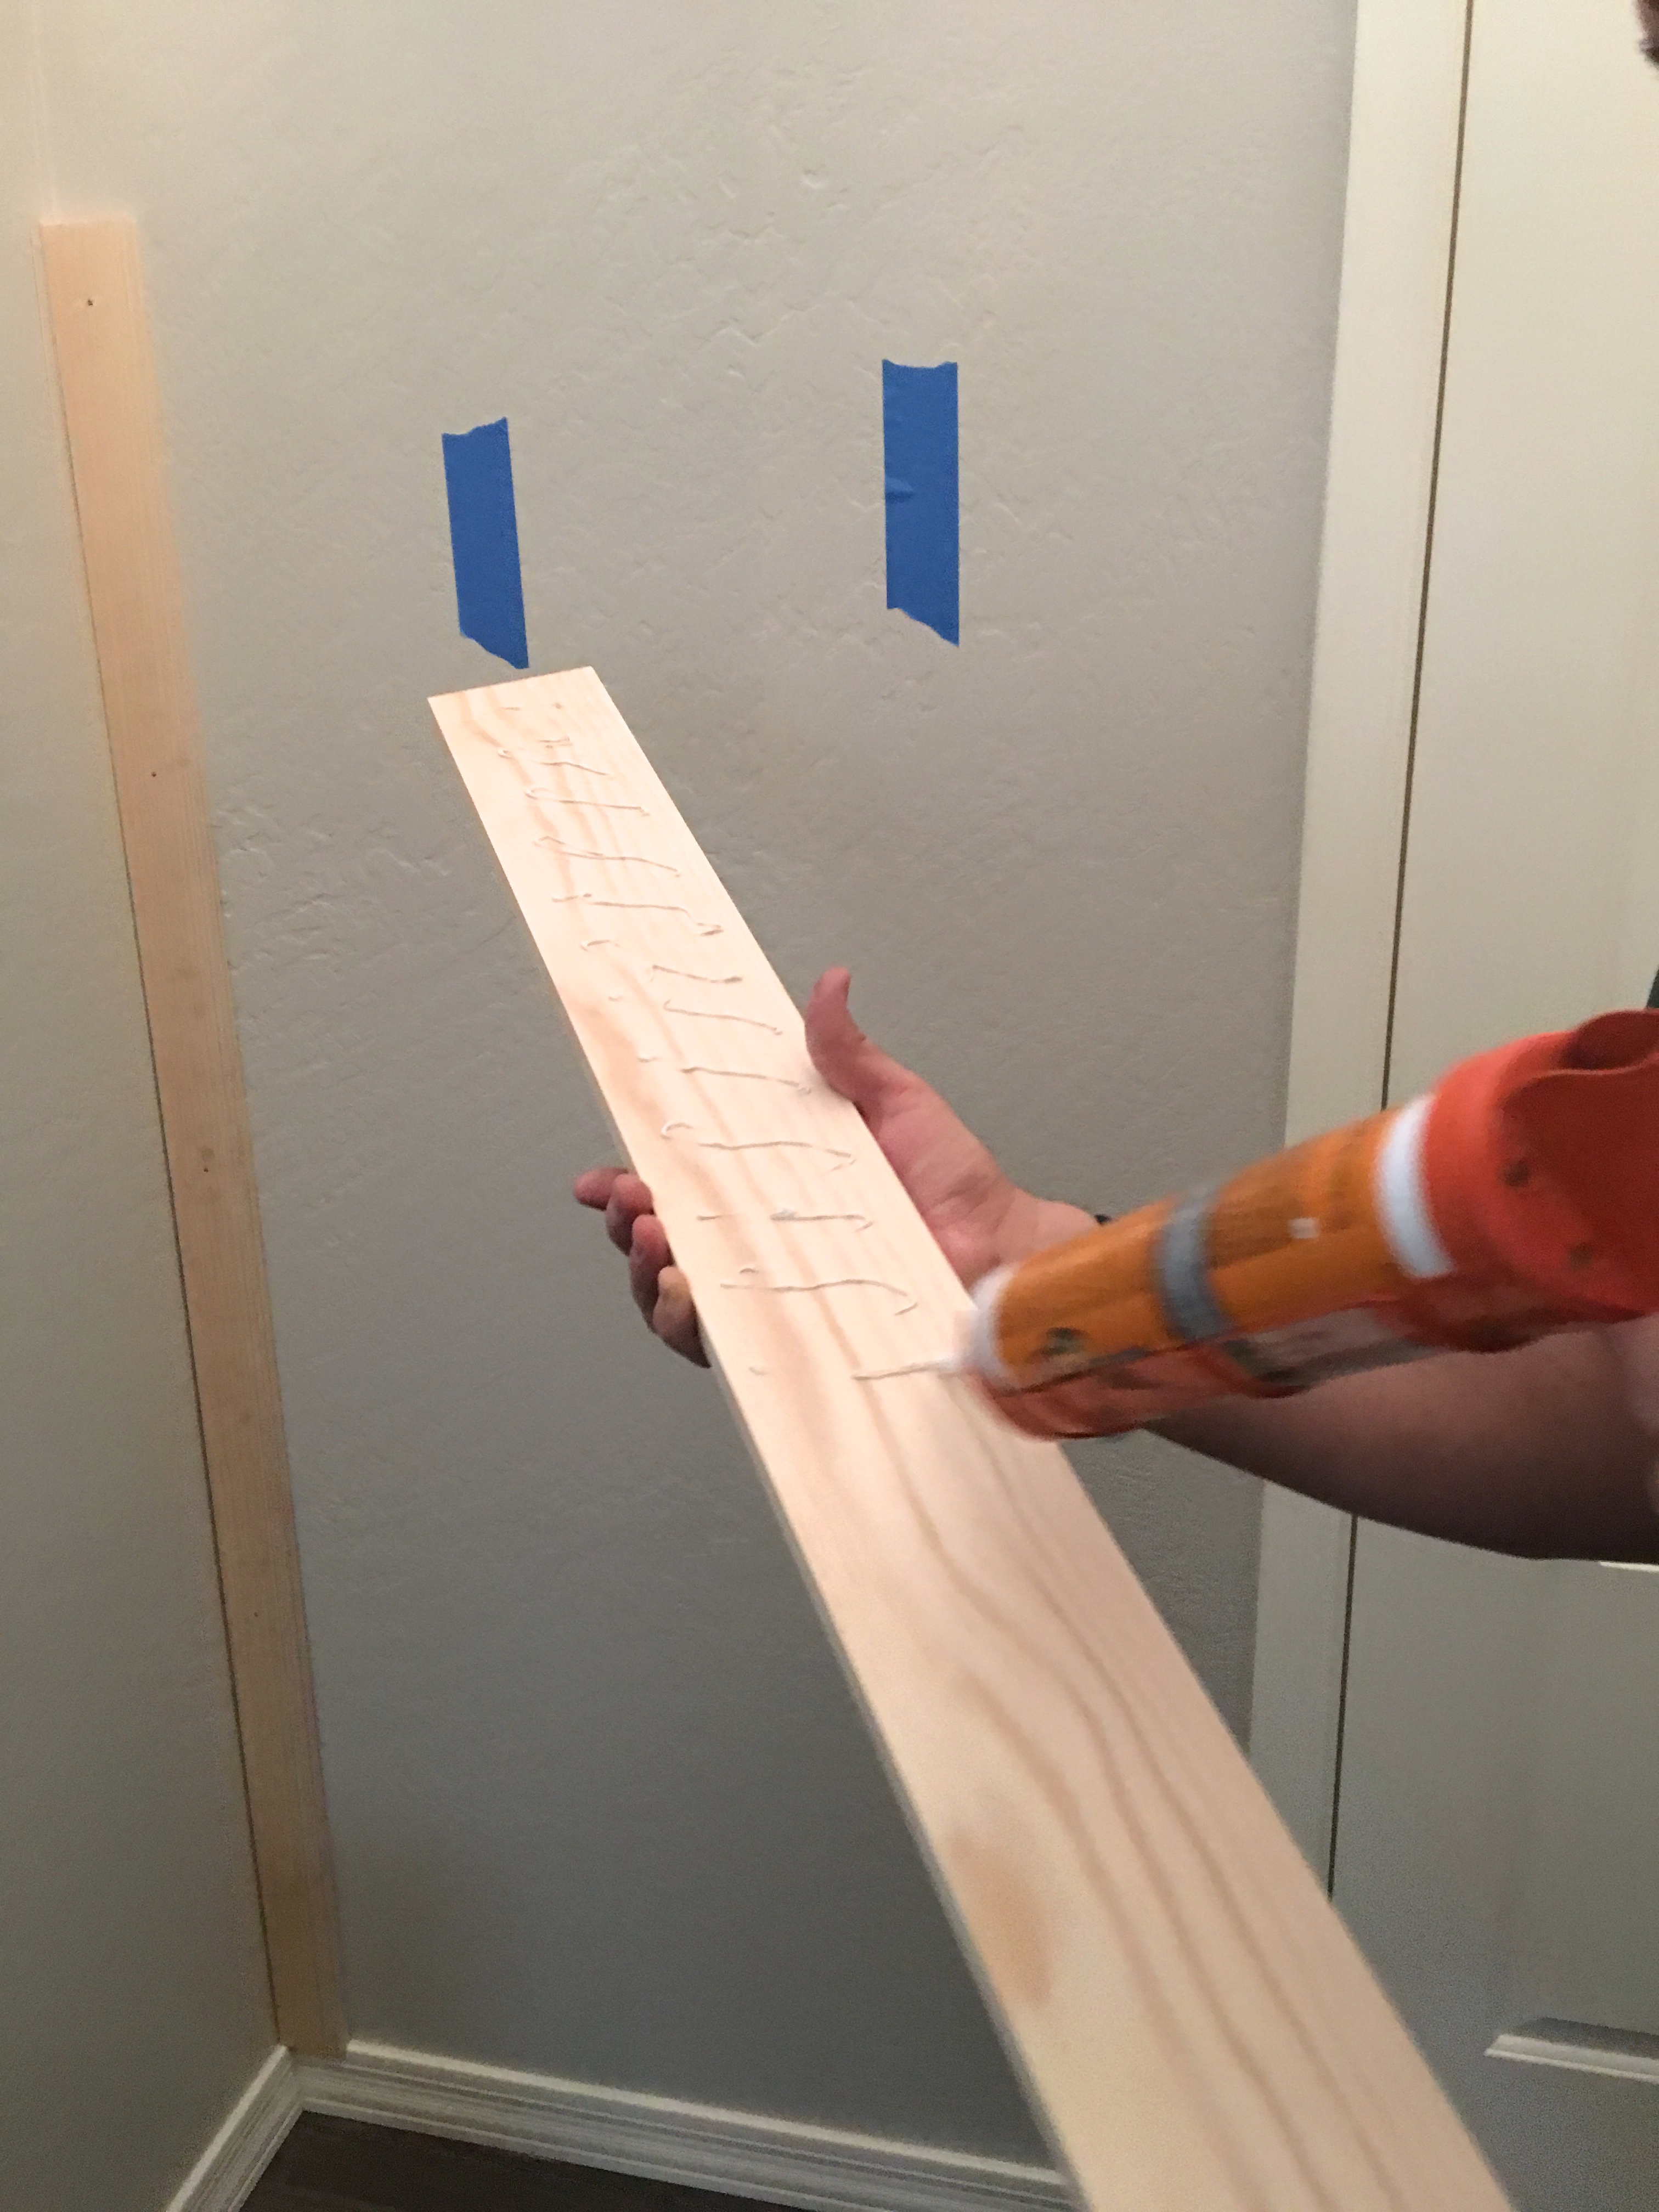
Next we measured our top horizontal space and cut the 3 1/2 inch board to size and attached it to the wall with wood glue. To make the horizontal boards extra secure, because these are the boards where the hooks would be attached, he screwed it into the studs in two places. He did the same thing to the second lower horizontal board. 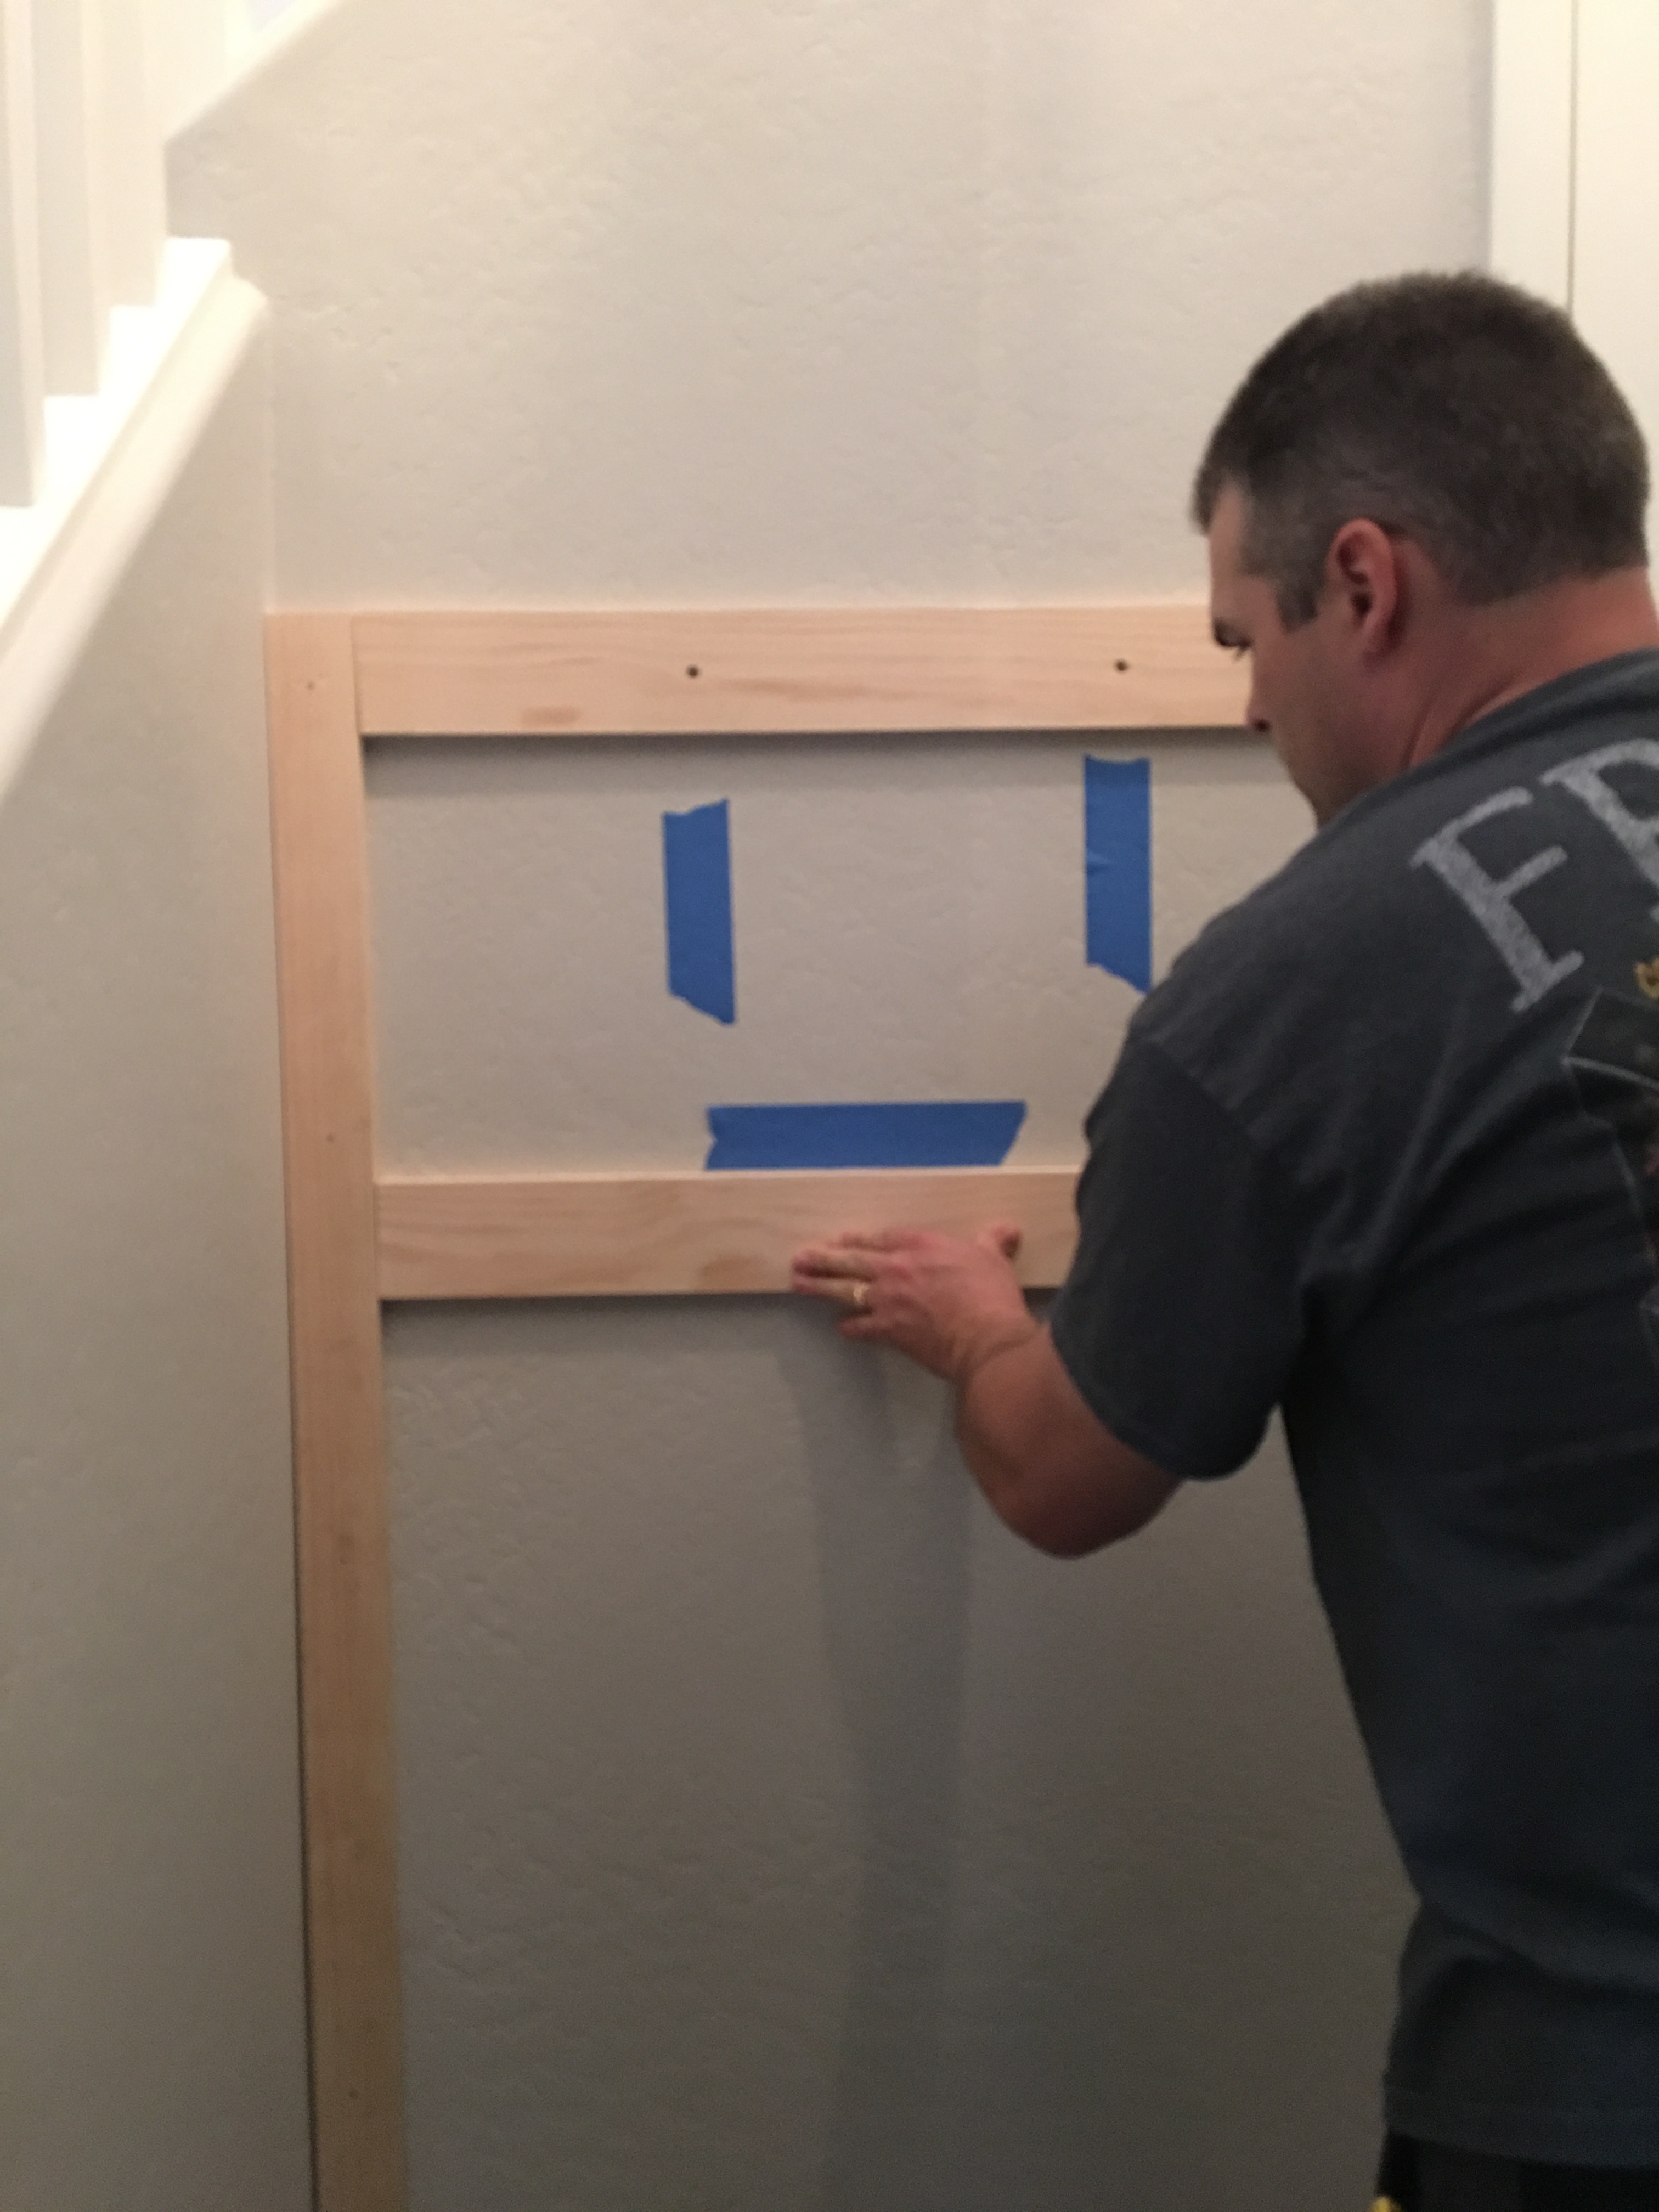
Next we measured and cut the remaining 2 1/2 inch vertical boards. Two shorter ones for the top and two longer pieces for the bottom. Then my husband glued them on and he nailed them to the wall. 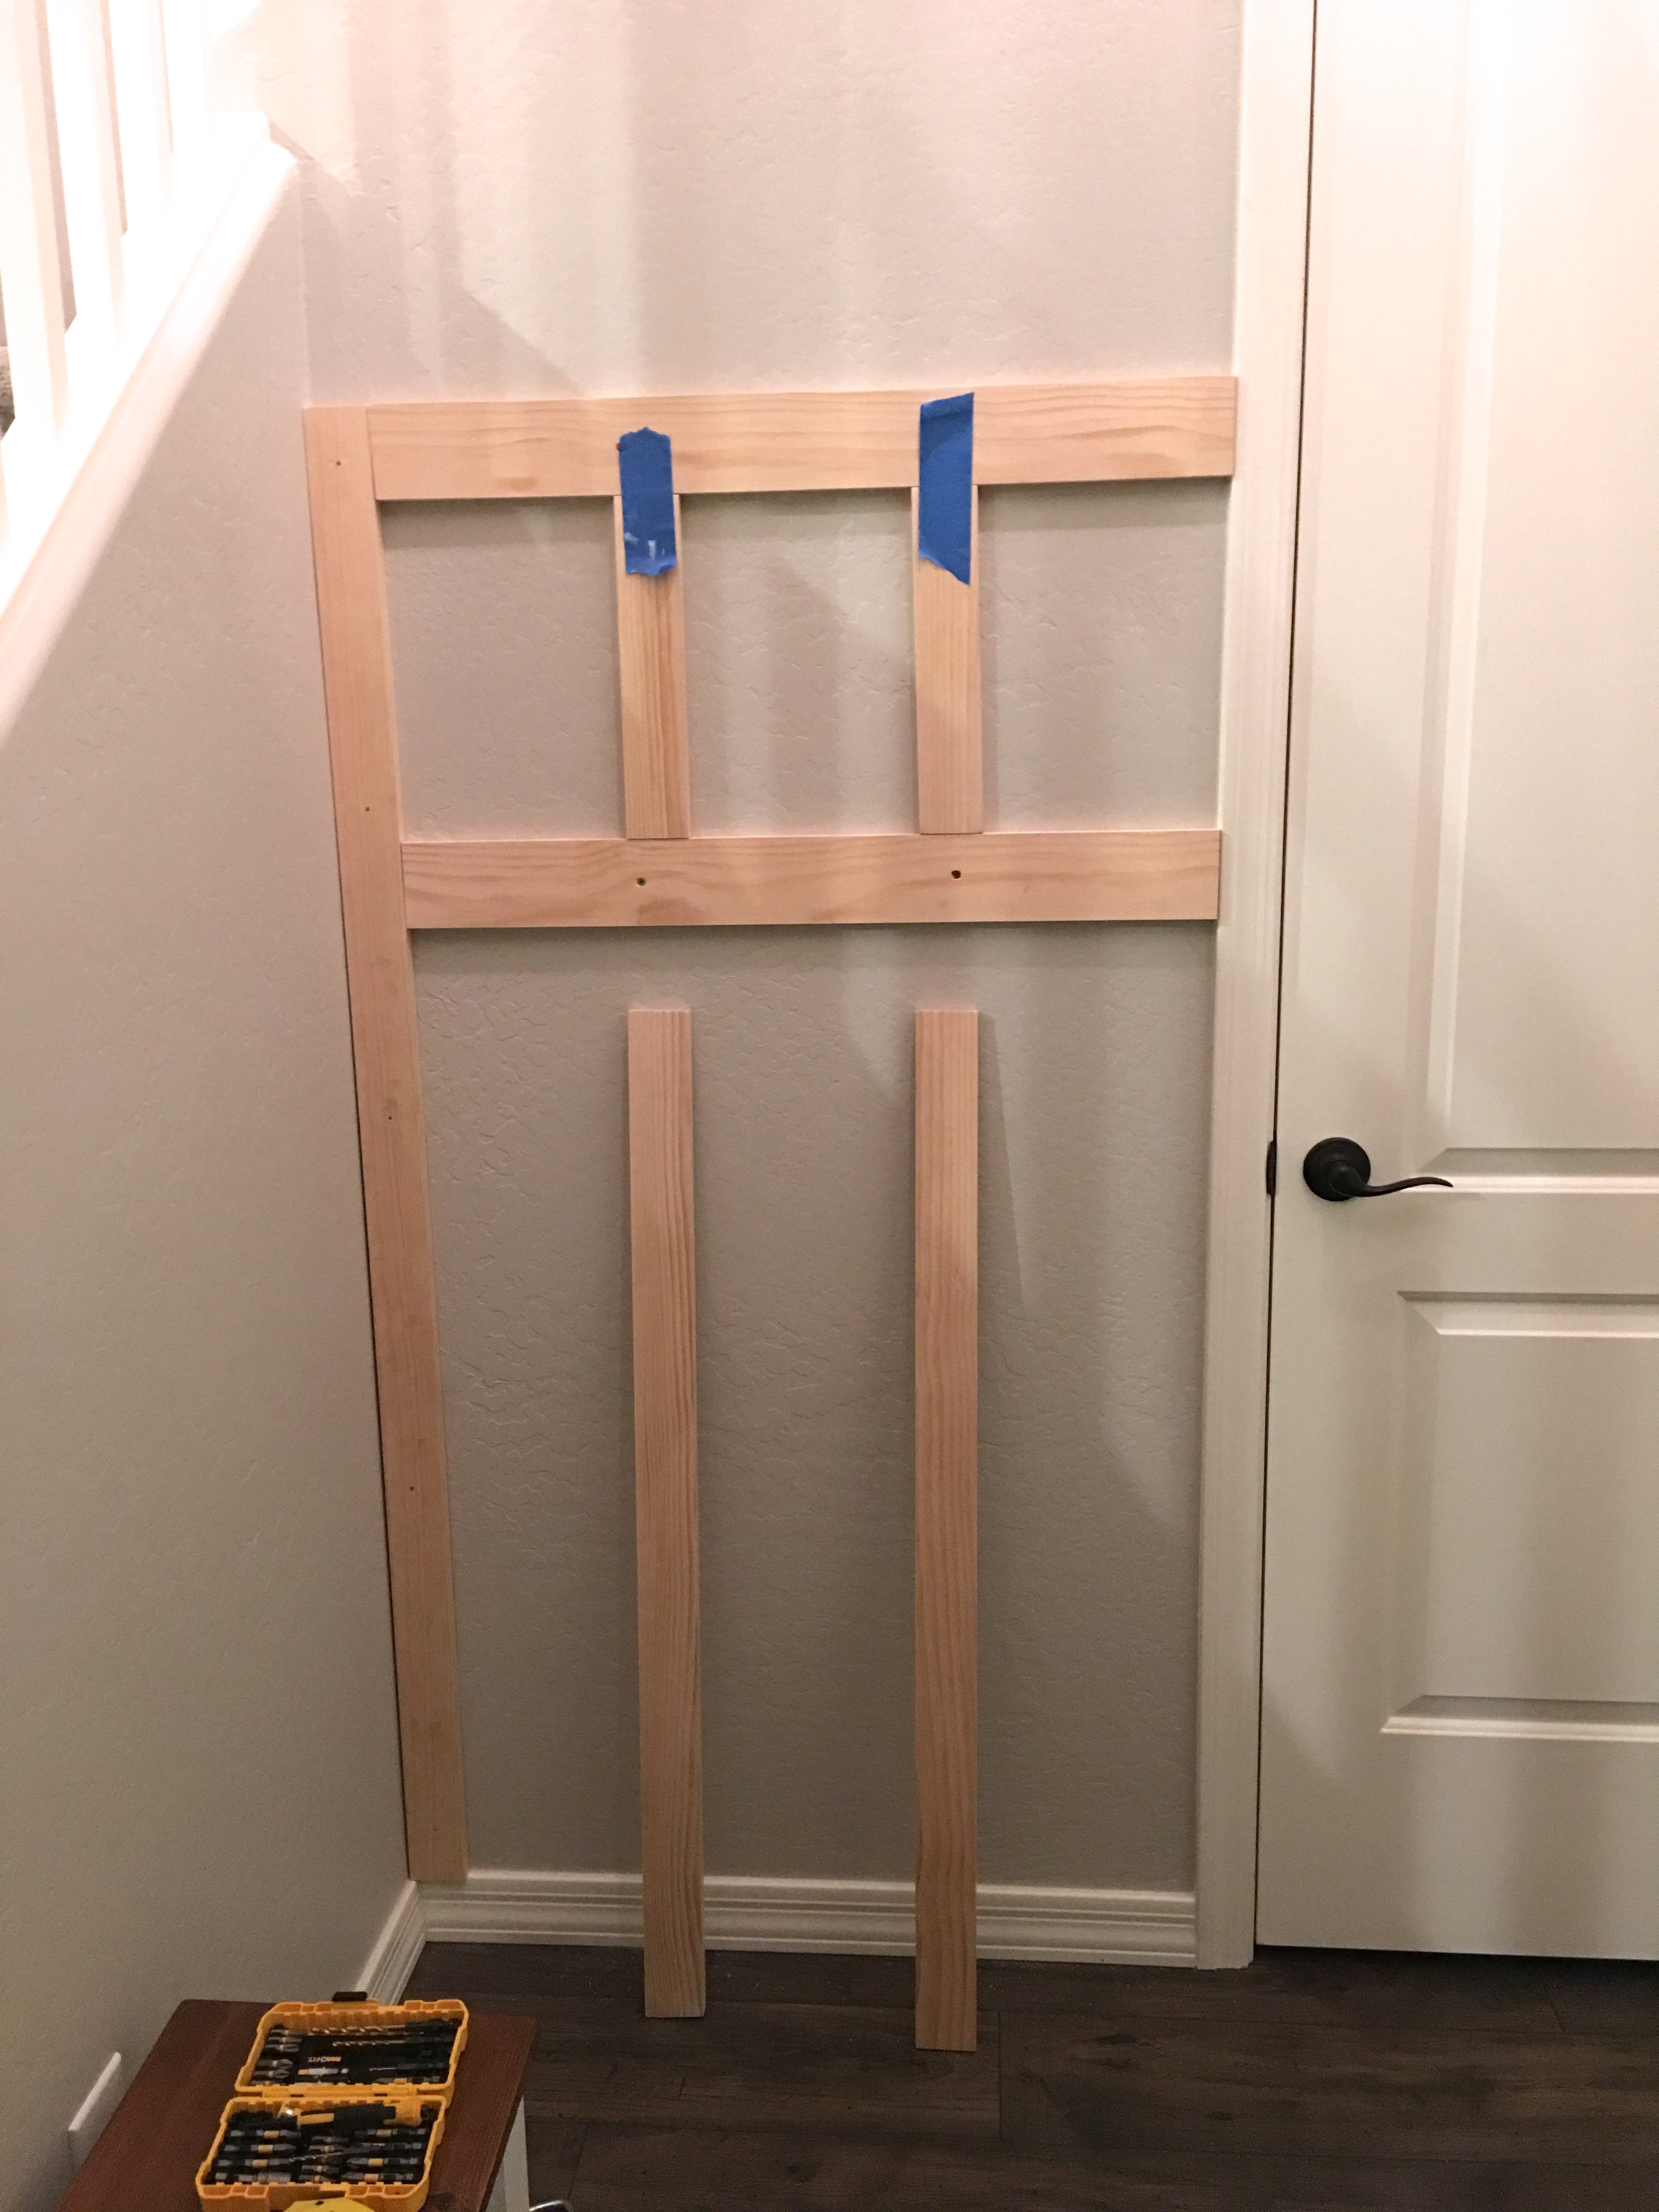
All the nail holes and seams were filled with wood putty and he added caulking around the edges on the parts that touched the wall. 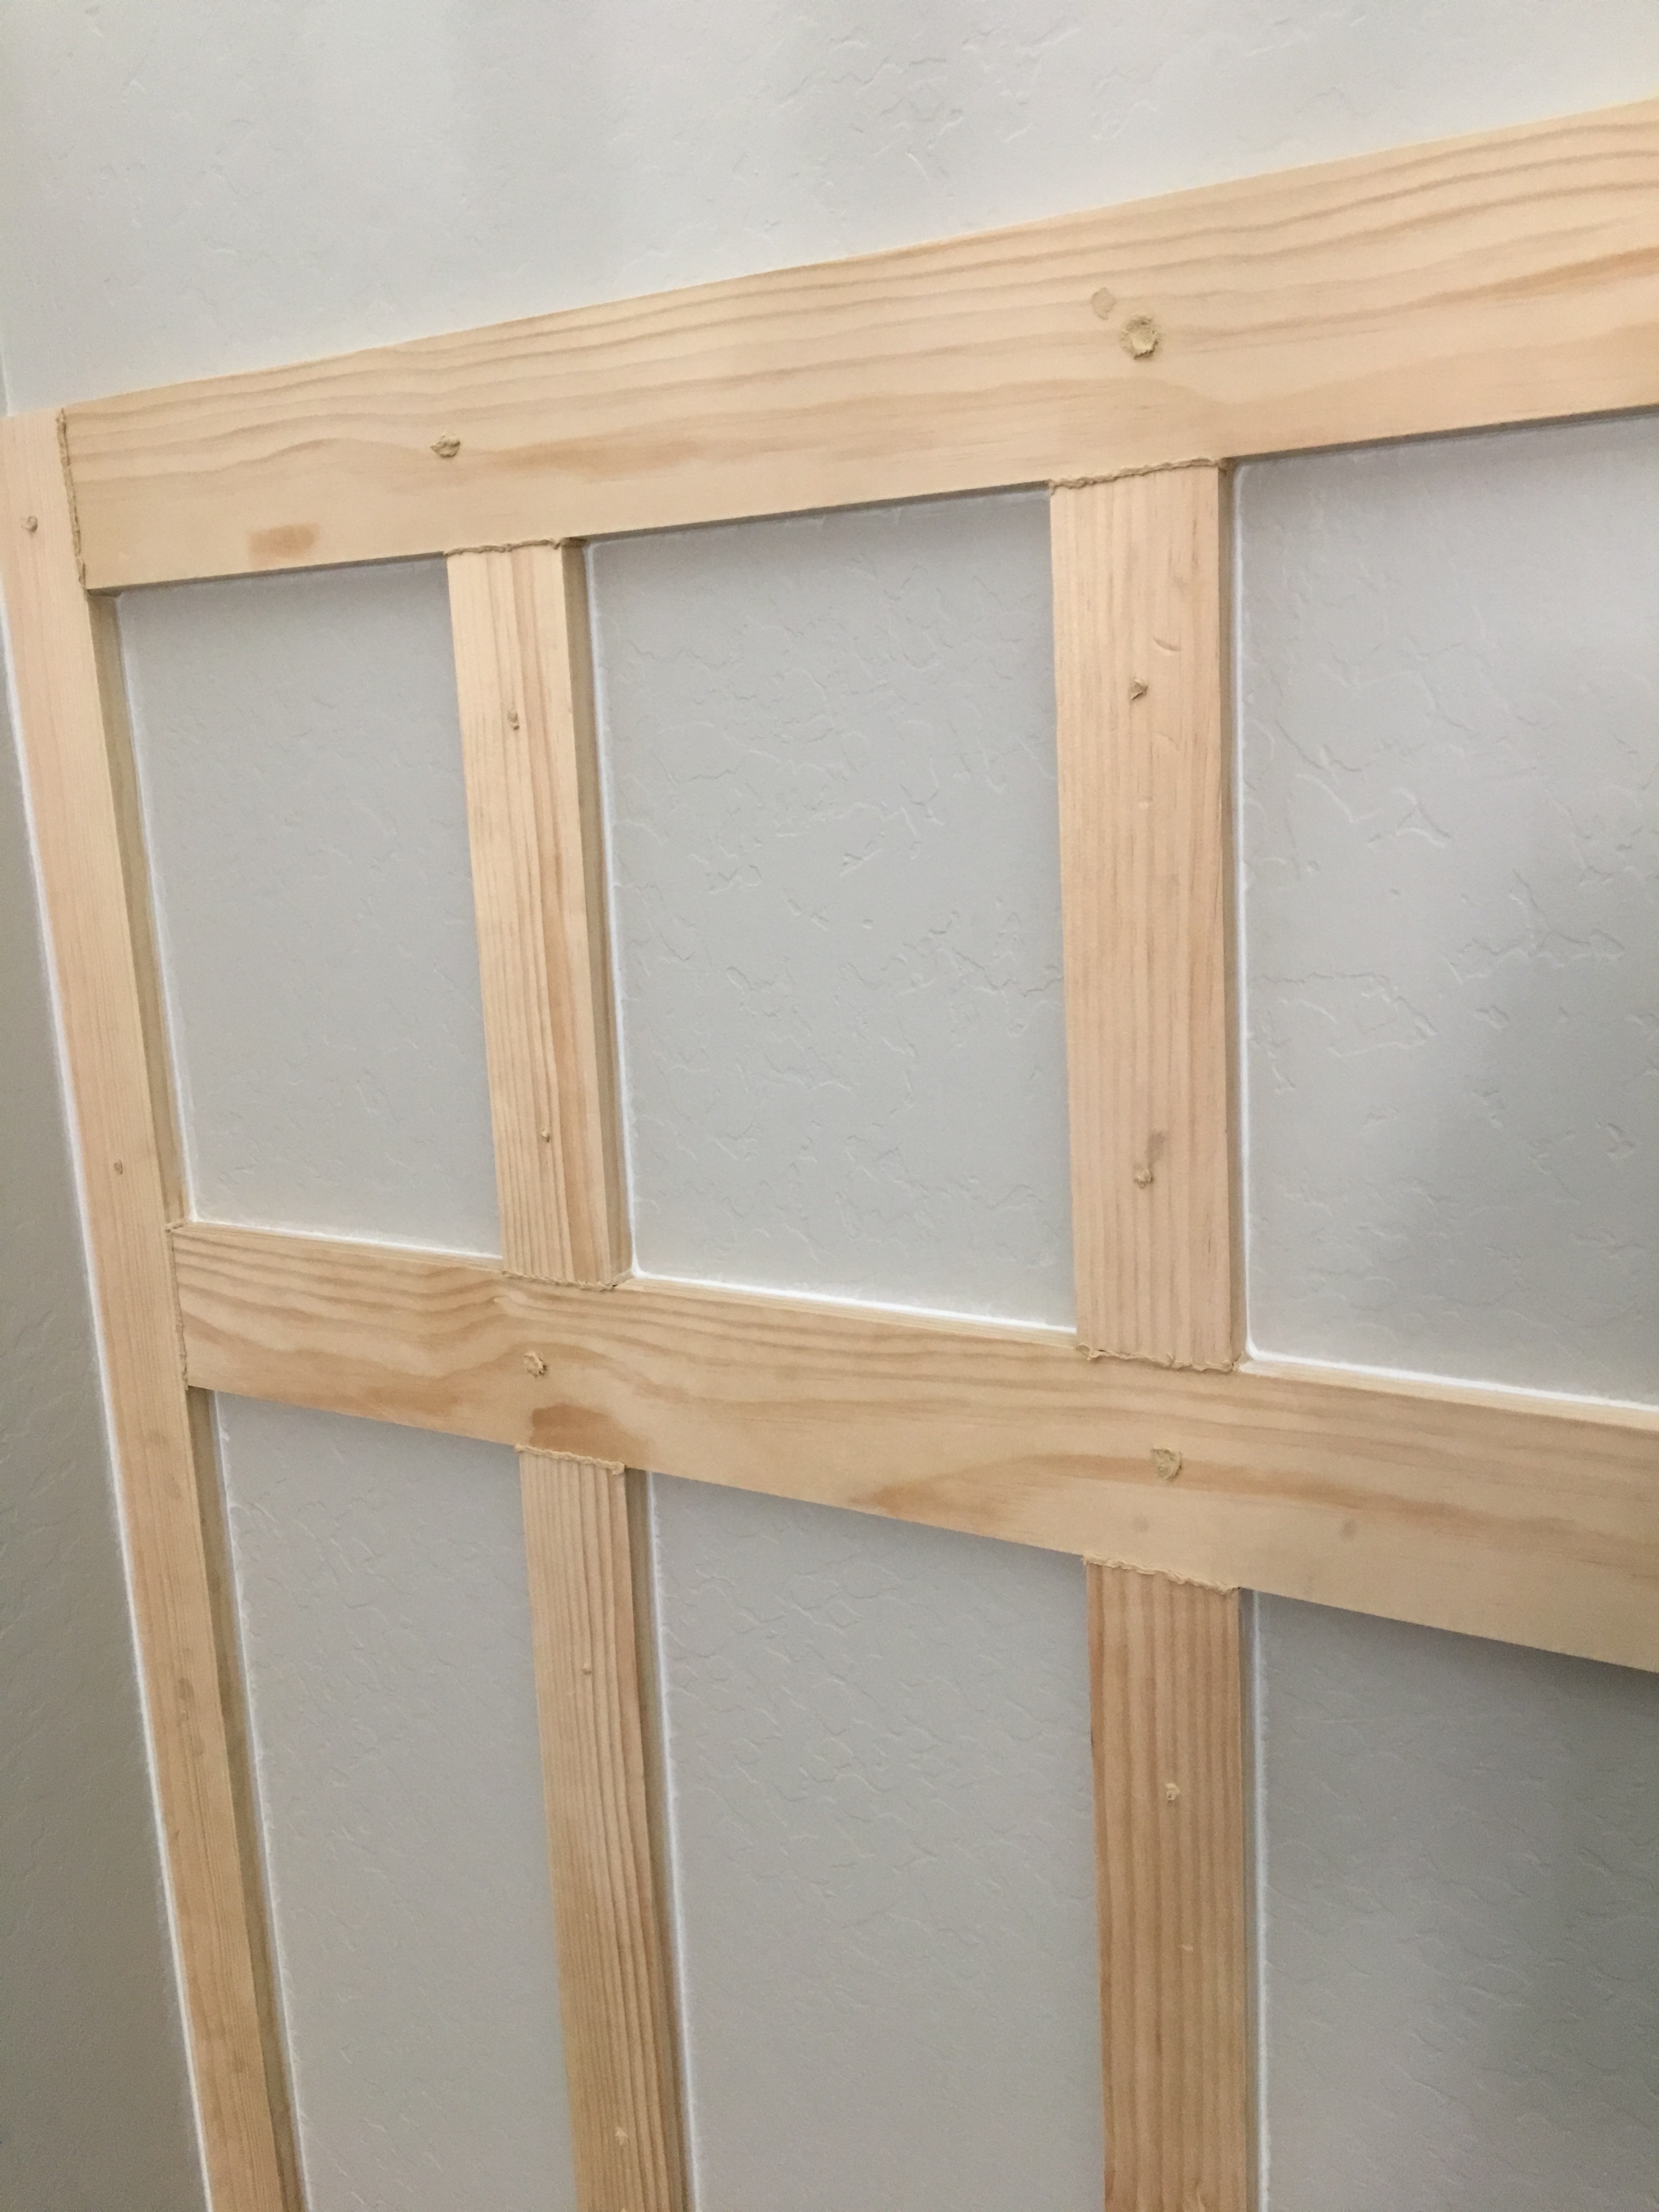
Once the wood putty was dry we sanded it down so it was all smooth and even. Sorry I don’t have a picture of that step. 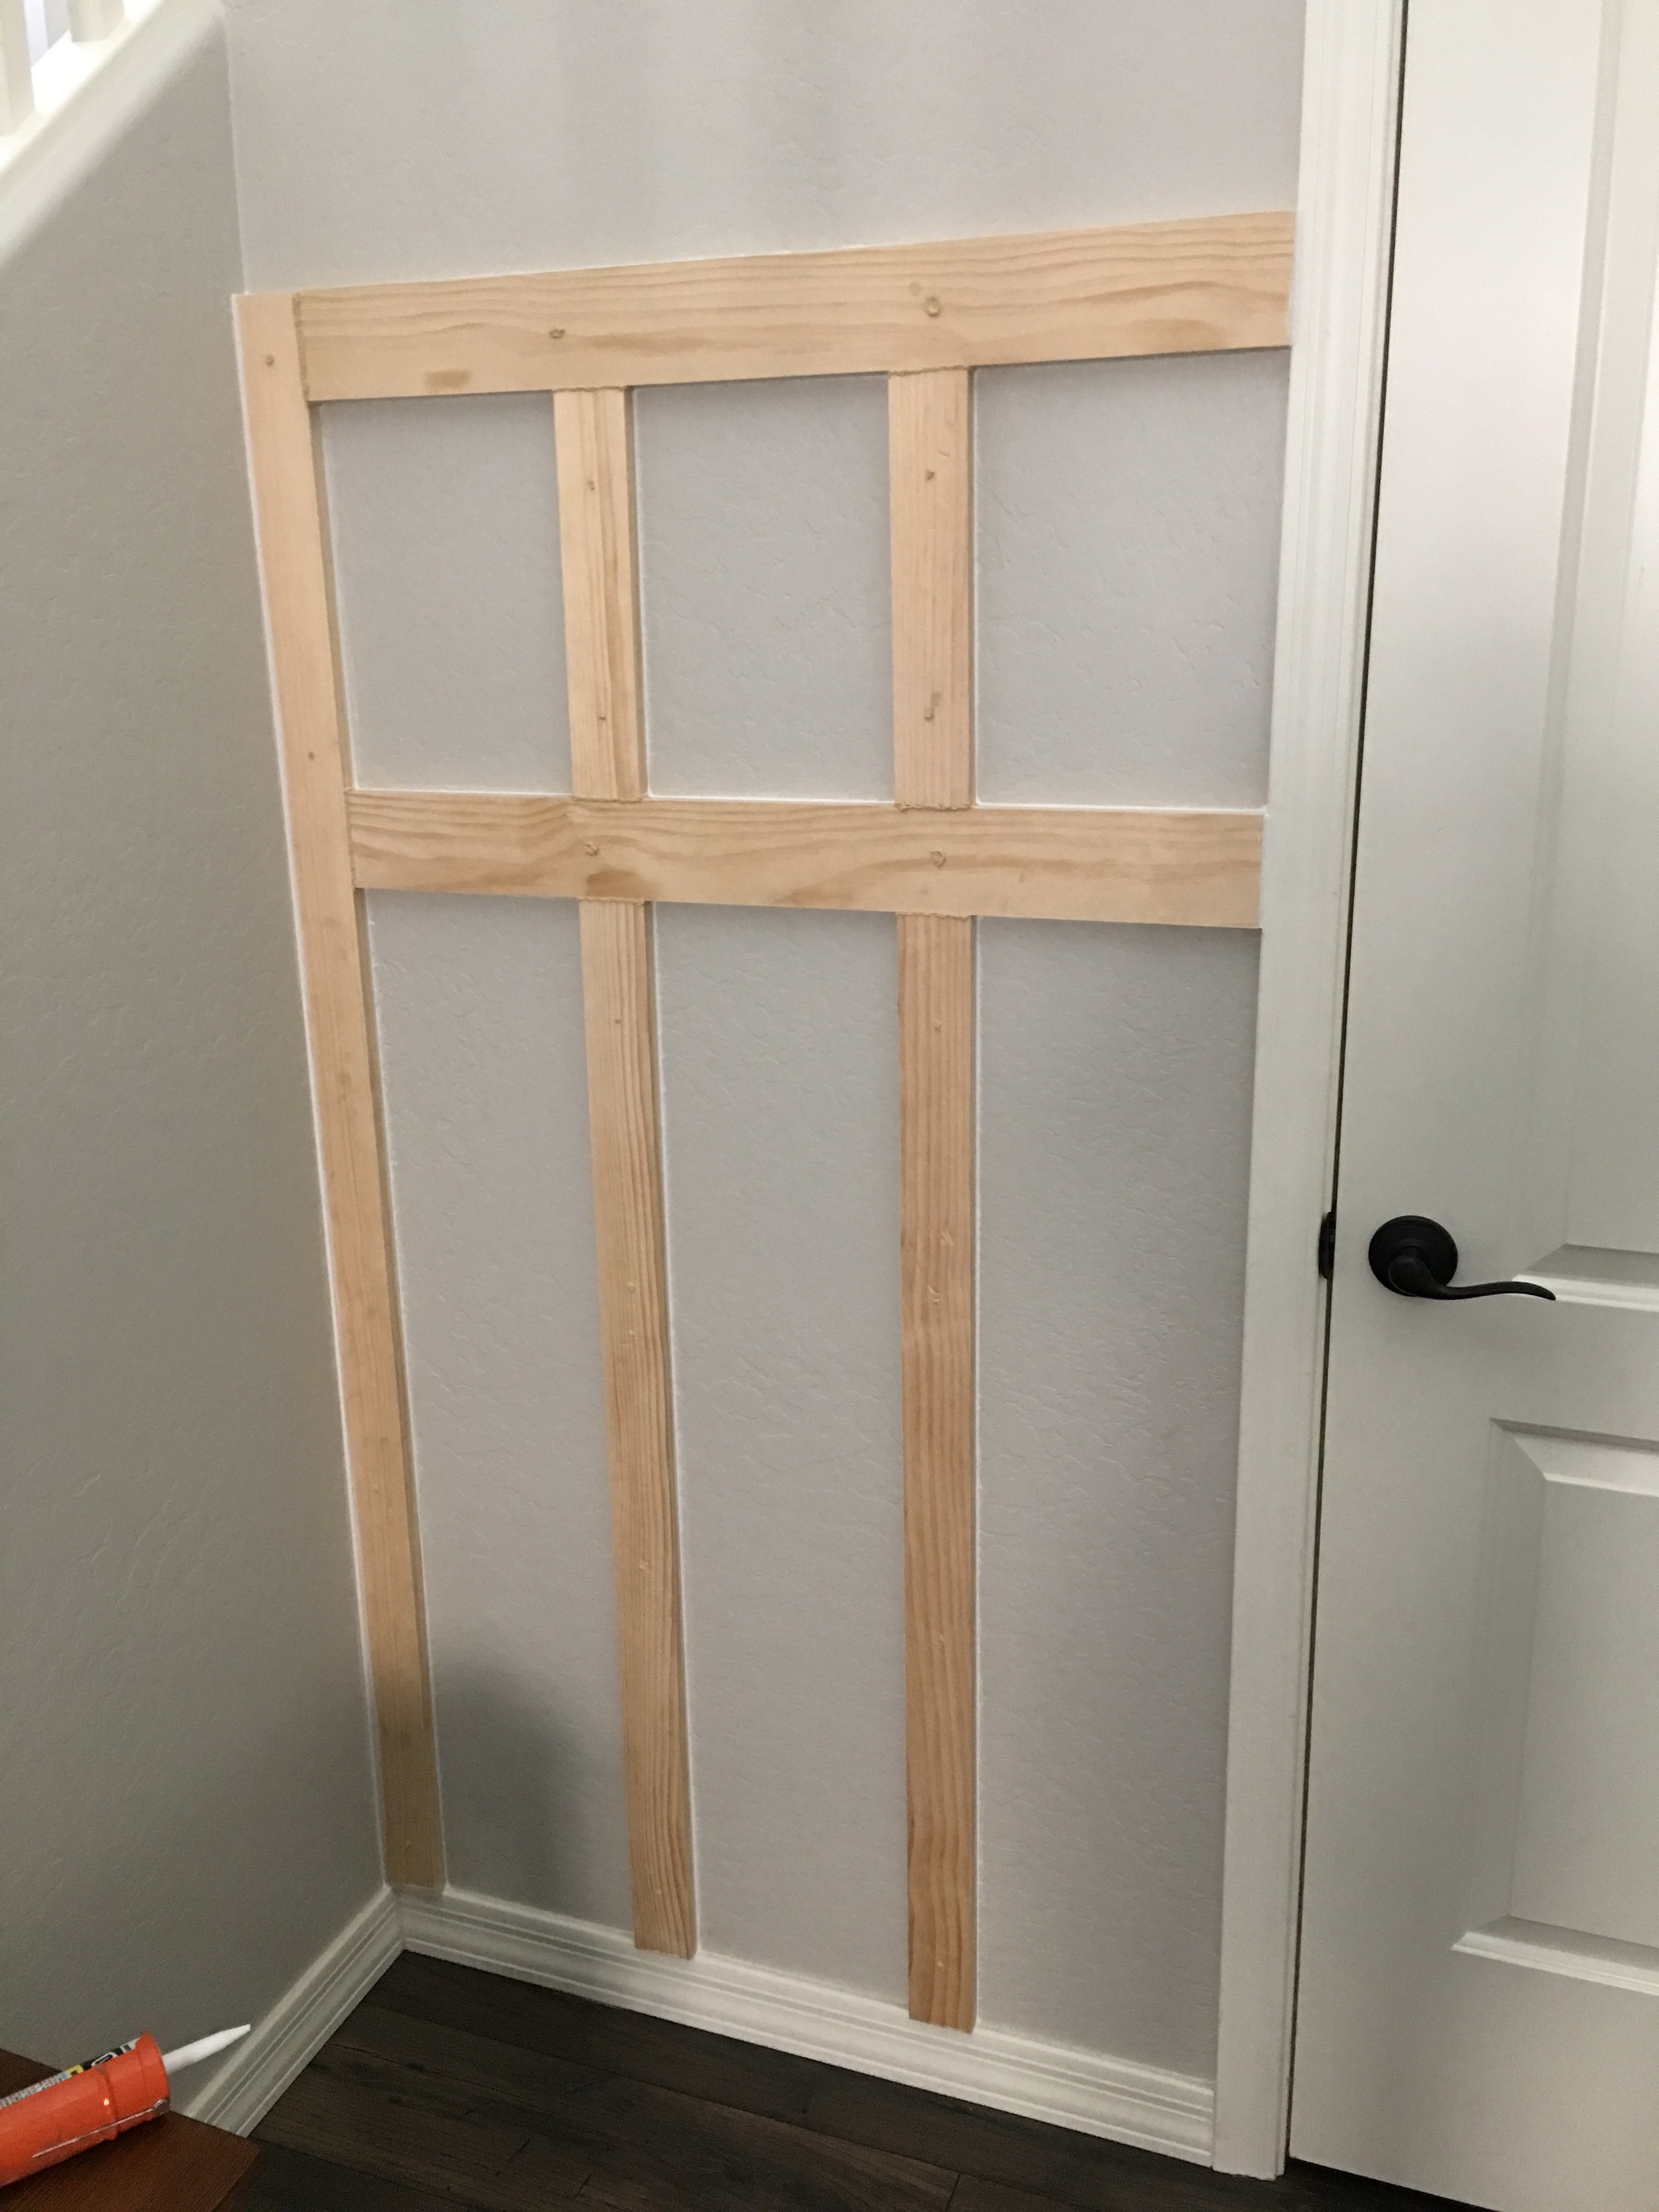
Then we taped off the left side wall, and the top and bottom, and we were ready to paint! 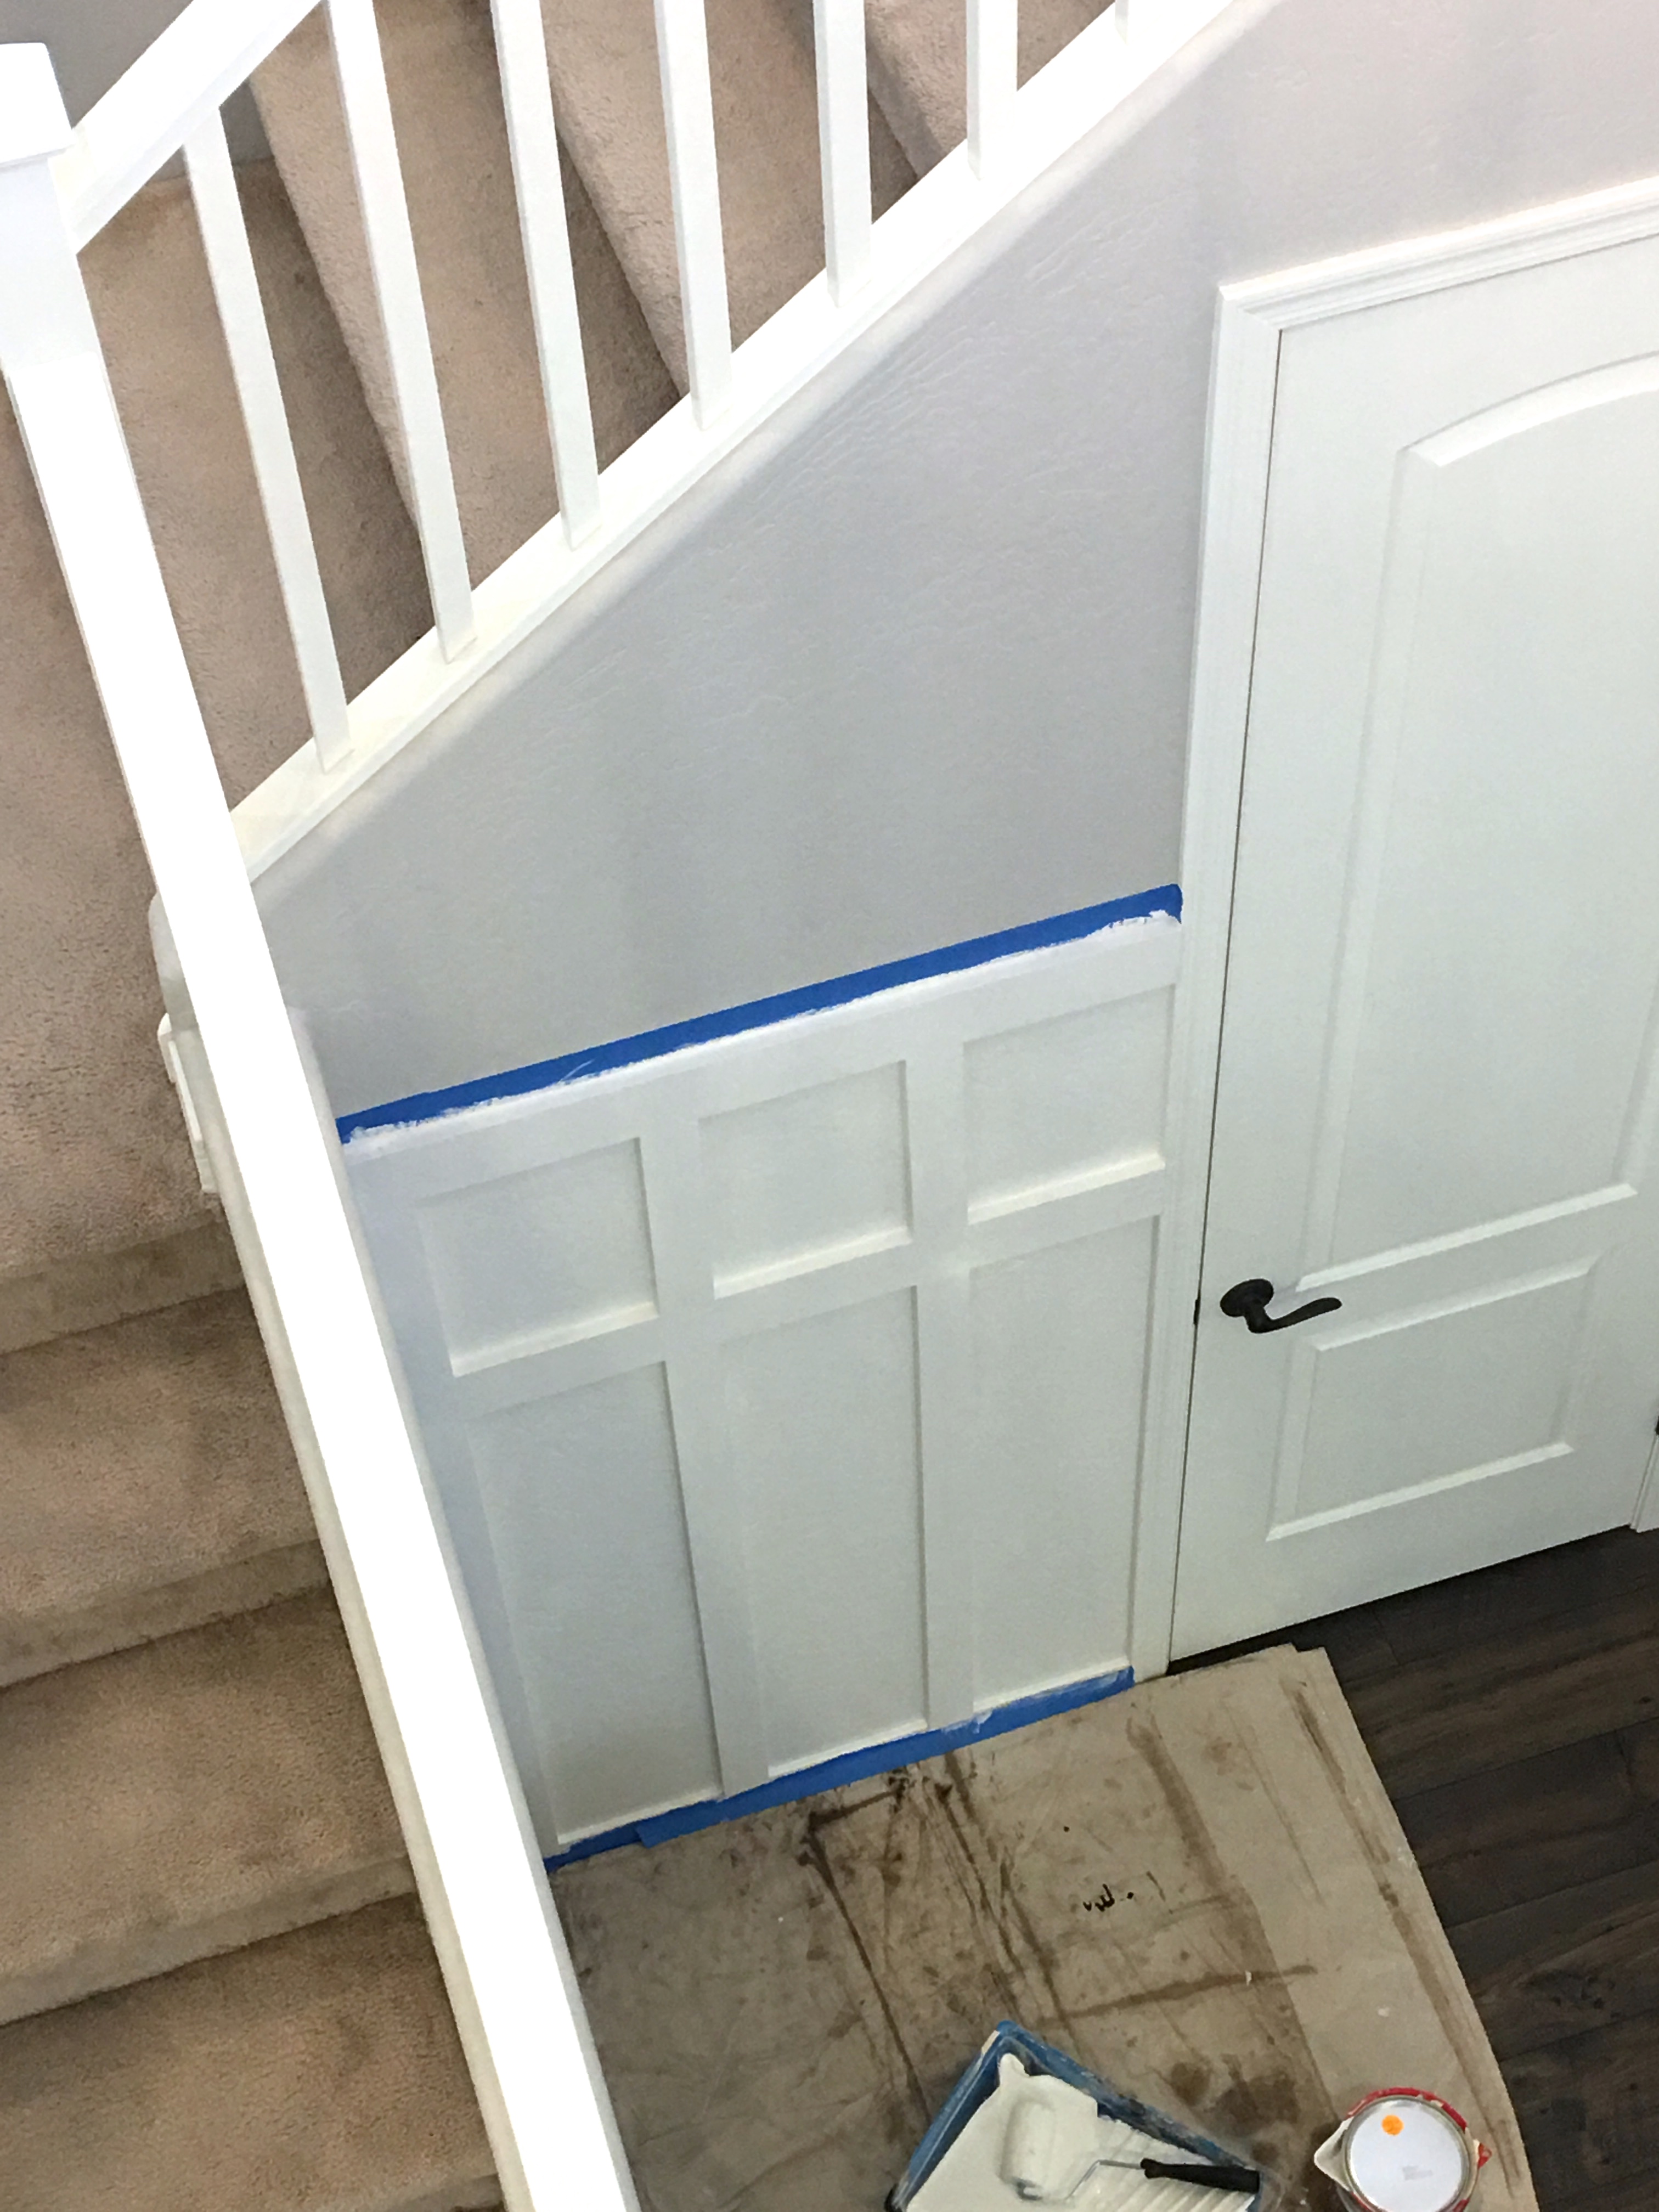 I think we ended up with about 3 coats of paint.
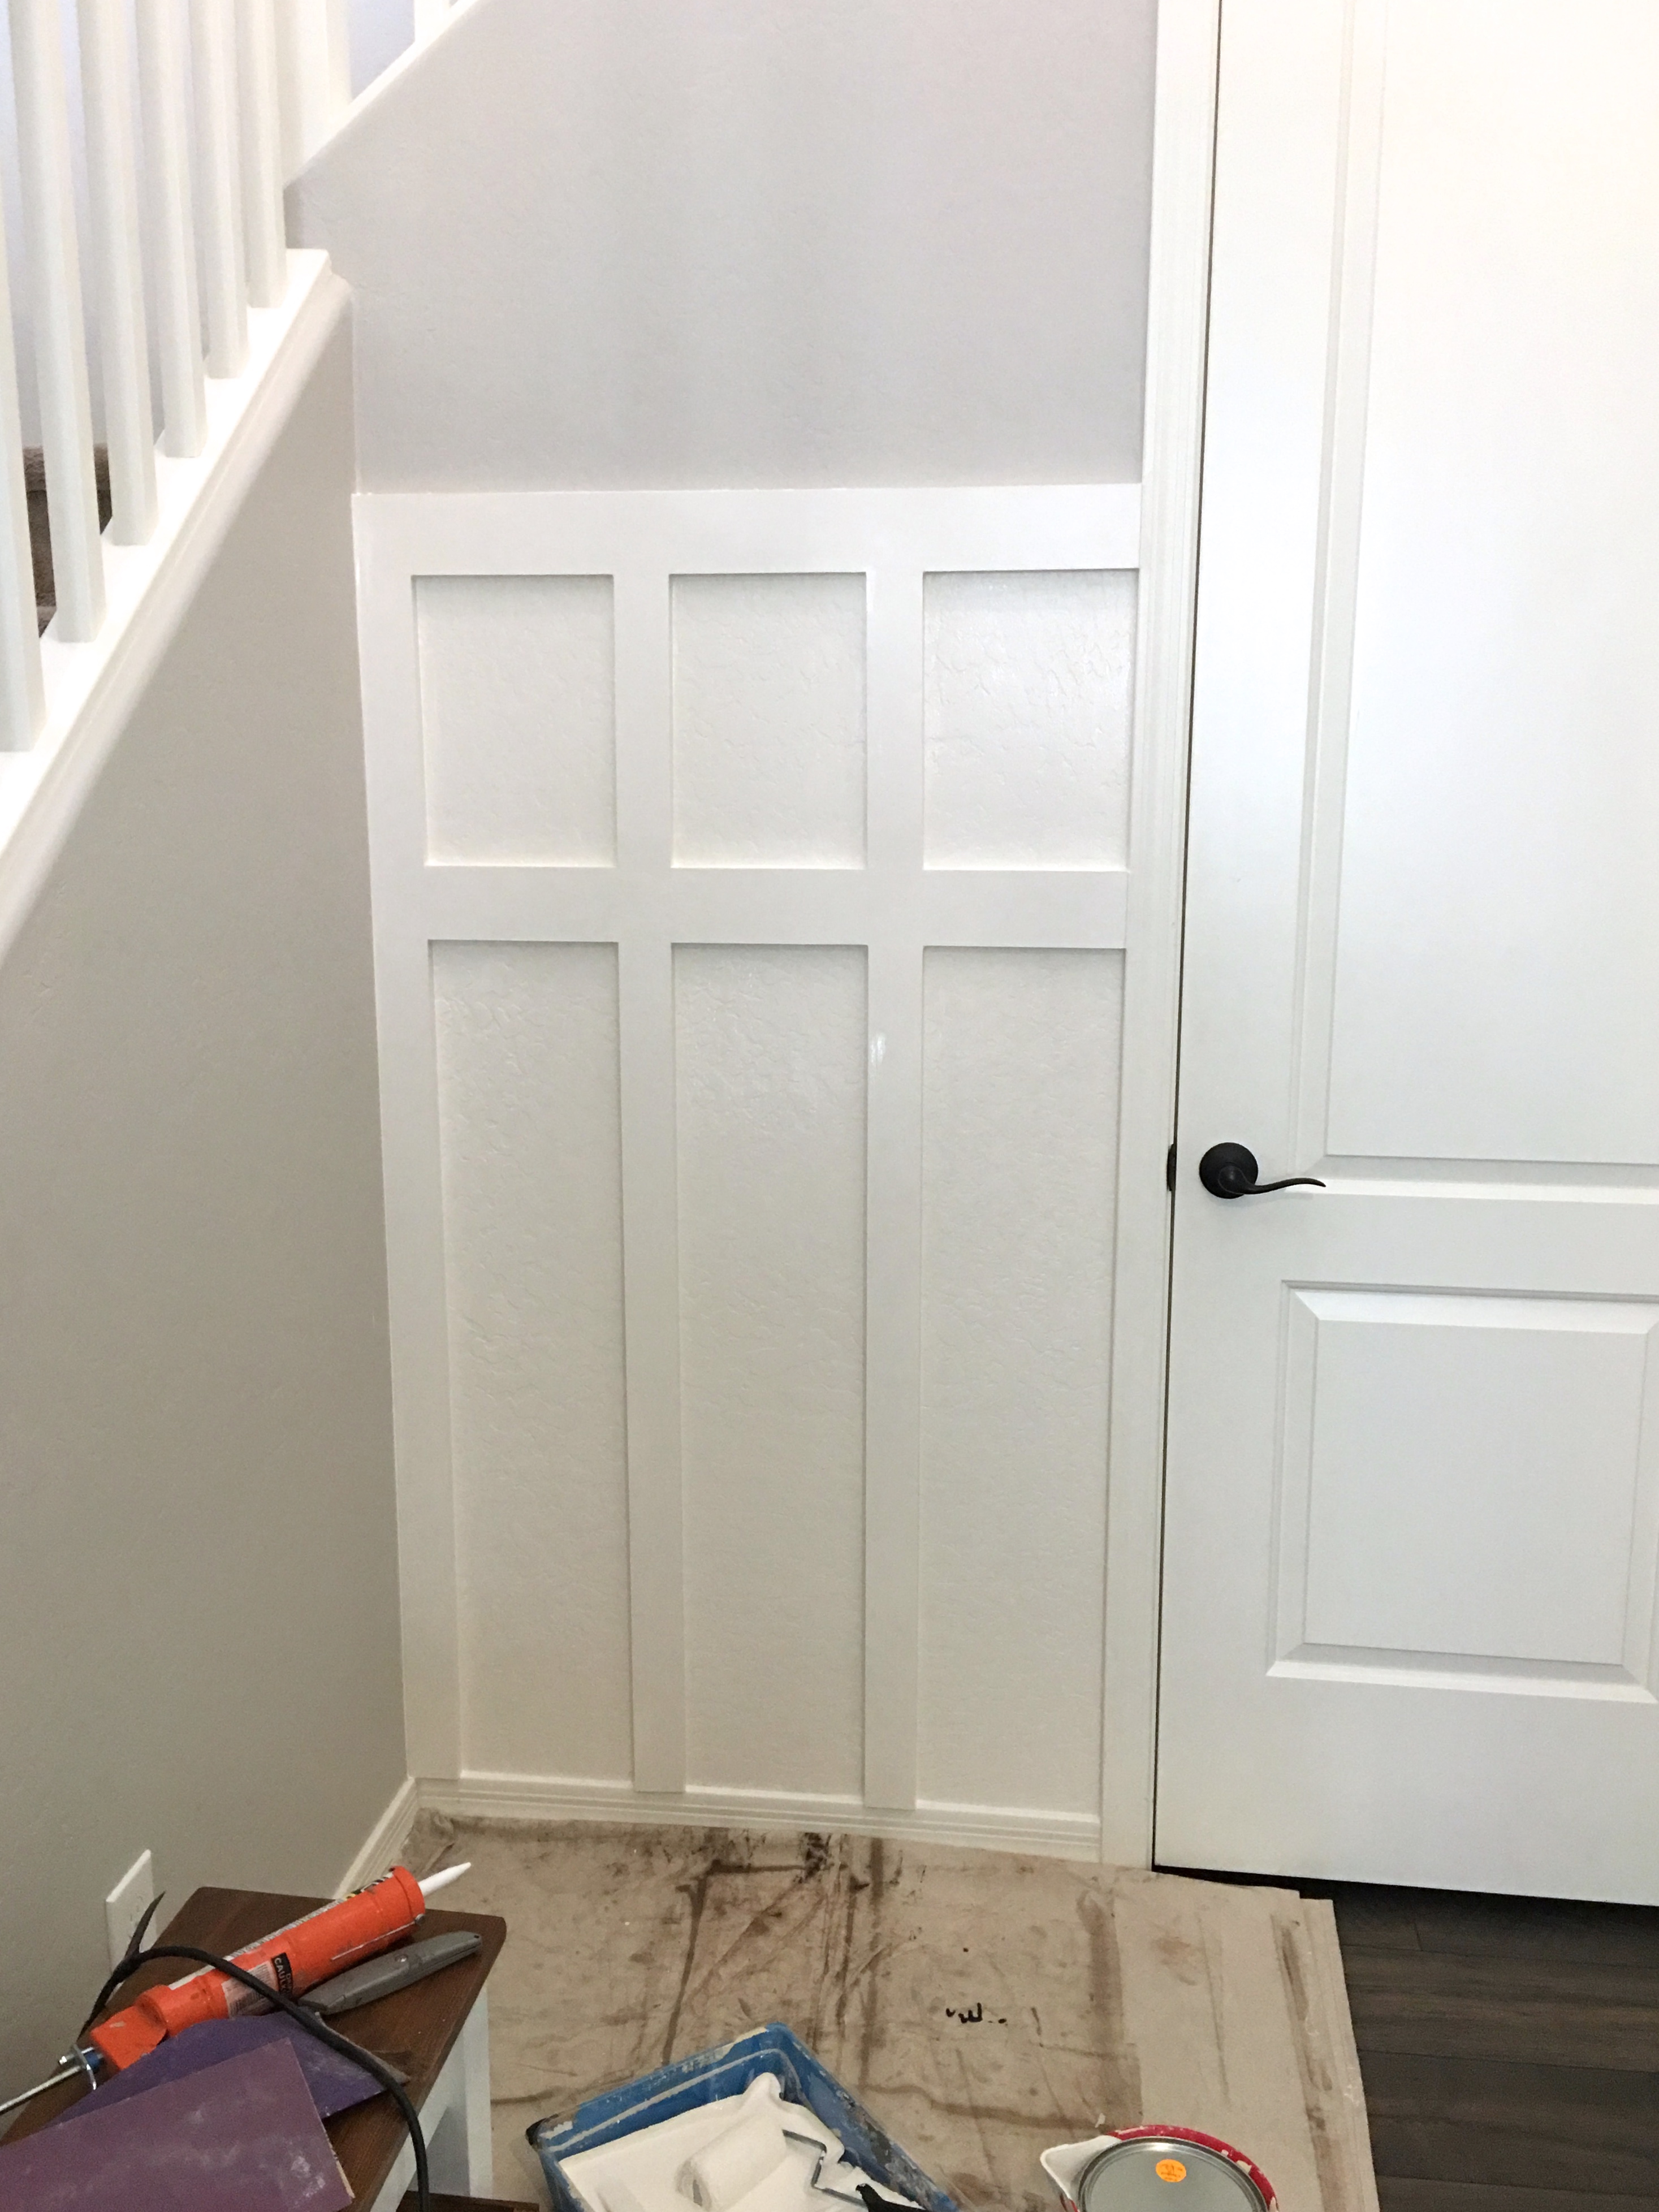
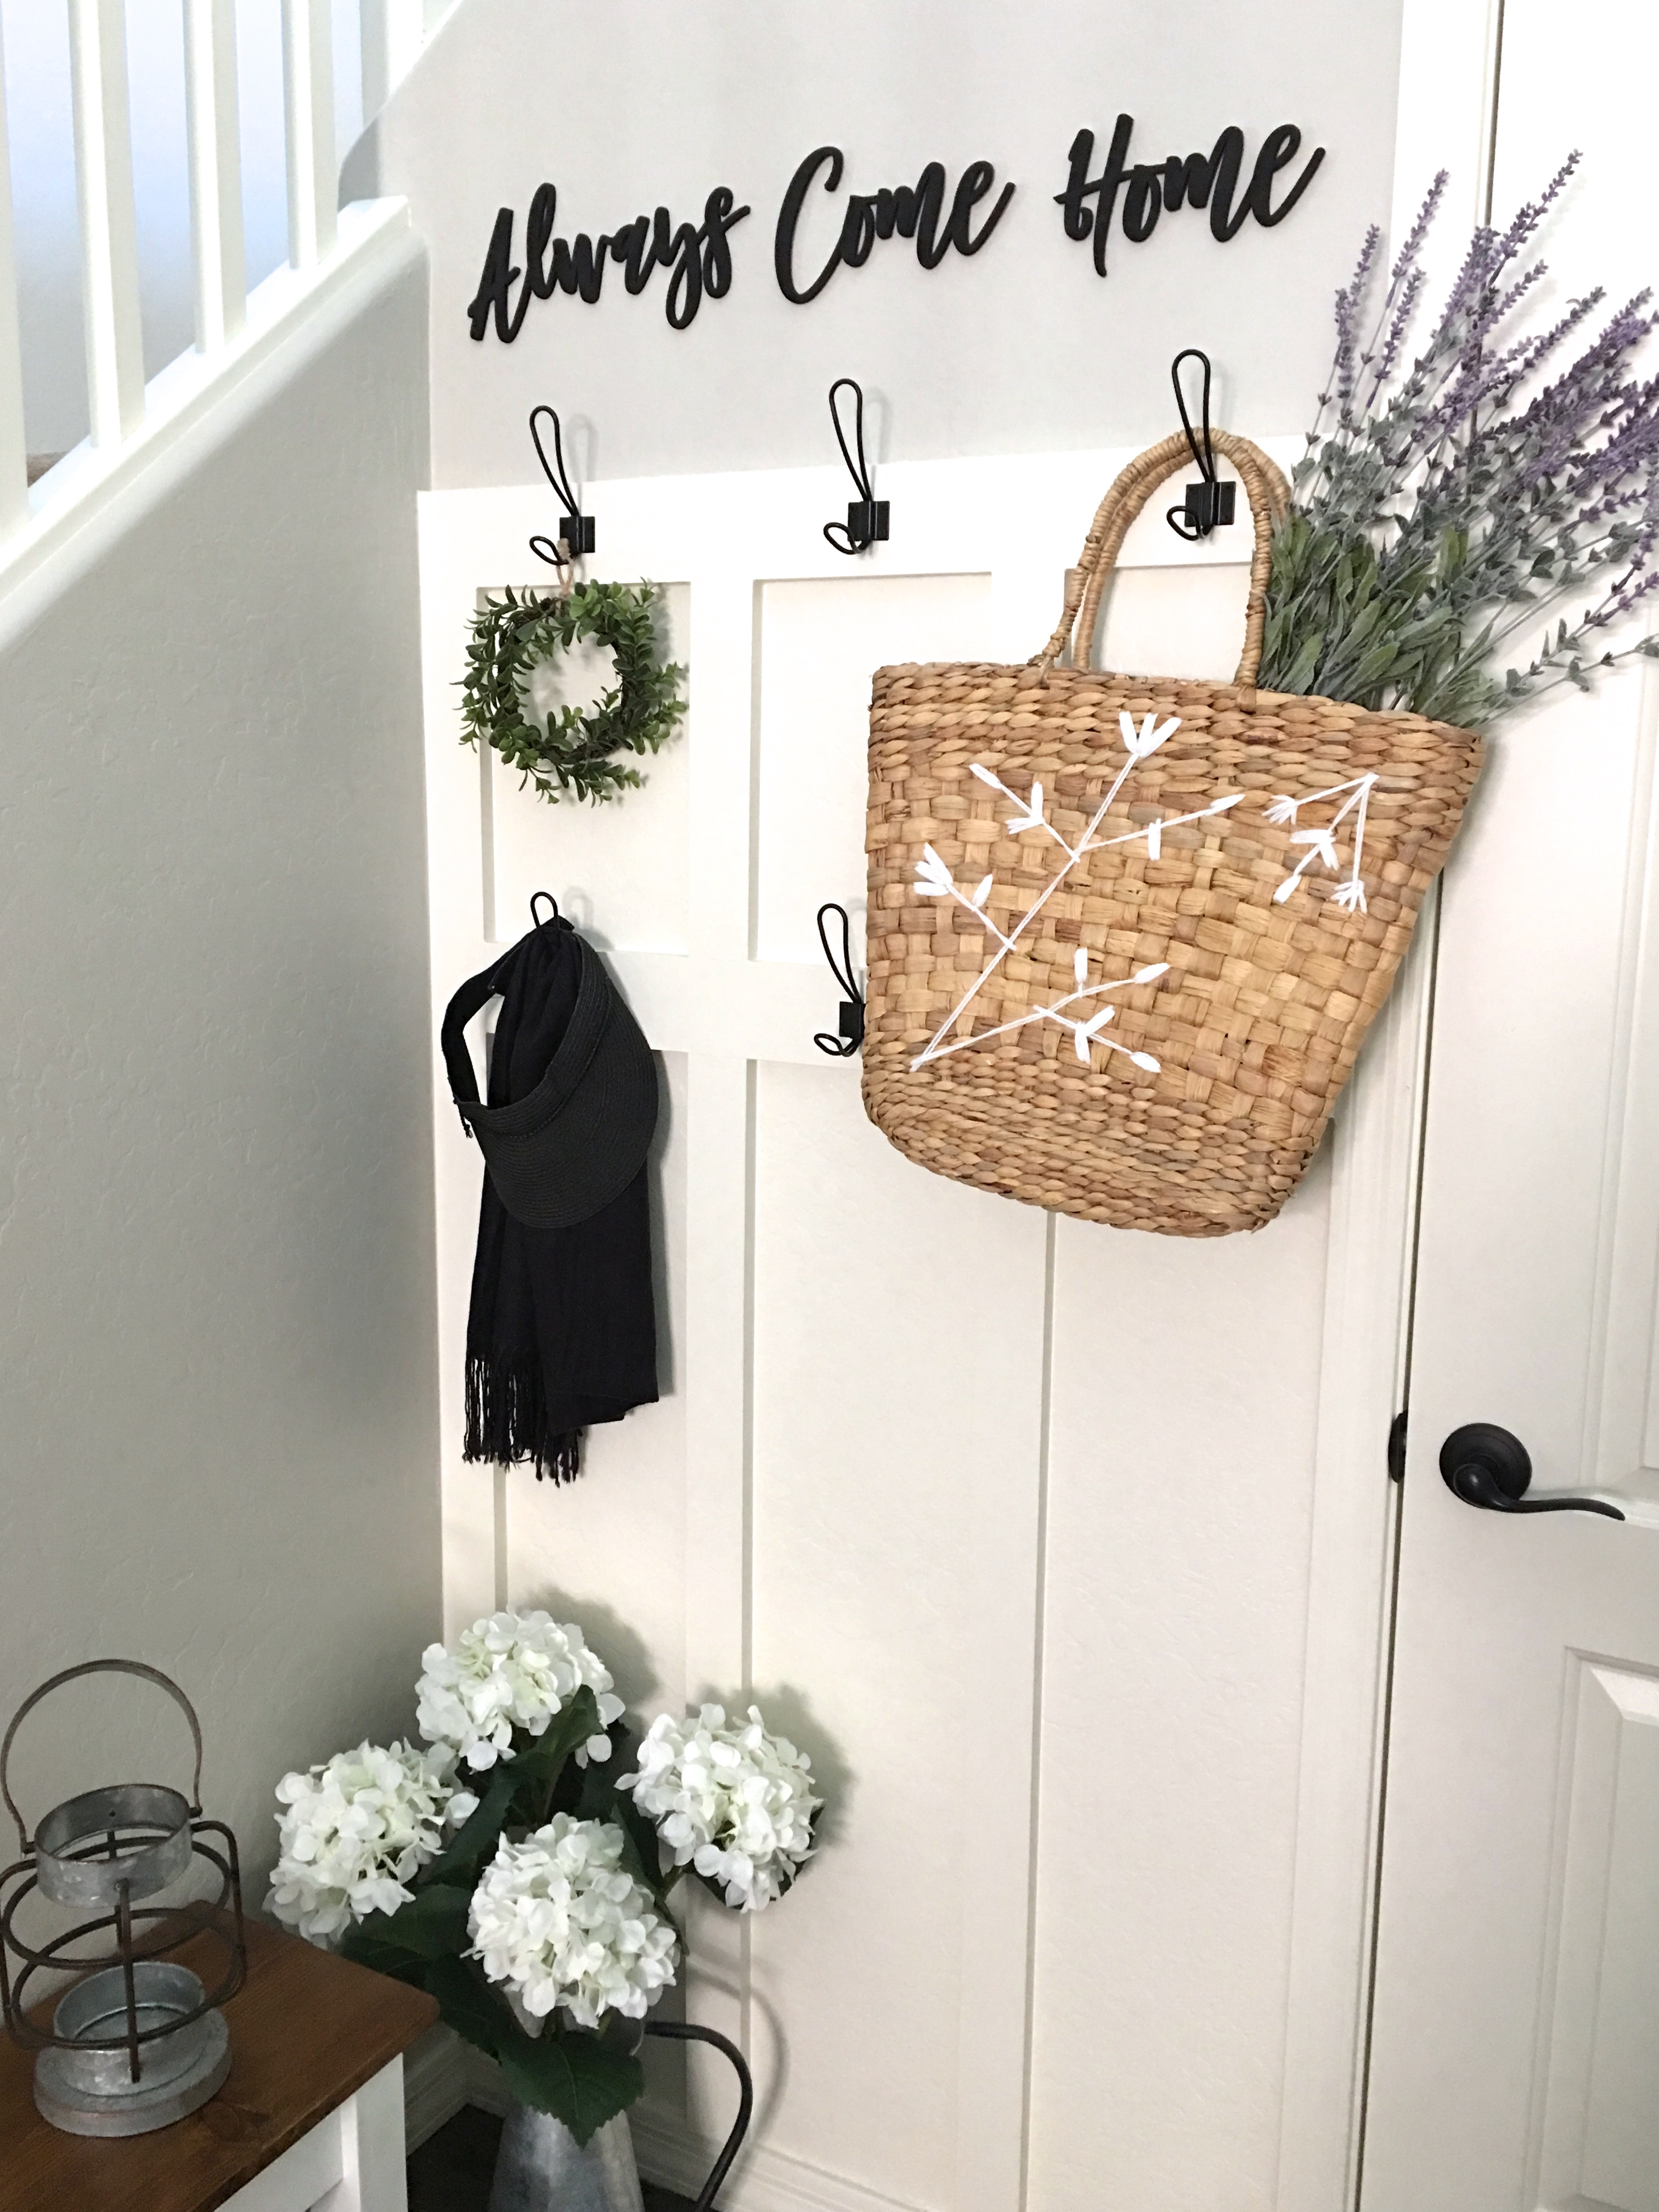
When it was all dry it was time to add the hooks. I went with ones that had four holes in the front that you could just screw them right into the wood. They have been very sturdy so far! 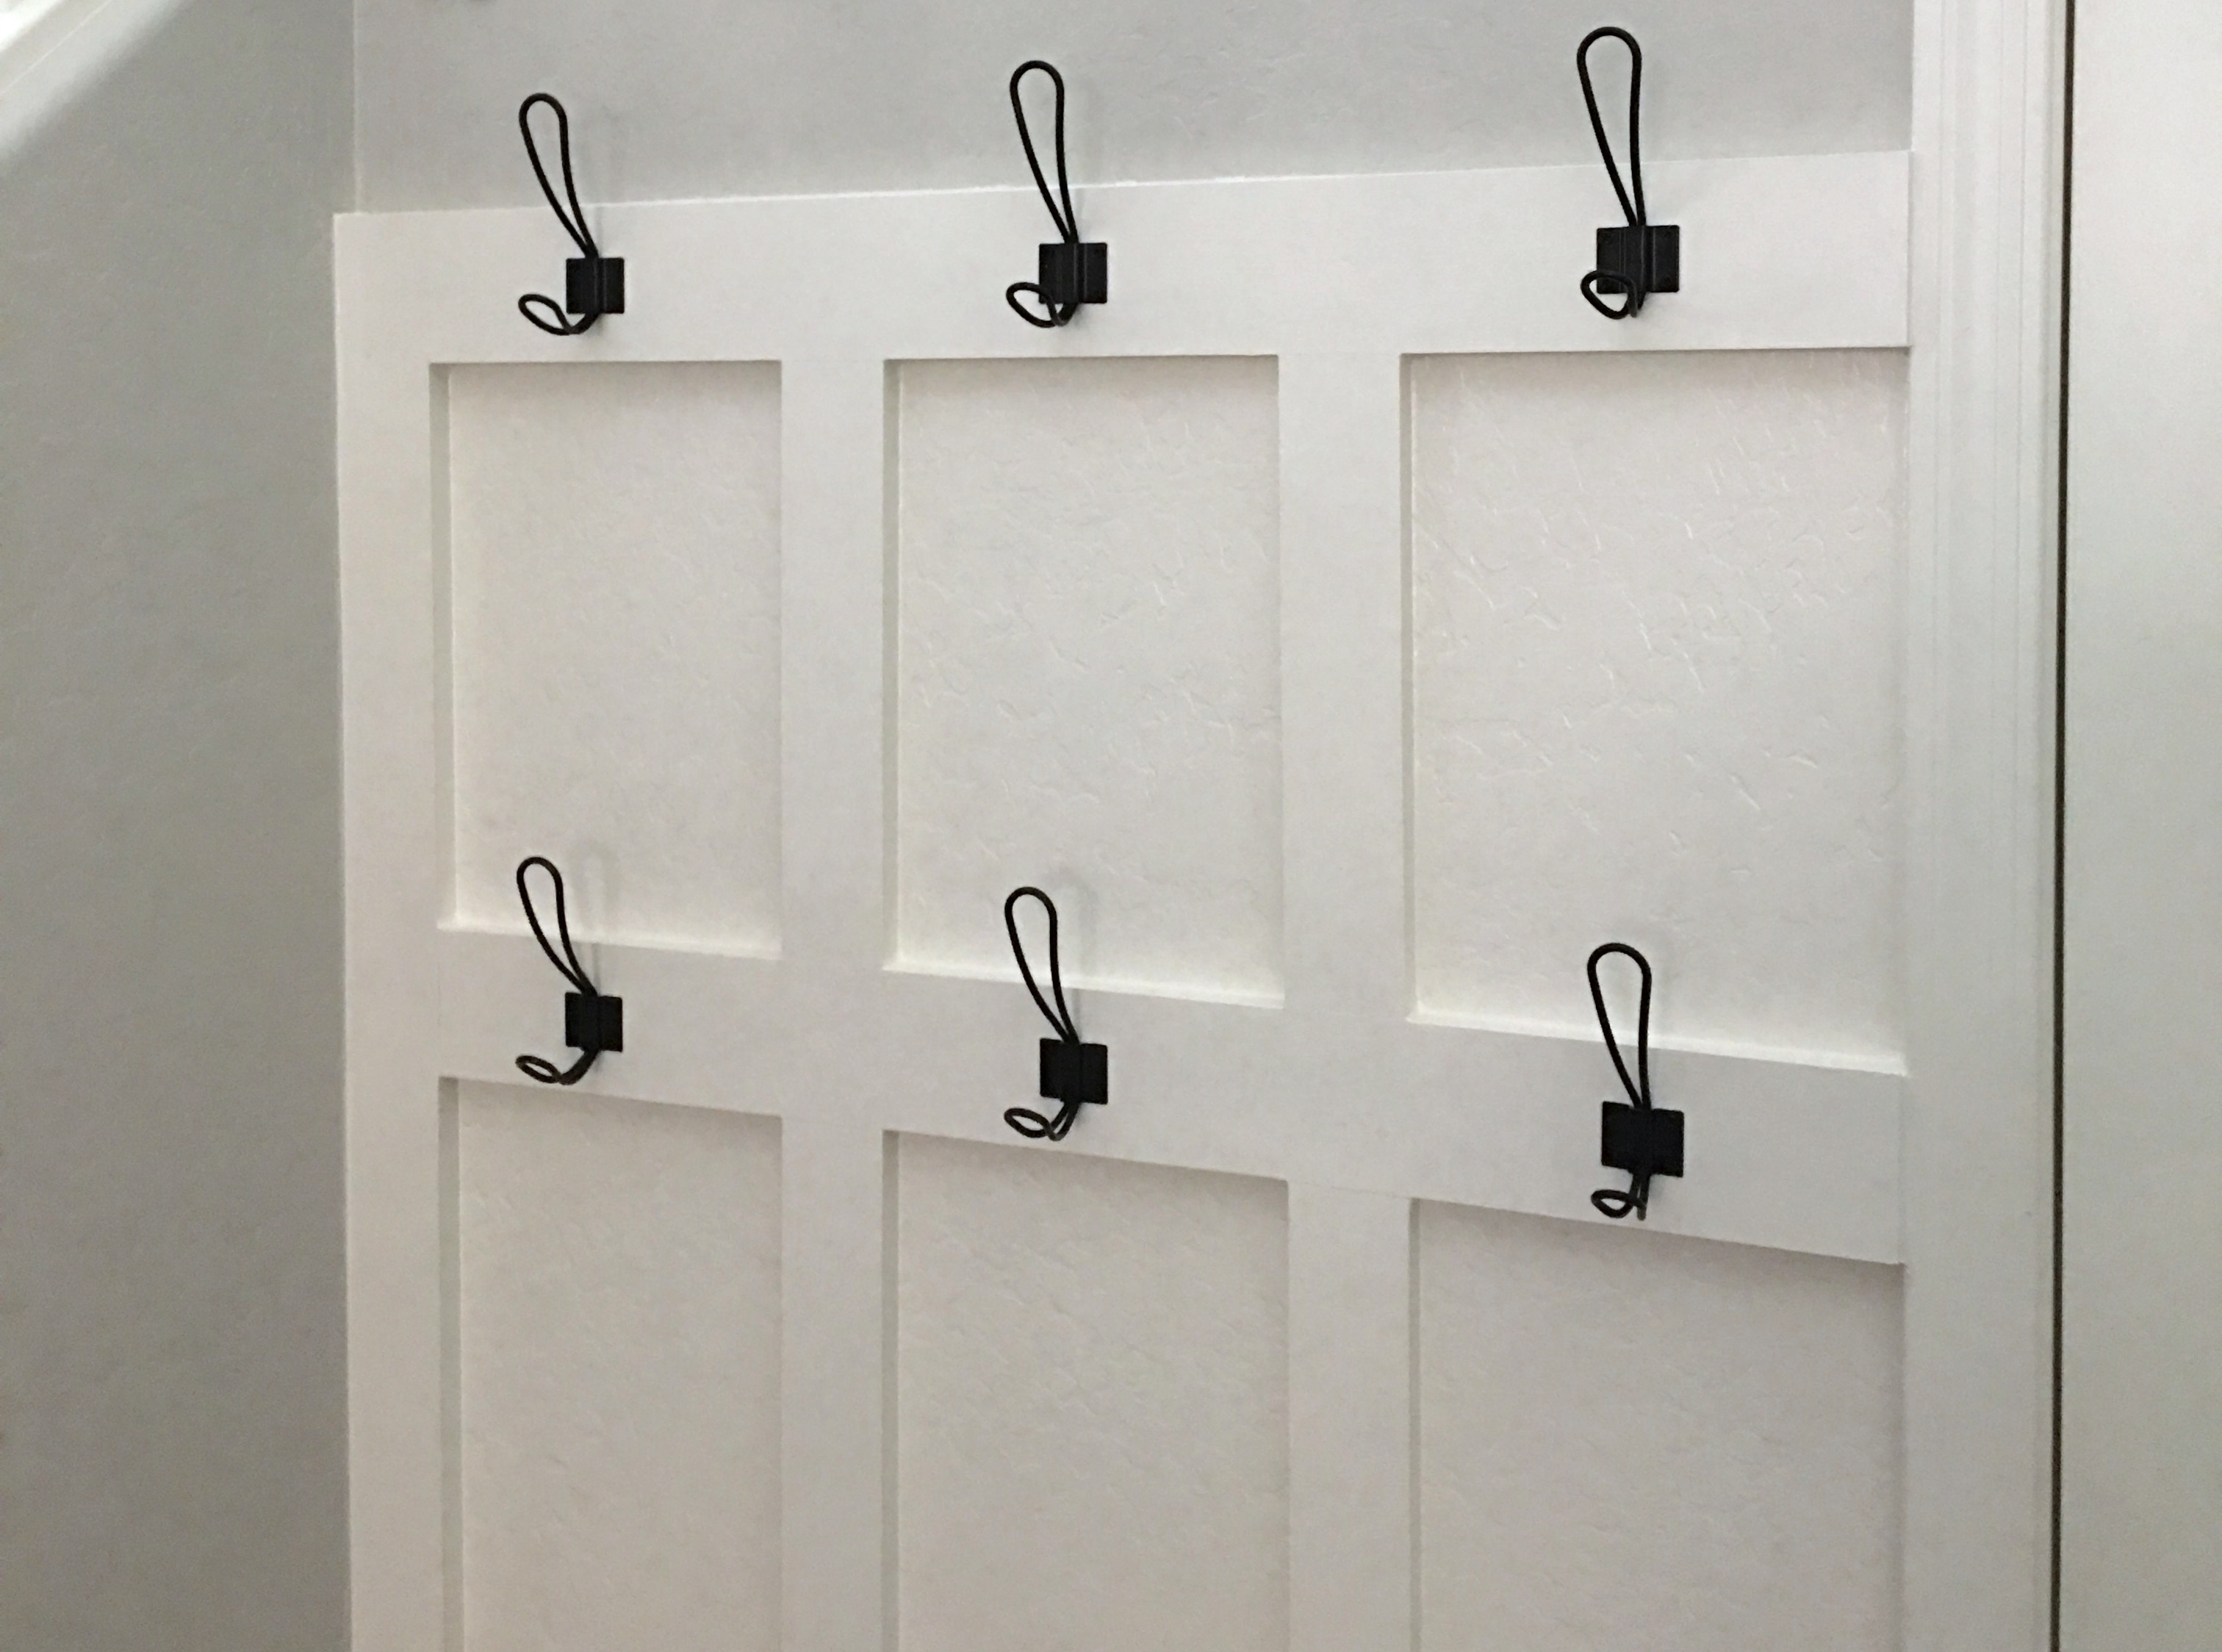
This was really a very simple project and the perfect size for a beginner! Now if I can only convince my husband to do this all around the loft upstairs!! Ha!
XOXO!!
Jen
Affiliate links are included for some of the items below for your convenience. If you click on a link and make a purchase, I’ll receive a small commission at no extra cost to you.
shop this look….
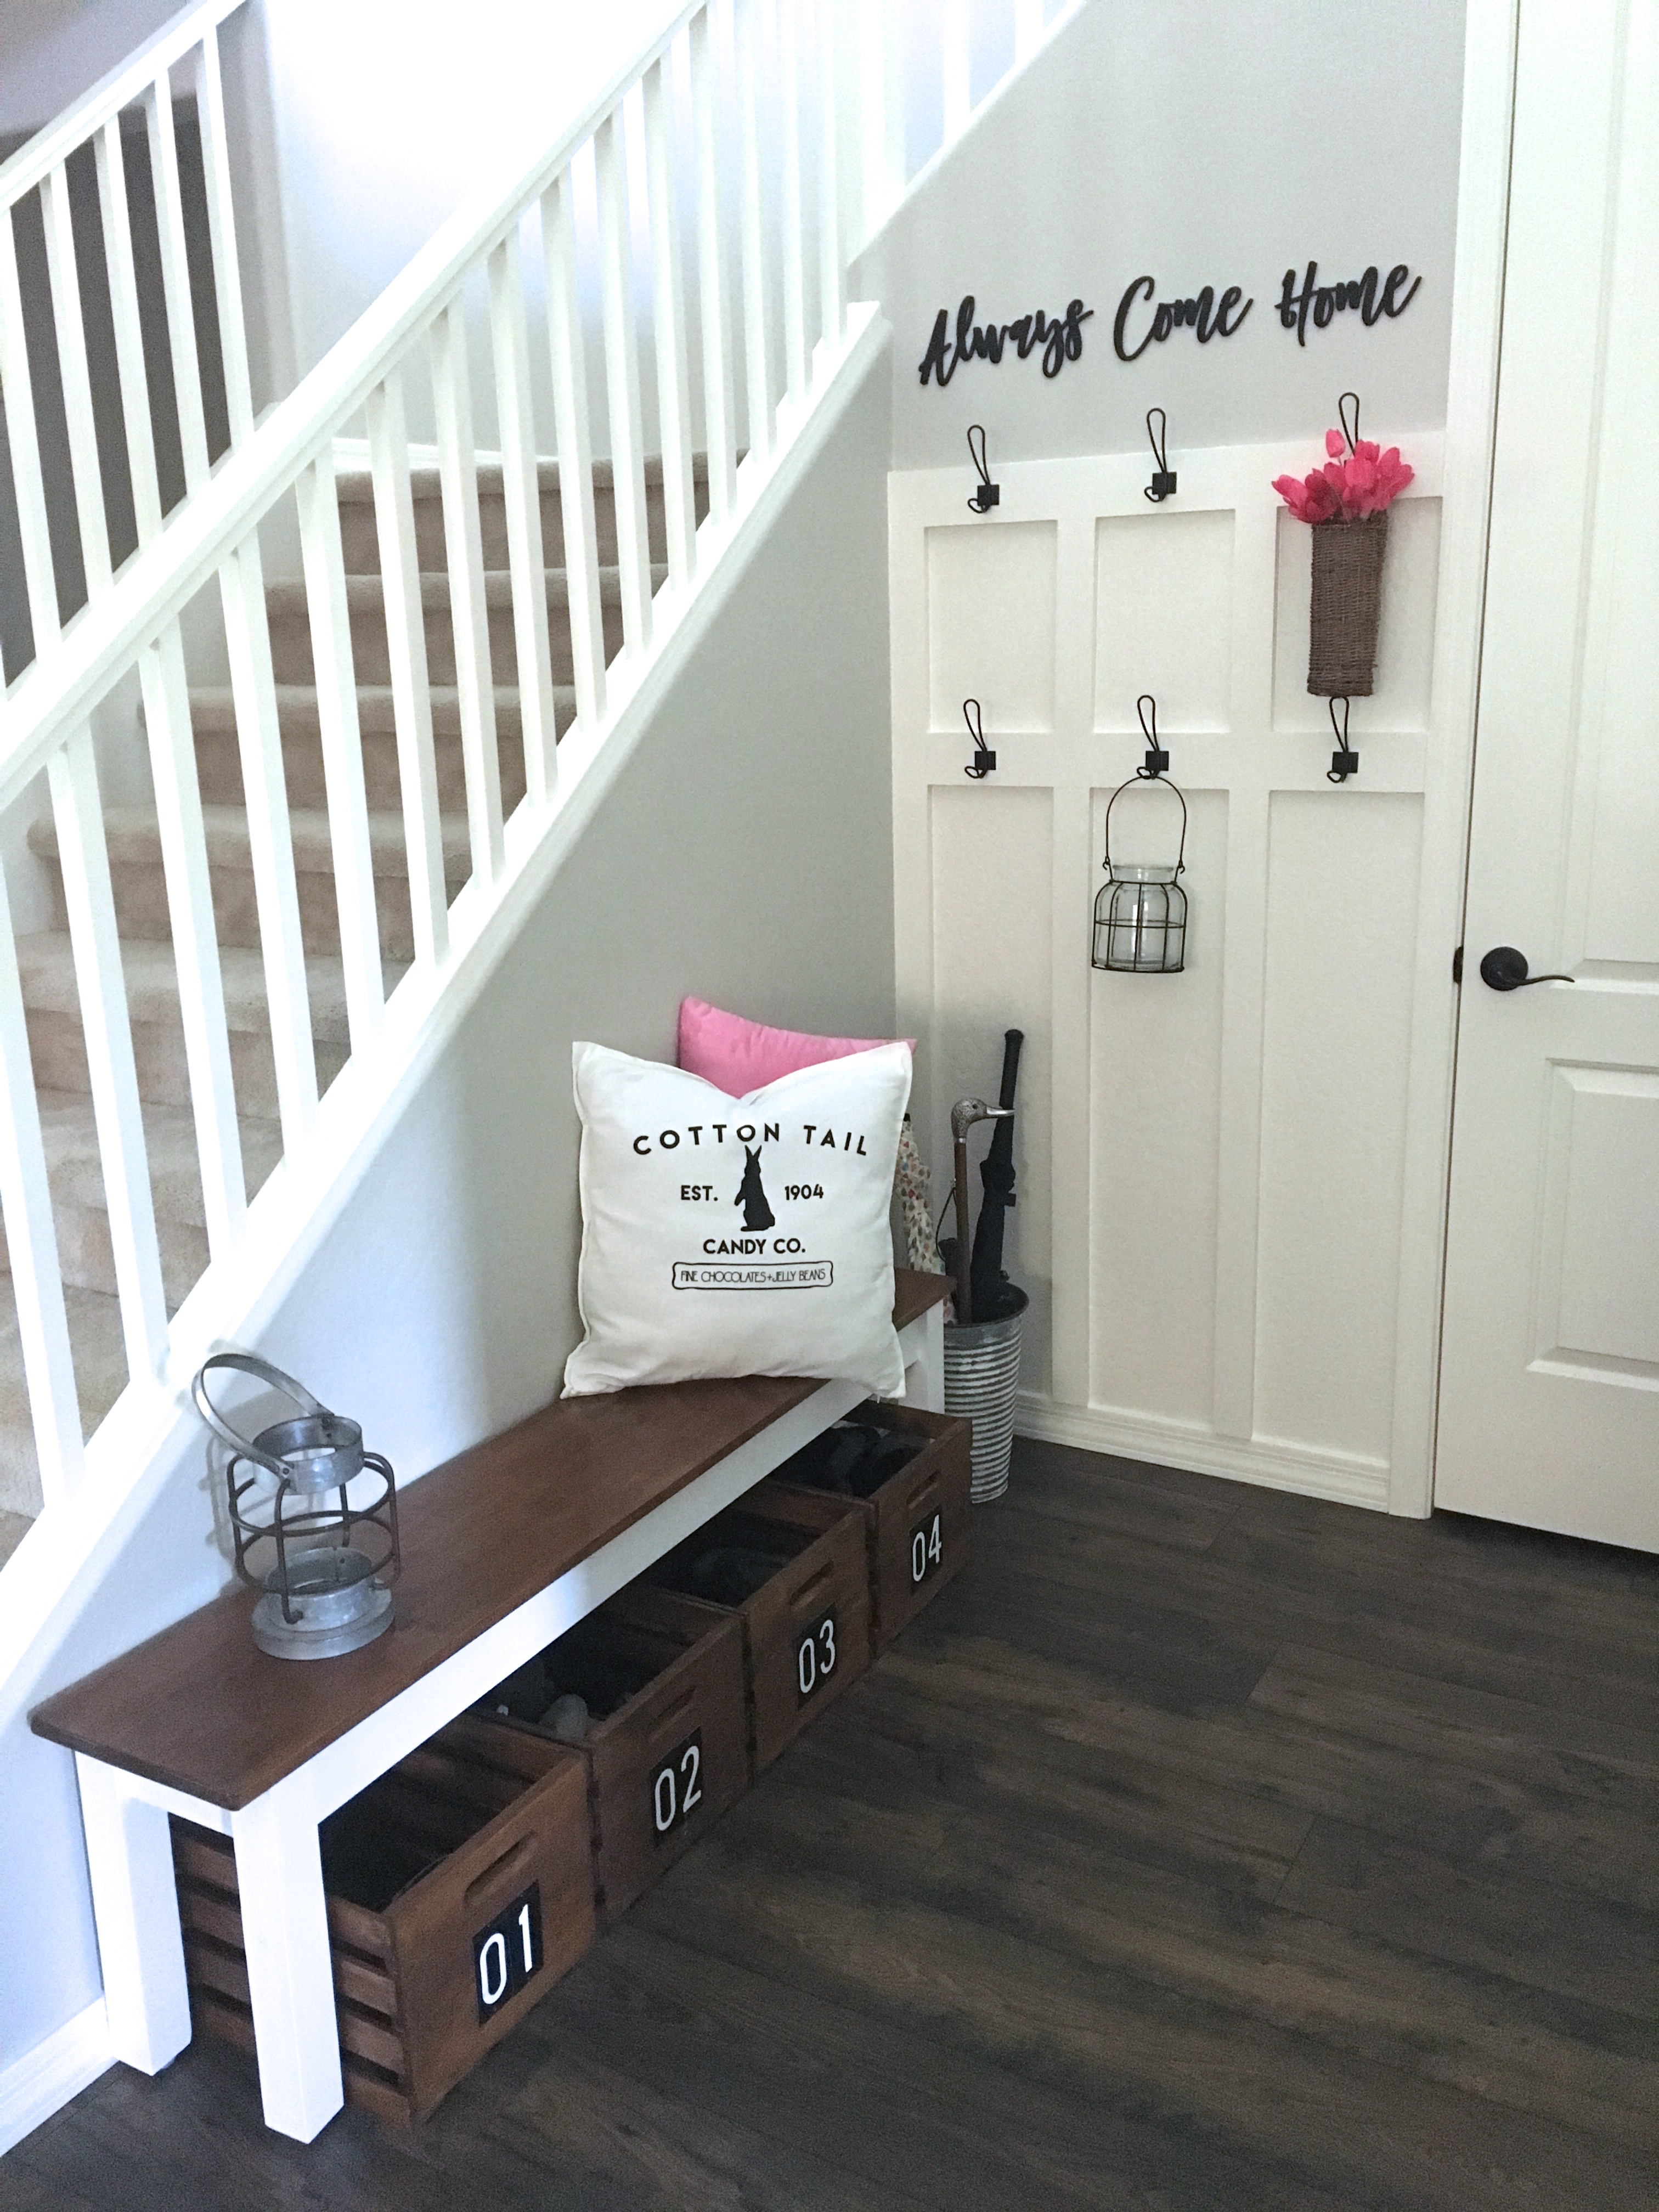
Here is a view of the entire area. The door on the right is the door that leads to the garage, and the other door is under the stairs storage. 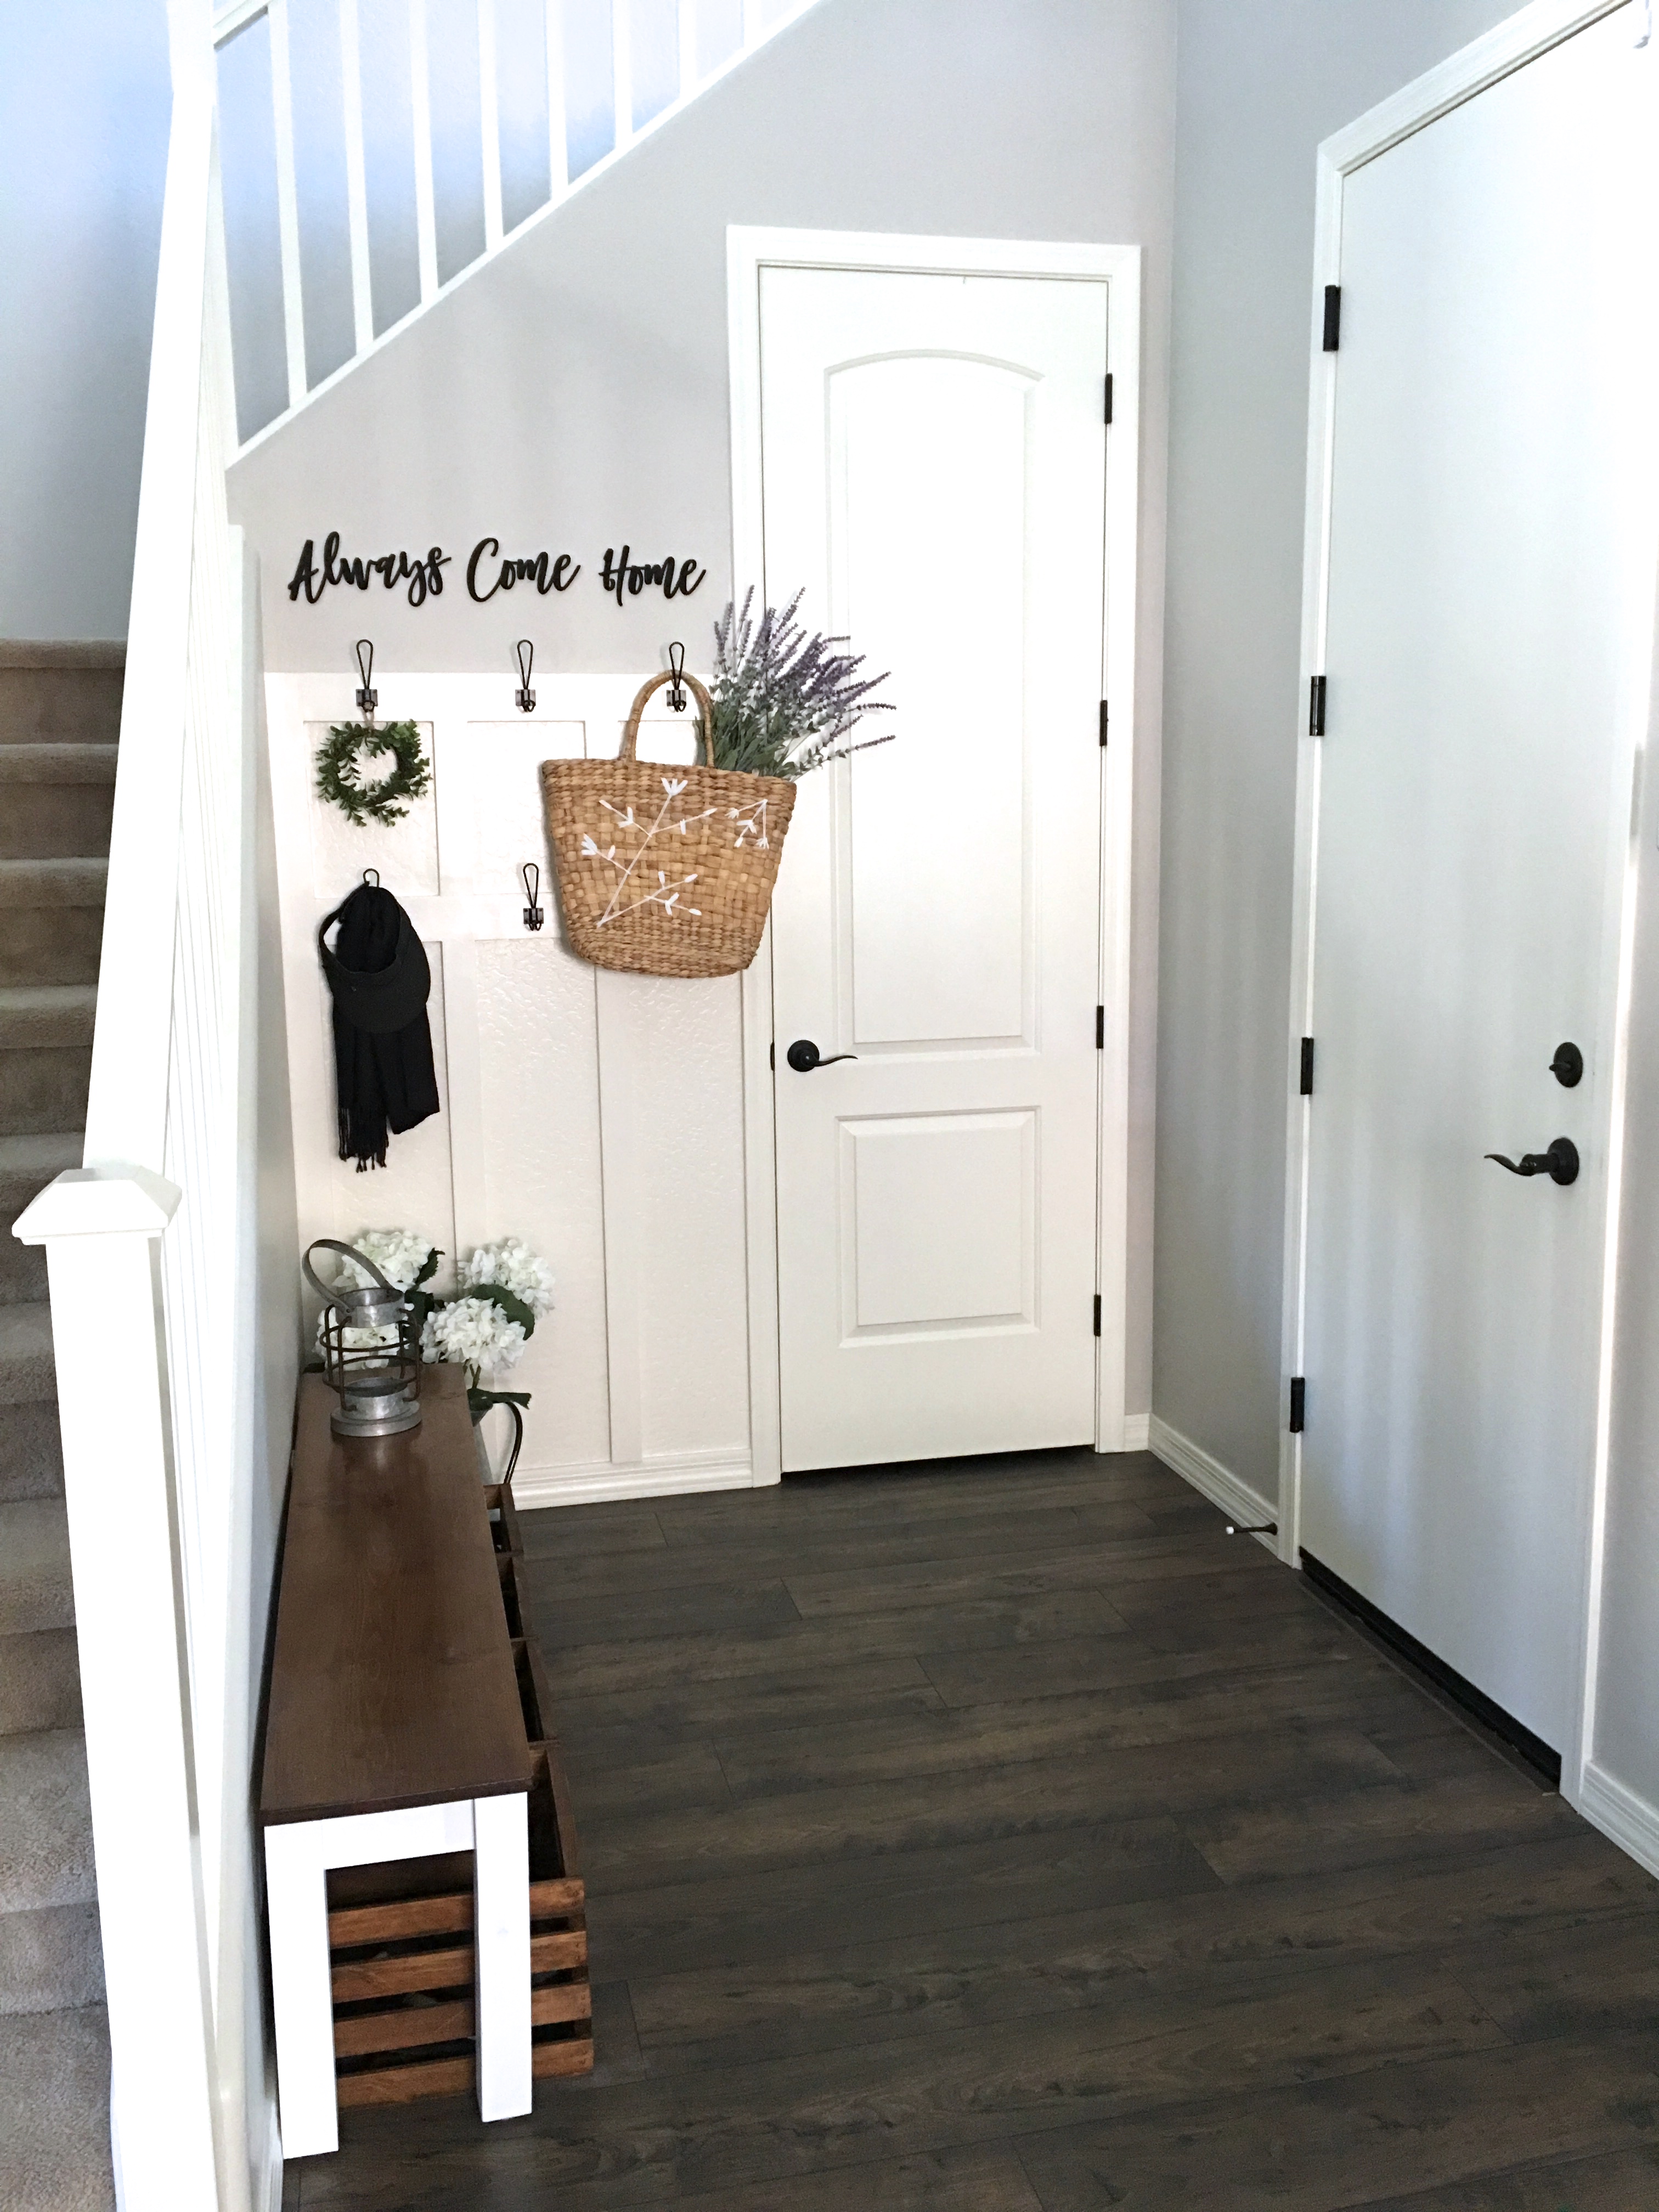


I have been looking for an easy board and batten project for my laundry room and this one is perfect. Thanks for sharing.
You’re welcome! Glad it gives you some ideas!!