A few years ago I posted about this DIY Wooden Advent Tree that I had made at a church mom’s group event. You can follow the link and get all the details about making your own wooden advent tree! I remember thinking at the time that I would love to turn this into some sort or fall or thankful tree the following year. Well, last year with our coming move most decor did not even make it out, and I wasn’t adding any new projects into all the current crazy! This year I gave it a shot and here is what I came up with!
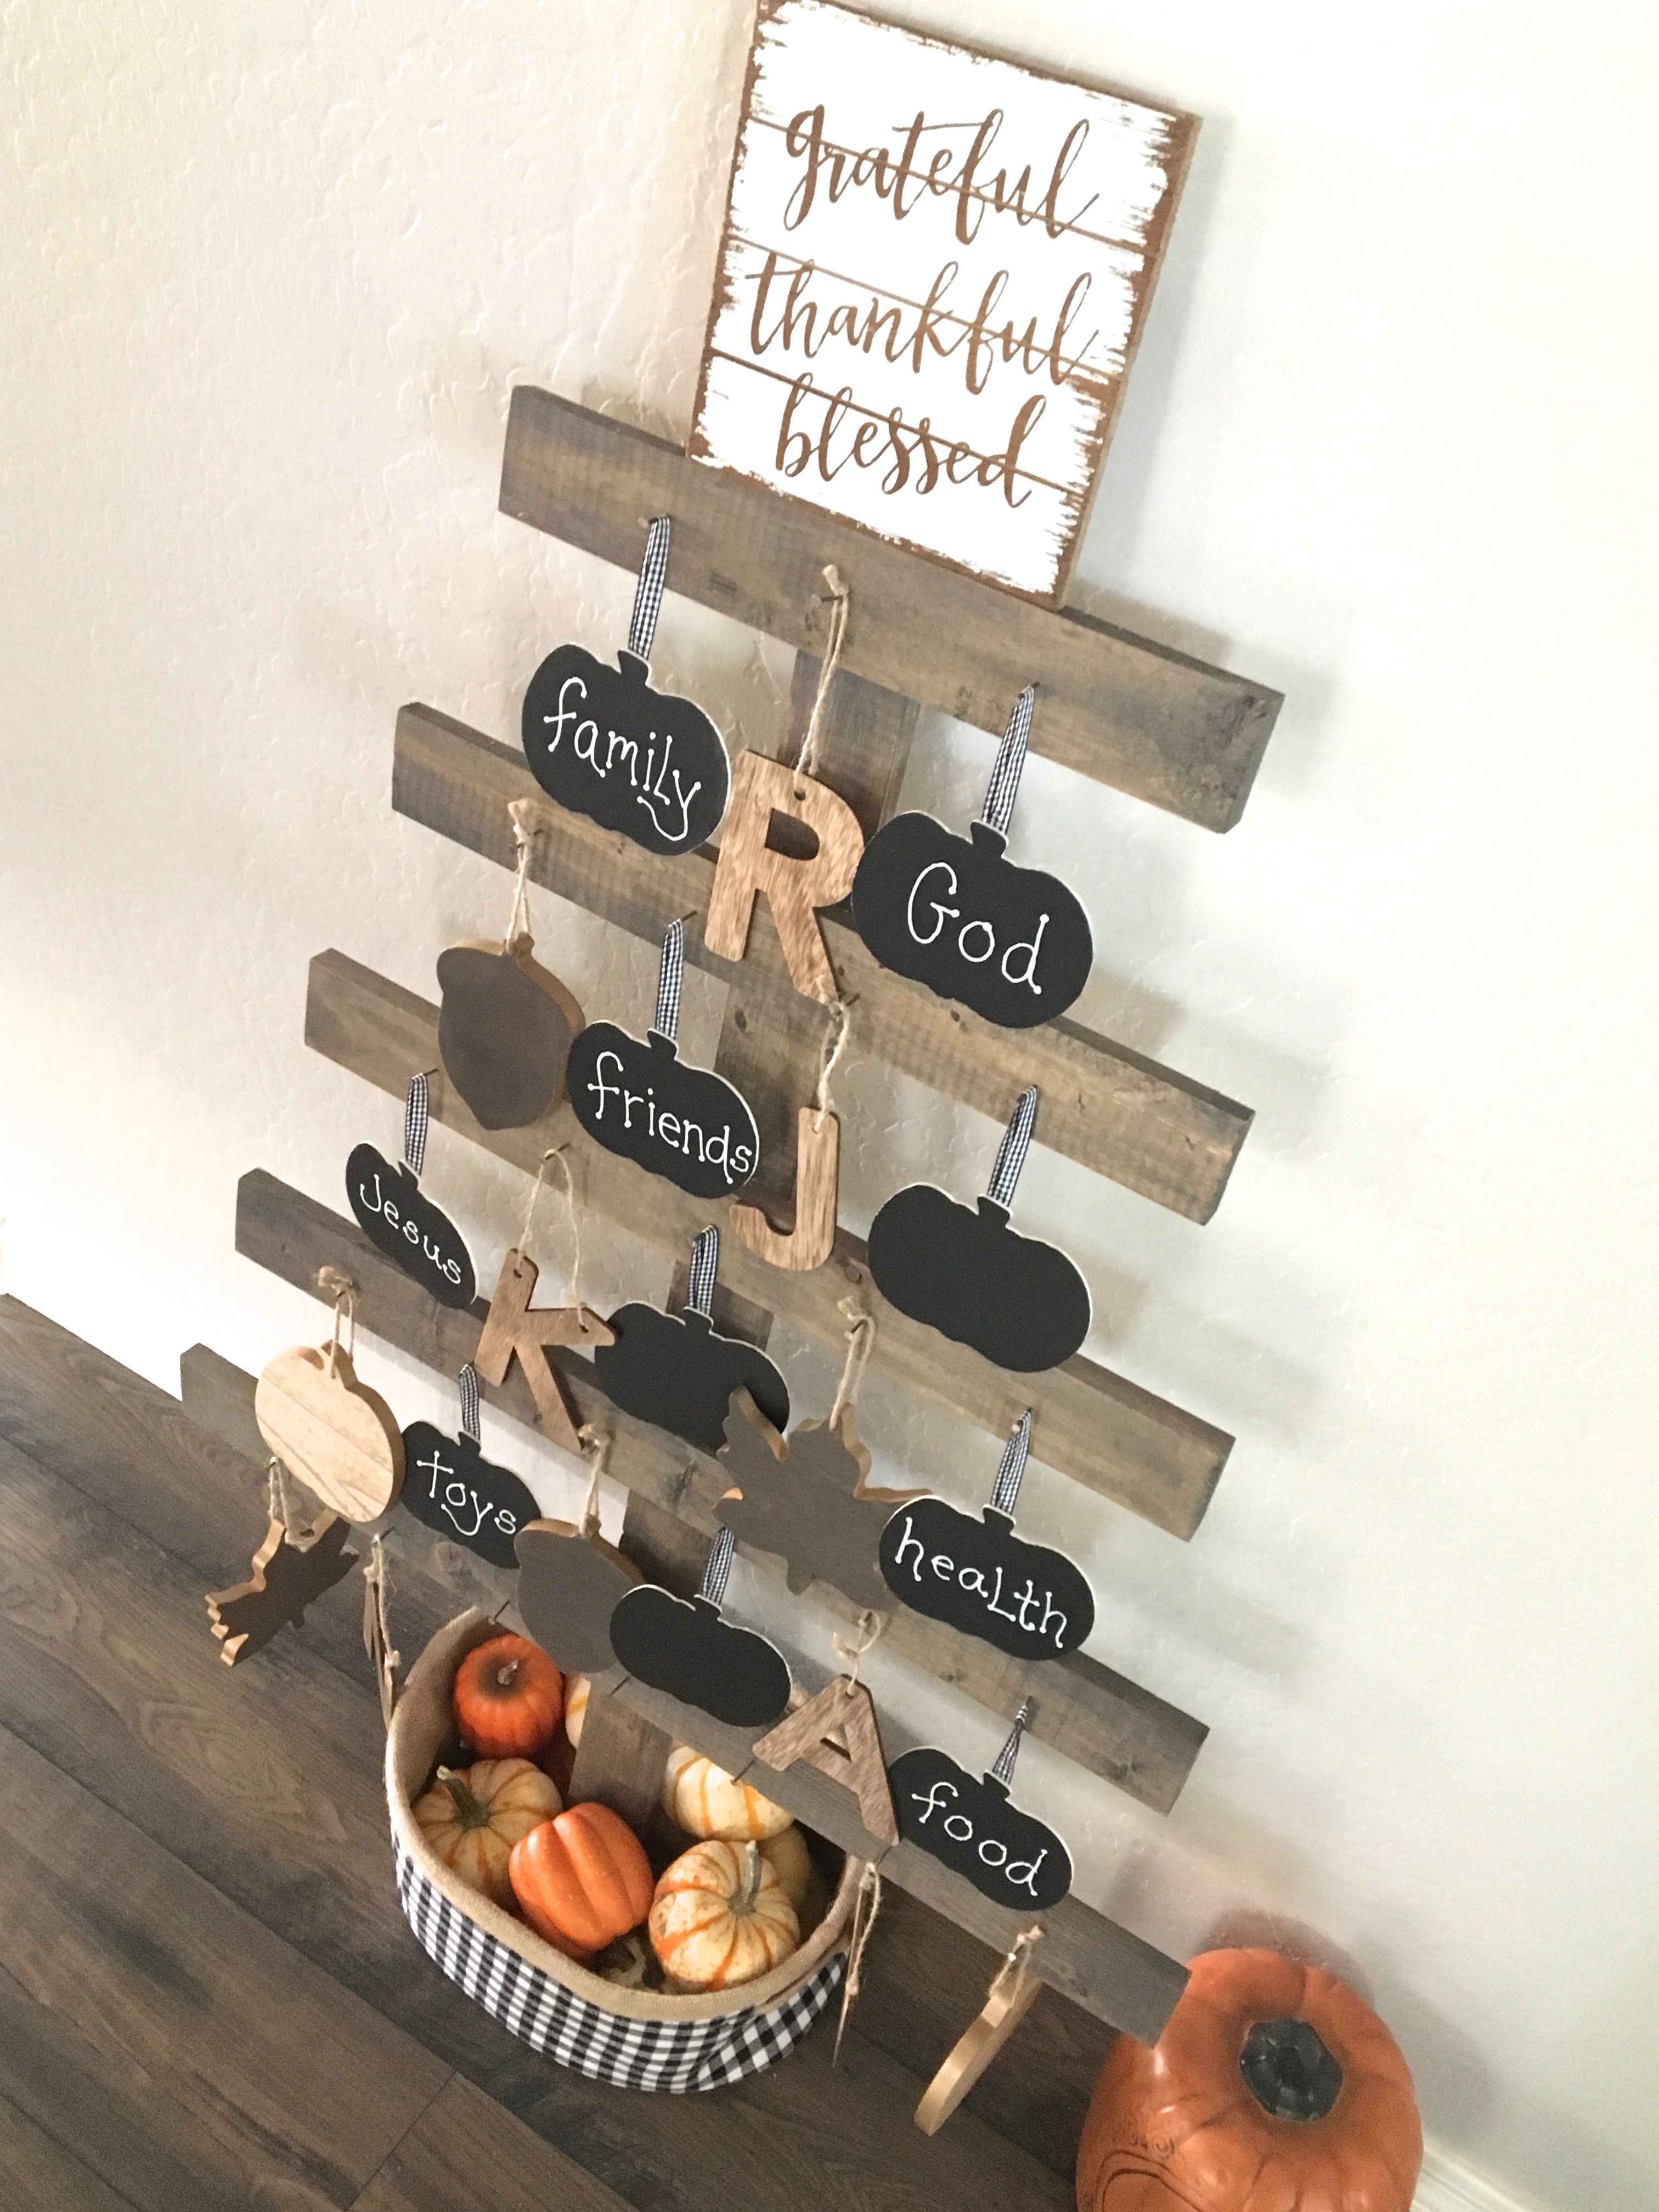
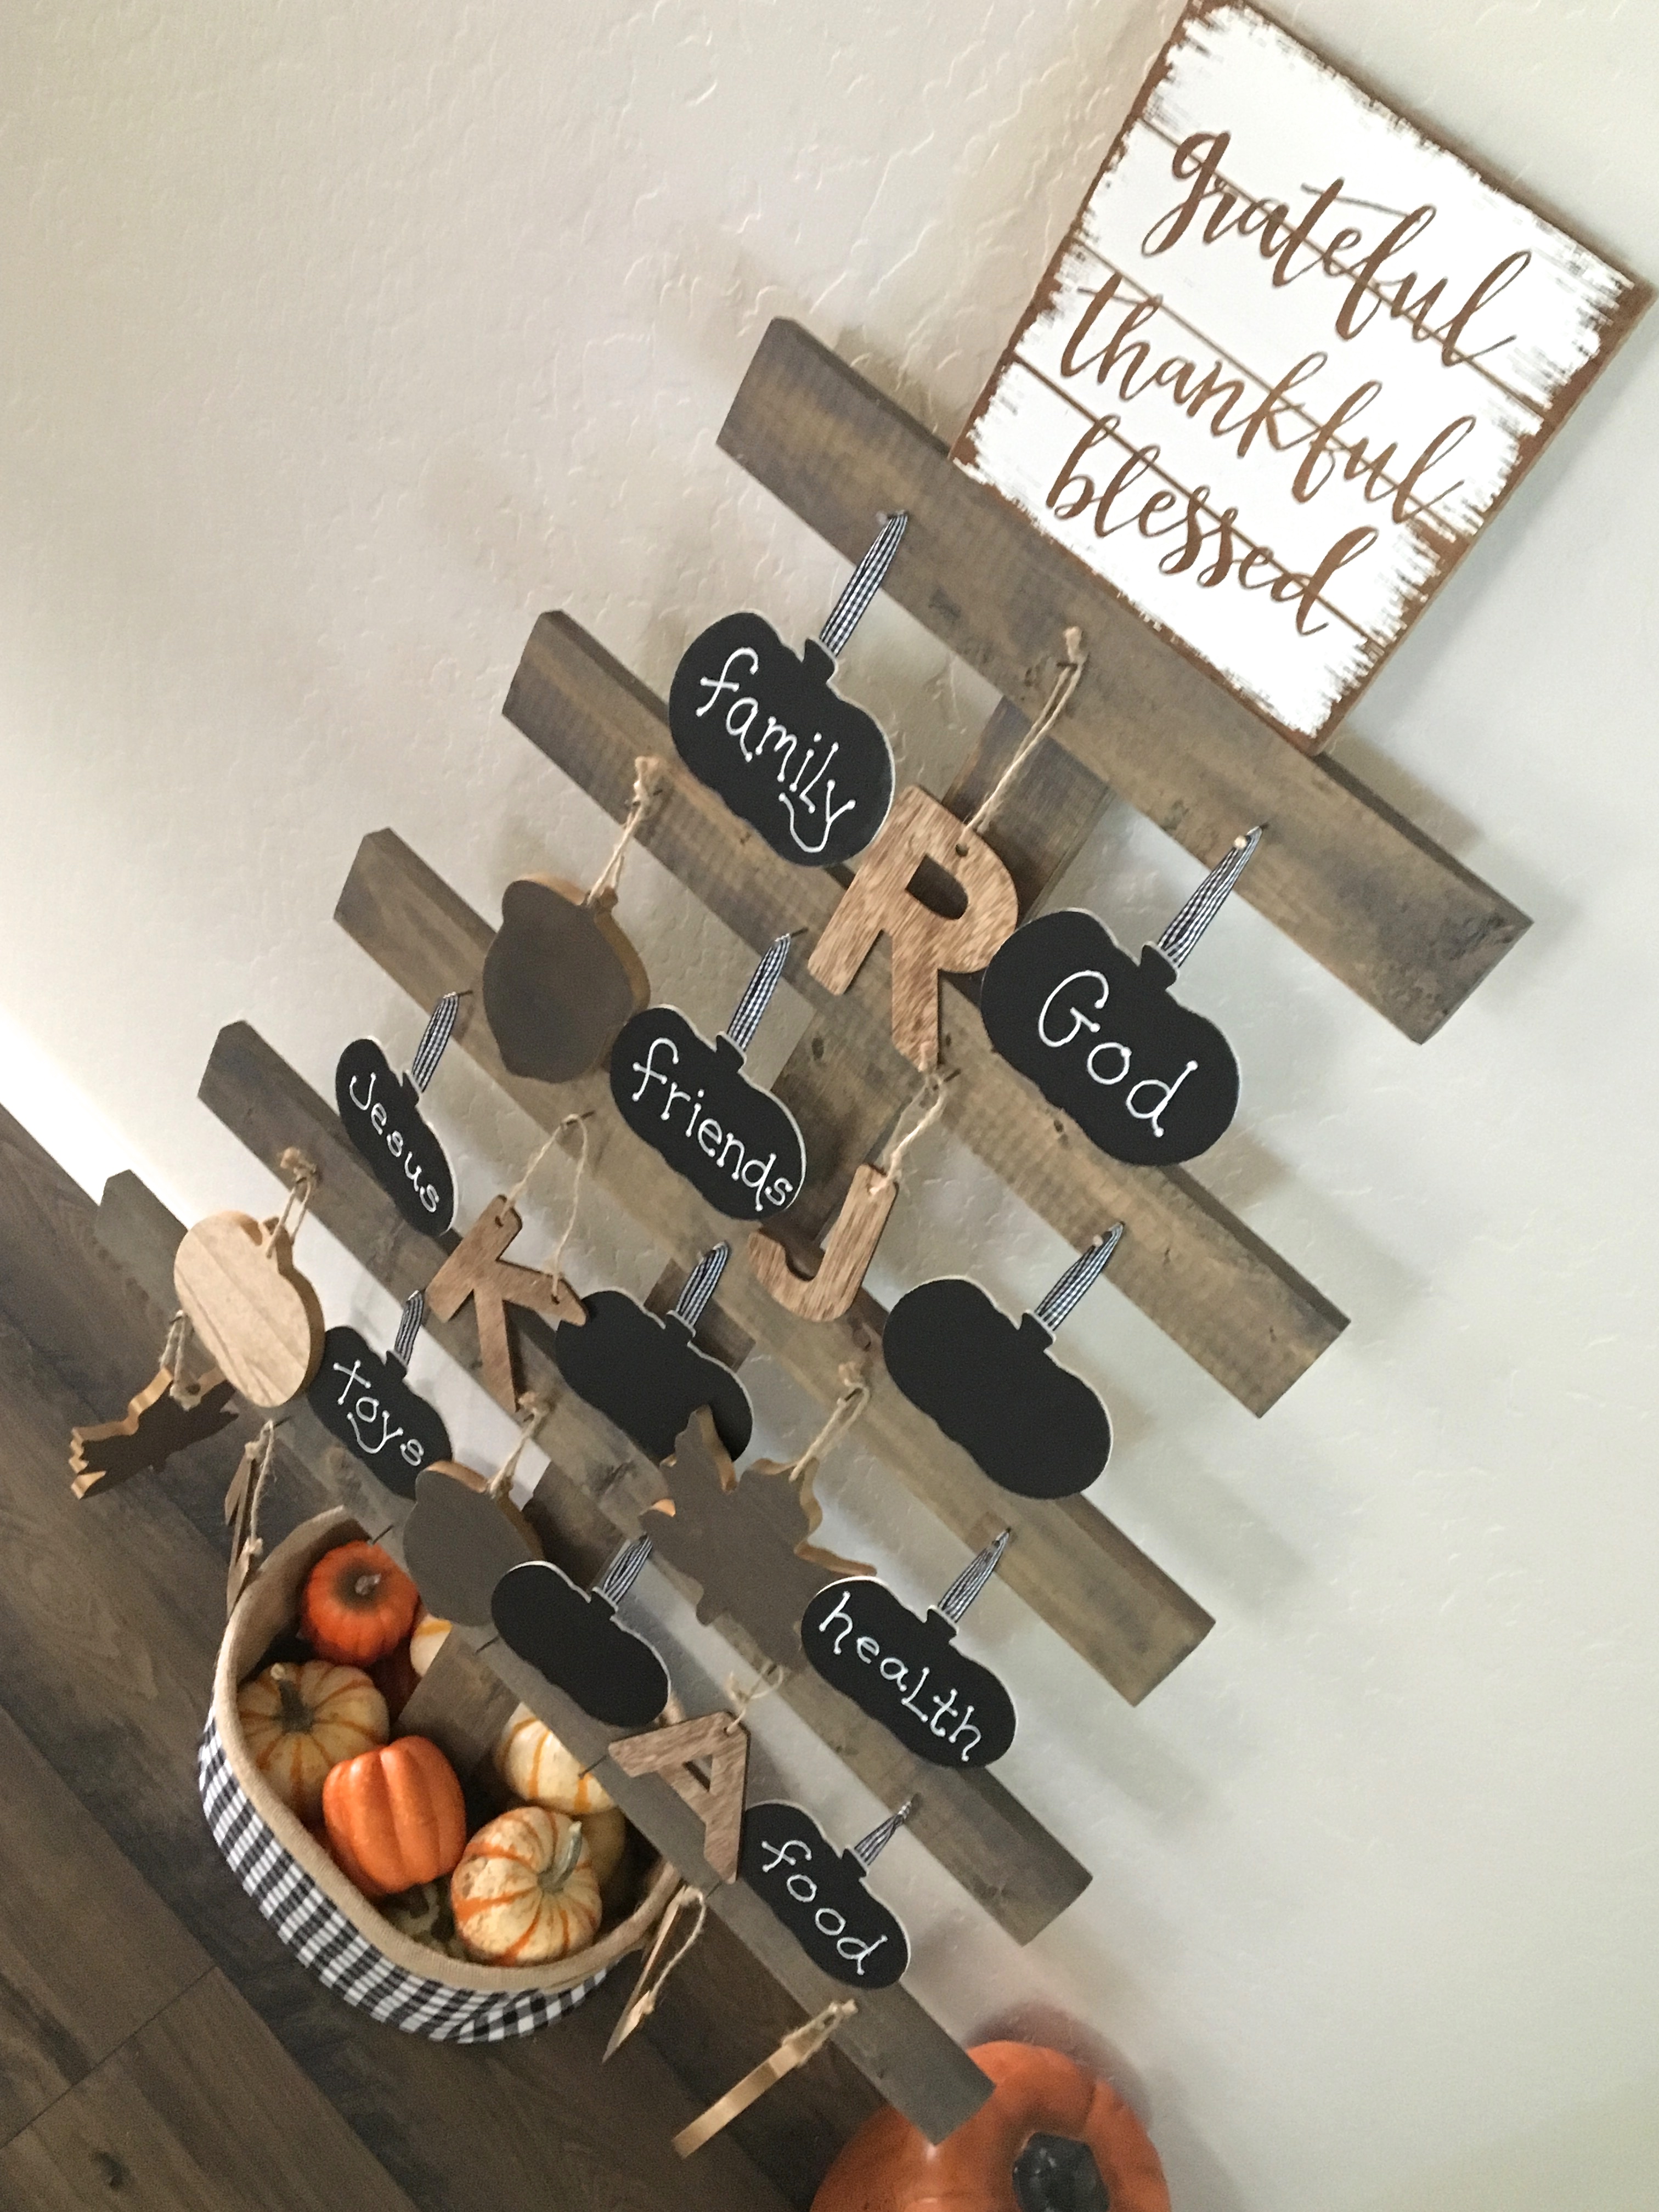
Here is my November thankful version….
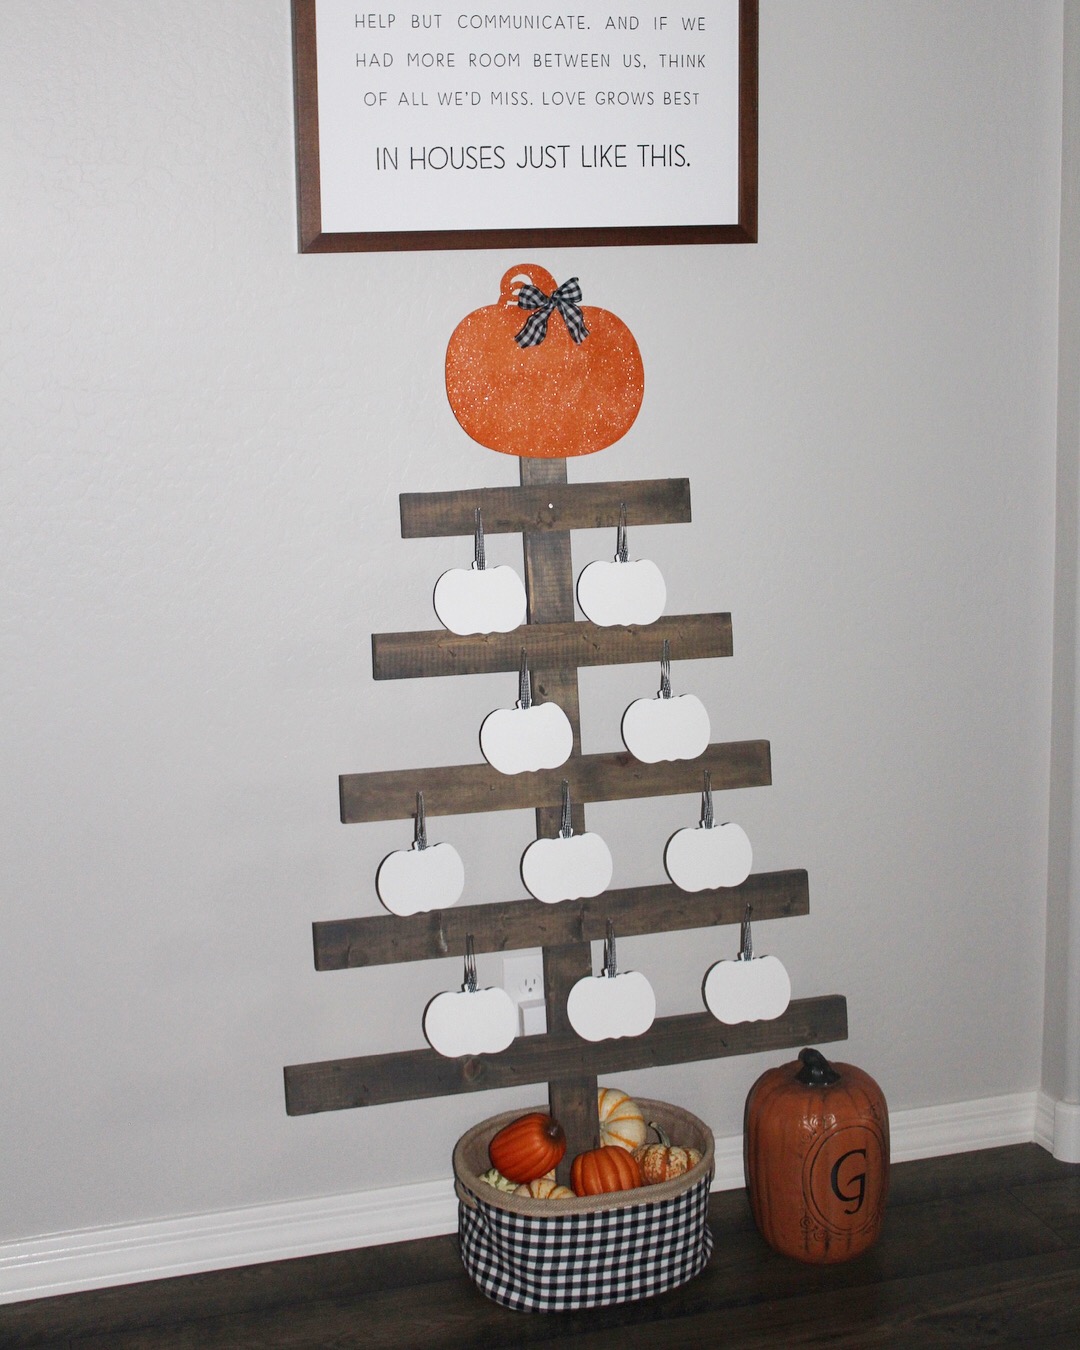
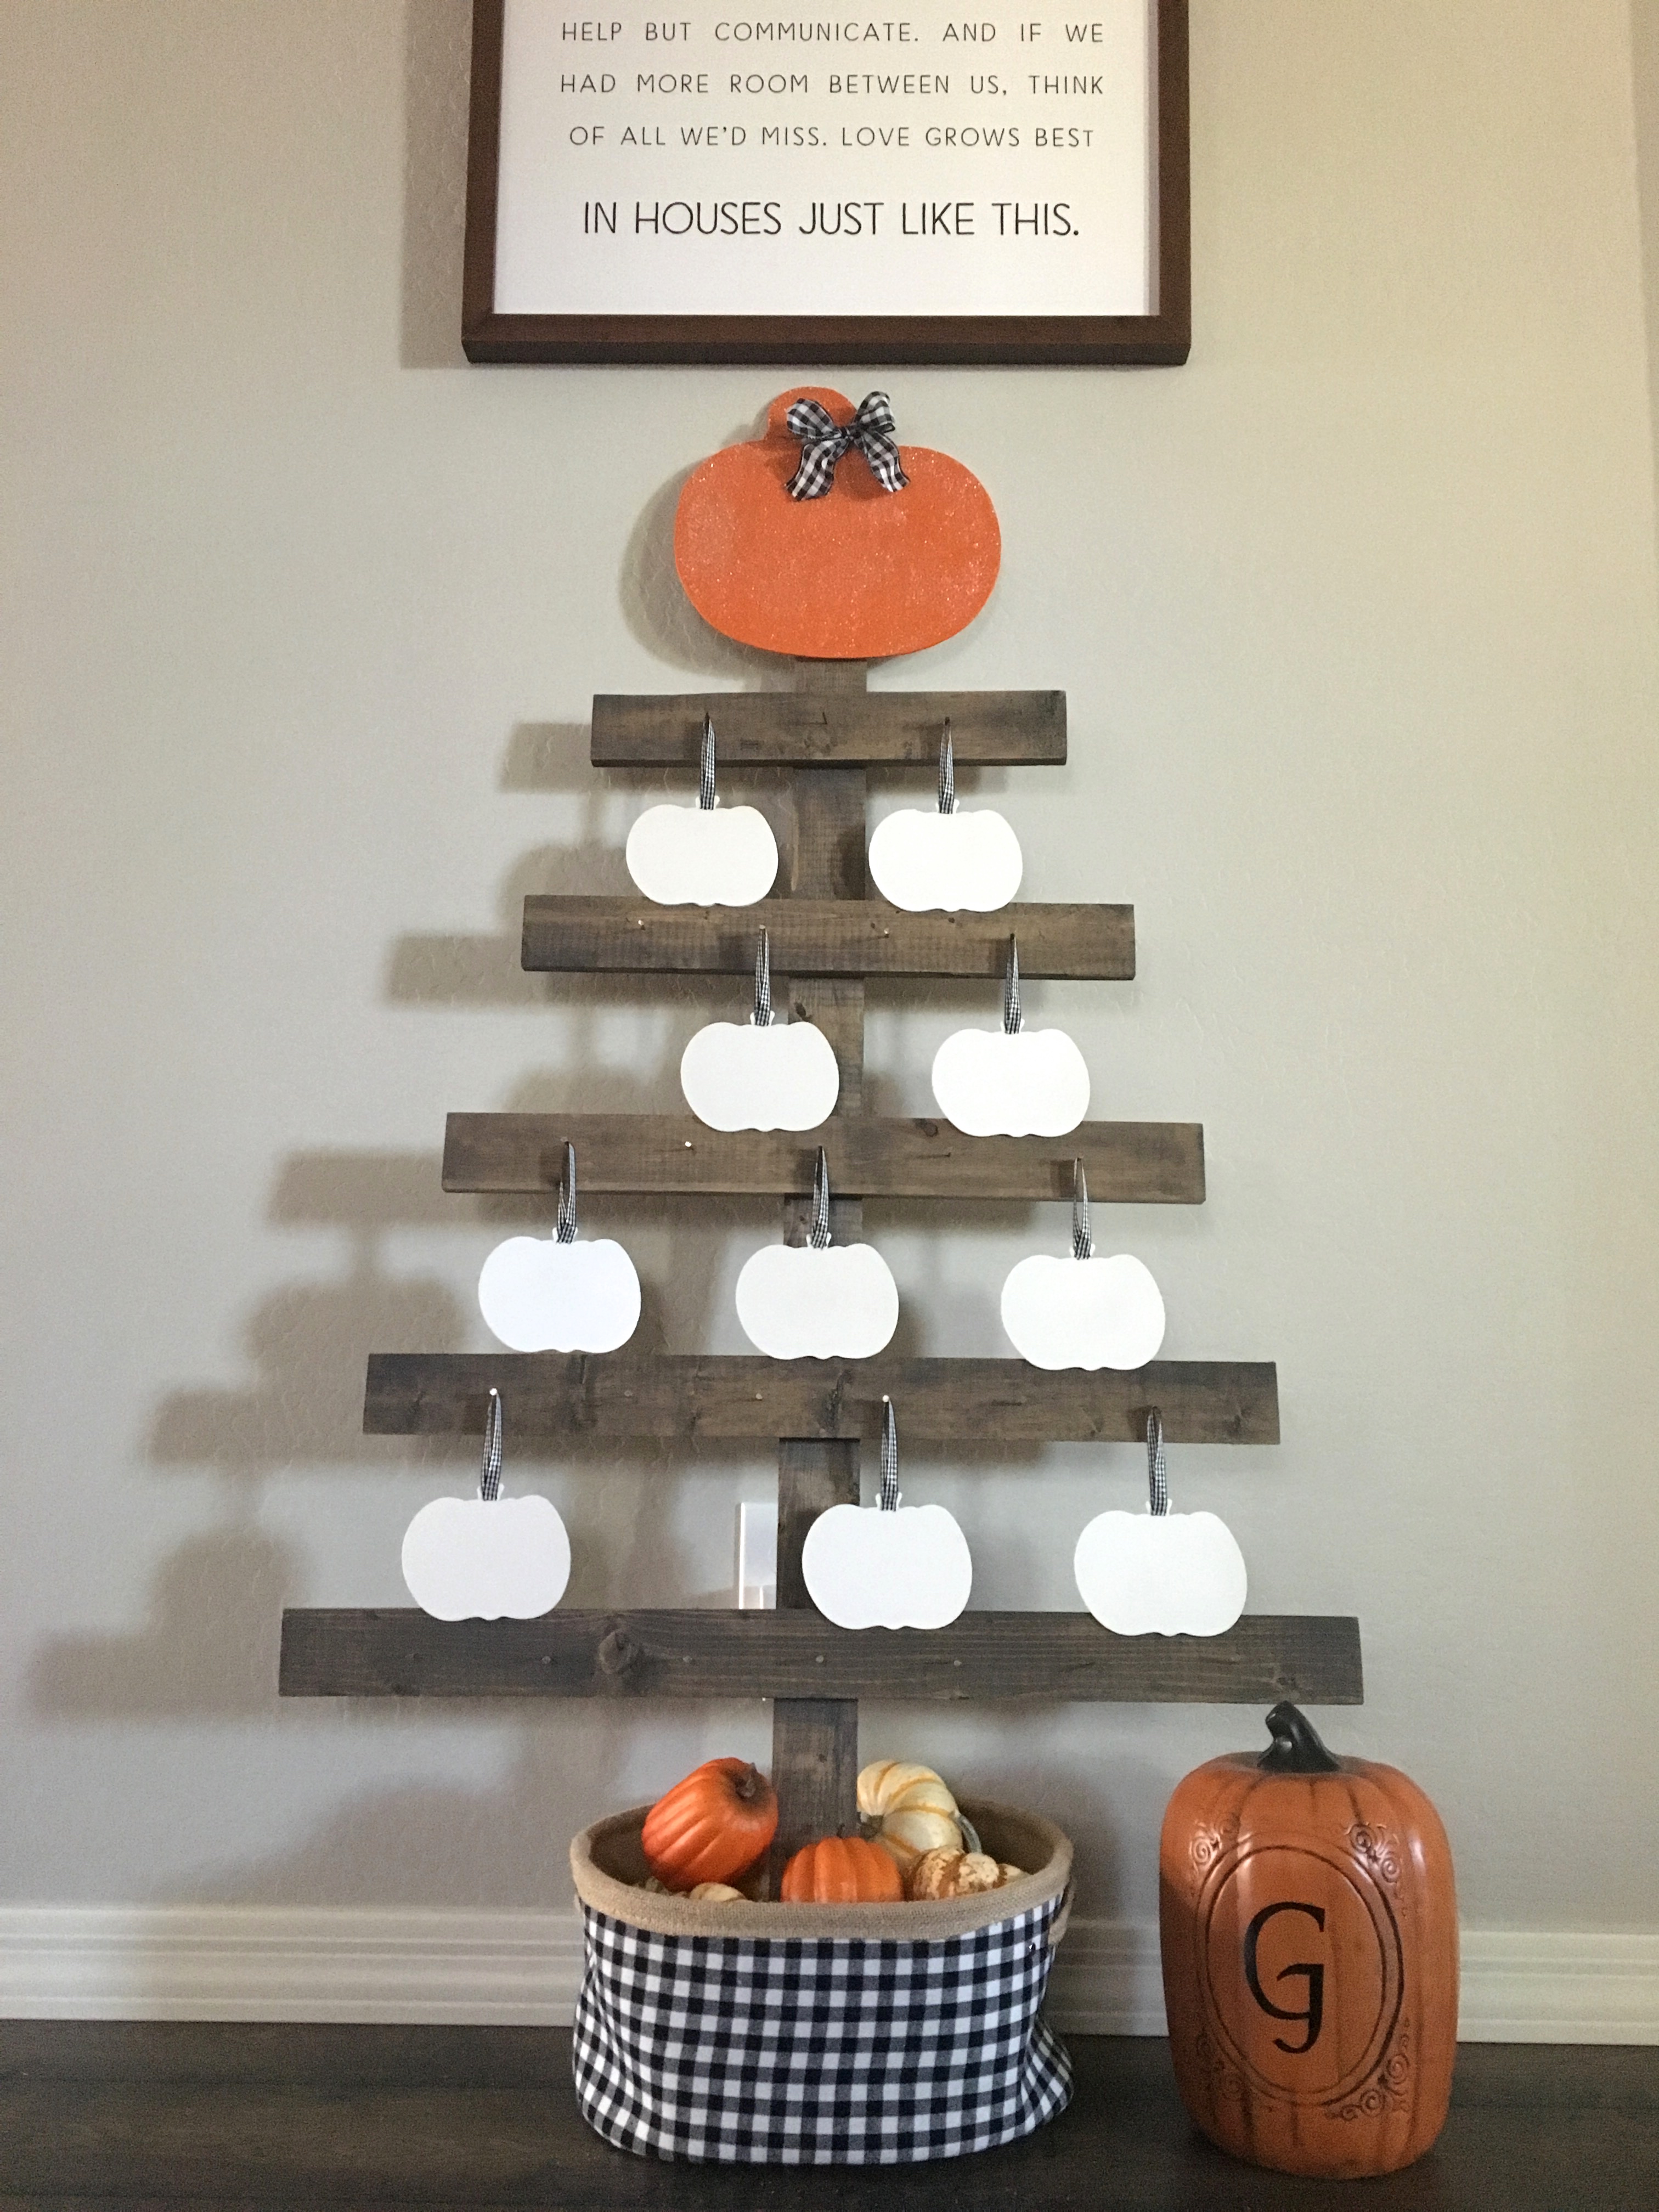
and I know October has already past but here is my October more Halloween looking version….
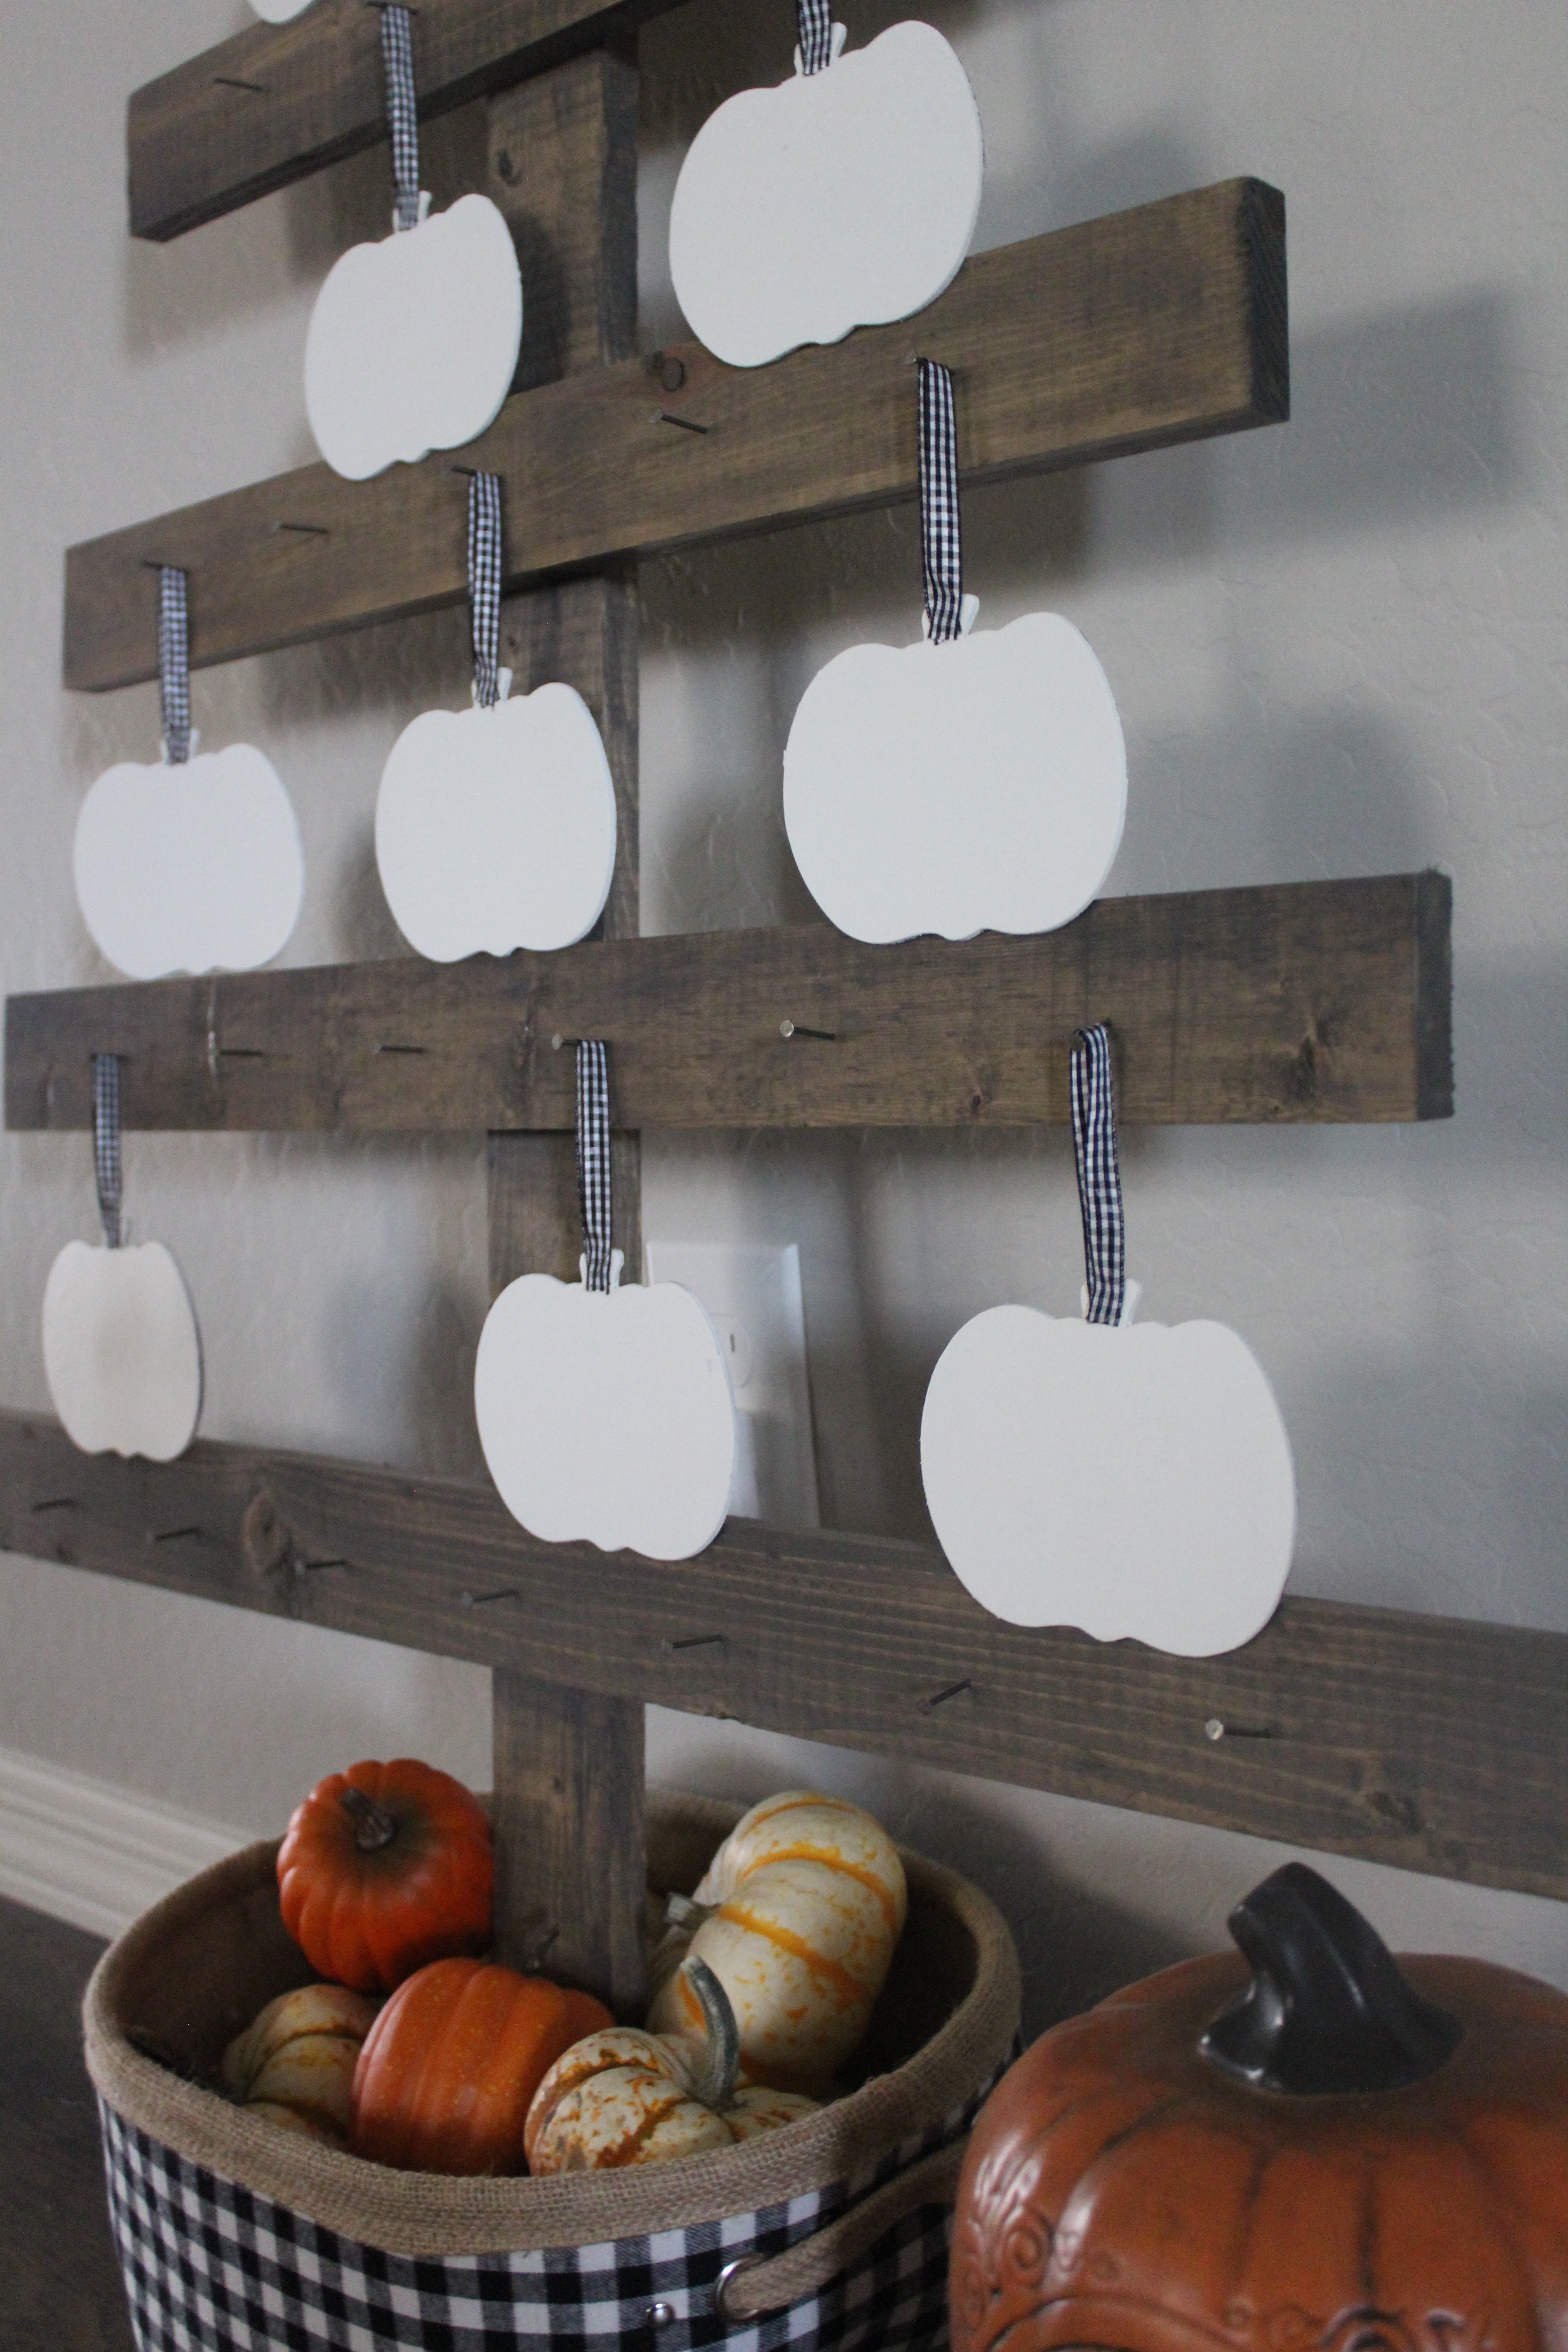
For the time of year I thought pumpkins would be perfect hanging from the tree. I had the idea to paint one side of the pumpkins white, and the other side with black chalk paint so that they could be turned around and used to write stuff we are thankful for on it. I love getting the kids involved with that!
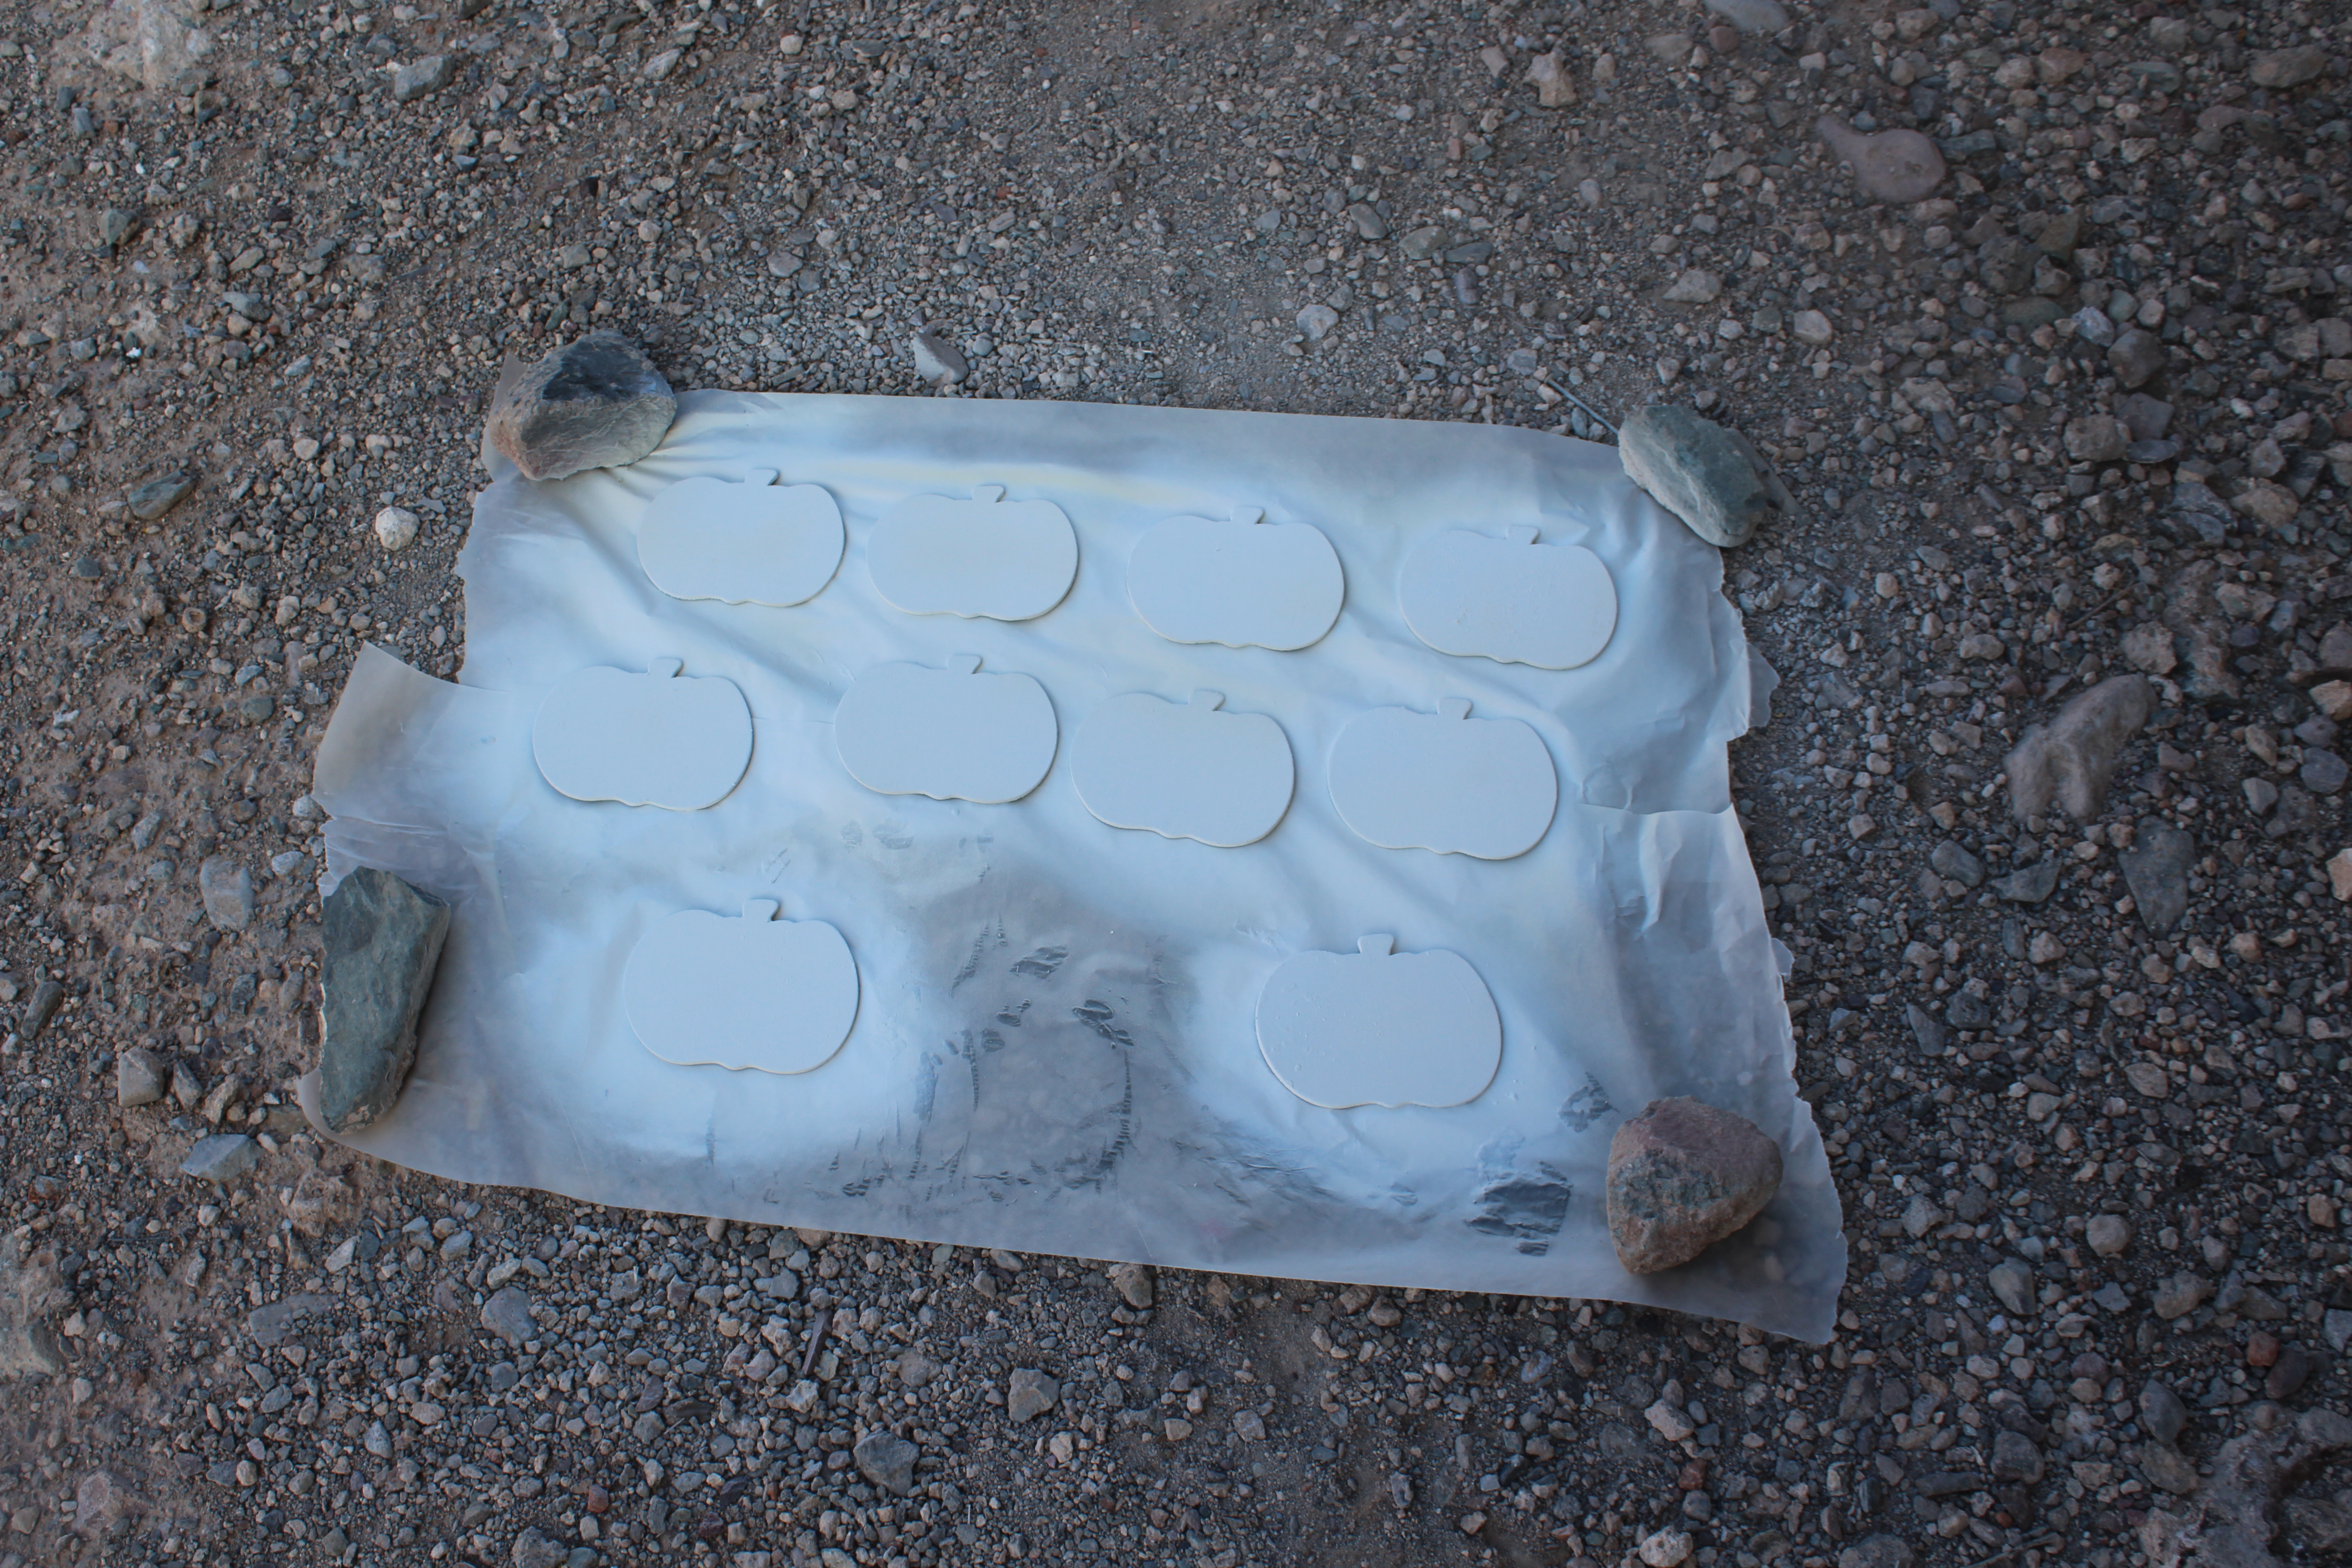
I used 10 small unfinished wooden pumpkins to hang from the tree. They measure 4 x 5.5 inches. For the white side I used spray chalk finish paint. I just laid them all out on some wax paper outside and sprayed the tops and sides. It was hot out so they dried pretty fast. 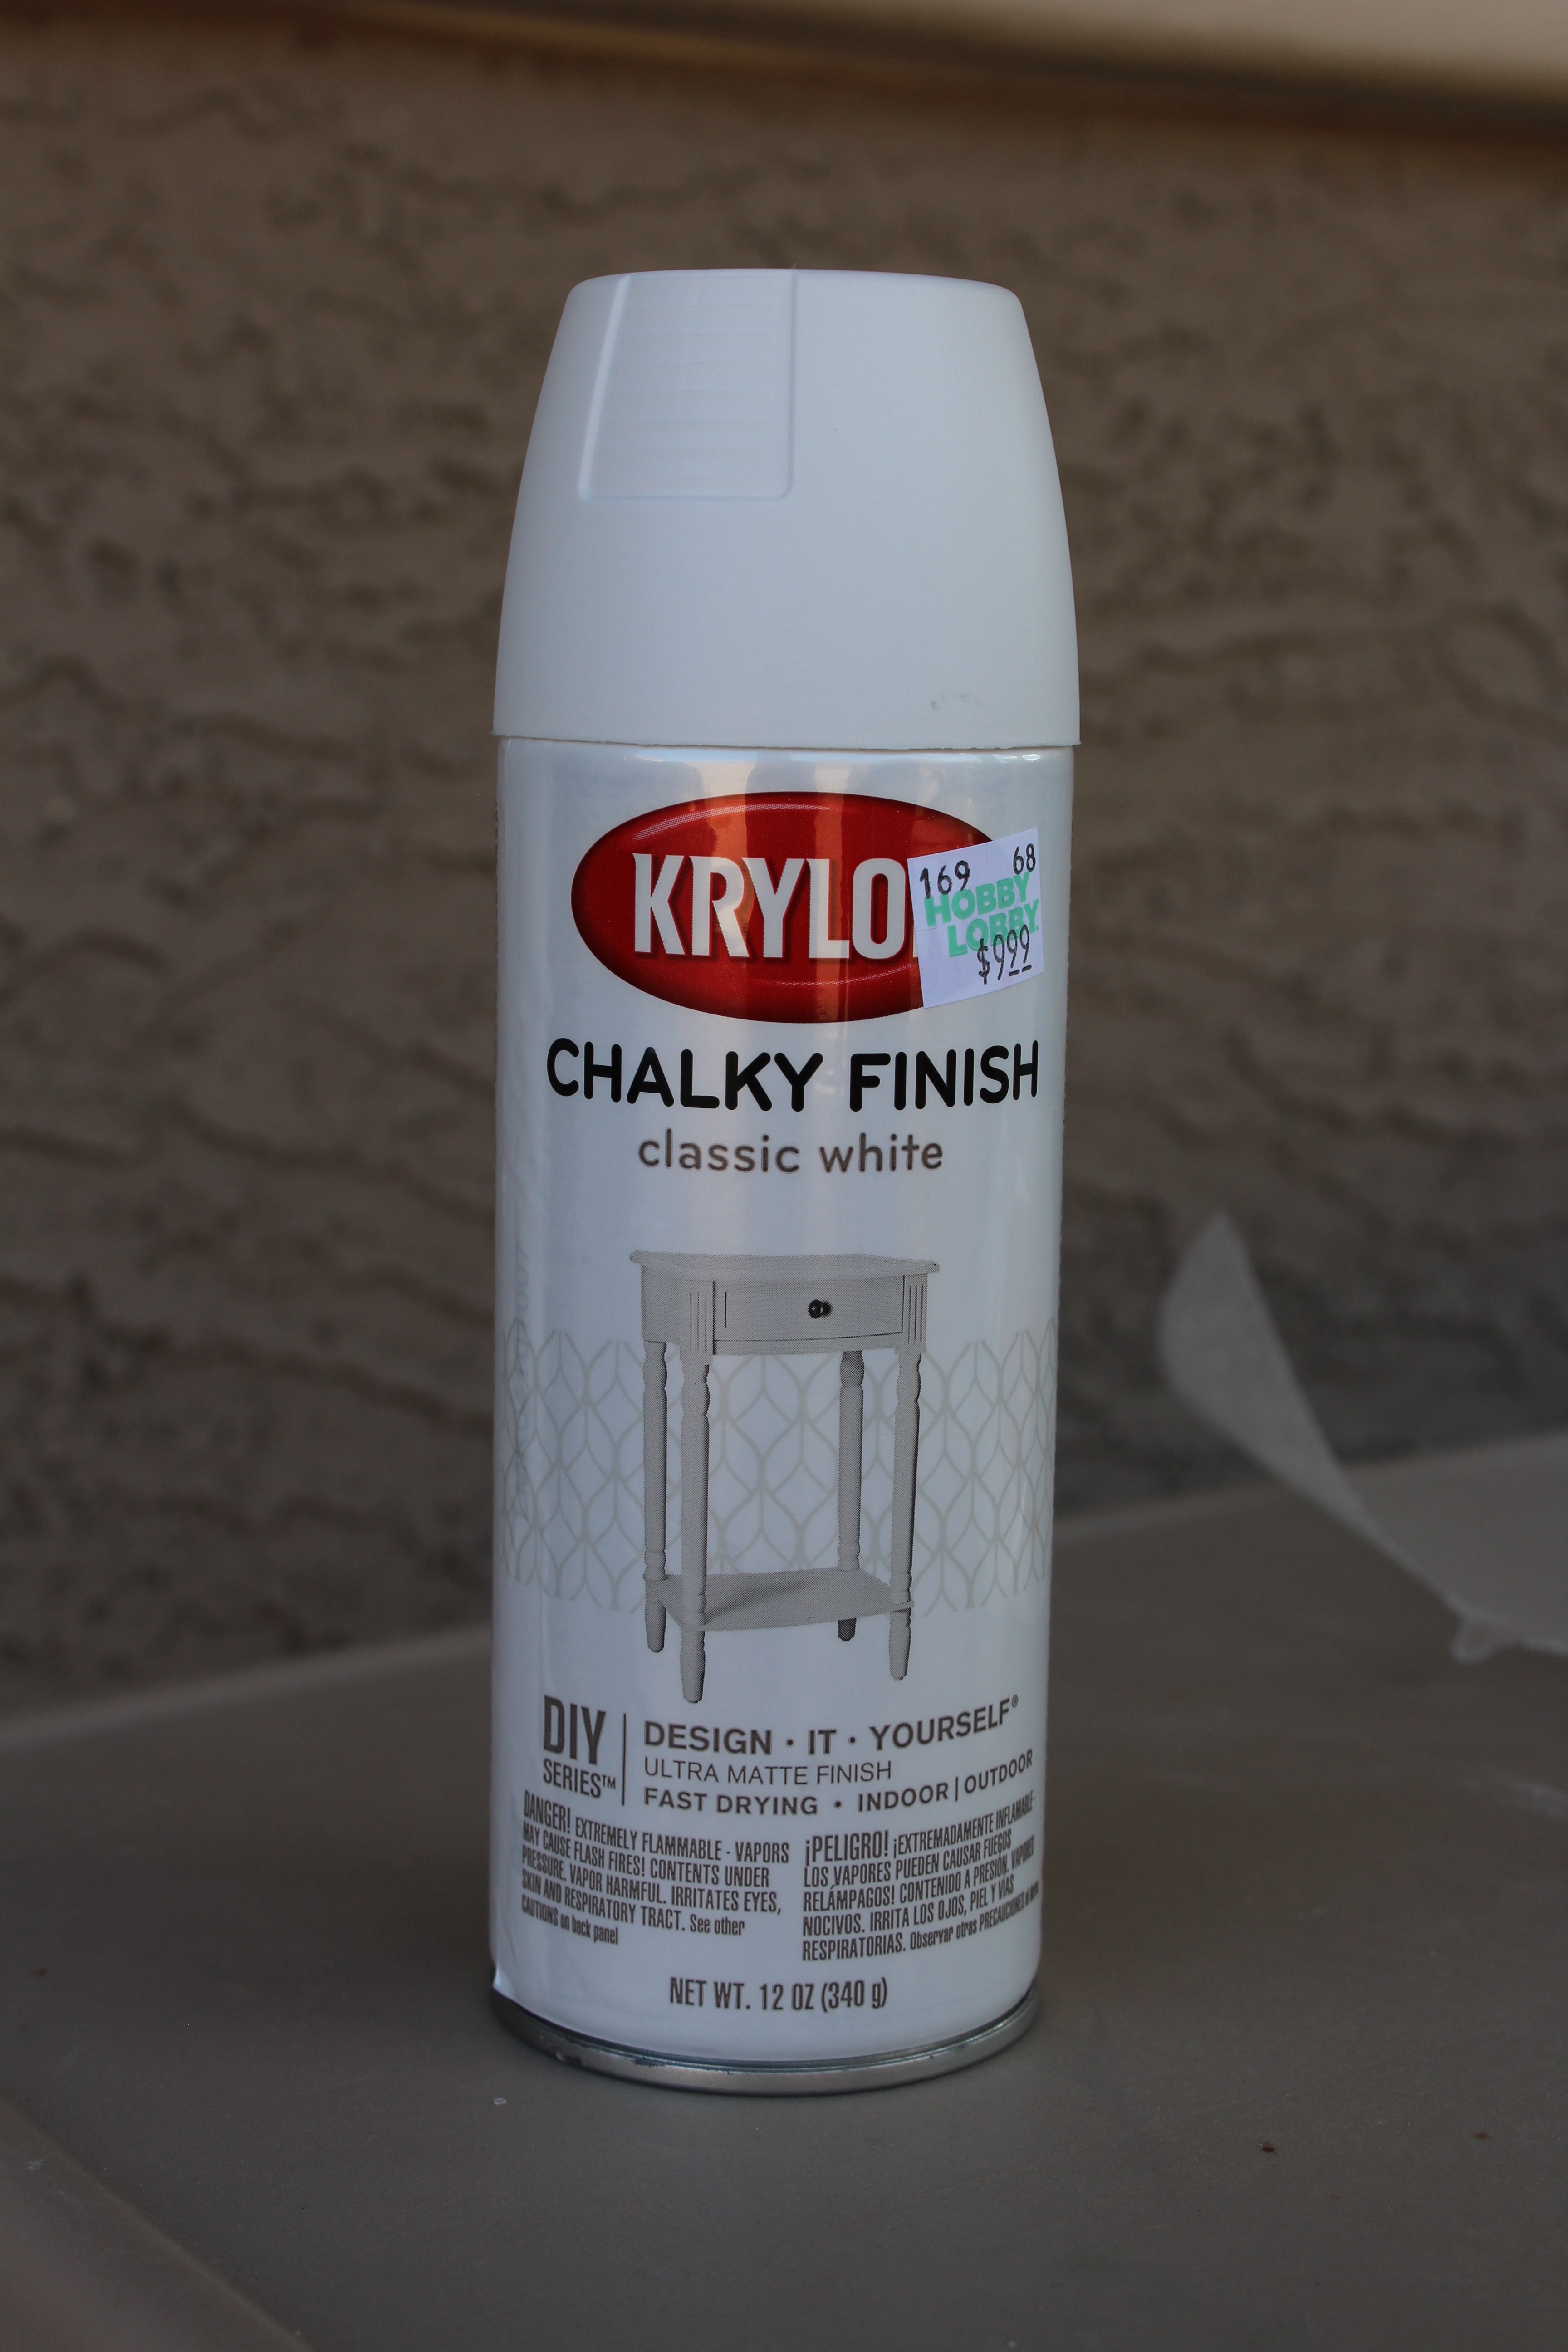
When those were dry I brought them inside to paint with the black chalk paint. I actually already had some of this left over from painting my chalkboard wall. 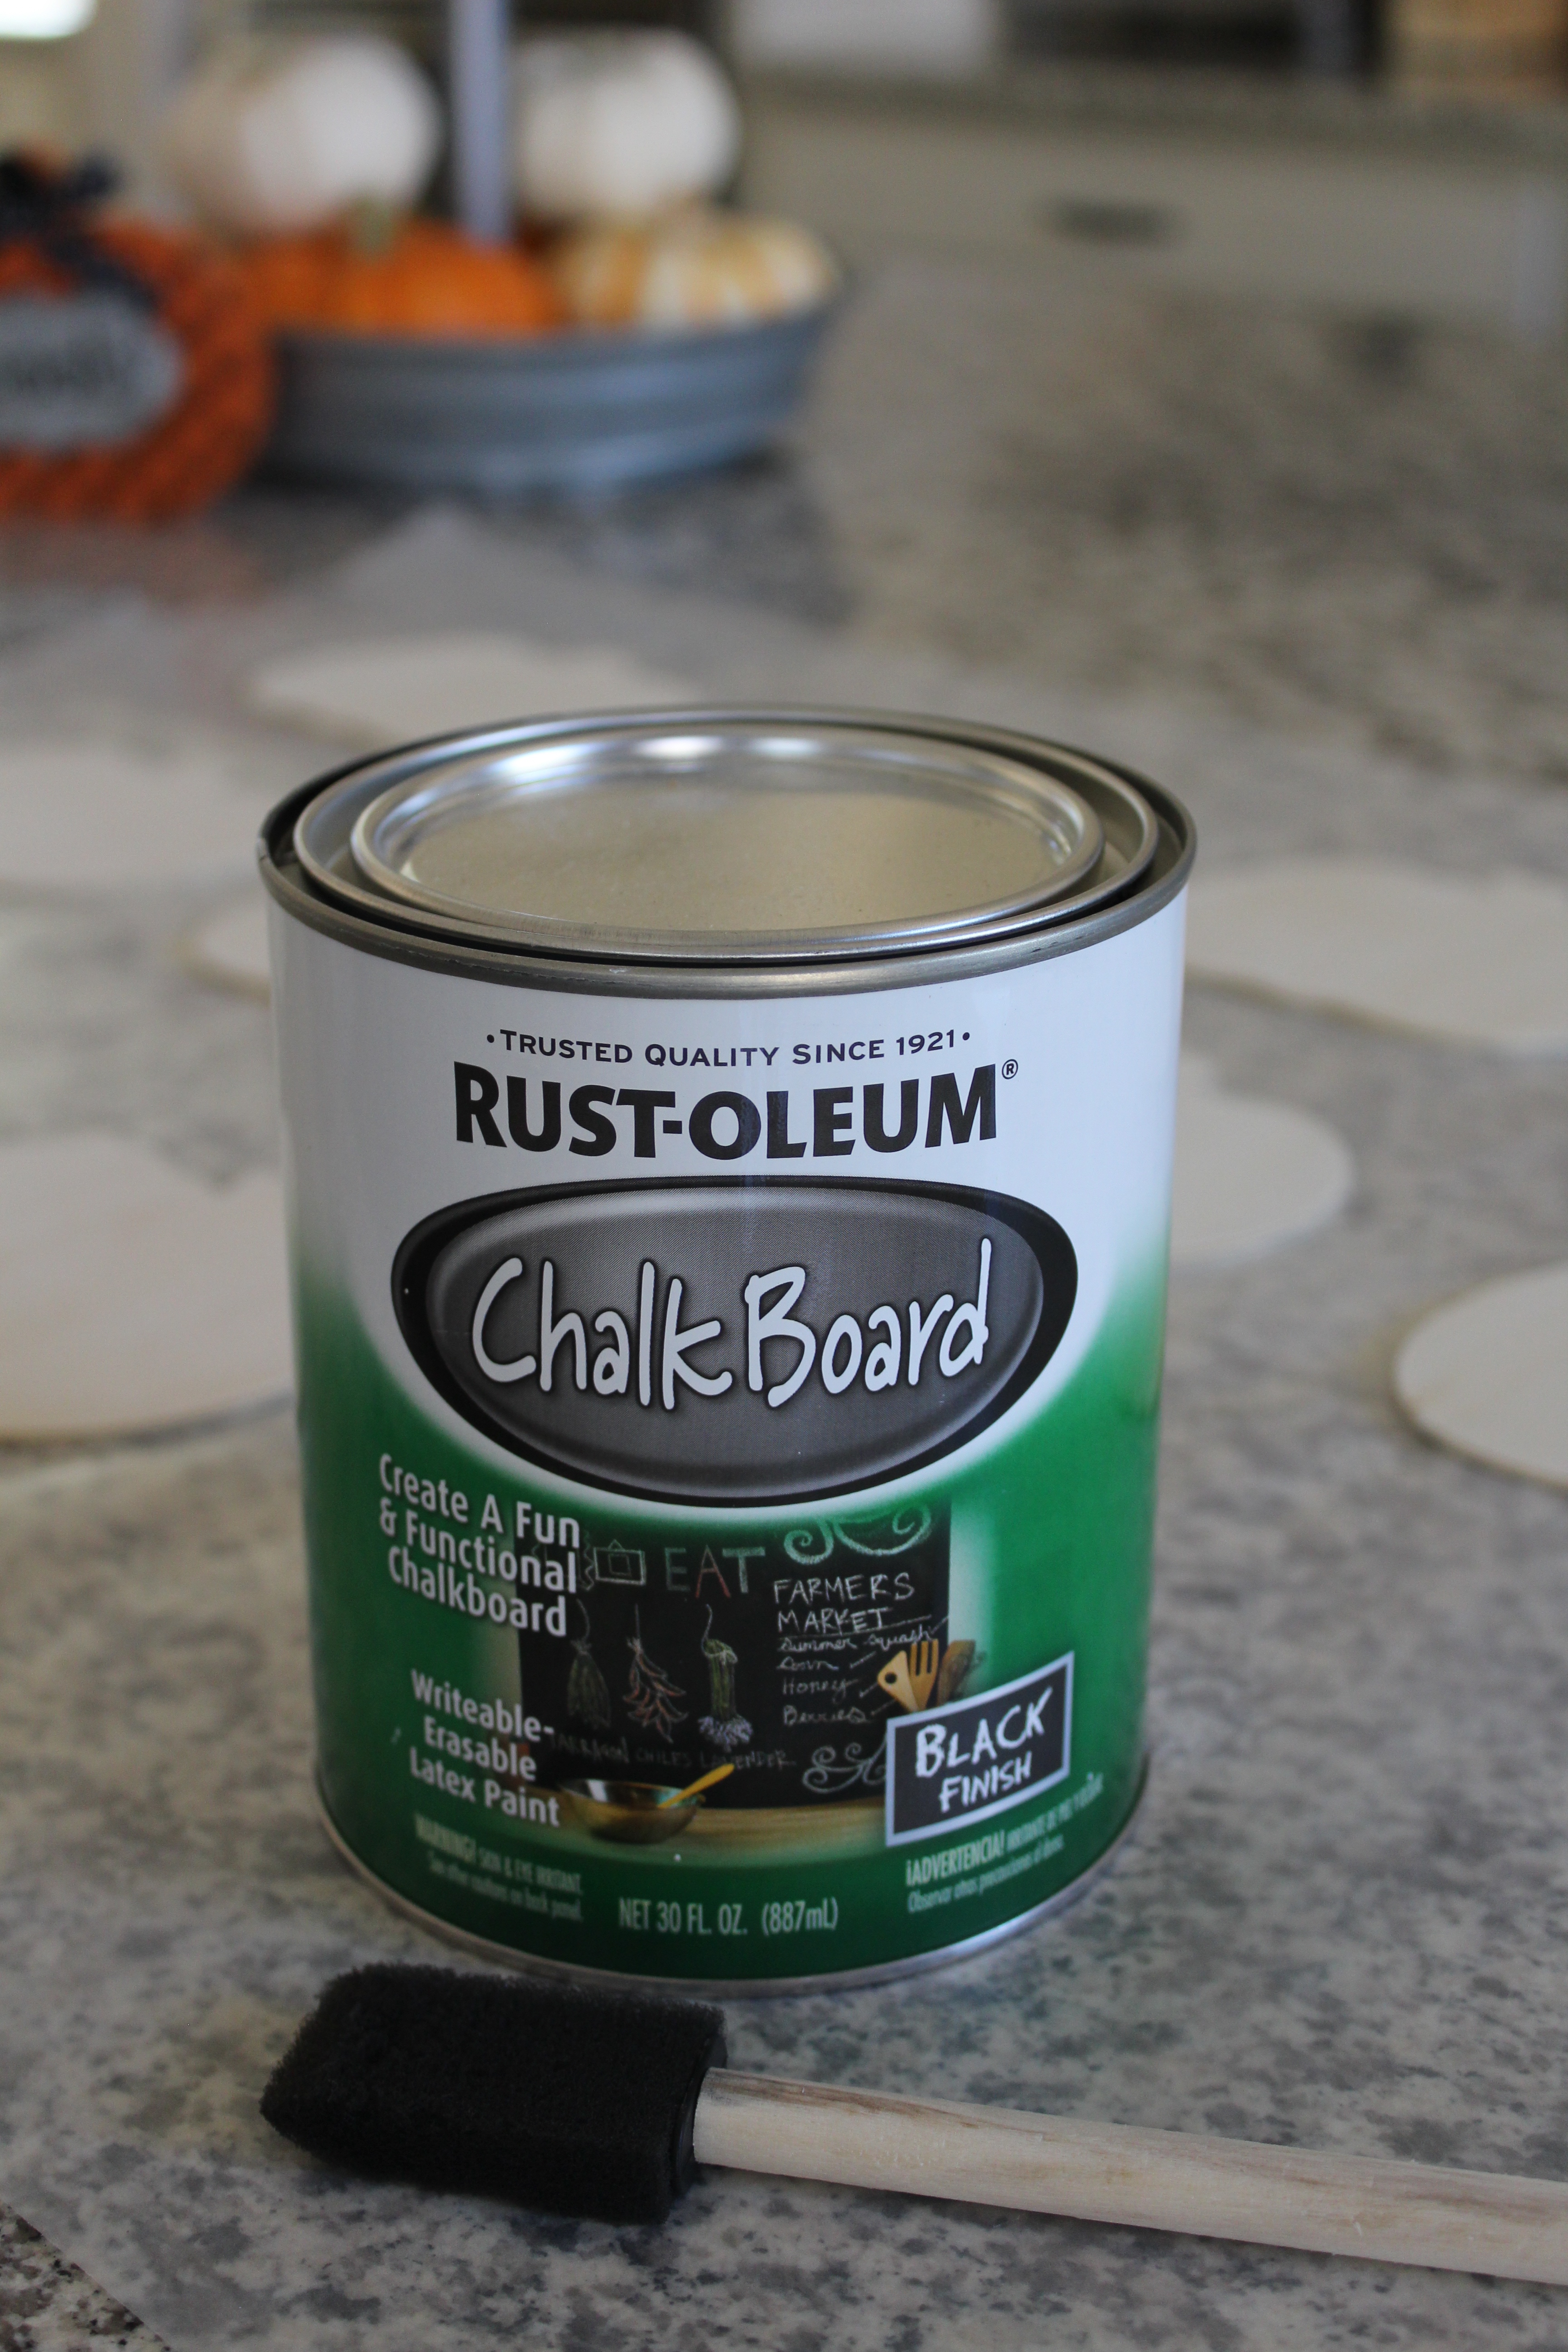
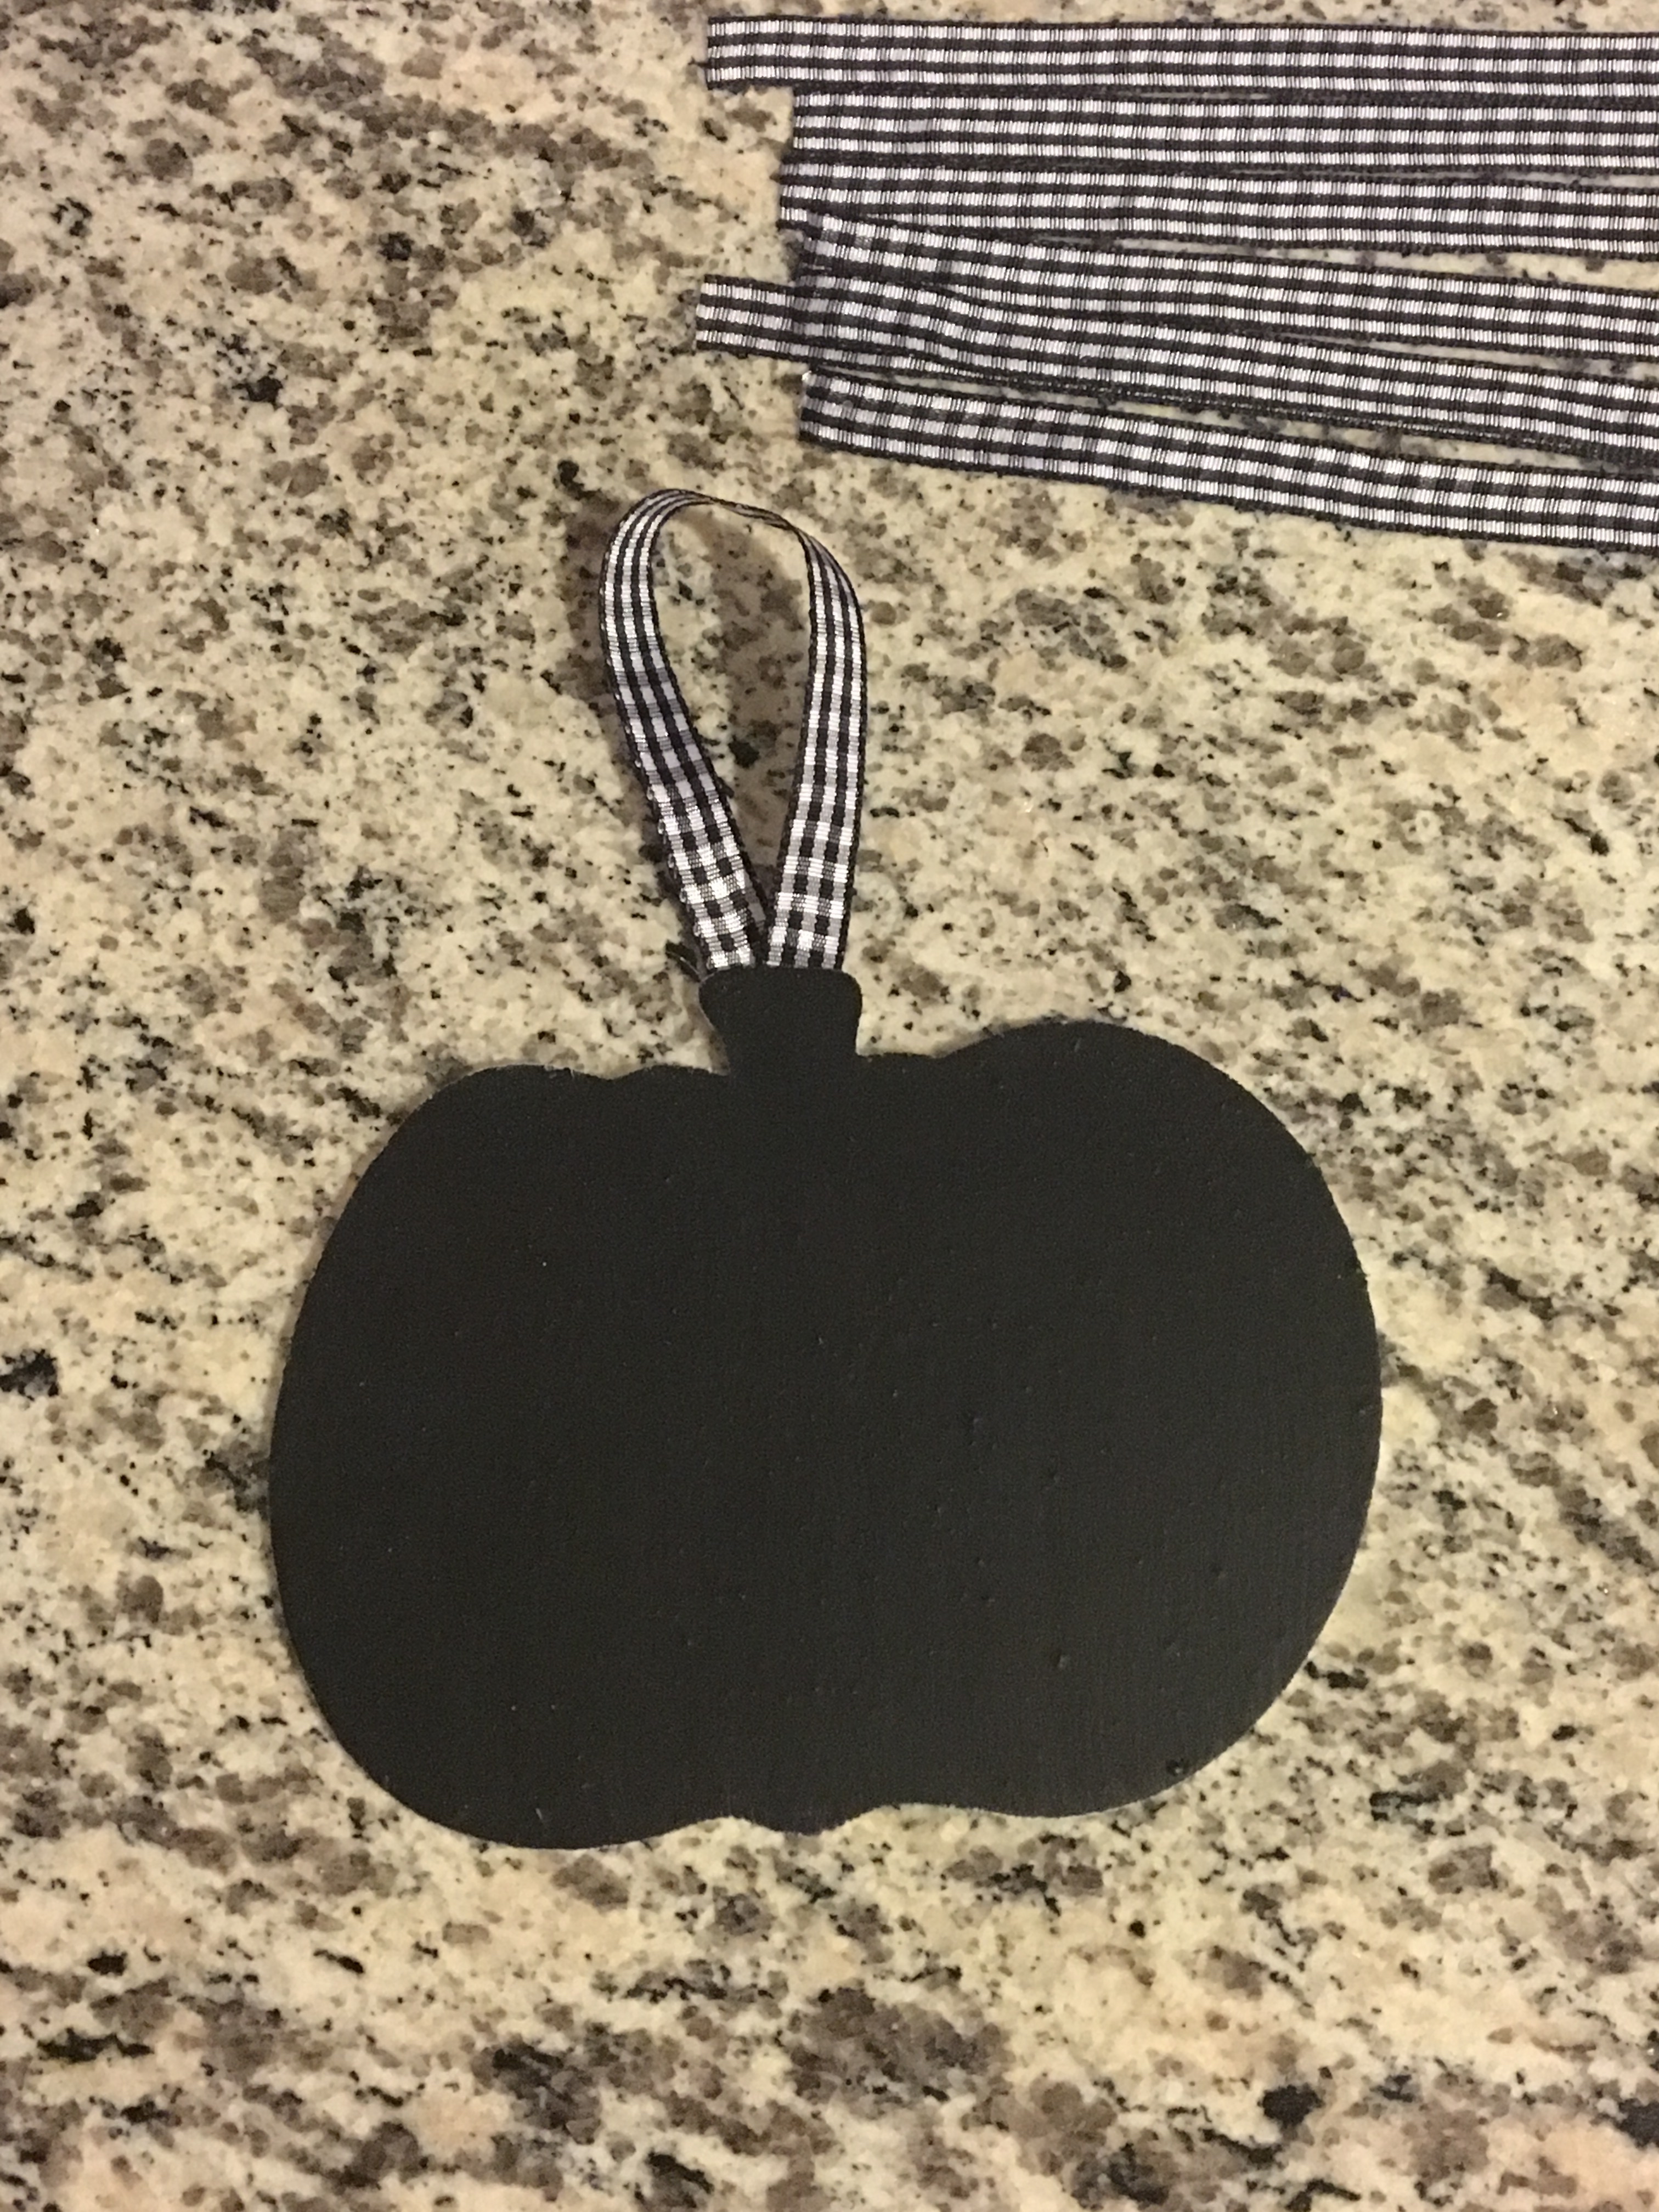
I then carefully painted the black chalk paint on just the tops with a foam brush. 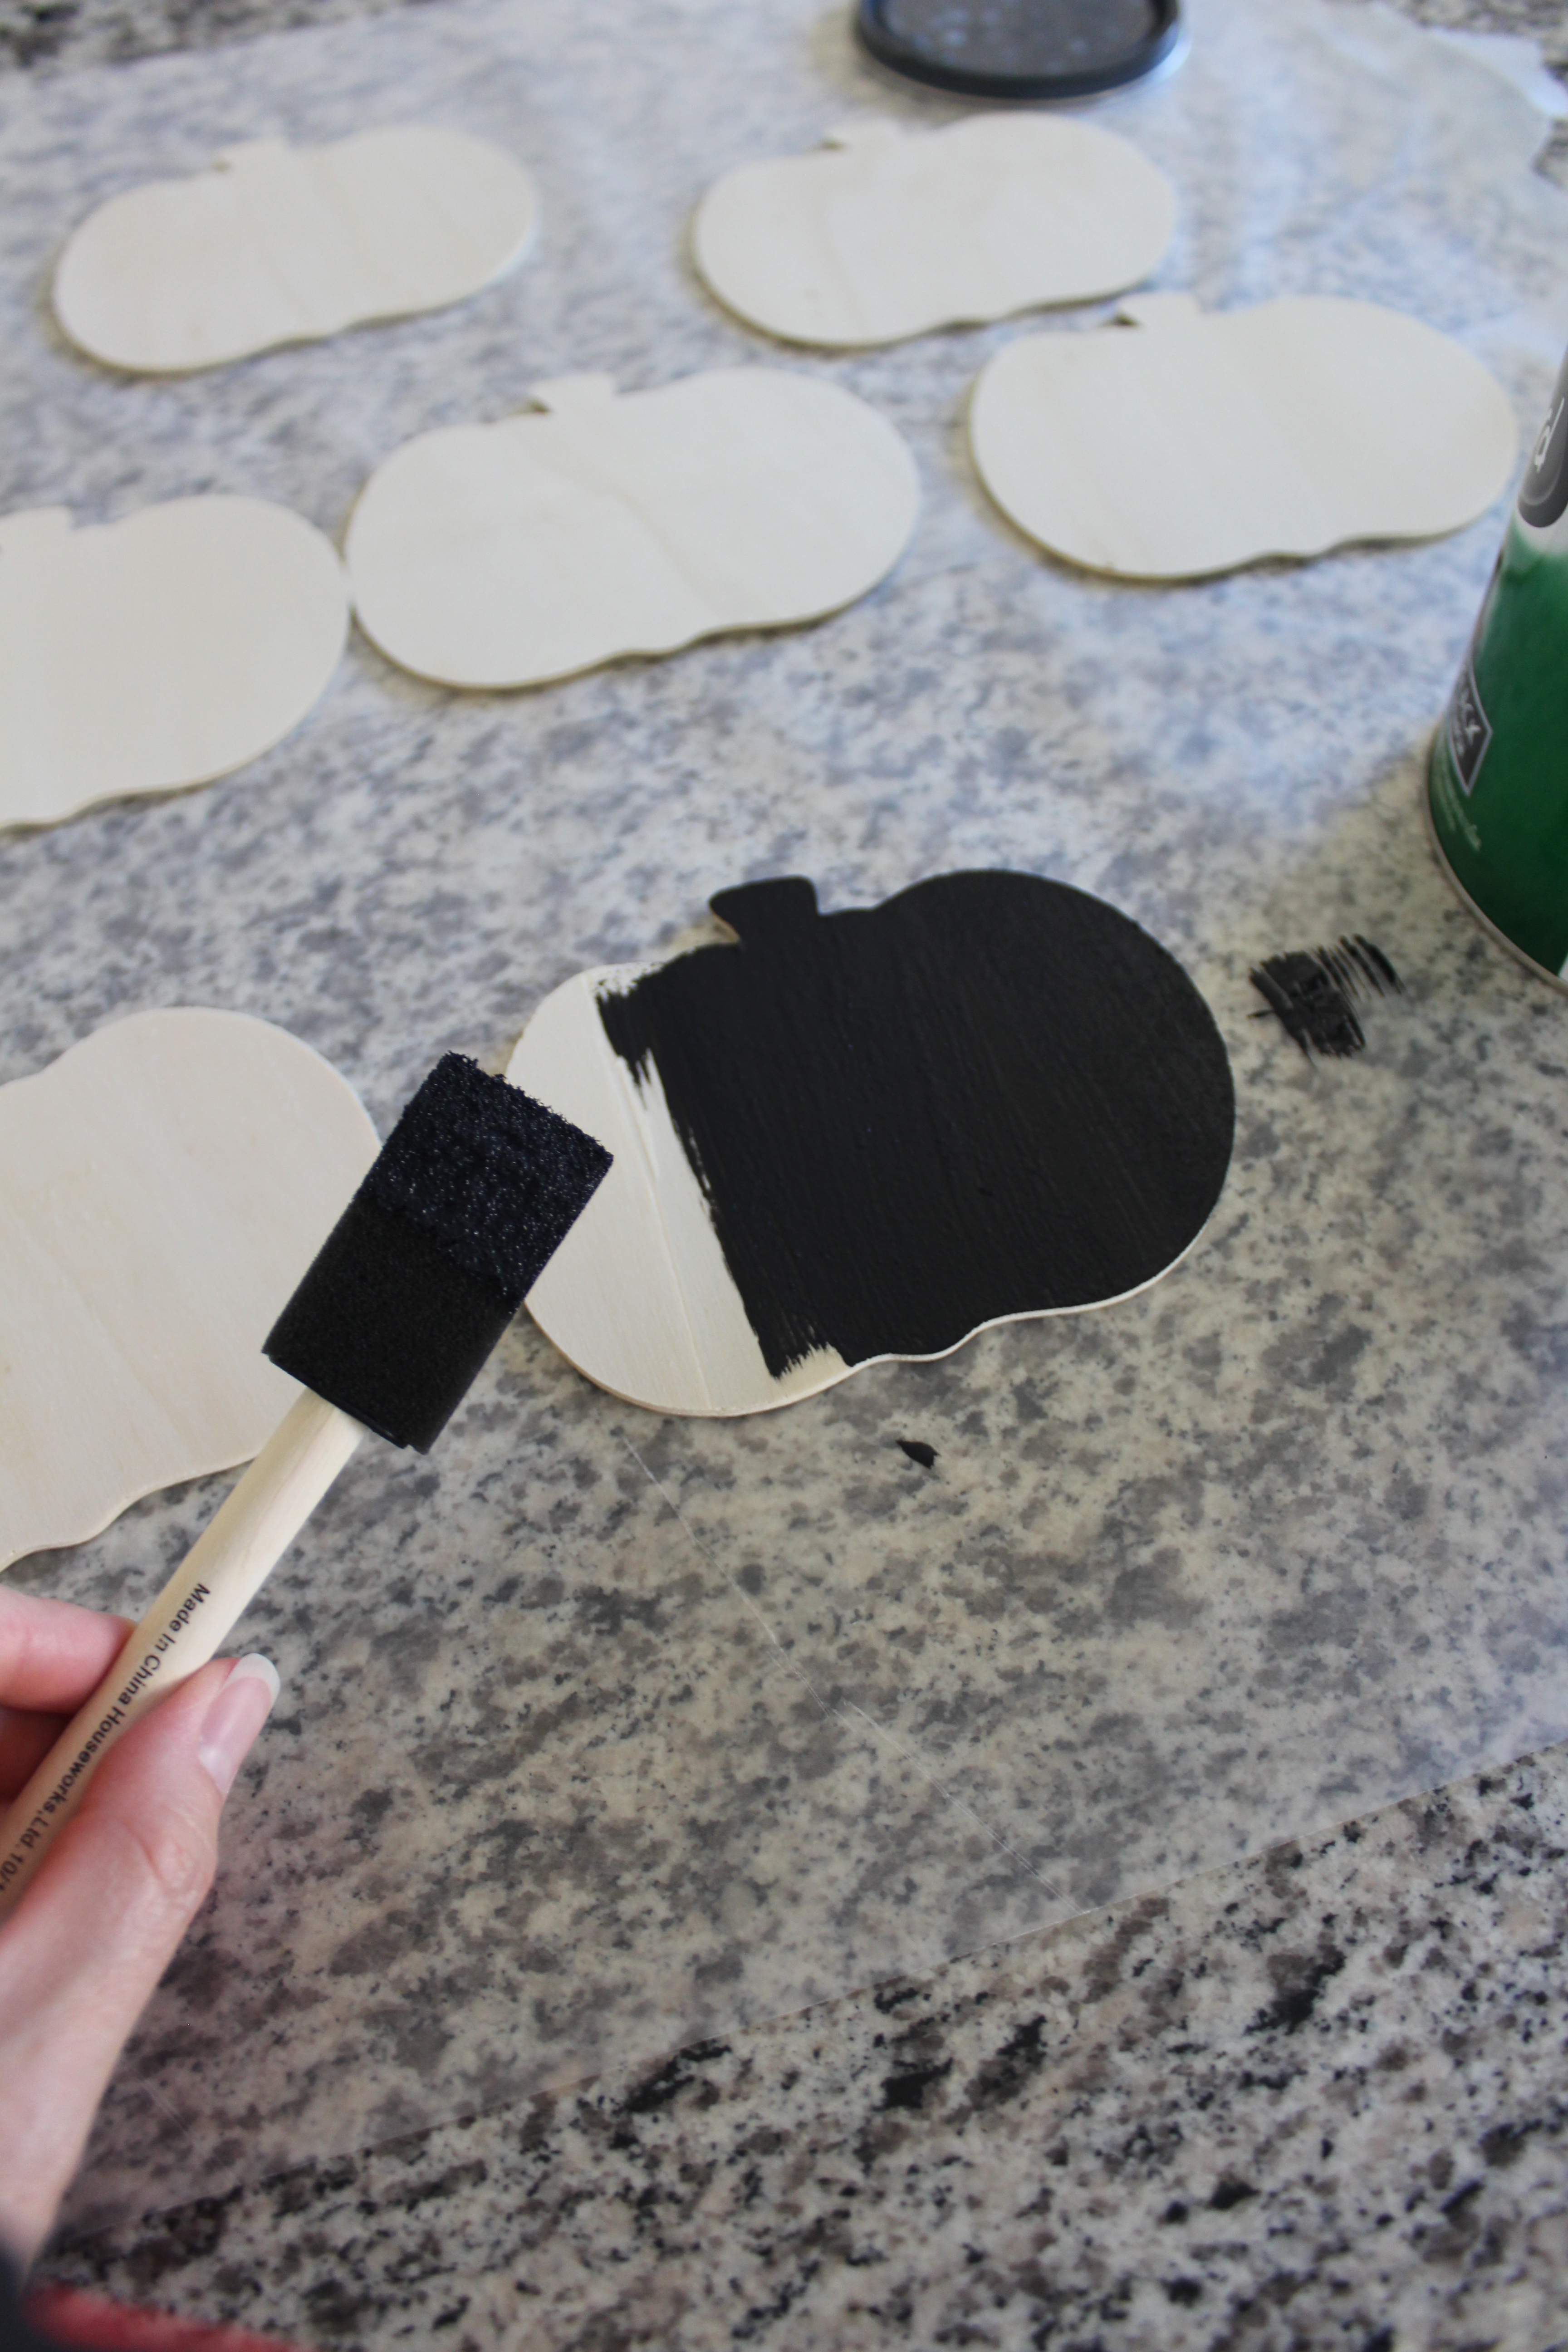
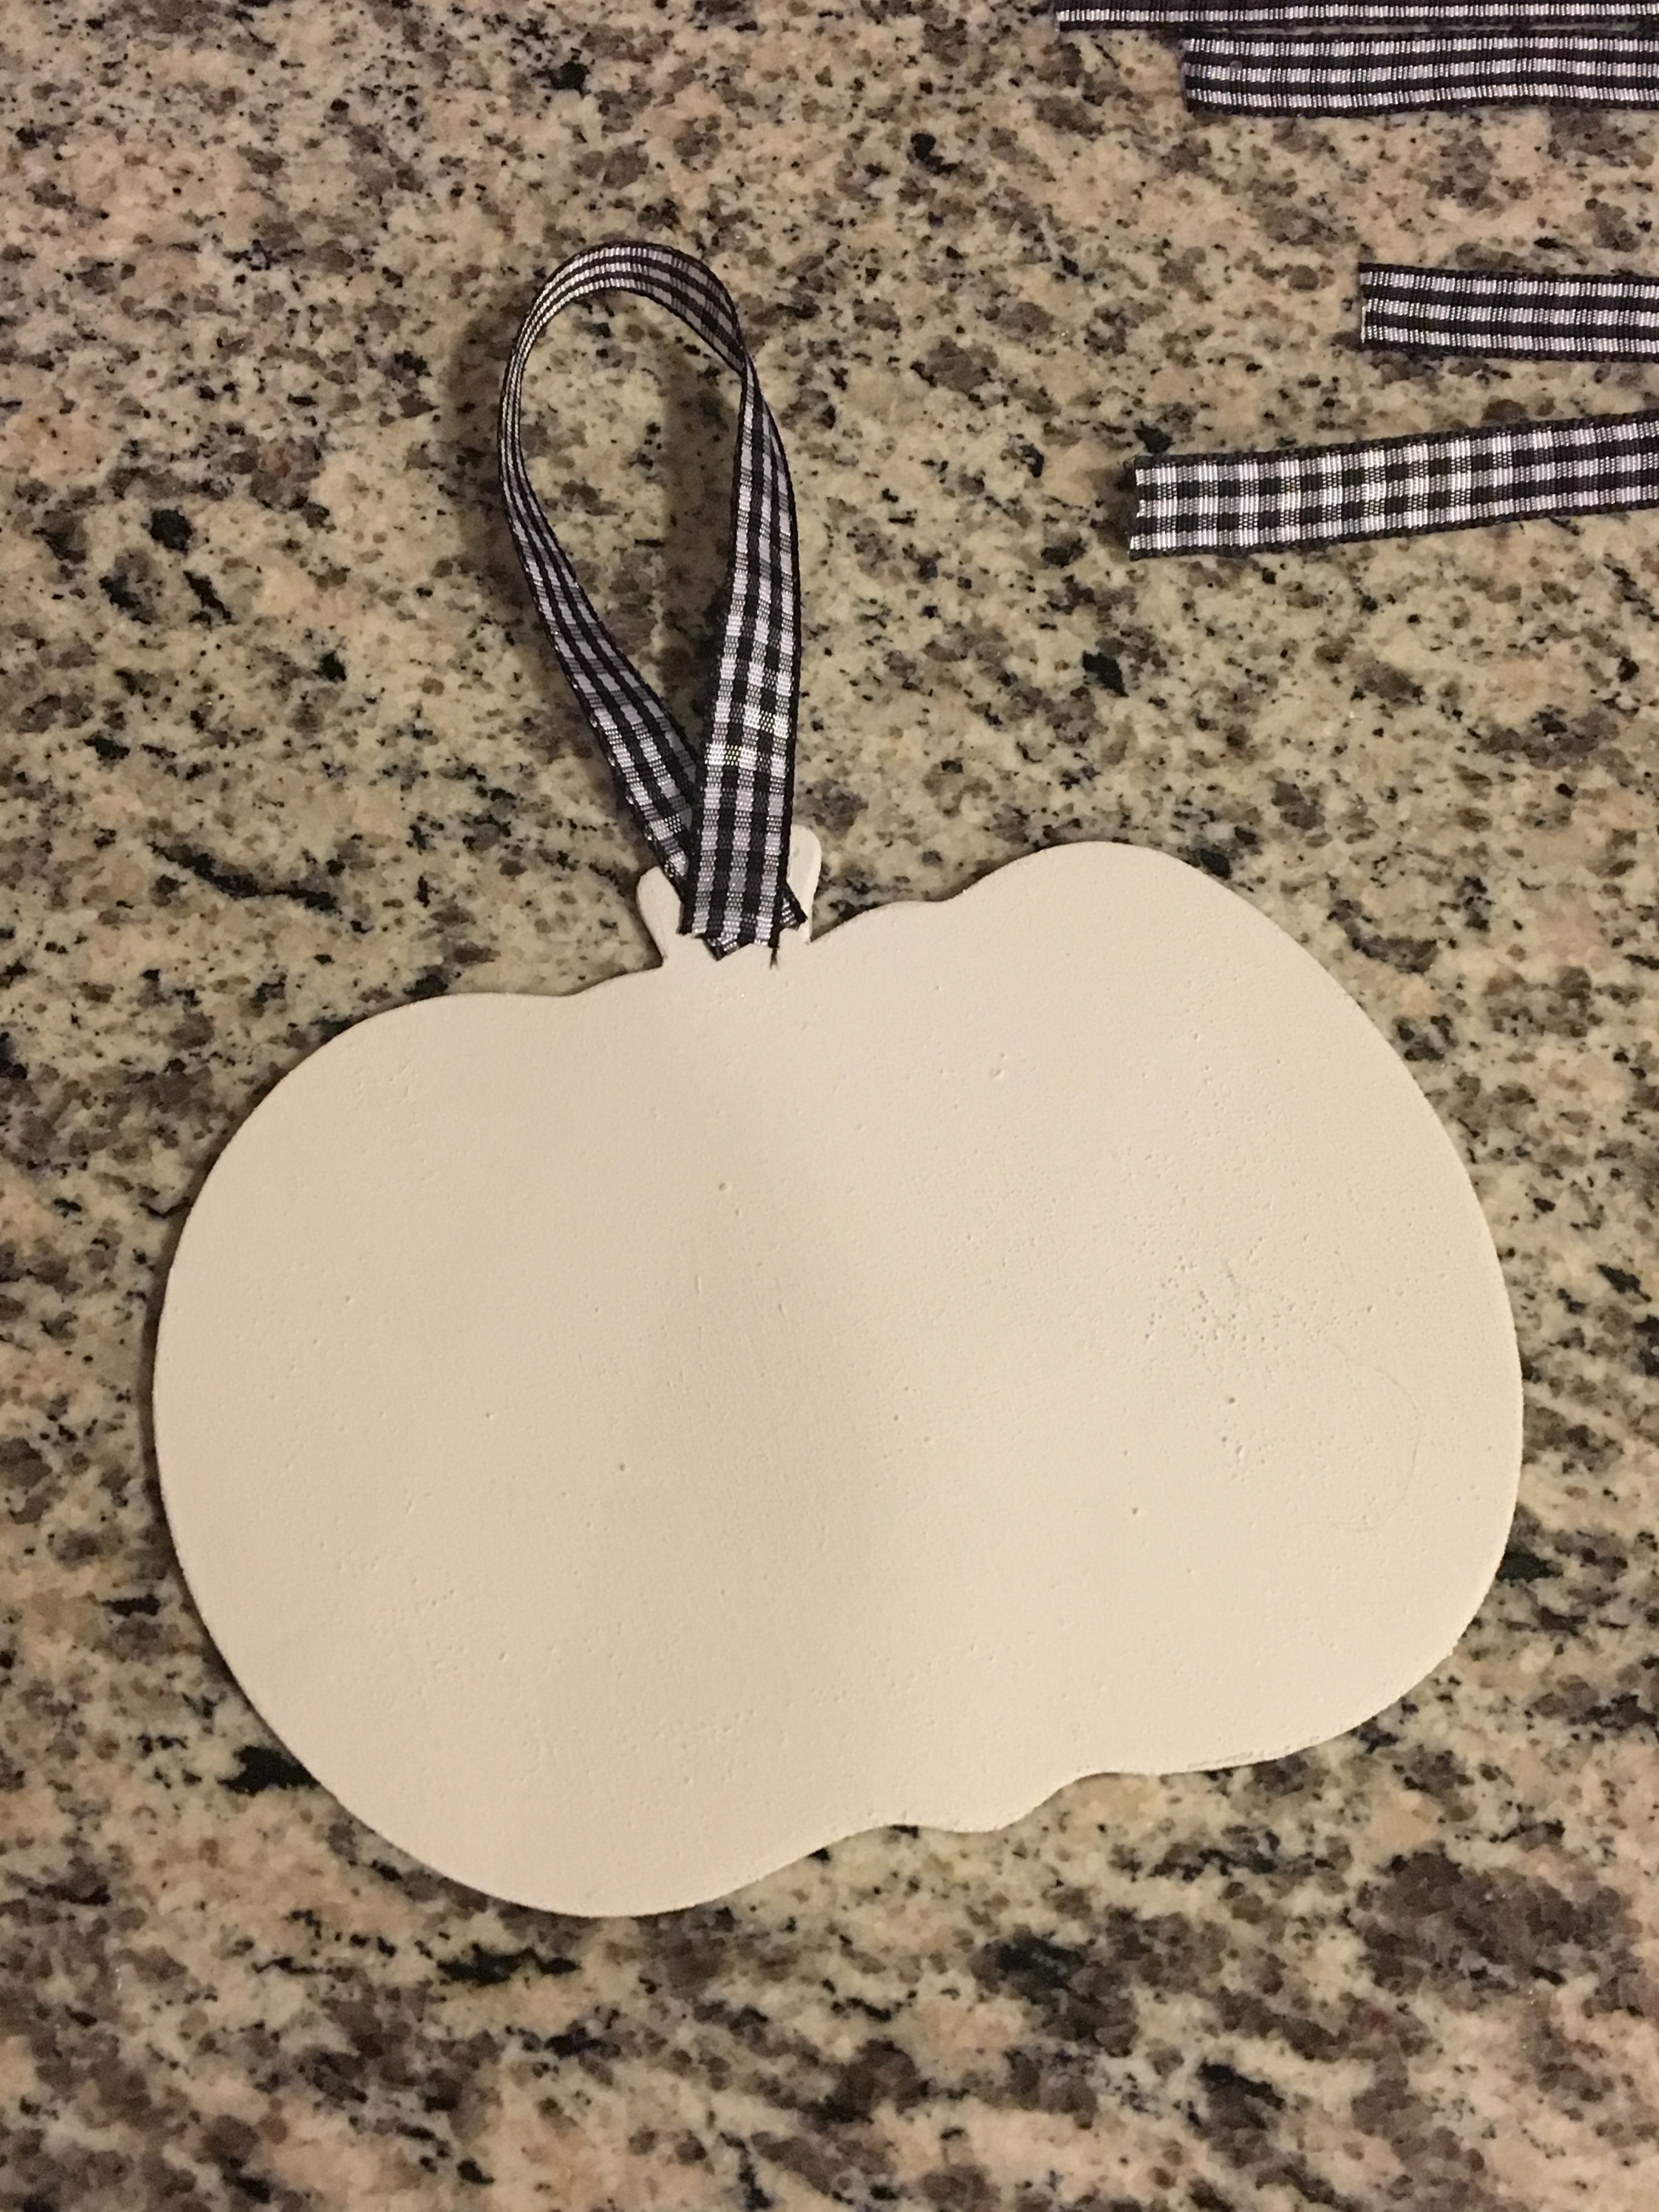
When those were dry I measured out 10 pieces of black gingham ribbon 6.5 inches long. Then I glued with the hot glue gun a ribbon on each pumpkin. 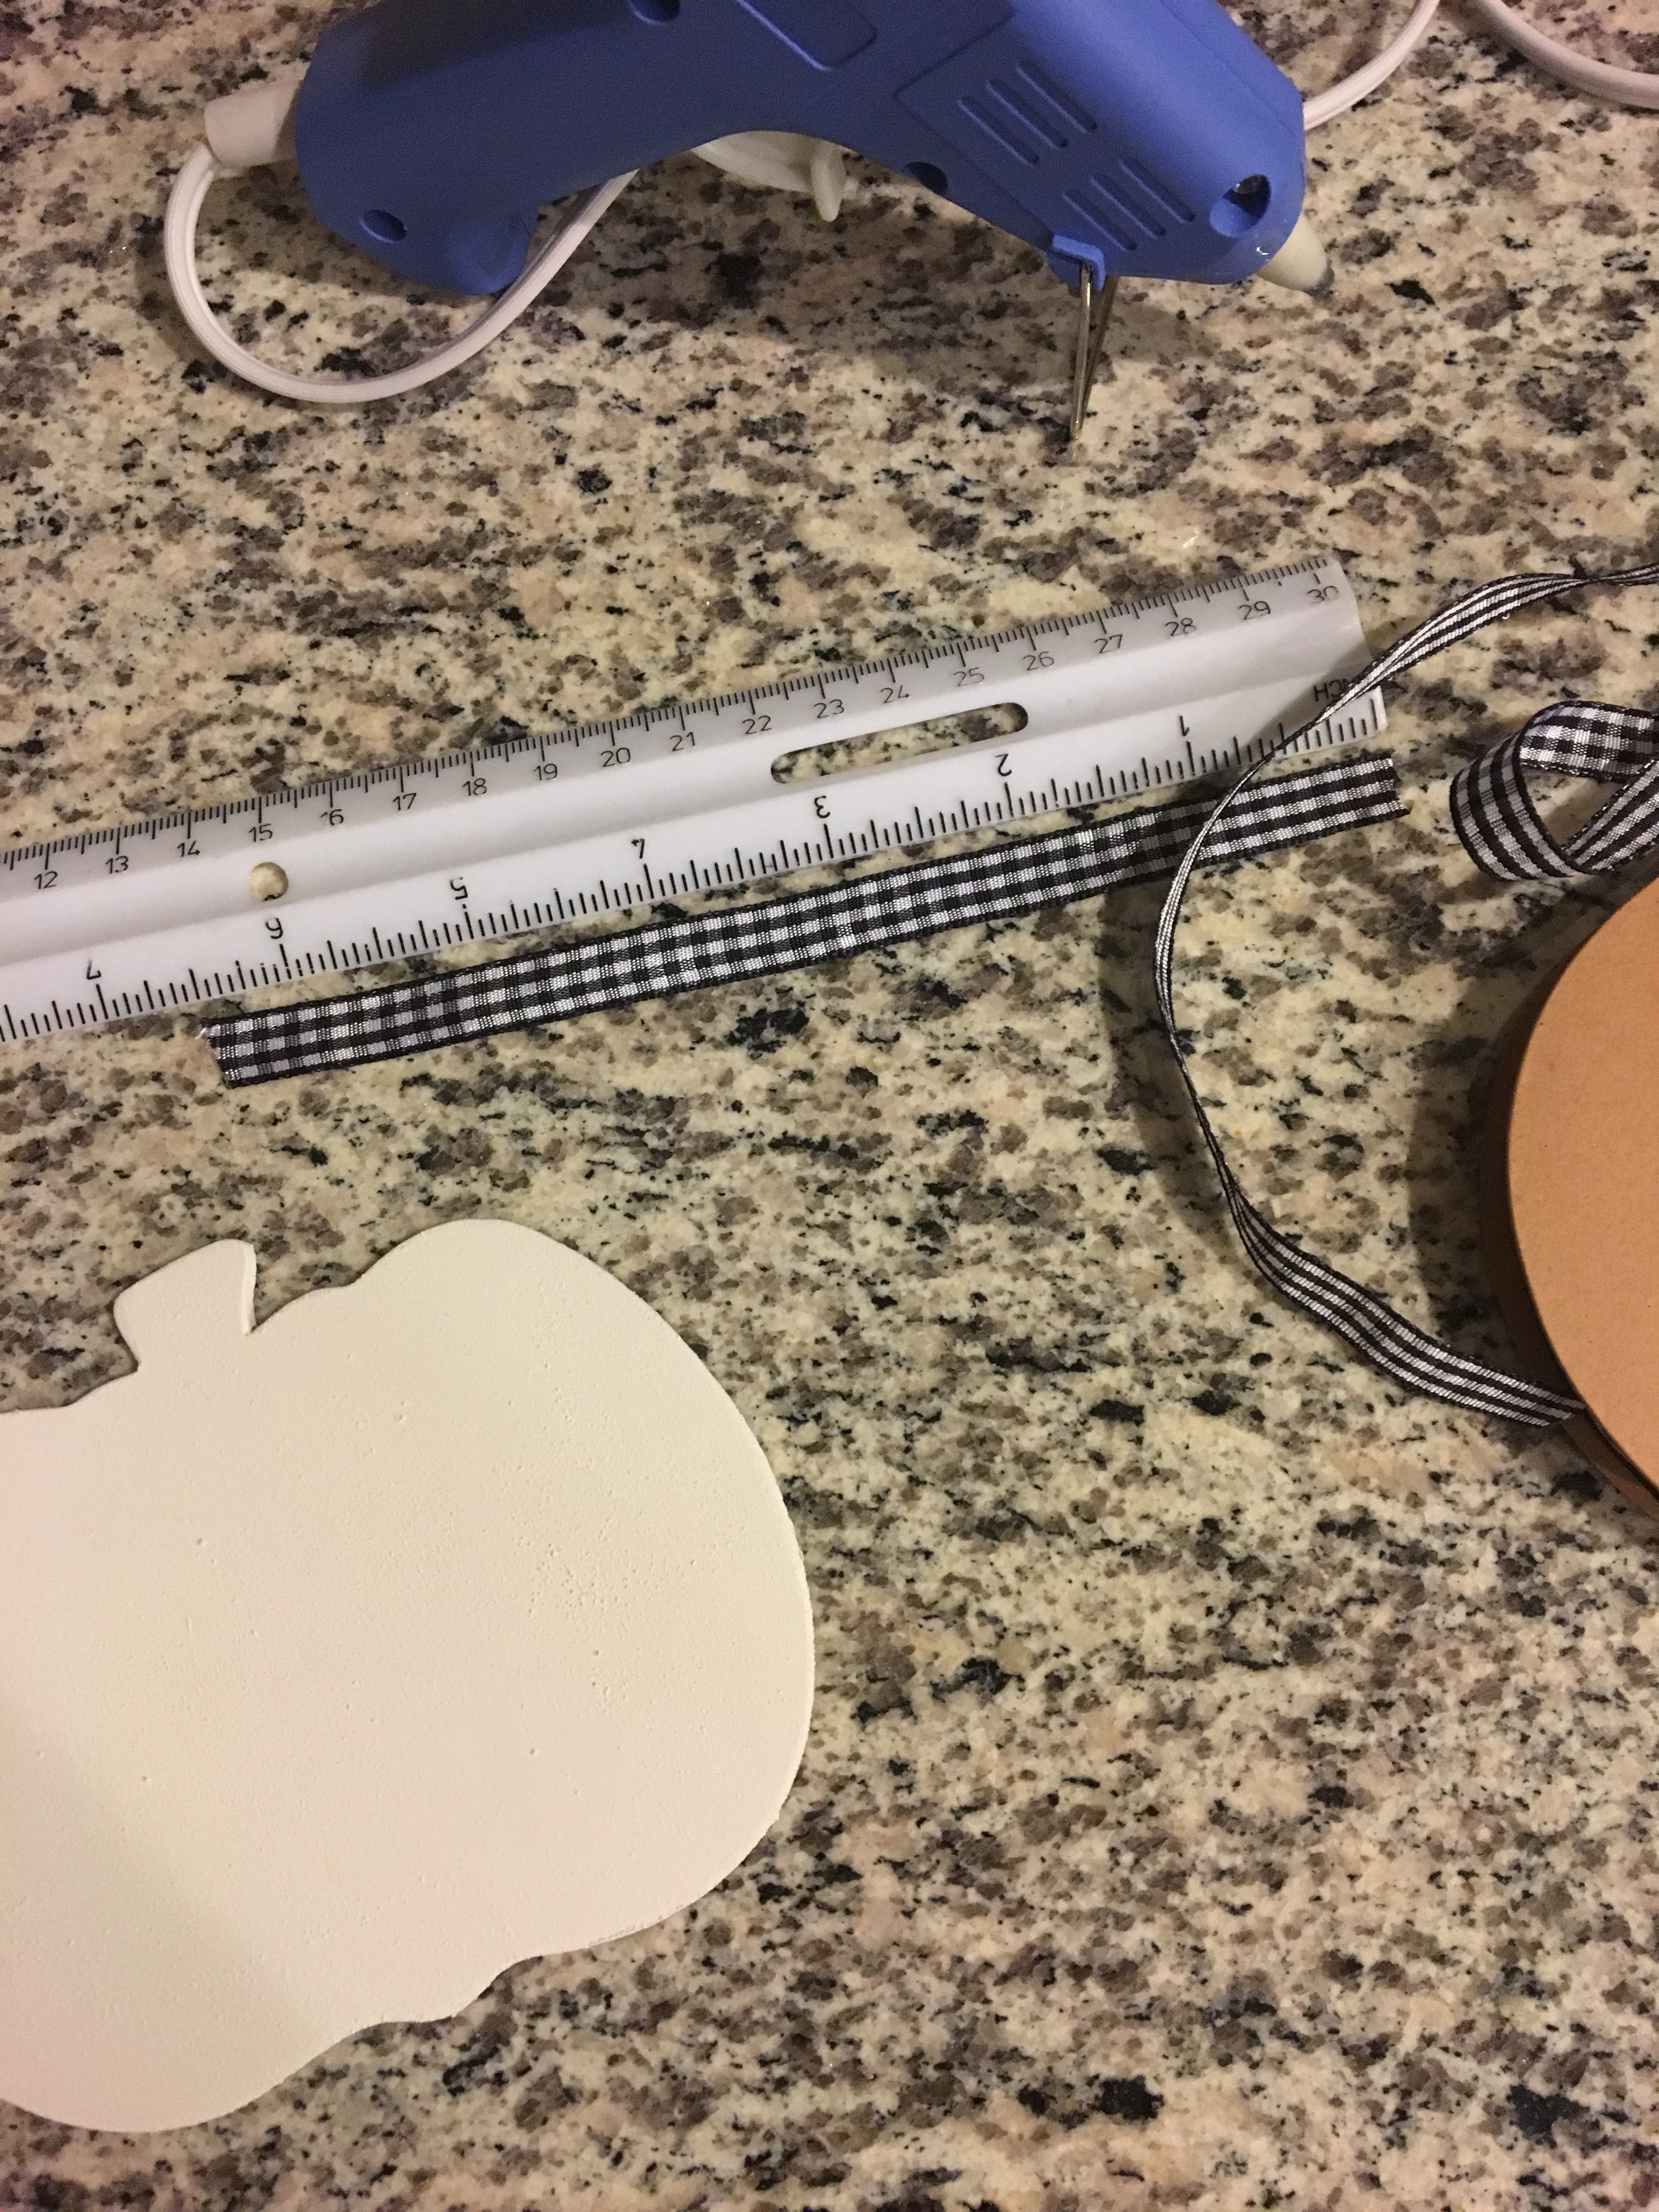
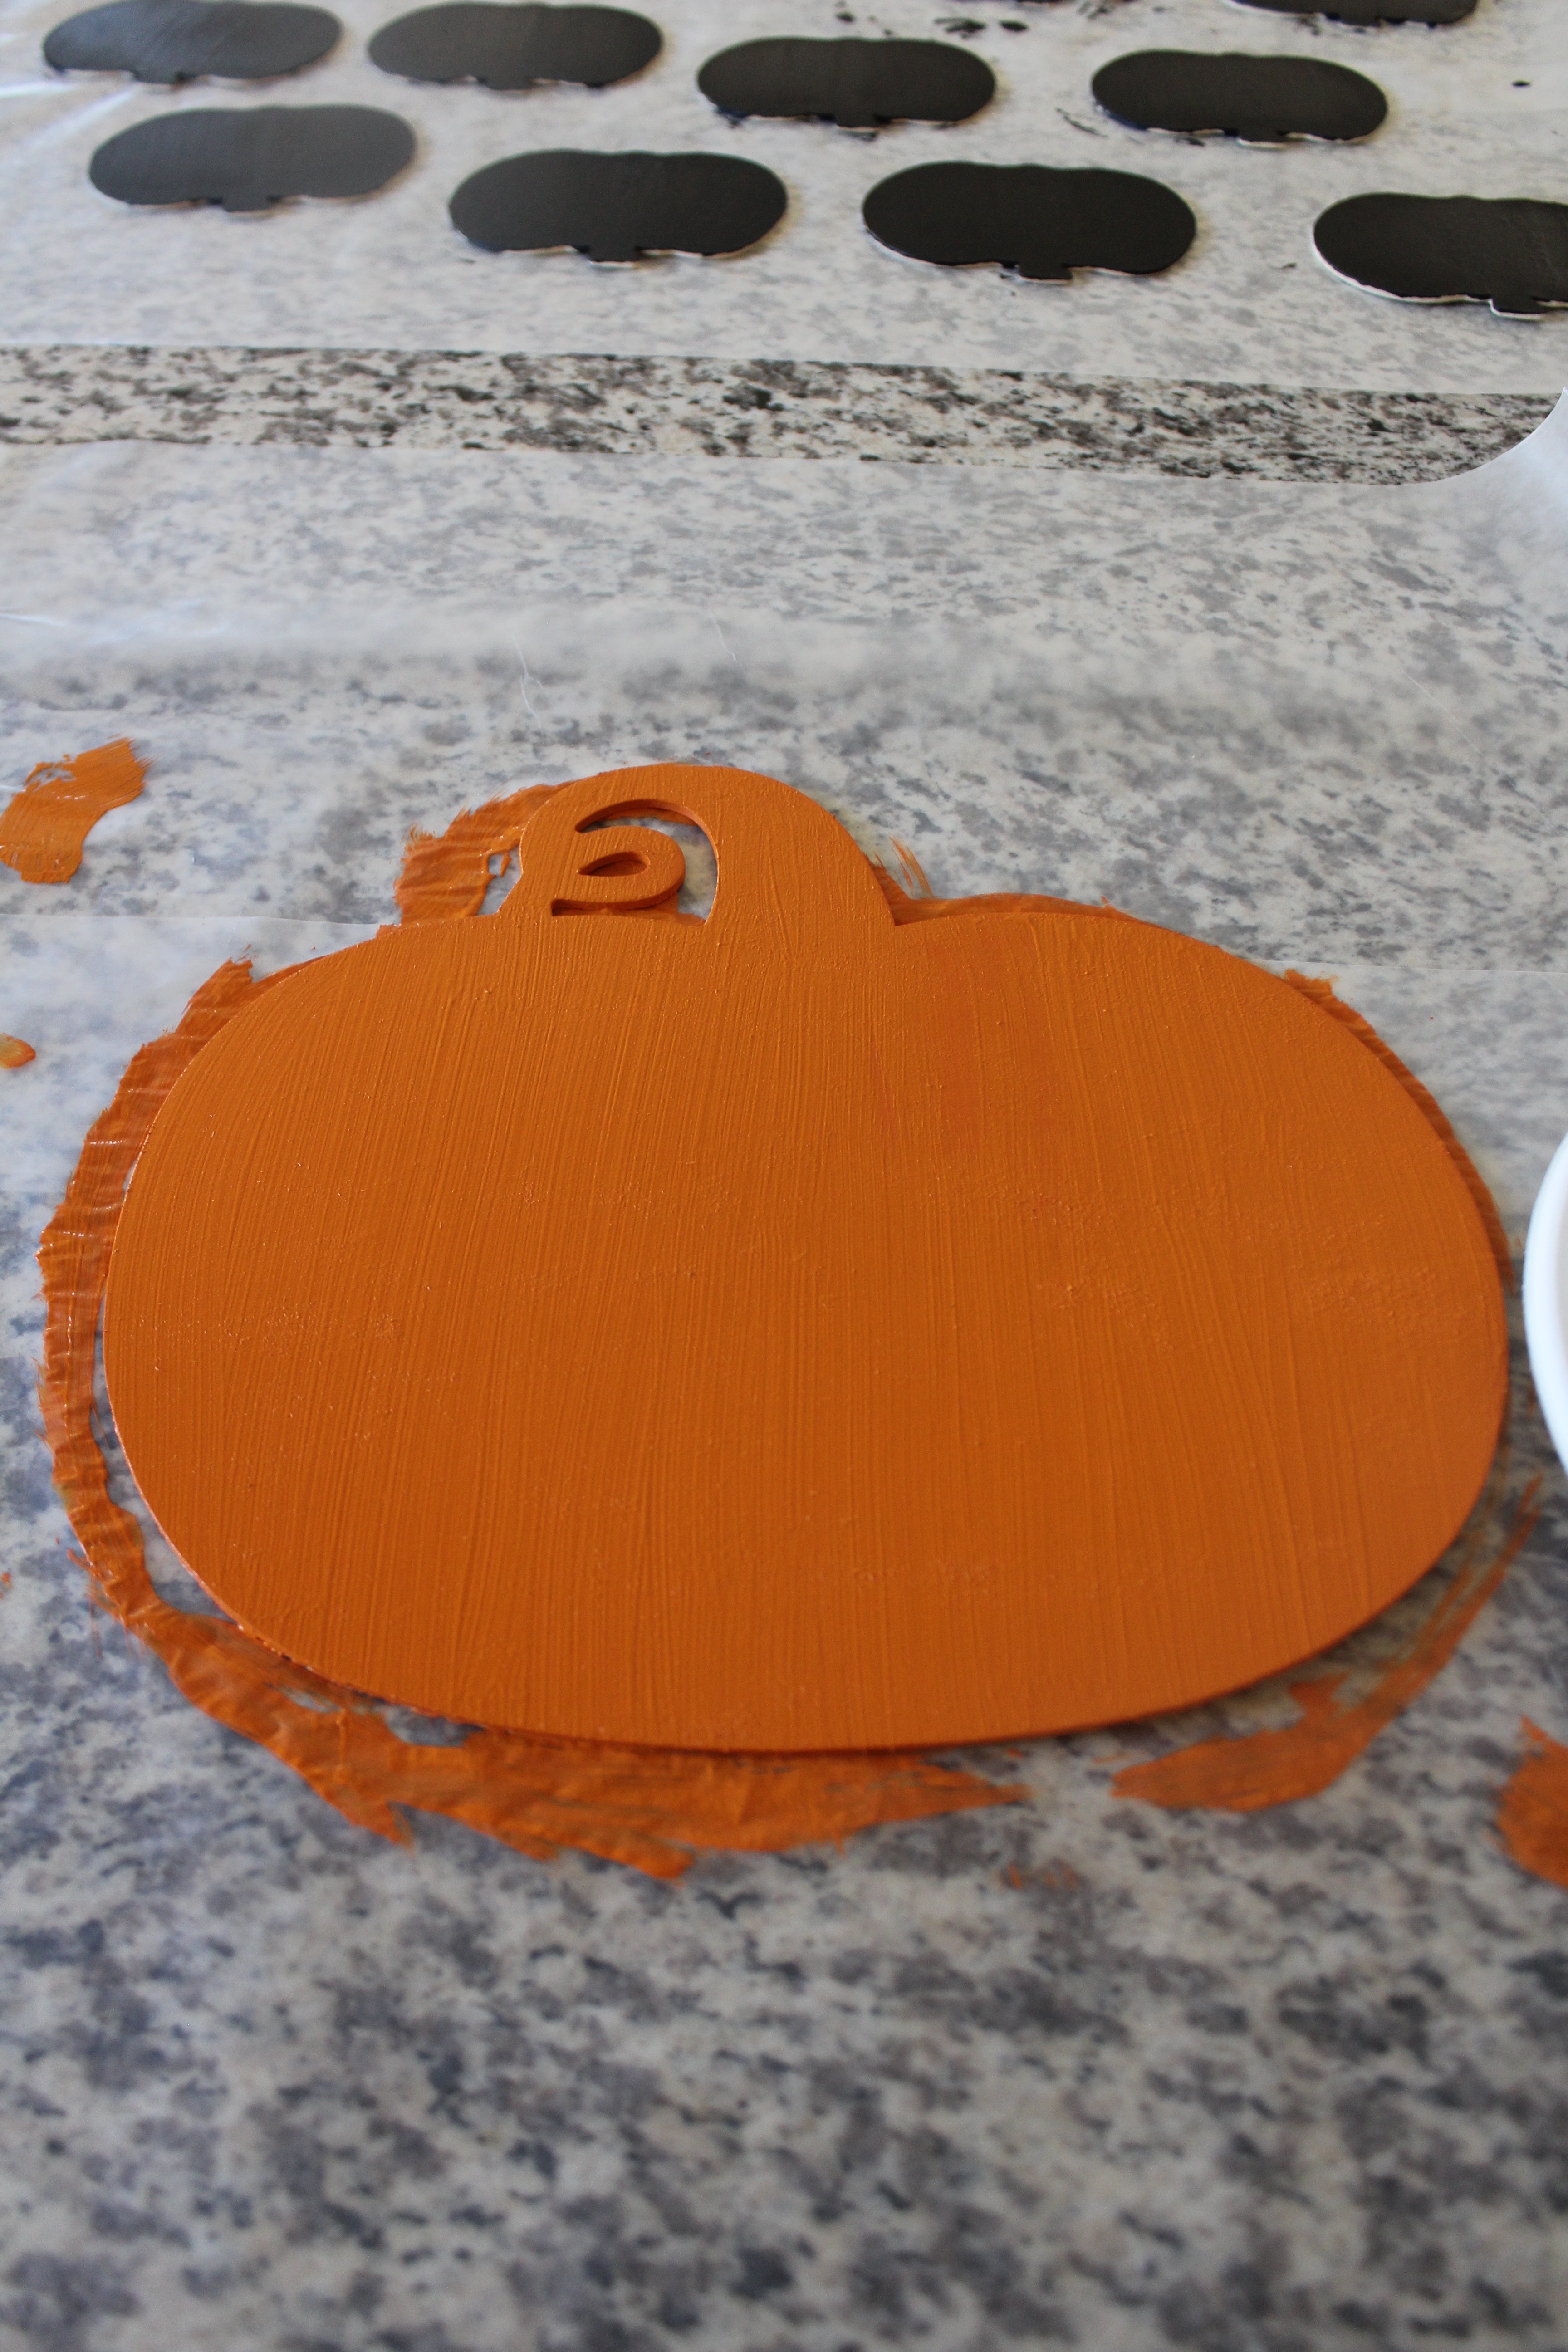
For the top of the tree you can use any cute fall or pumpkin sign or paint a larger wood pumpkin to sit on top. I found an 11 inch wood pumpkin and I chose to paint my pumpkin orange for the Halloween version of my tree. 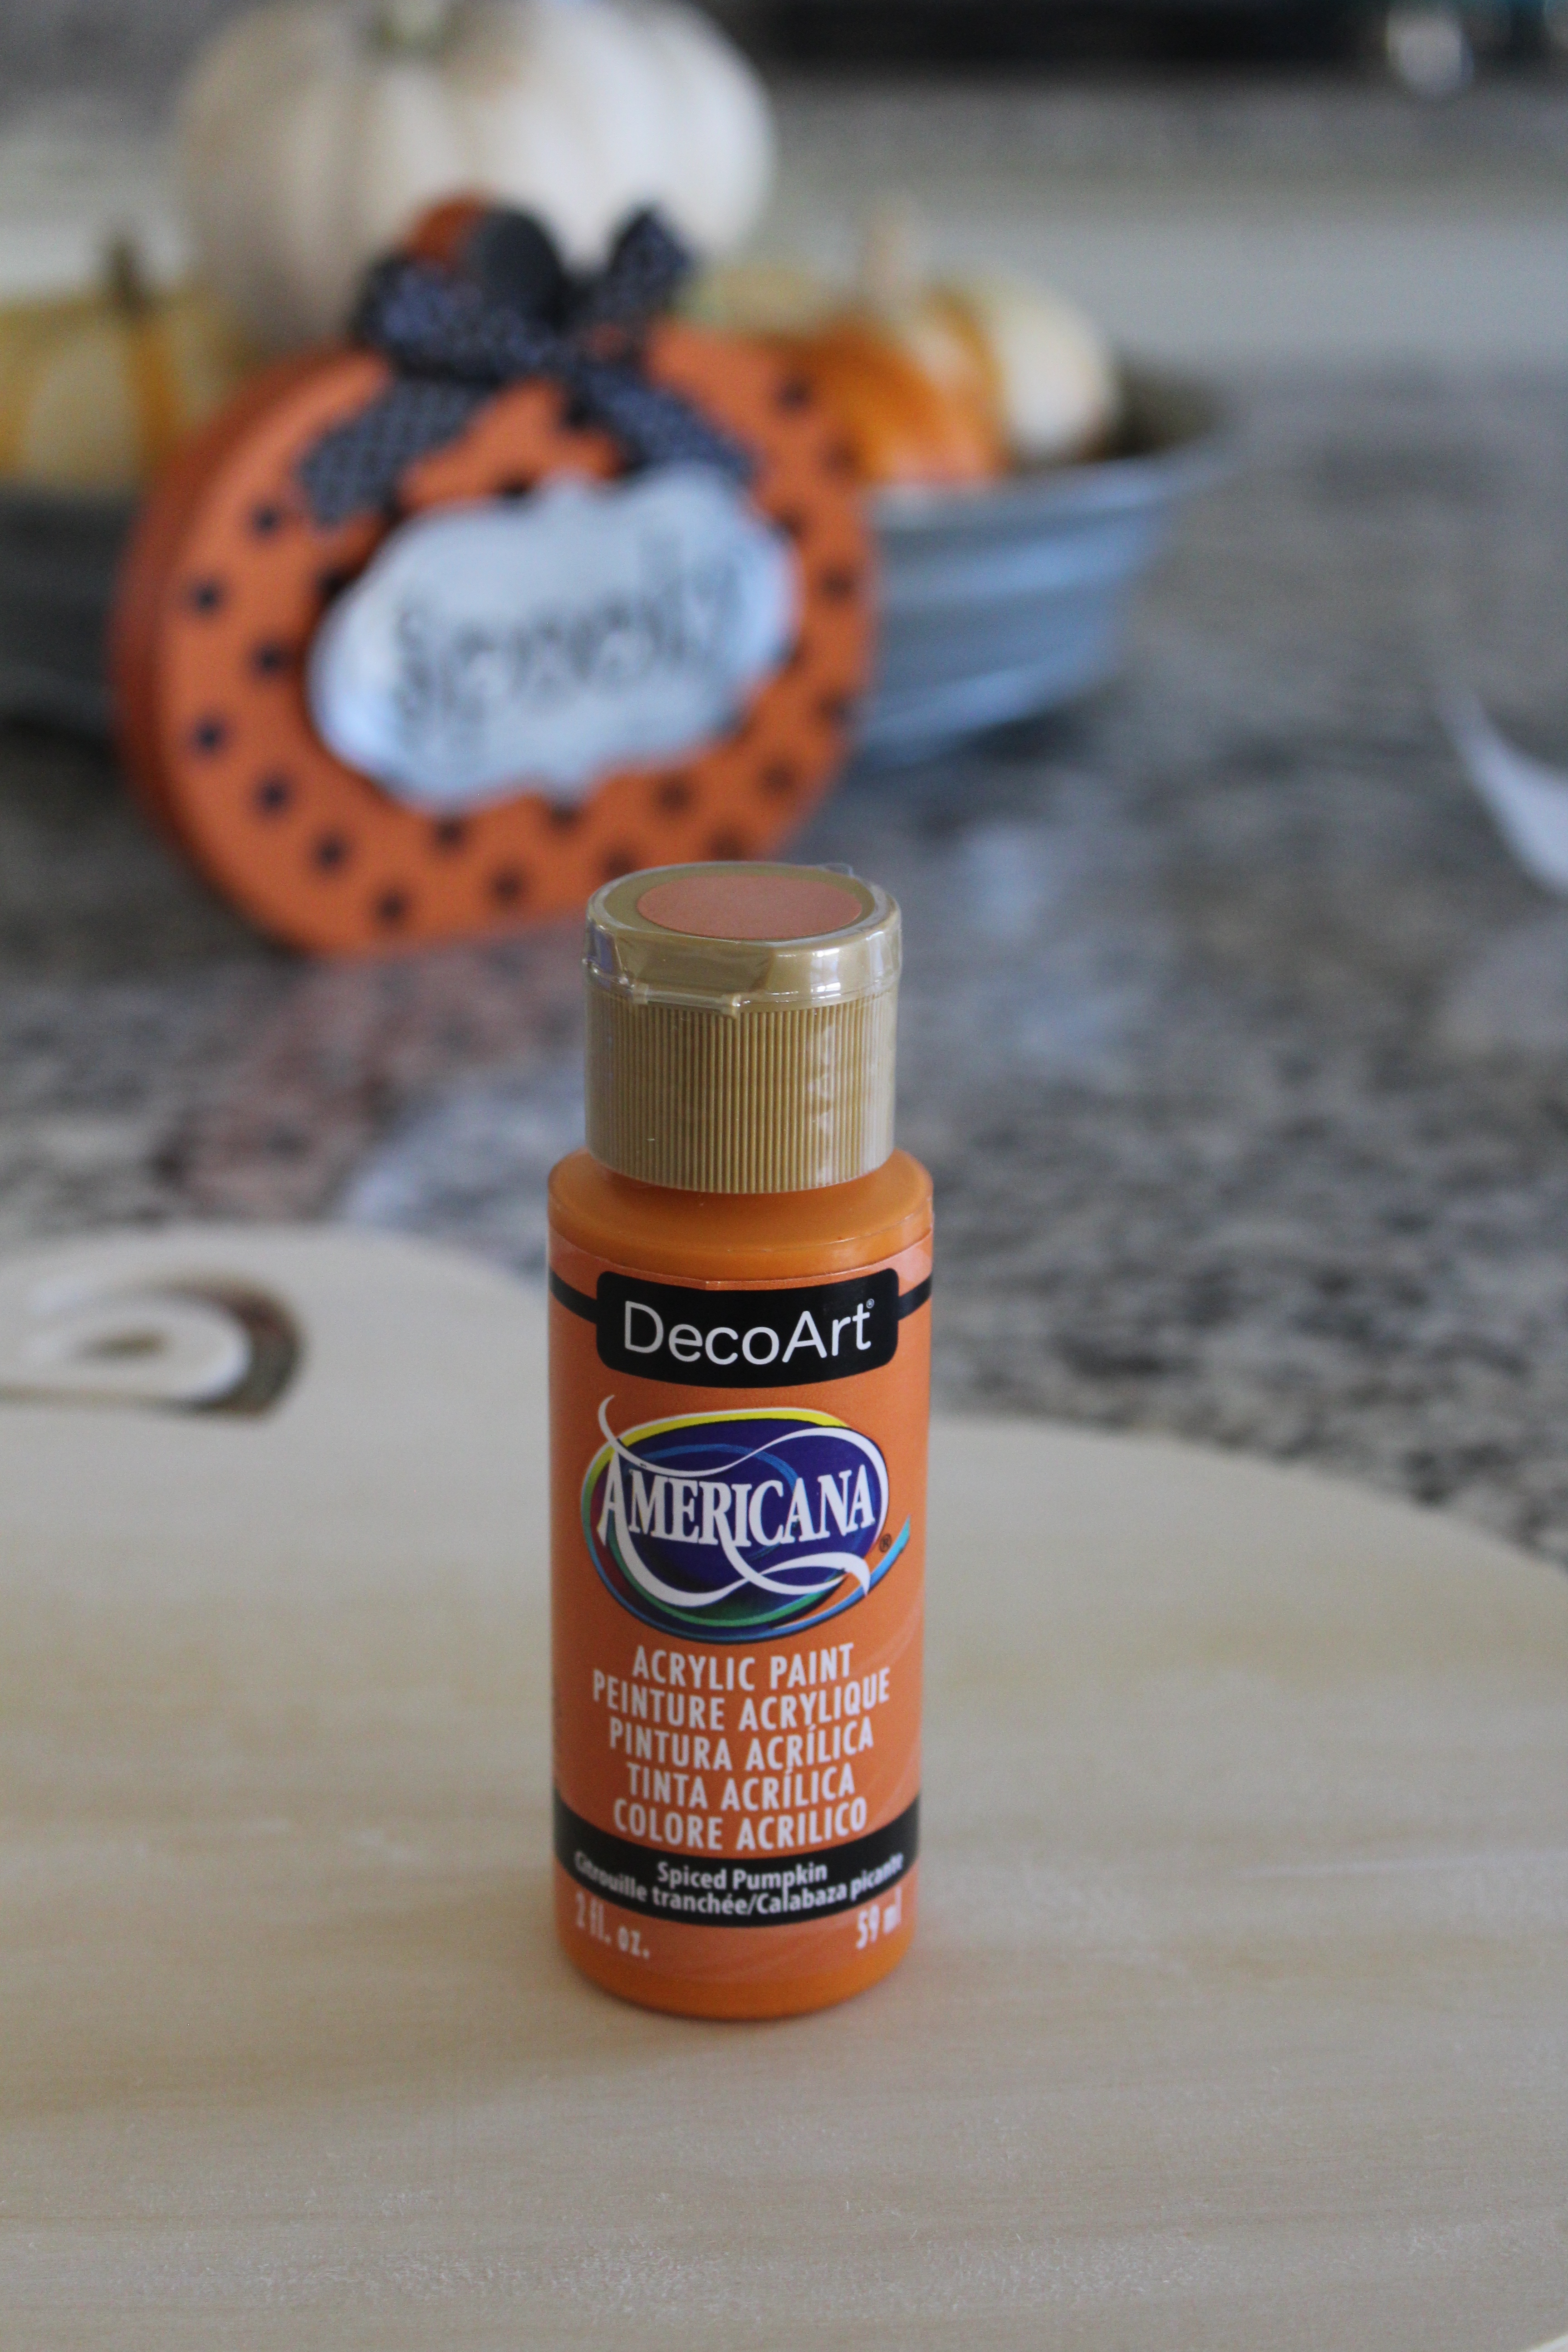
I used a foam brush to paint the pumpkin. 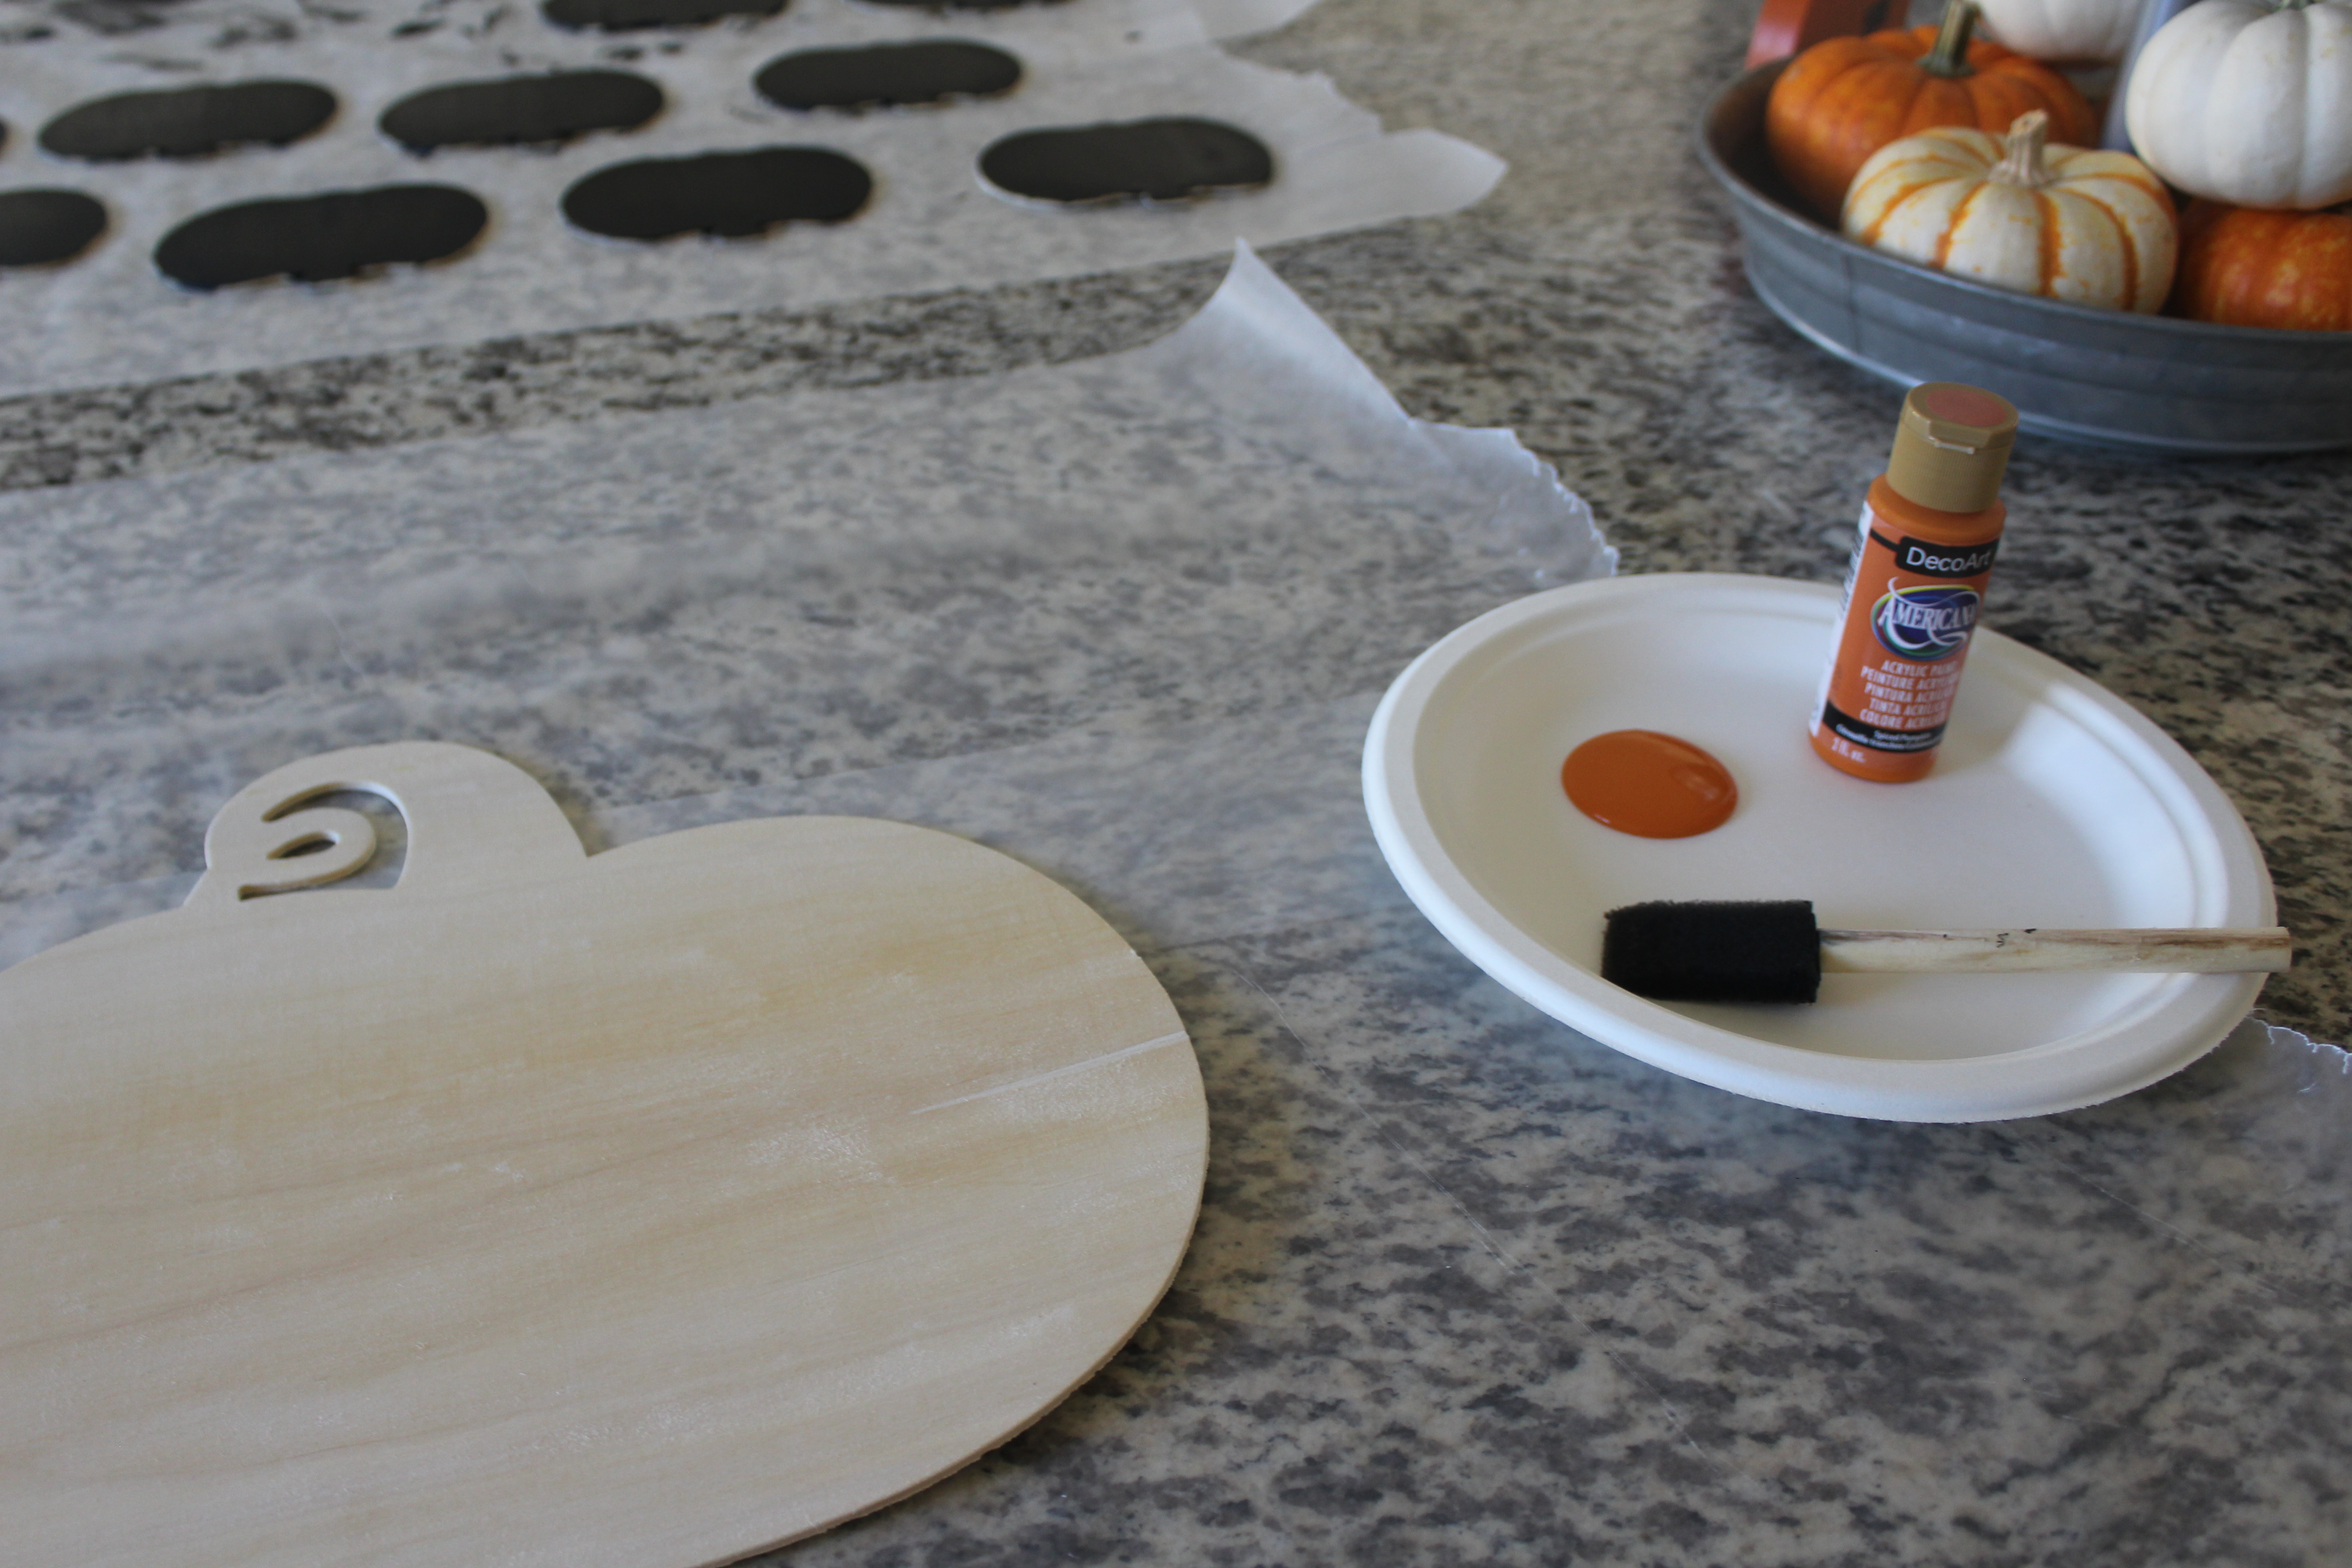
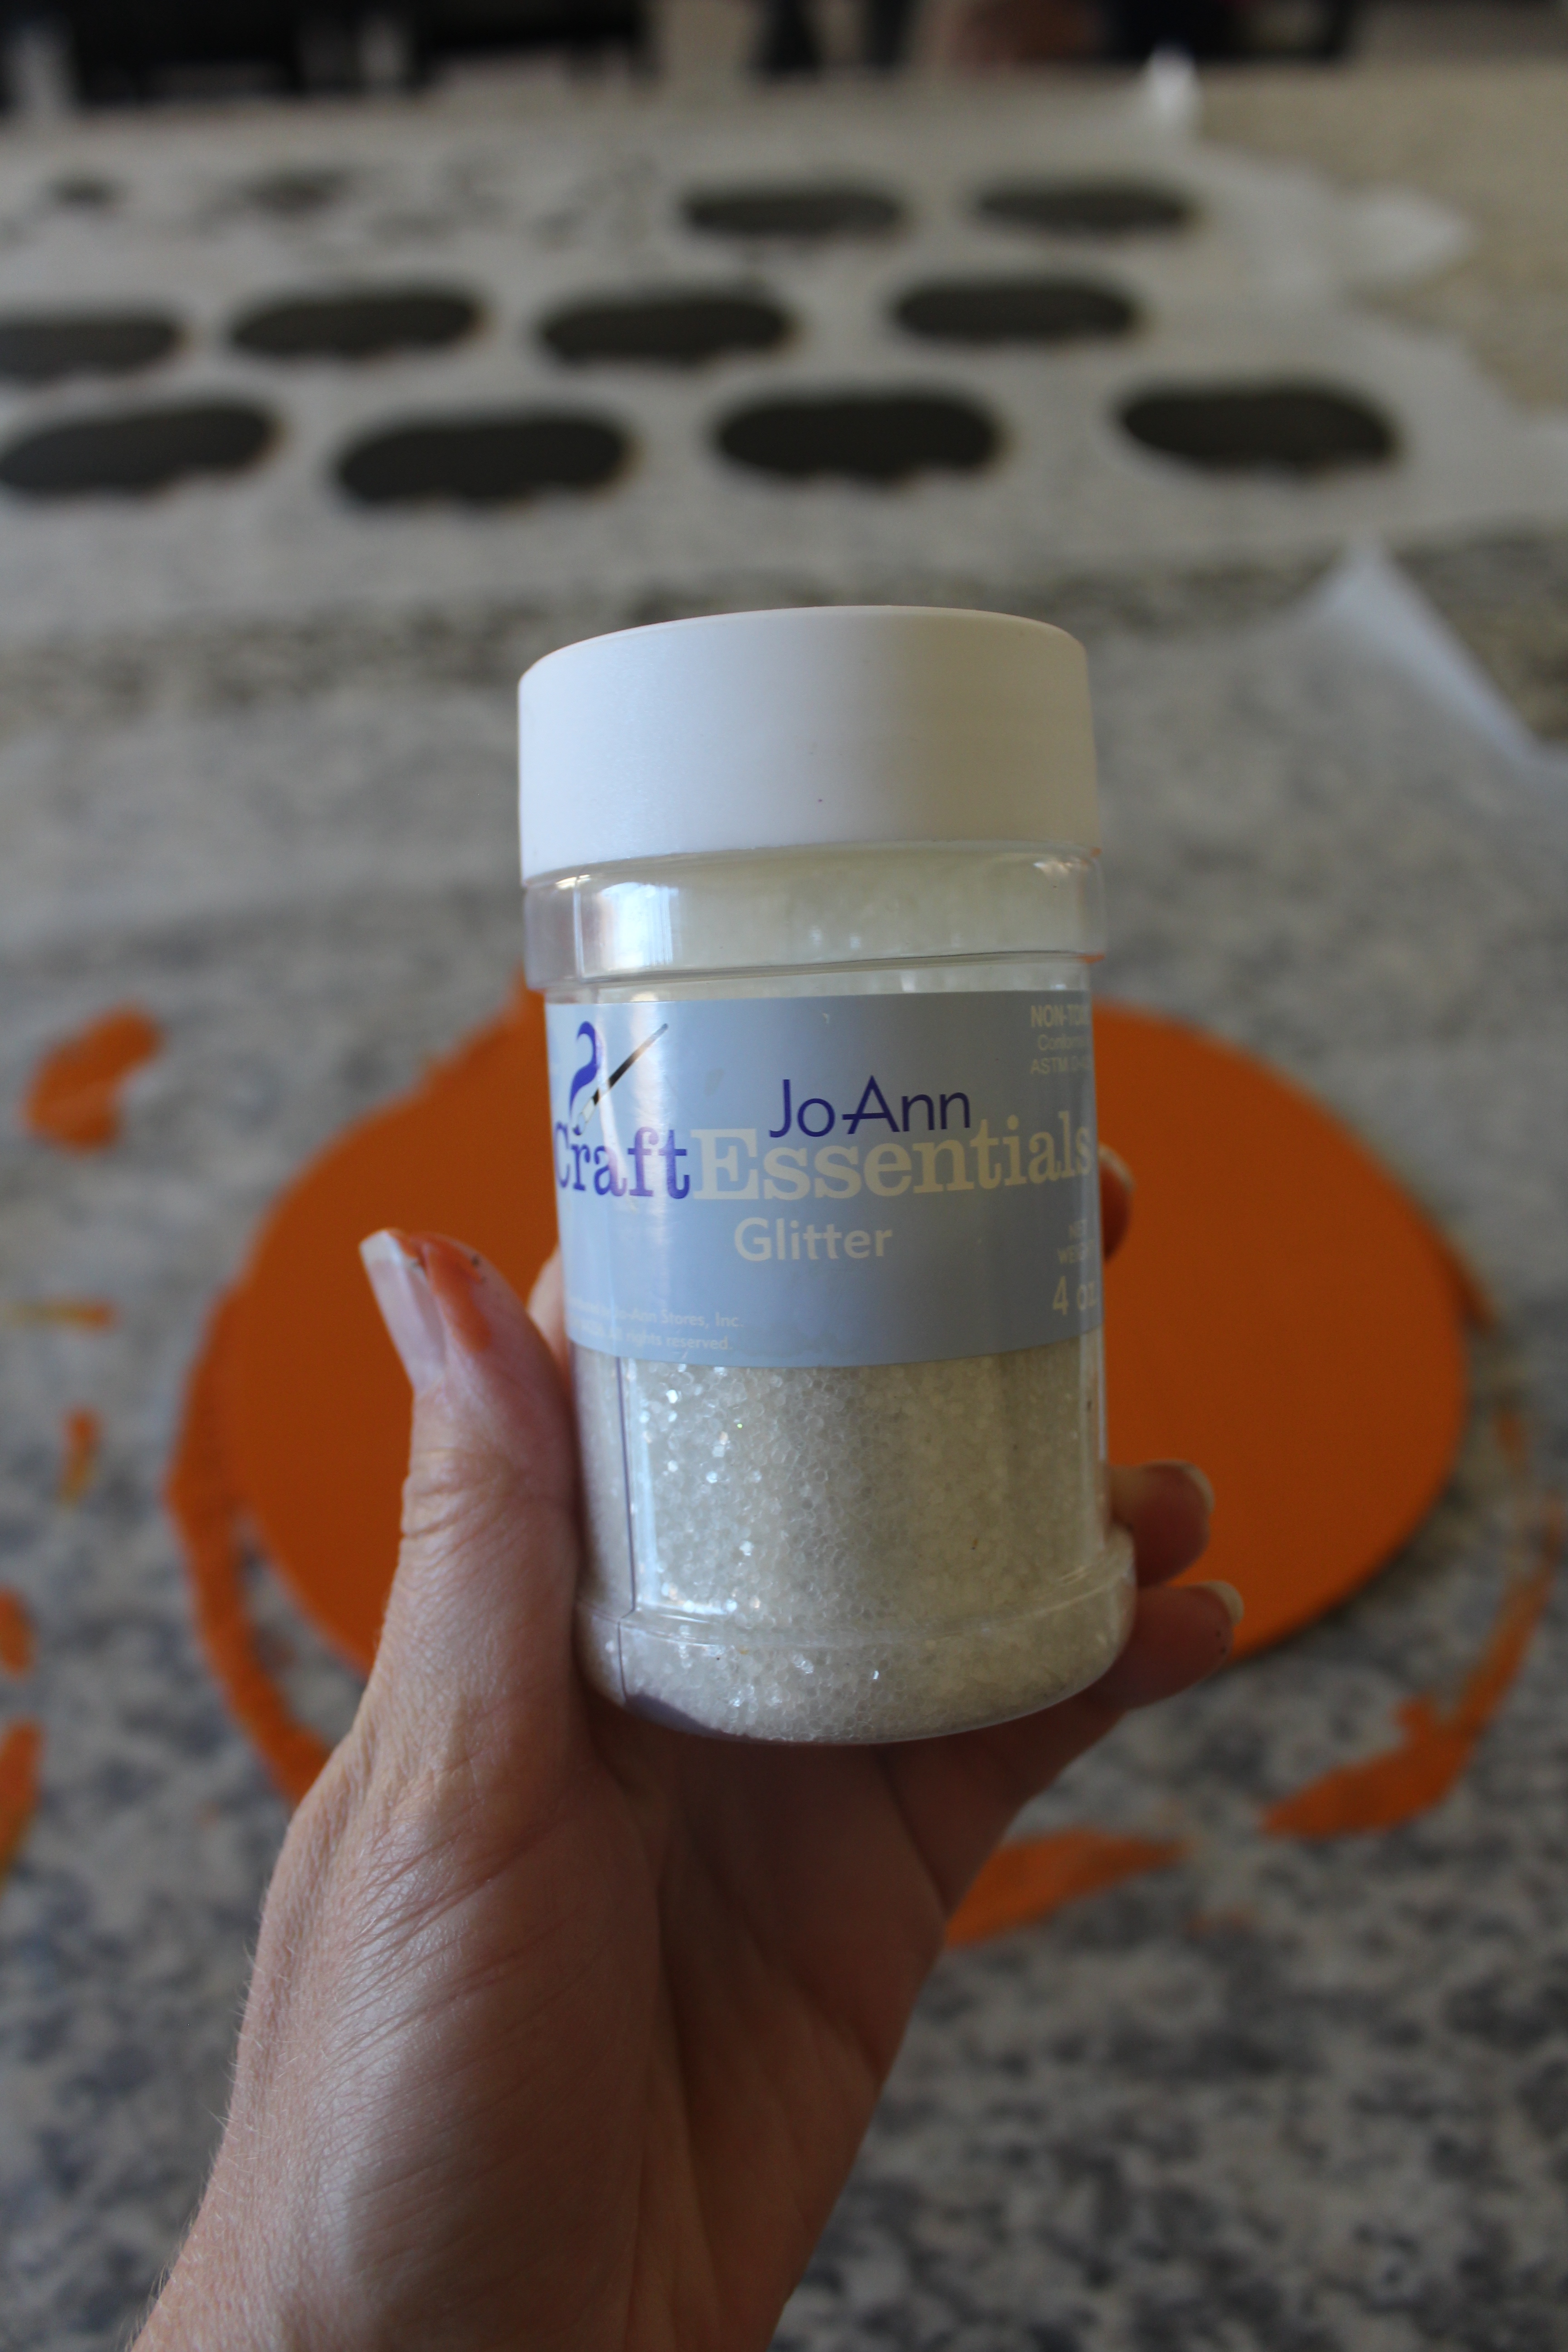
While my orange paint was still wet I sprinkled some clear glitter on top to give it a little shine and sparkle!
When it was all dry I sealed it with spray Mod Podge so I wouldn’t have glitter everywhere! 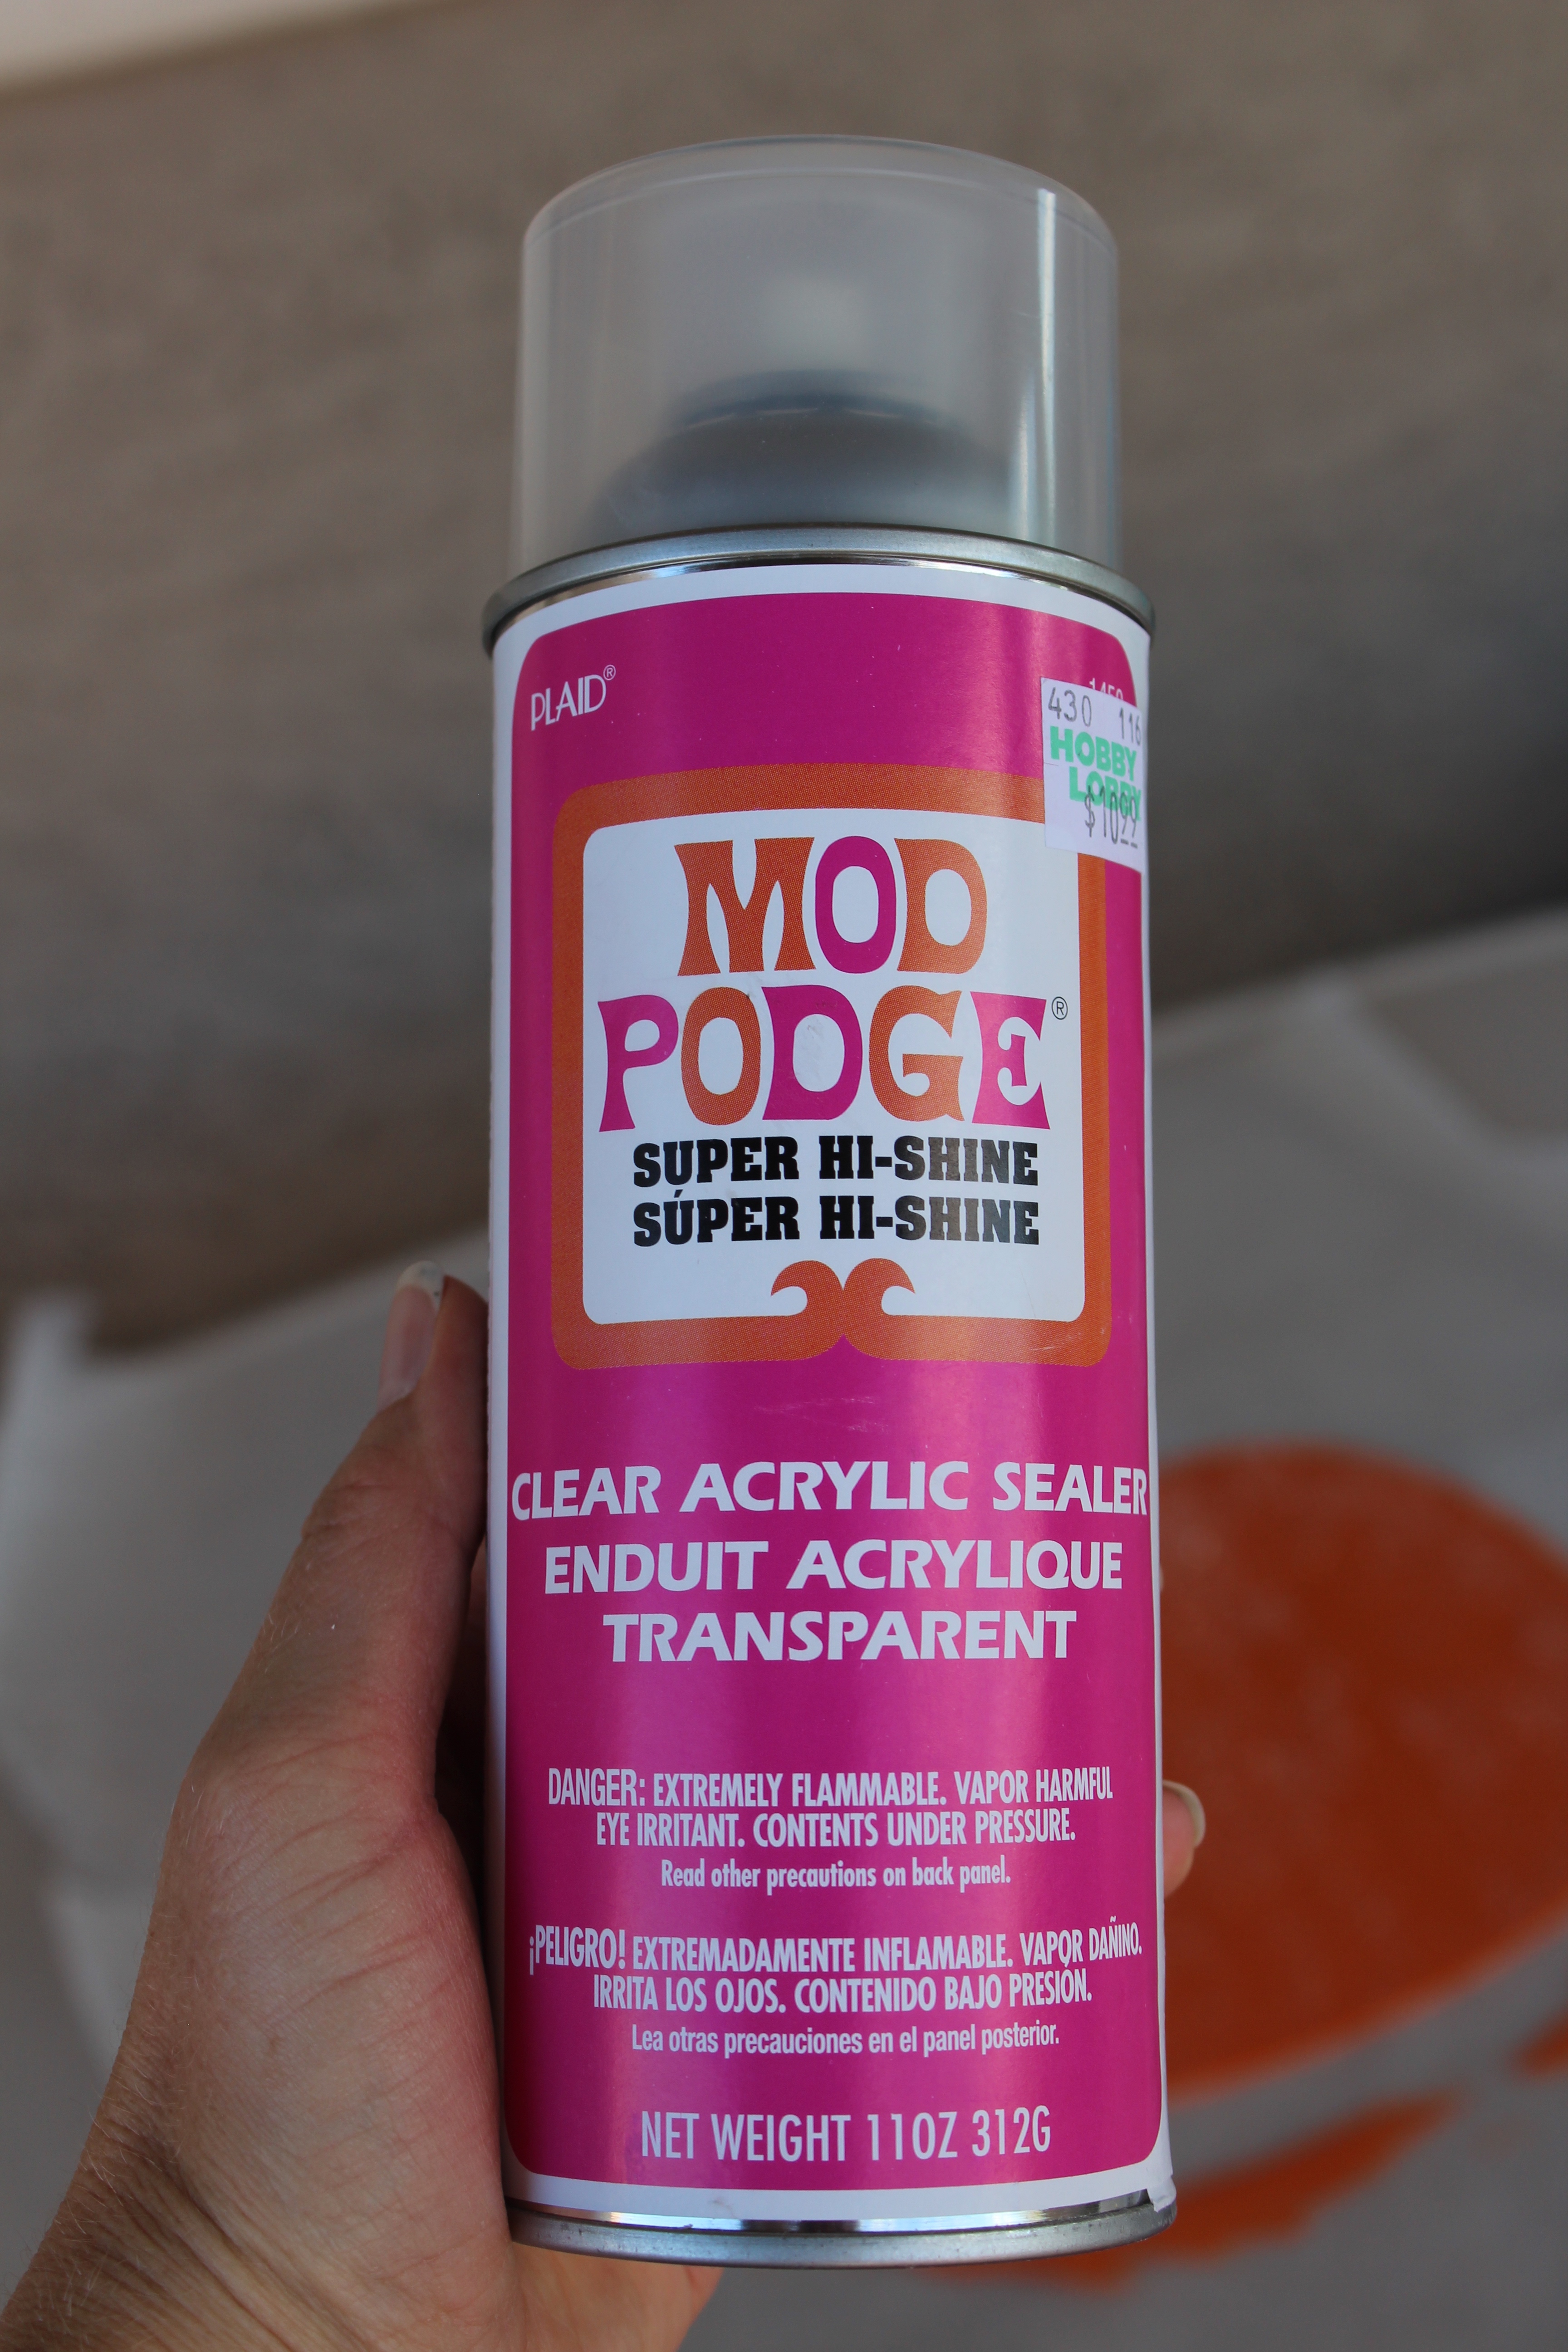
After letting that dry I added a larger size gingham bow on top. 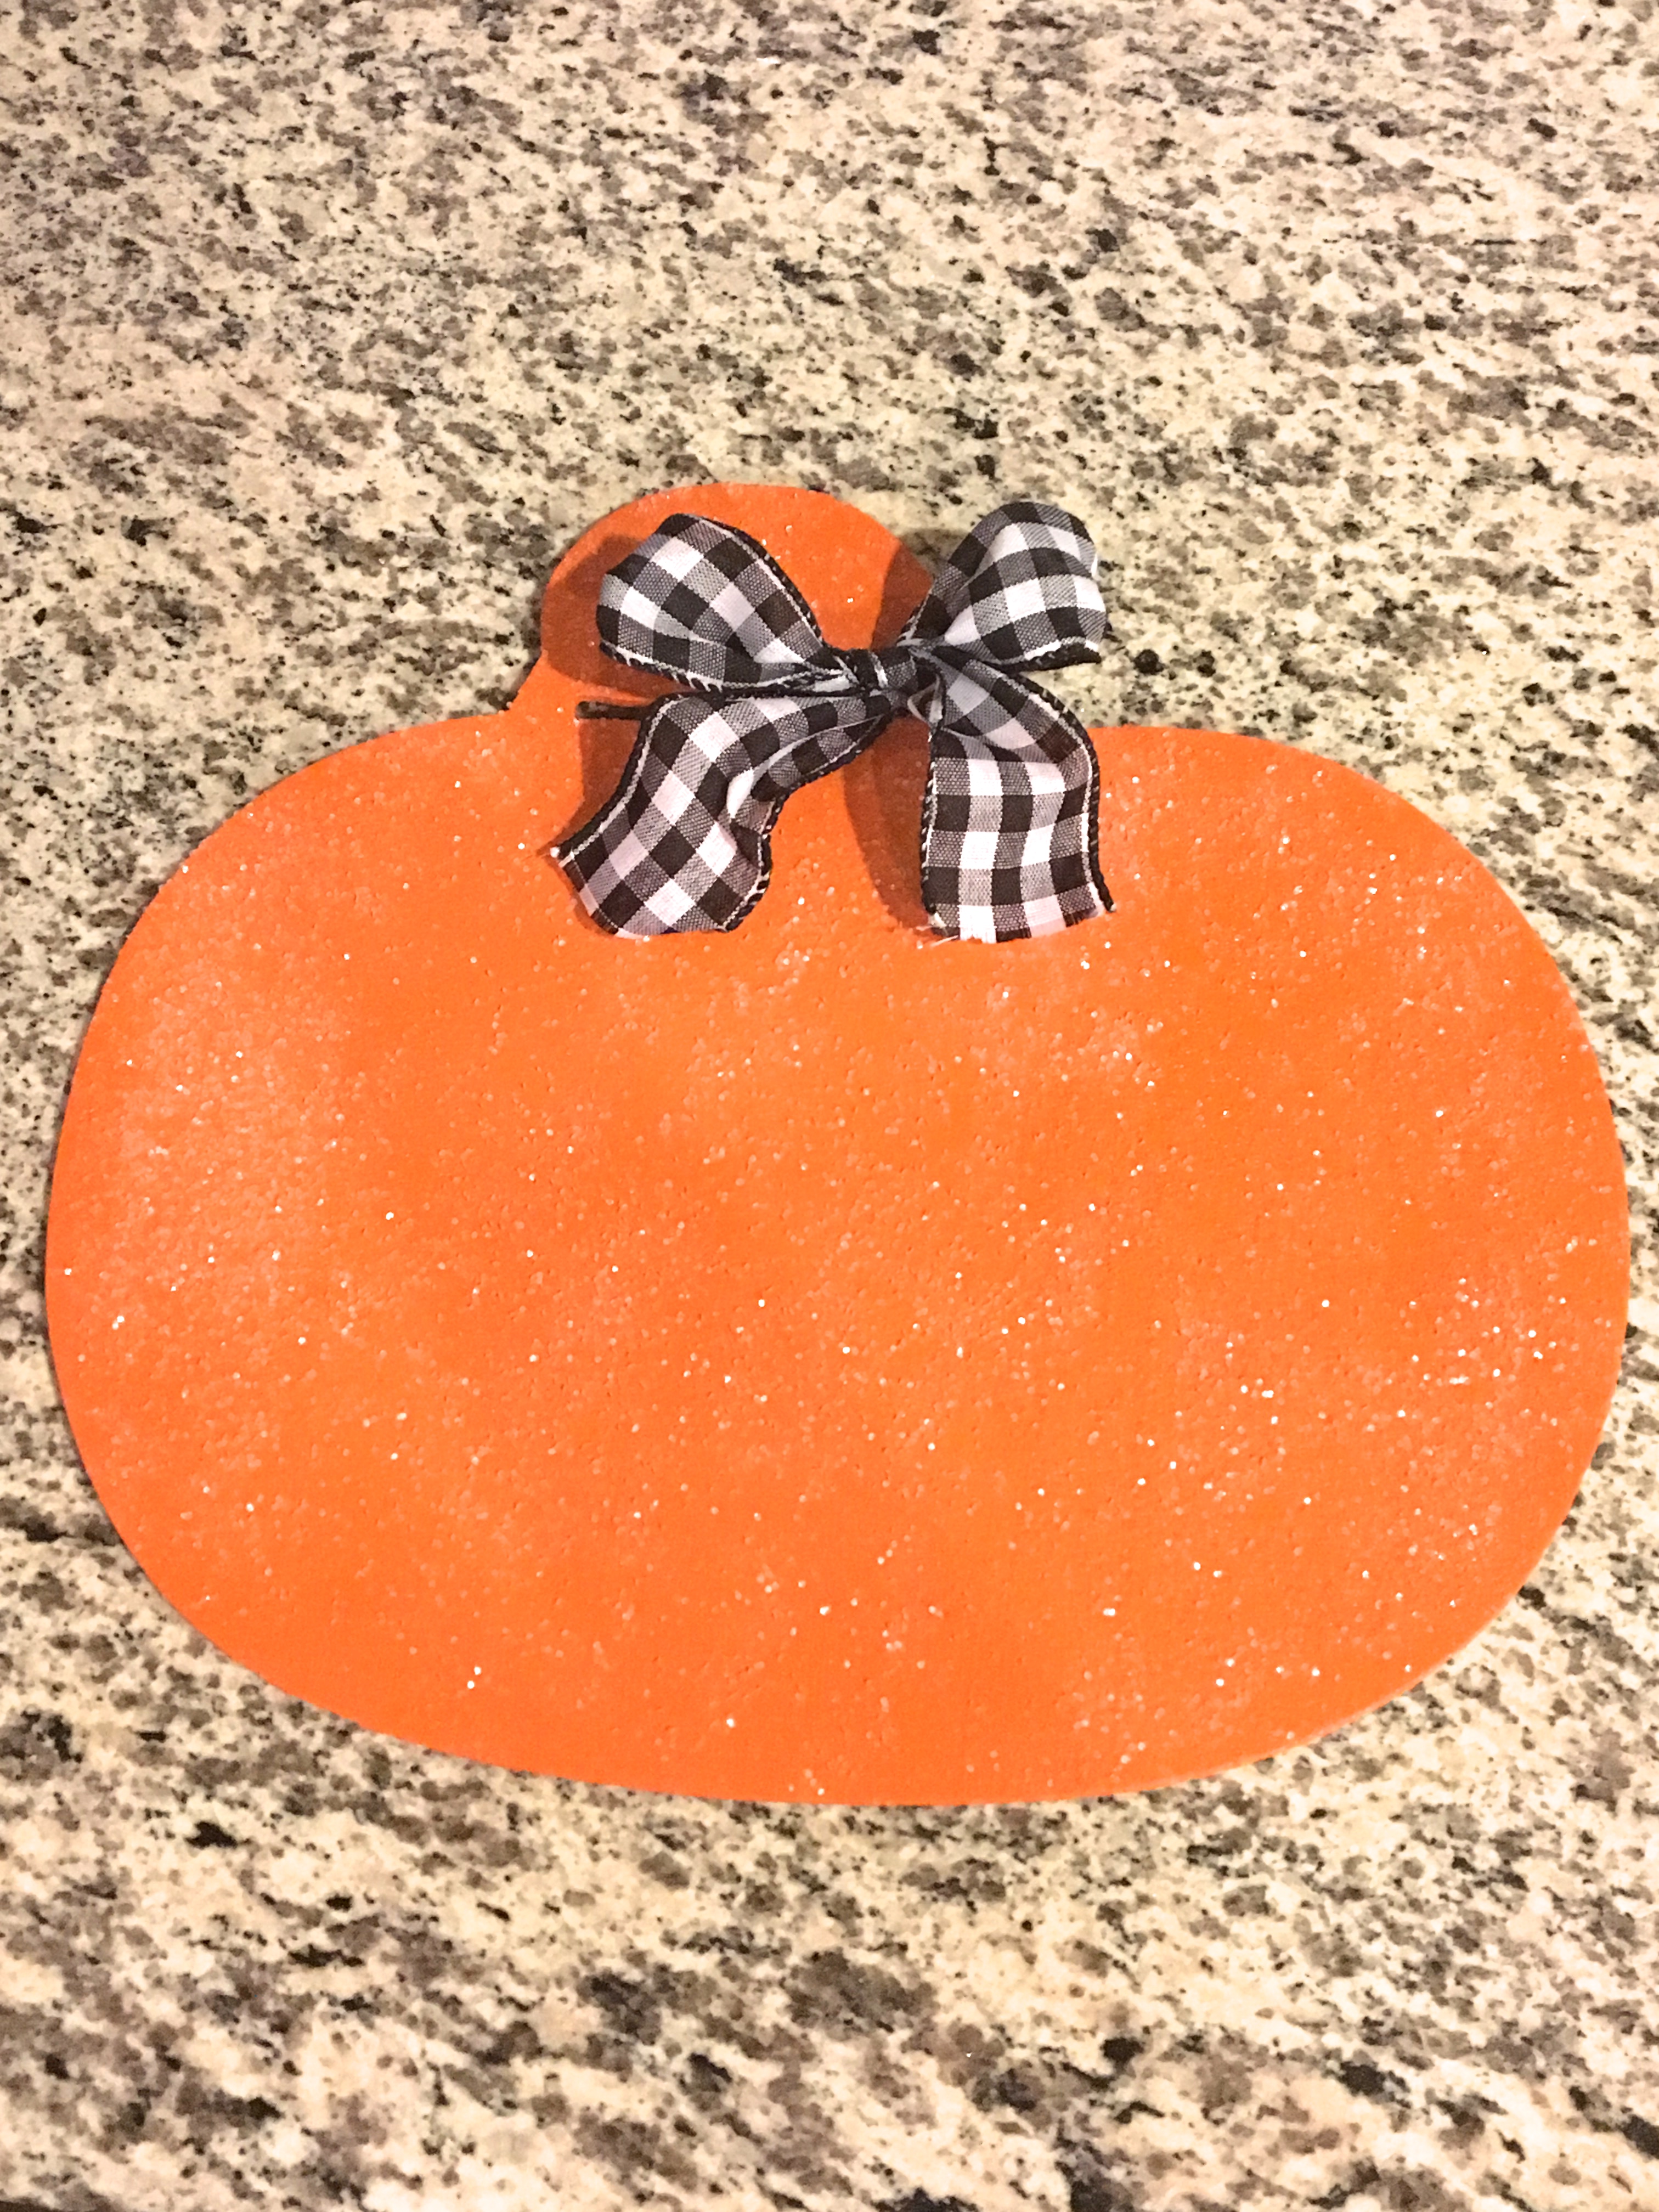
The top of my wood tree already had a piece of velcro attached to it for sticking on the star when it is a Christmas Advent tree. I added a piece of velcro to the back of my pumpkin so I could stick it right on. You can see the details of that from the DIY Wooden Advent tree post. 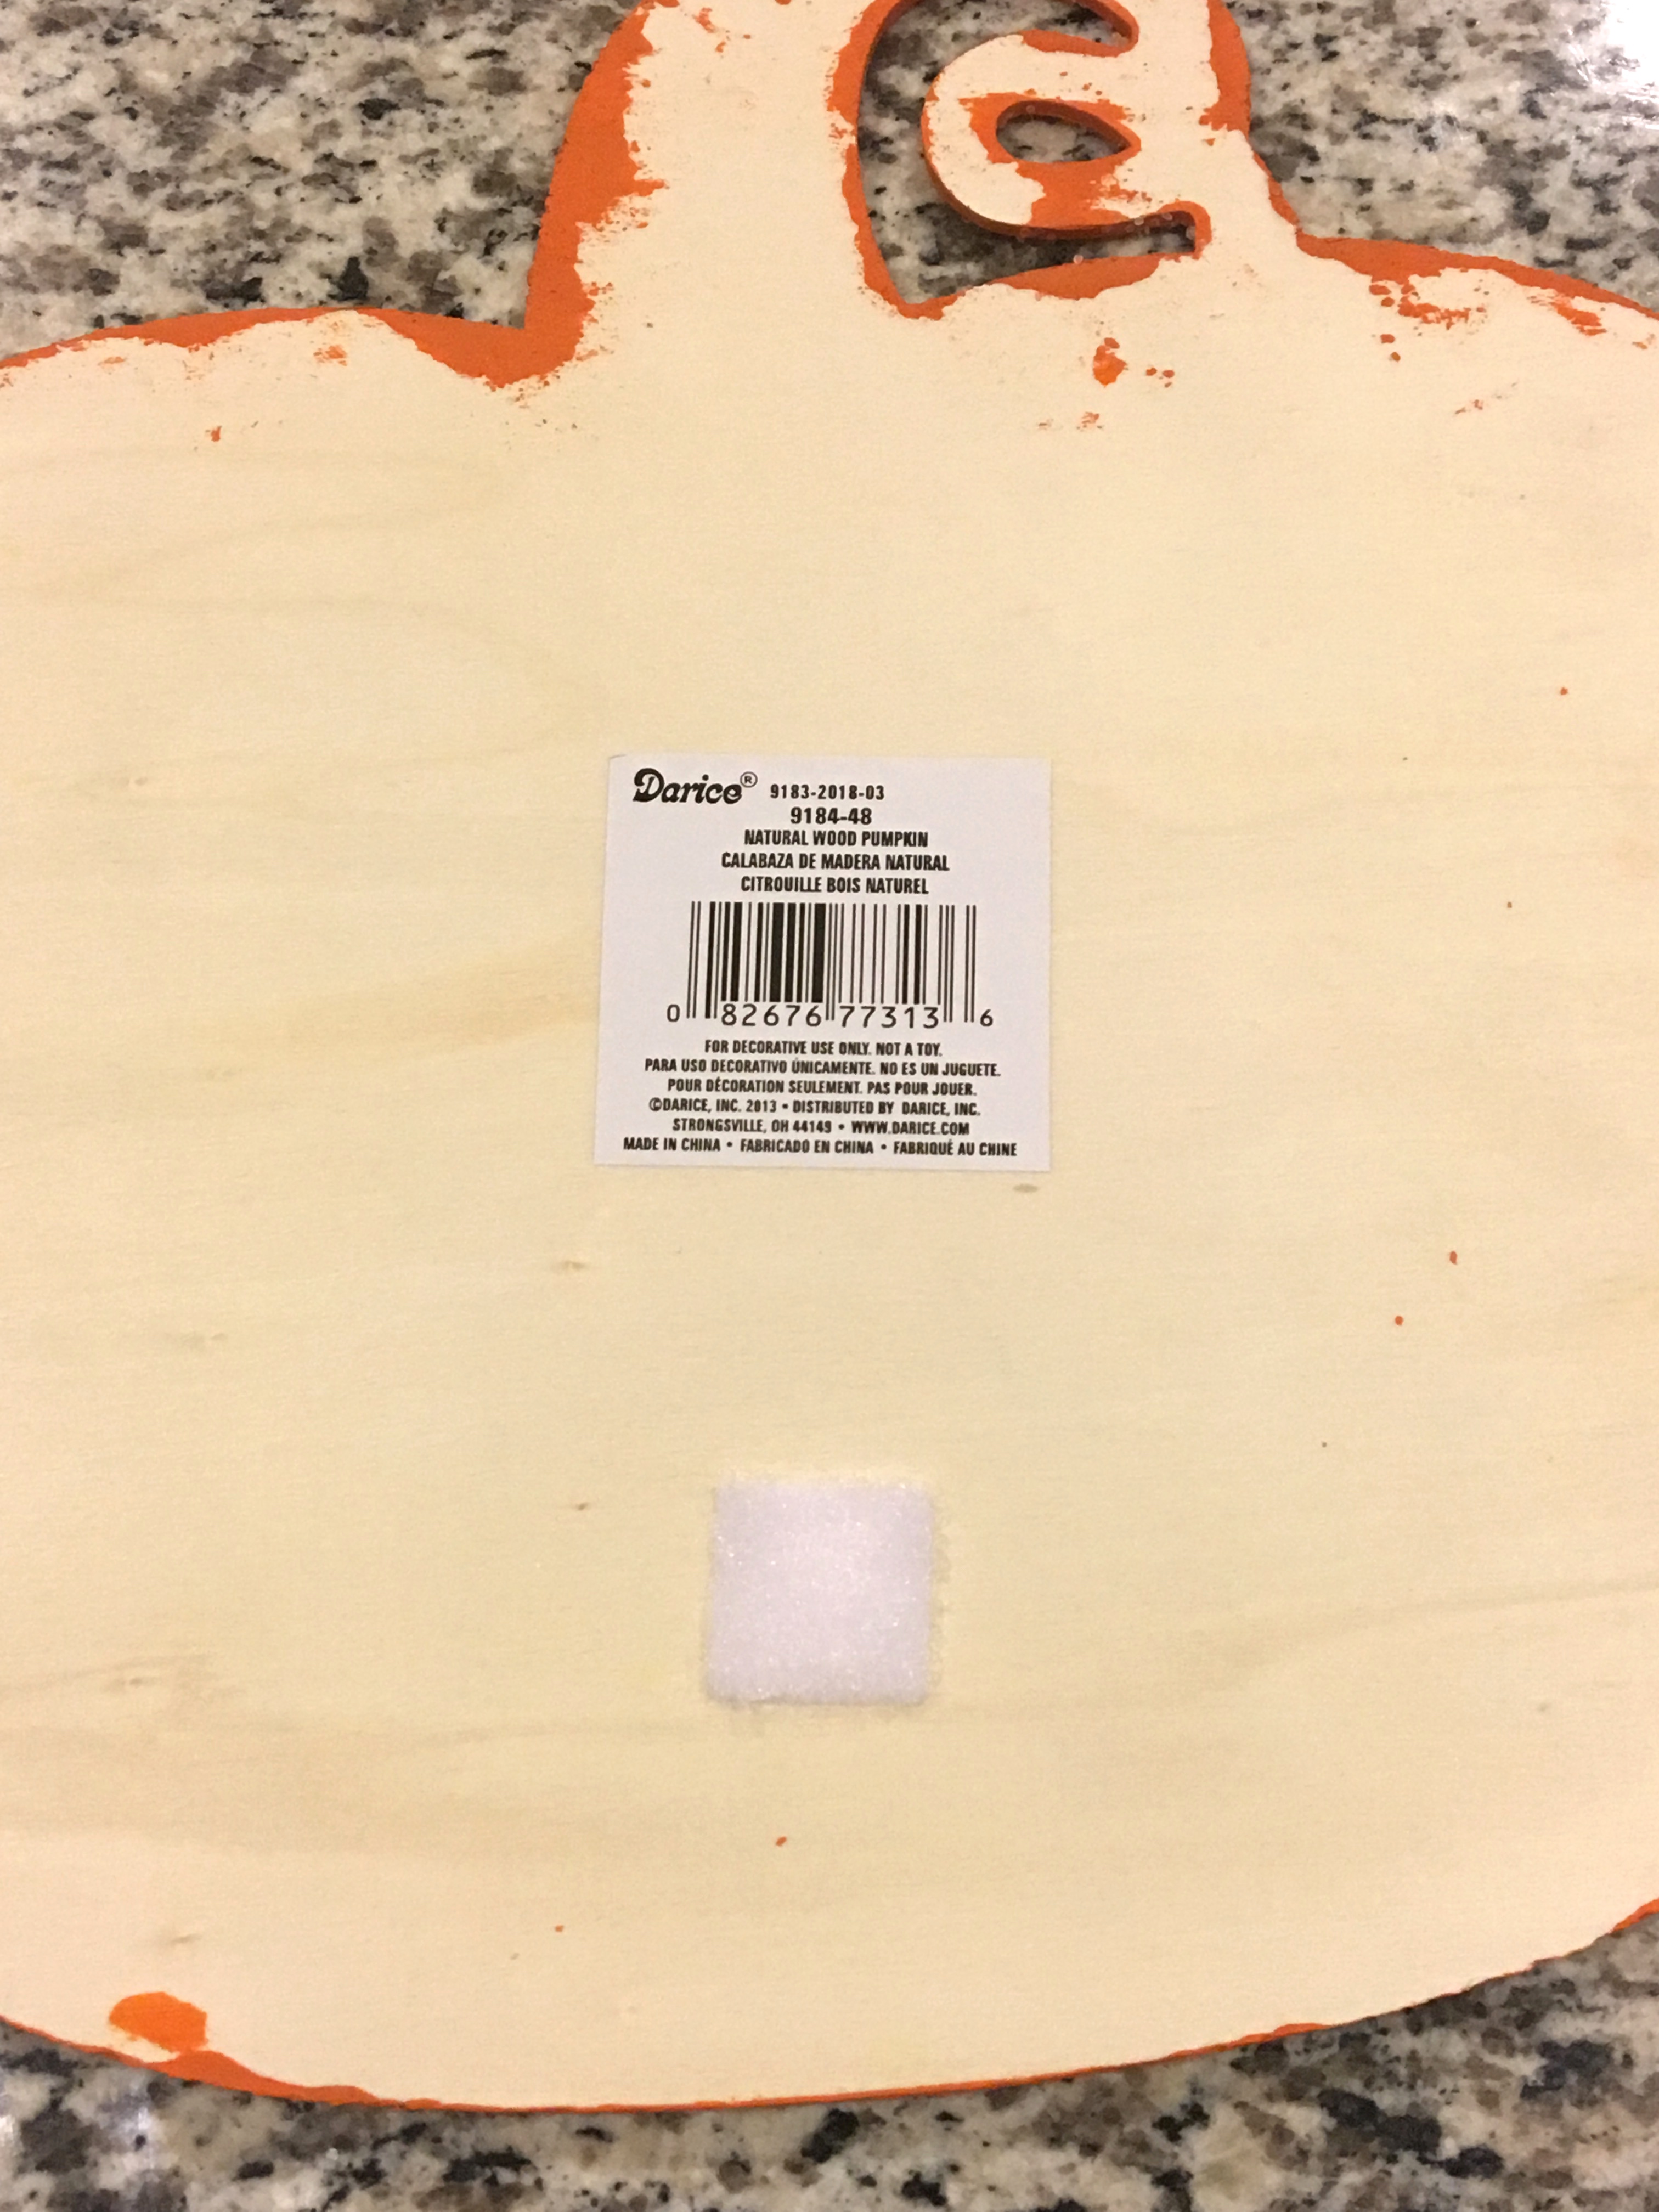
For the November Thankful version I decided to switch out the top for this cute Grateful, Thankful, Blessed sign I found at Hobby Lobby. 
Originally I had just planned to have my chalkboard pumpkins hanging from the tree but I found all these cute fall ornaments in the Target dollar spot for $1 each and I couldn’t resist! I have an initial for each of our names hanging up and some other fun fall shapes too! Then it’s time to gather the kids and write down some stuff you are all thankful for. I used a chalk marker.
I love how I was able to convert my advent tree to get more use out of it in the fall! So tell me, are you a decorate for Thanksgiving type or have you already decked your halls for Christmas??


Leave a Reply