After moving into our new home this year it has totally brought out the DIY in me. It has been so fun doing little things to fix it up or to create fun holiday decor. So I hope you all don’t mind the extra “home” posts that I have been blogging about lately!
I have been loving all things buffalo check this season so I thought it would be fun to create a banner out of buffalo check to hang across my front porch for fall and Halloween time. I decided to go with an oilcloth fabric, as it is waterproof, to withstand the outside elements. If you are not familiar with oilcloth it is also great for tablecloths or baby bibs etc. because it is waterproof and easy to wipe up and clean. I remember when my girls were little my mother in law sent me a few full body bibs for them that she had made out of oilcloth. When making a banner there are so many other options out there besides gingham. You can customize it with any colors or theme for your decor, just search oilcloth fabric on Google.
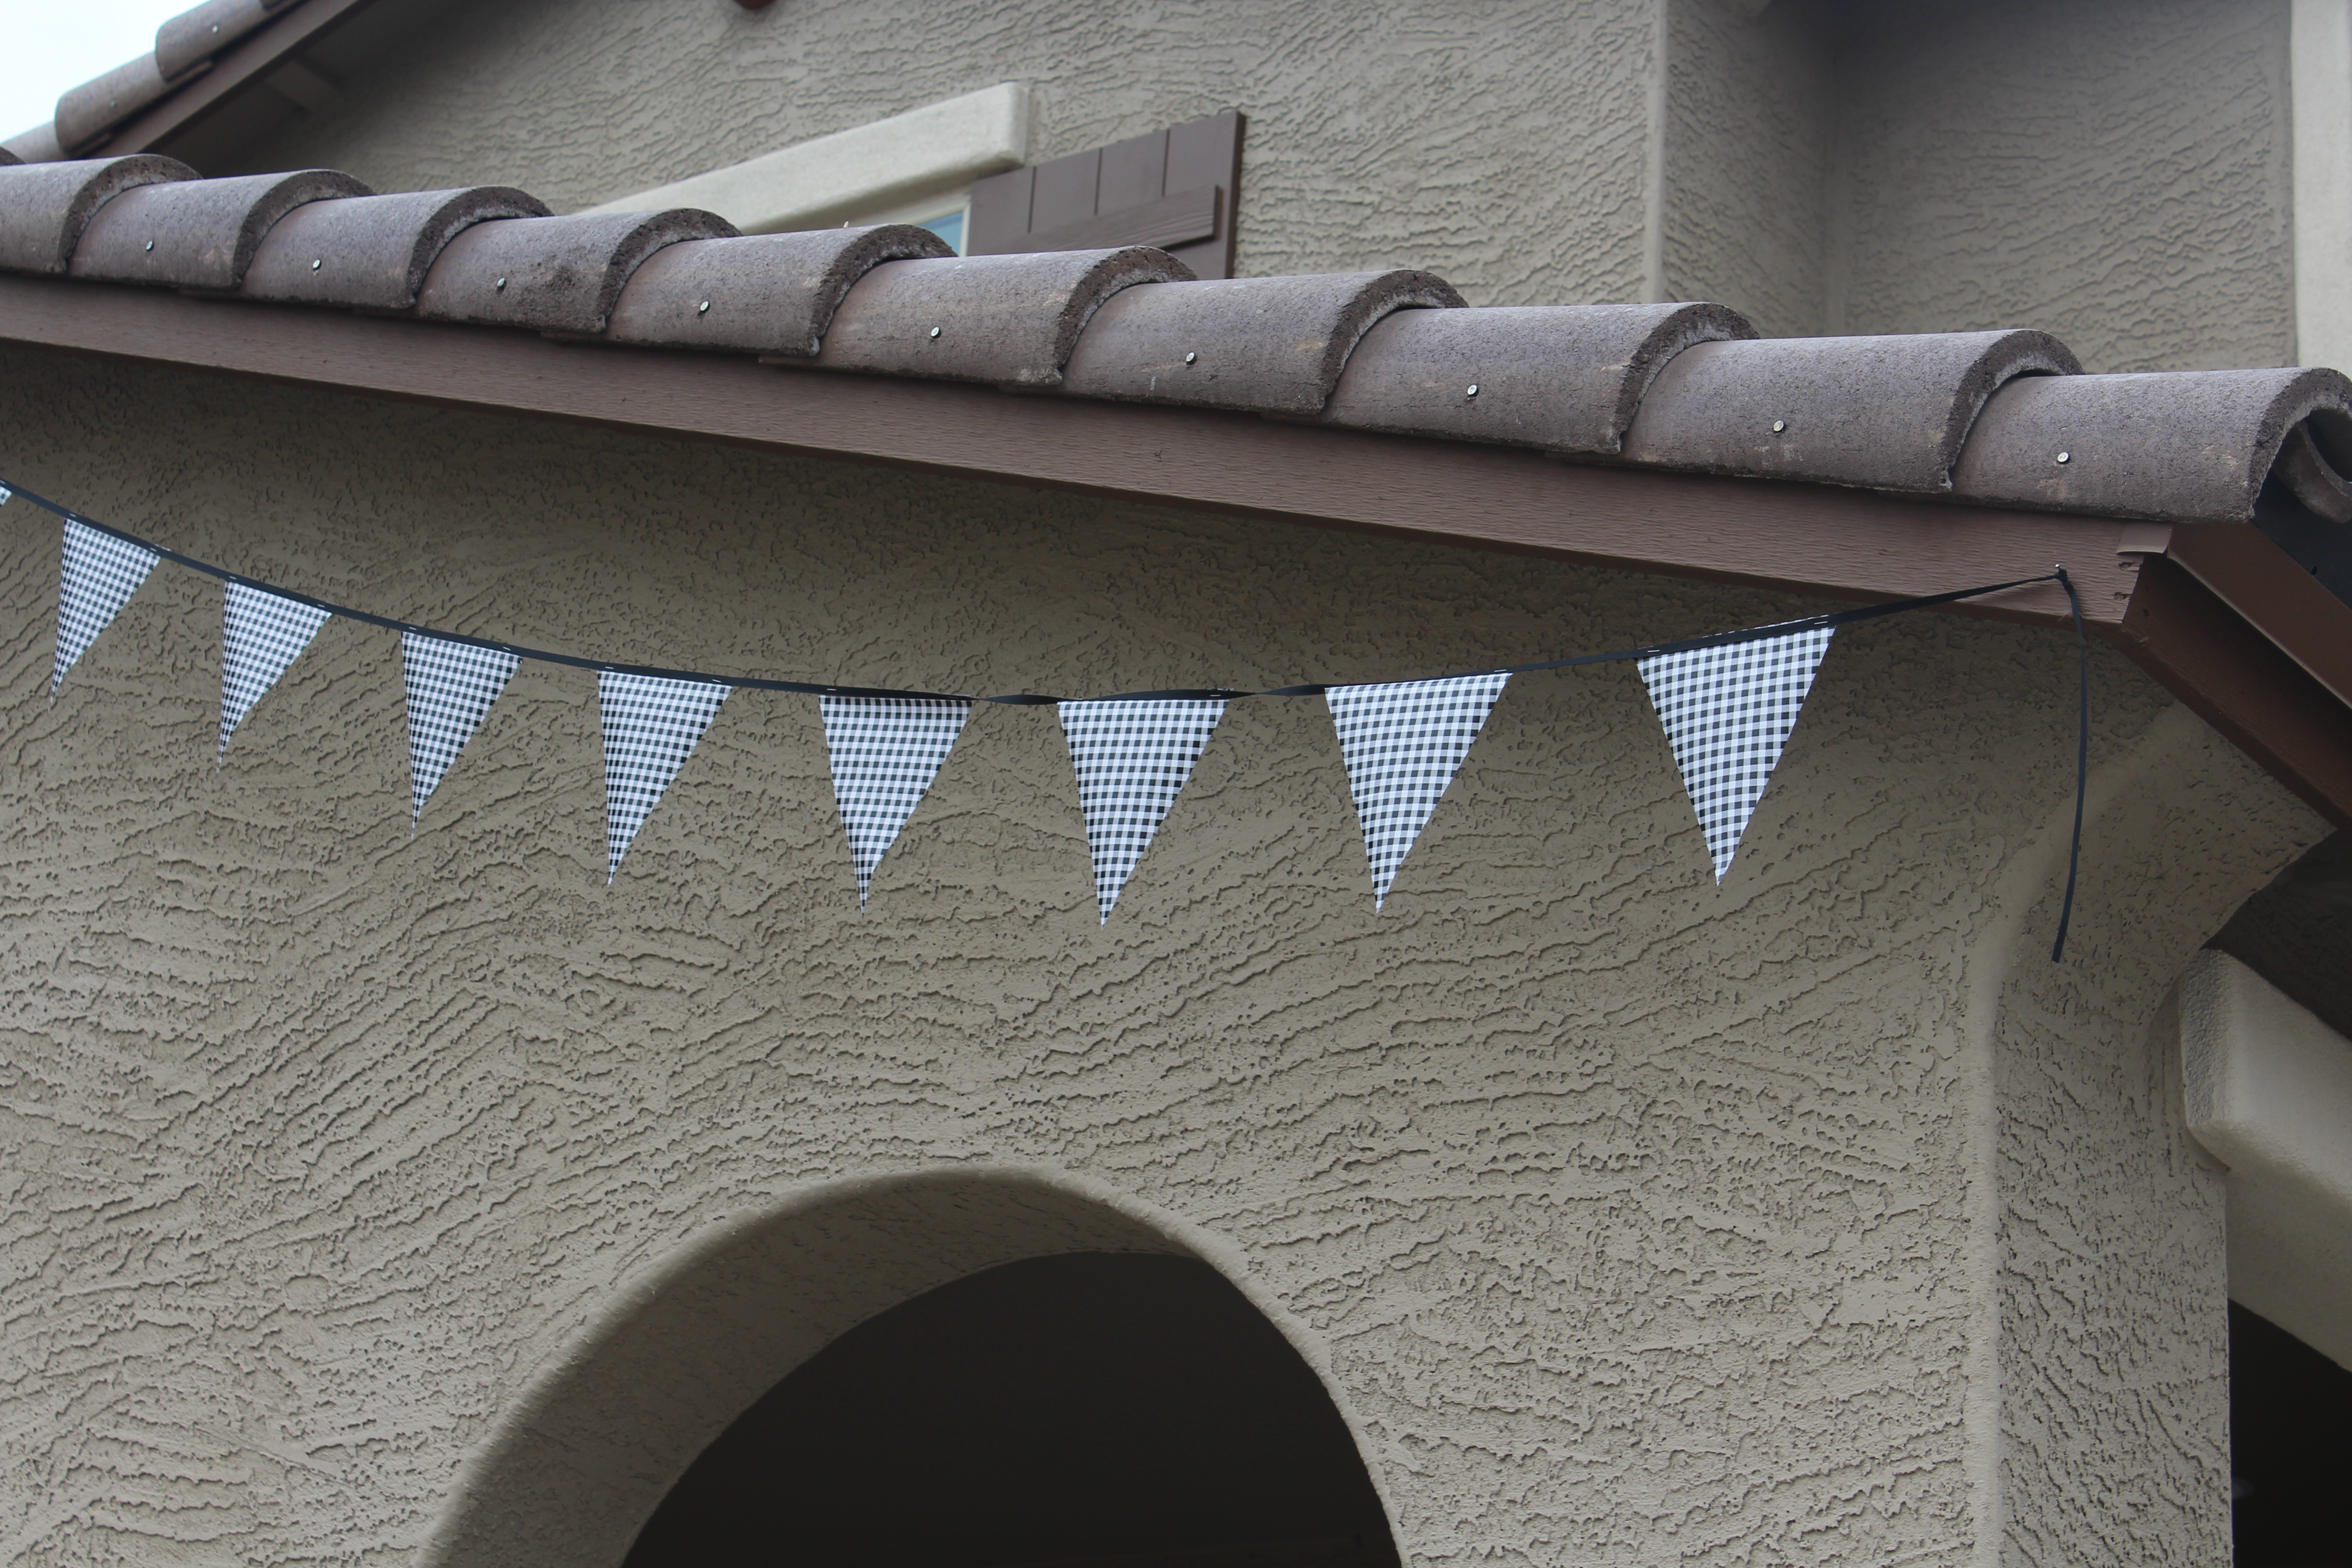
When making the banner I originally tried to find a larger size gingham/buffalo check pattern in black and white so it would show up from the street better, but all I could find was the 1/4 inch size. I think it still turned out super cute! 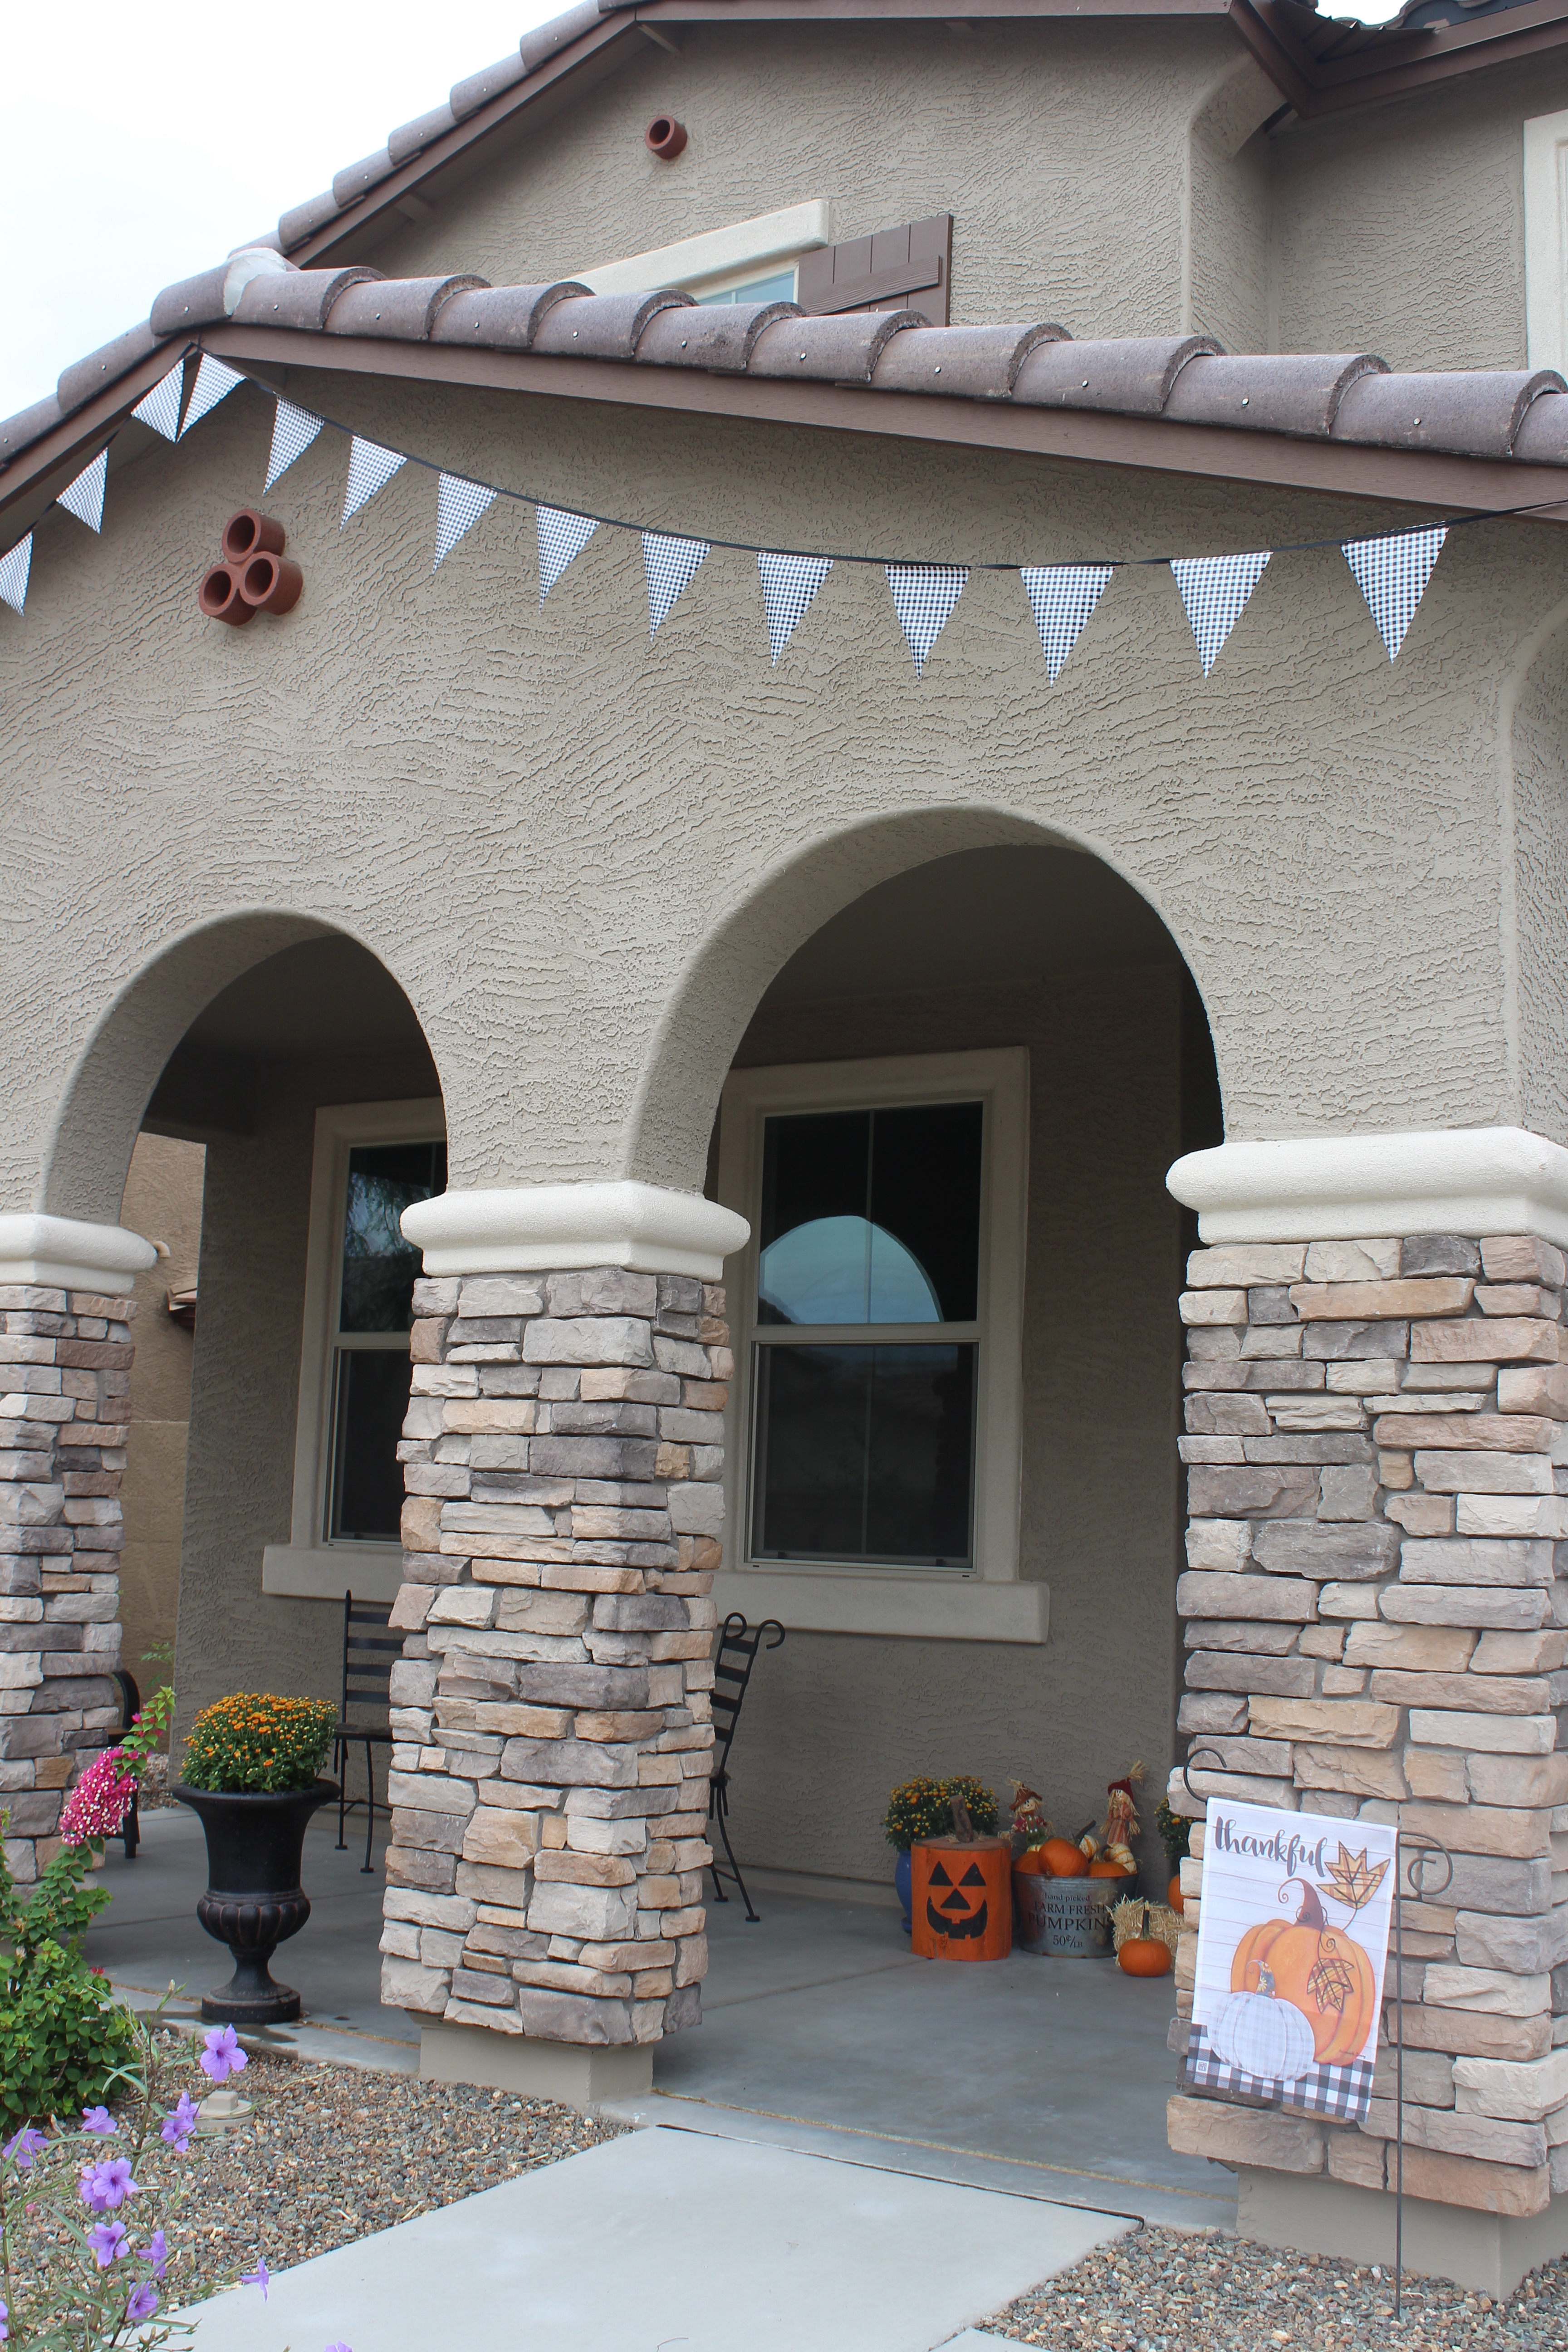
I made my pennants 8 inches and I think they are the perfect size.
This project is really pretty simple to make. It did take some time to trace the pennants and then cut them out, but I broke it into 2 nights and it made for a good evening activity when my husband was working!
Here is how you put it all together.
DIY Buffalo Check Banner
SUPPLIES: (affiliate links included for your convenience!)
pennant template ( I made my own 8 inches wide)
hot glue gun (similar)
12 inch ruler
scissors
stapler (optional)
DIRECTIONS:
I ordered 1 yard of oilcloth fabric and it was plenty. My porch is about 22 feet long but I knew I wanted to have it draped up there, secured on the sides and the center point, and not pulled tight all the way across. My pennants were 8 inches wide and I used 22 of them. I placed them about every 12 inches and started the first one about 2 feet in. When I was done attaching the last pennant I cut my ribbon another 2 feet out on the other side to give me room to tie it off (or my husband for that matter!). Hopefully that will give you an idea of how much cloth to order. This is great because you can make the banner as long or as short as you need.
I originally searched for a pennant template on Google but I did not find one I liked so I just traced and made my own. I took a piece of 8 1/2 x 11 paper and drew with a ruler one 8 inch horizontal line across the top. Then I measured straight down 9 inches from the end of both sides of the line. Then I found the middle point of the two vertical lines and put a dot there. With my ruler I drew a straight line from the end of each side of the horizontal line to the dot. 
Then I cut out the pennant and it was all ready to use as my template.

Then using my template I traced out 22 triangles on the under side of the oil cloth. I made the triangles back to back to save as much space as possible. 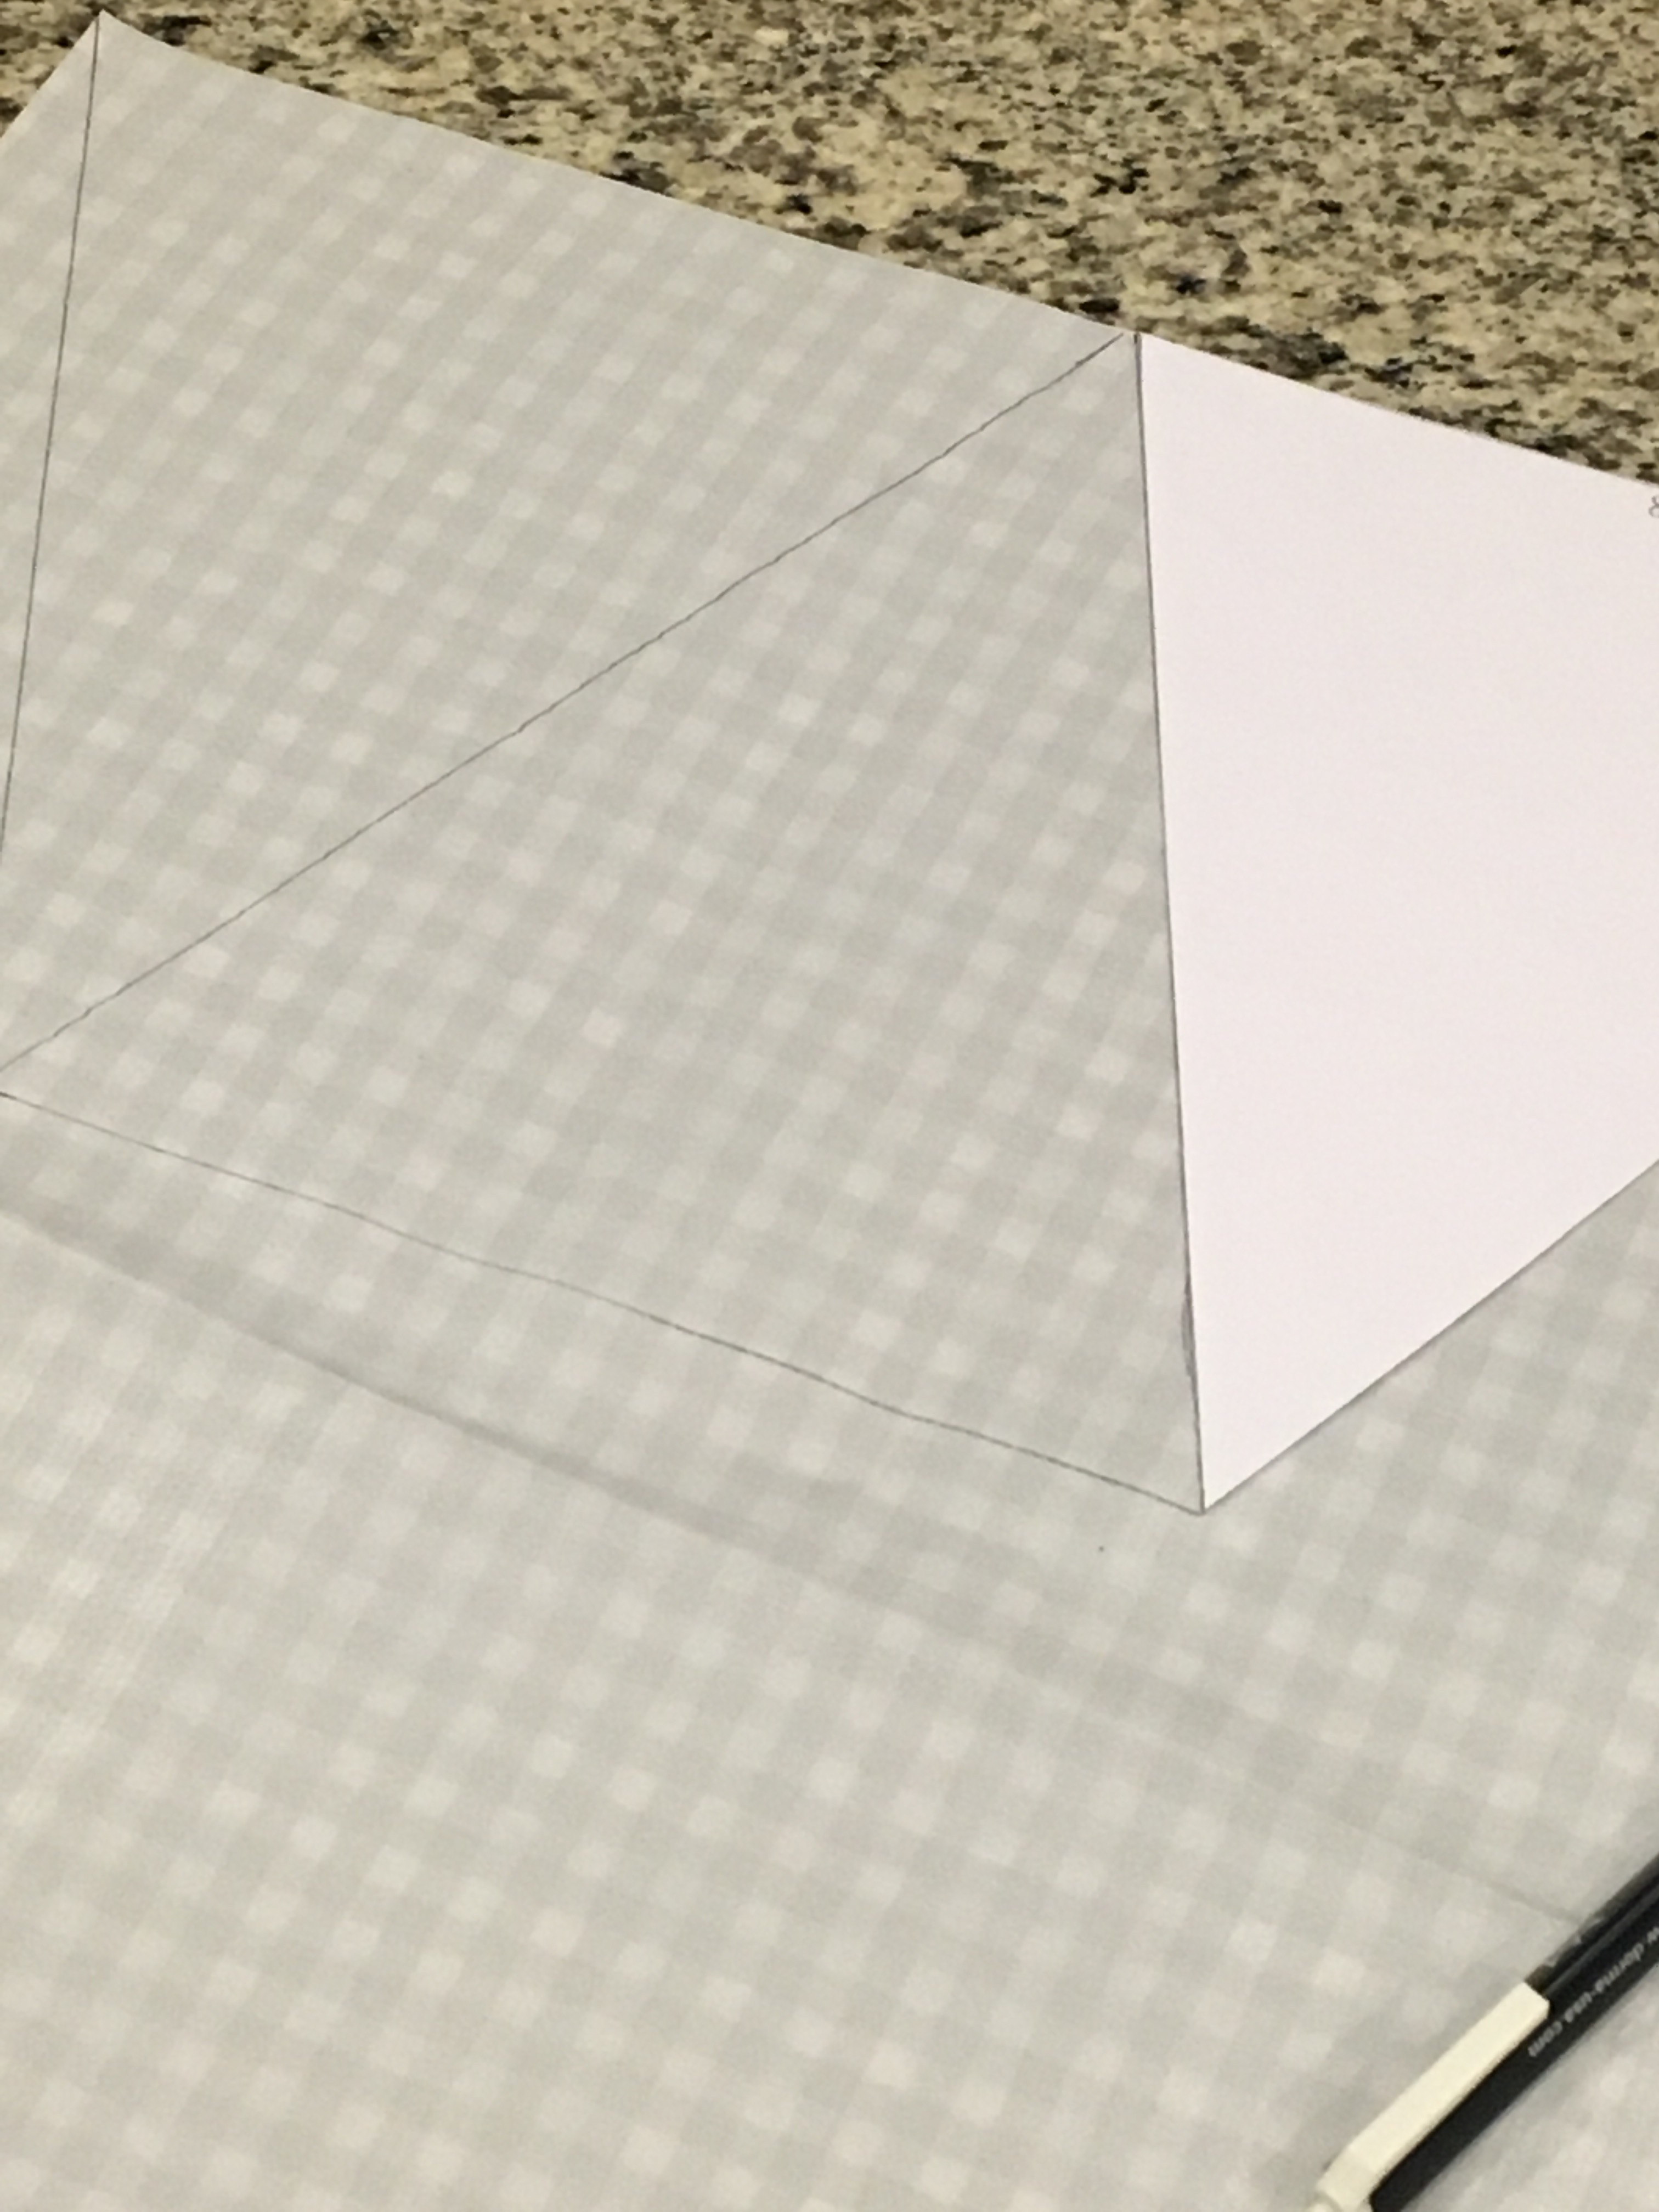
Once all the pennants were cut out I was ready to glue them to the grosgrain ribbon. 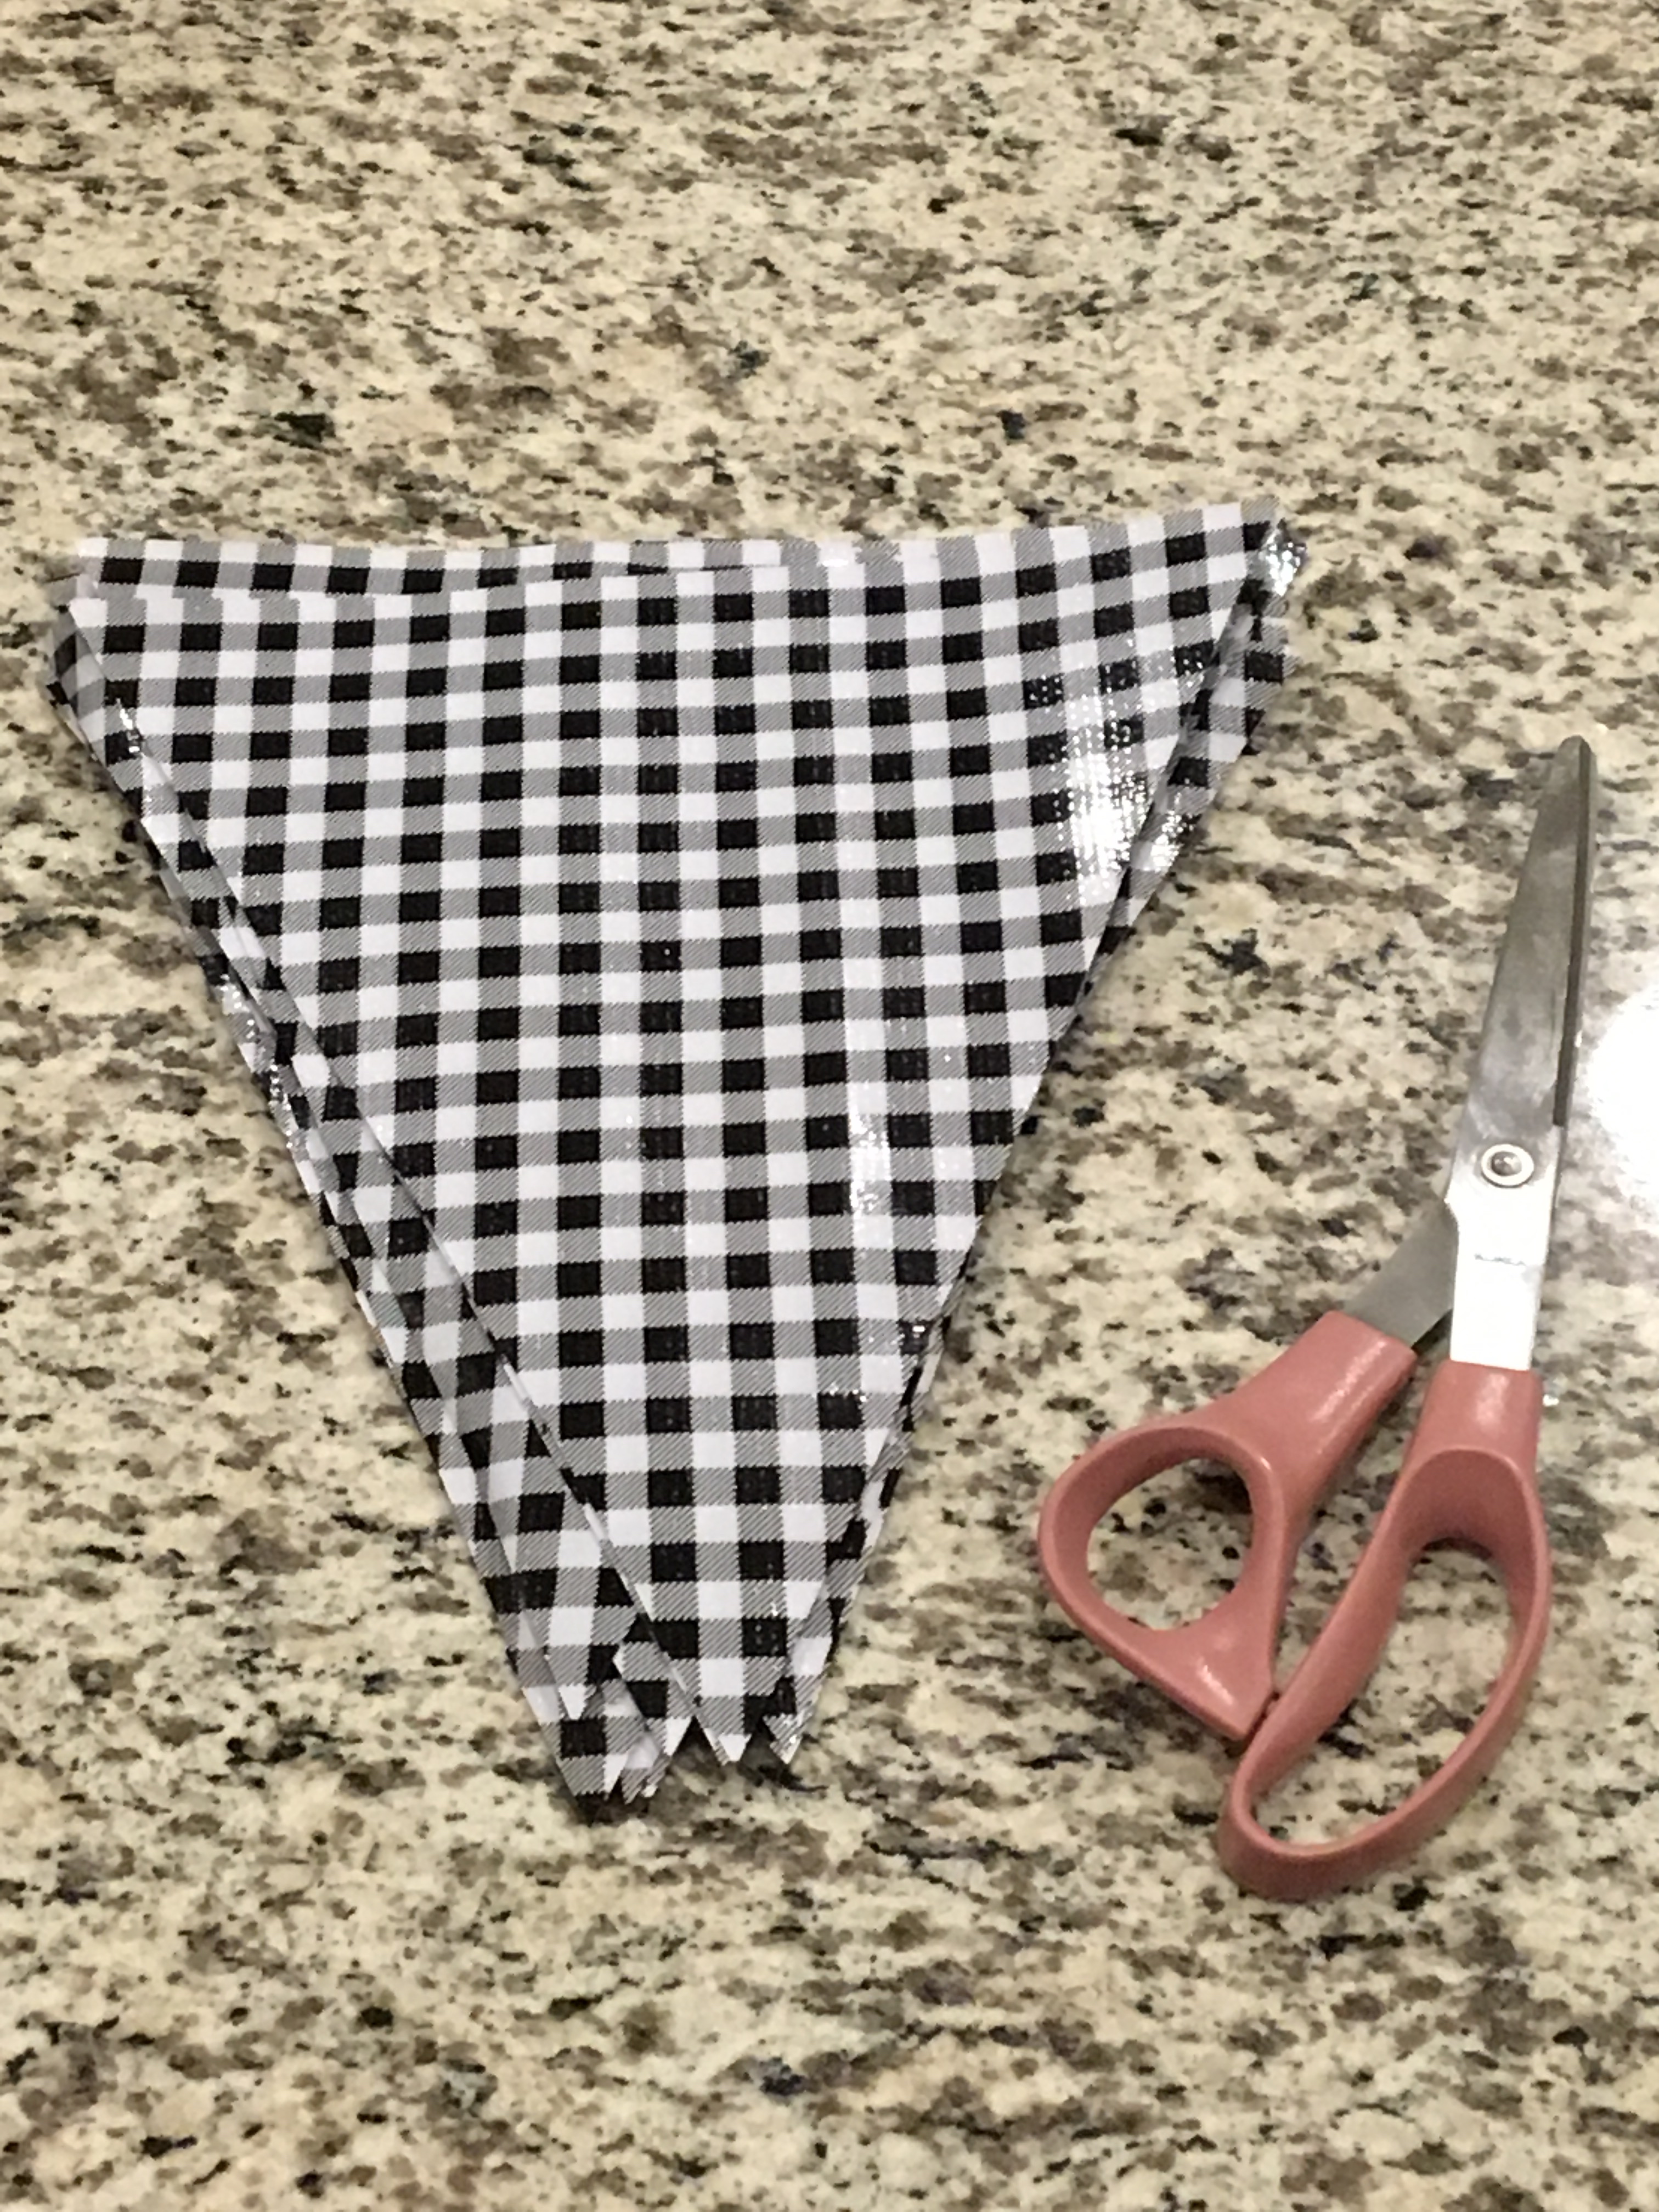
I used a 3/8 inch size grosgrain ribbon and I bought a 50 yard spool on Amazon. I wanted to make sure I had more than enough ribbon to make this all in one piece and it was such a better deal anyway! Give yourself plenty of room at the start of your banner for tying off, and then once you find where you want to start, place a line of hot glue right along the top of the first pennant, then carefully place the grosgrain ribbon down so it meets the top of the oilcloth. Figure out how far apart you want each pennant, then measure that space and repeat the process. Mine were about 12 inches apart measured from the start of one pennant to the start of another.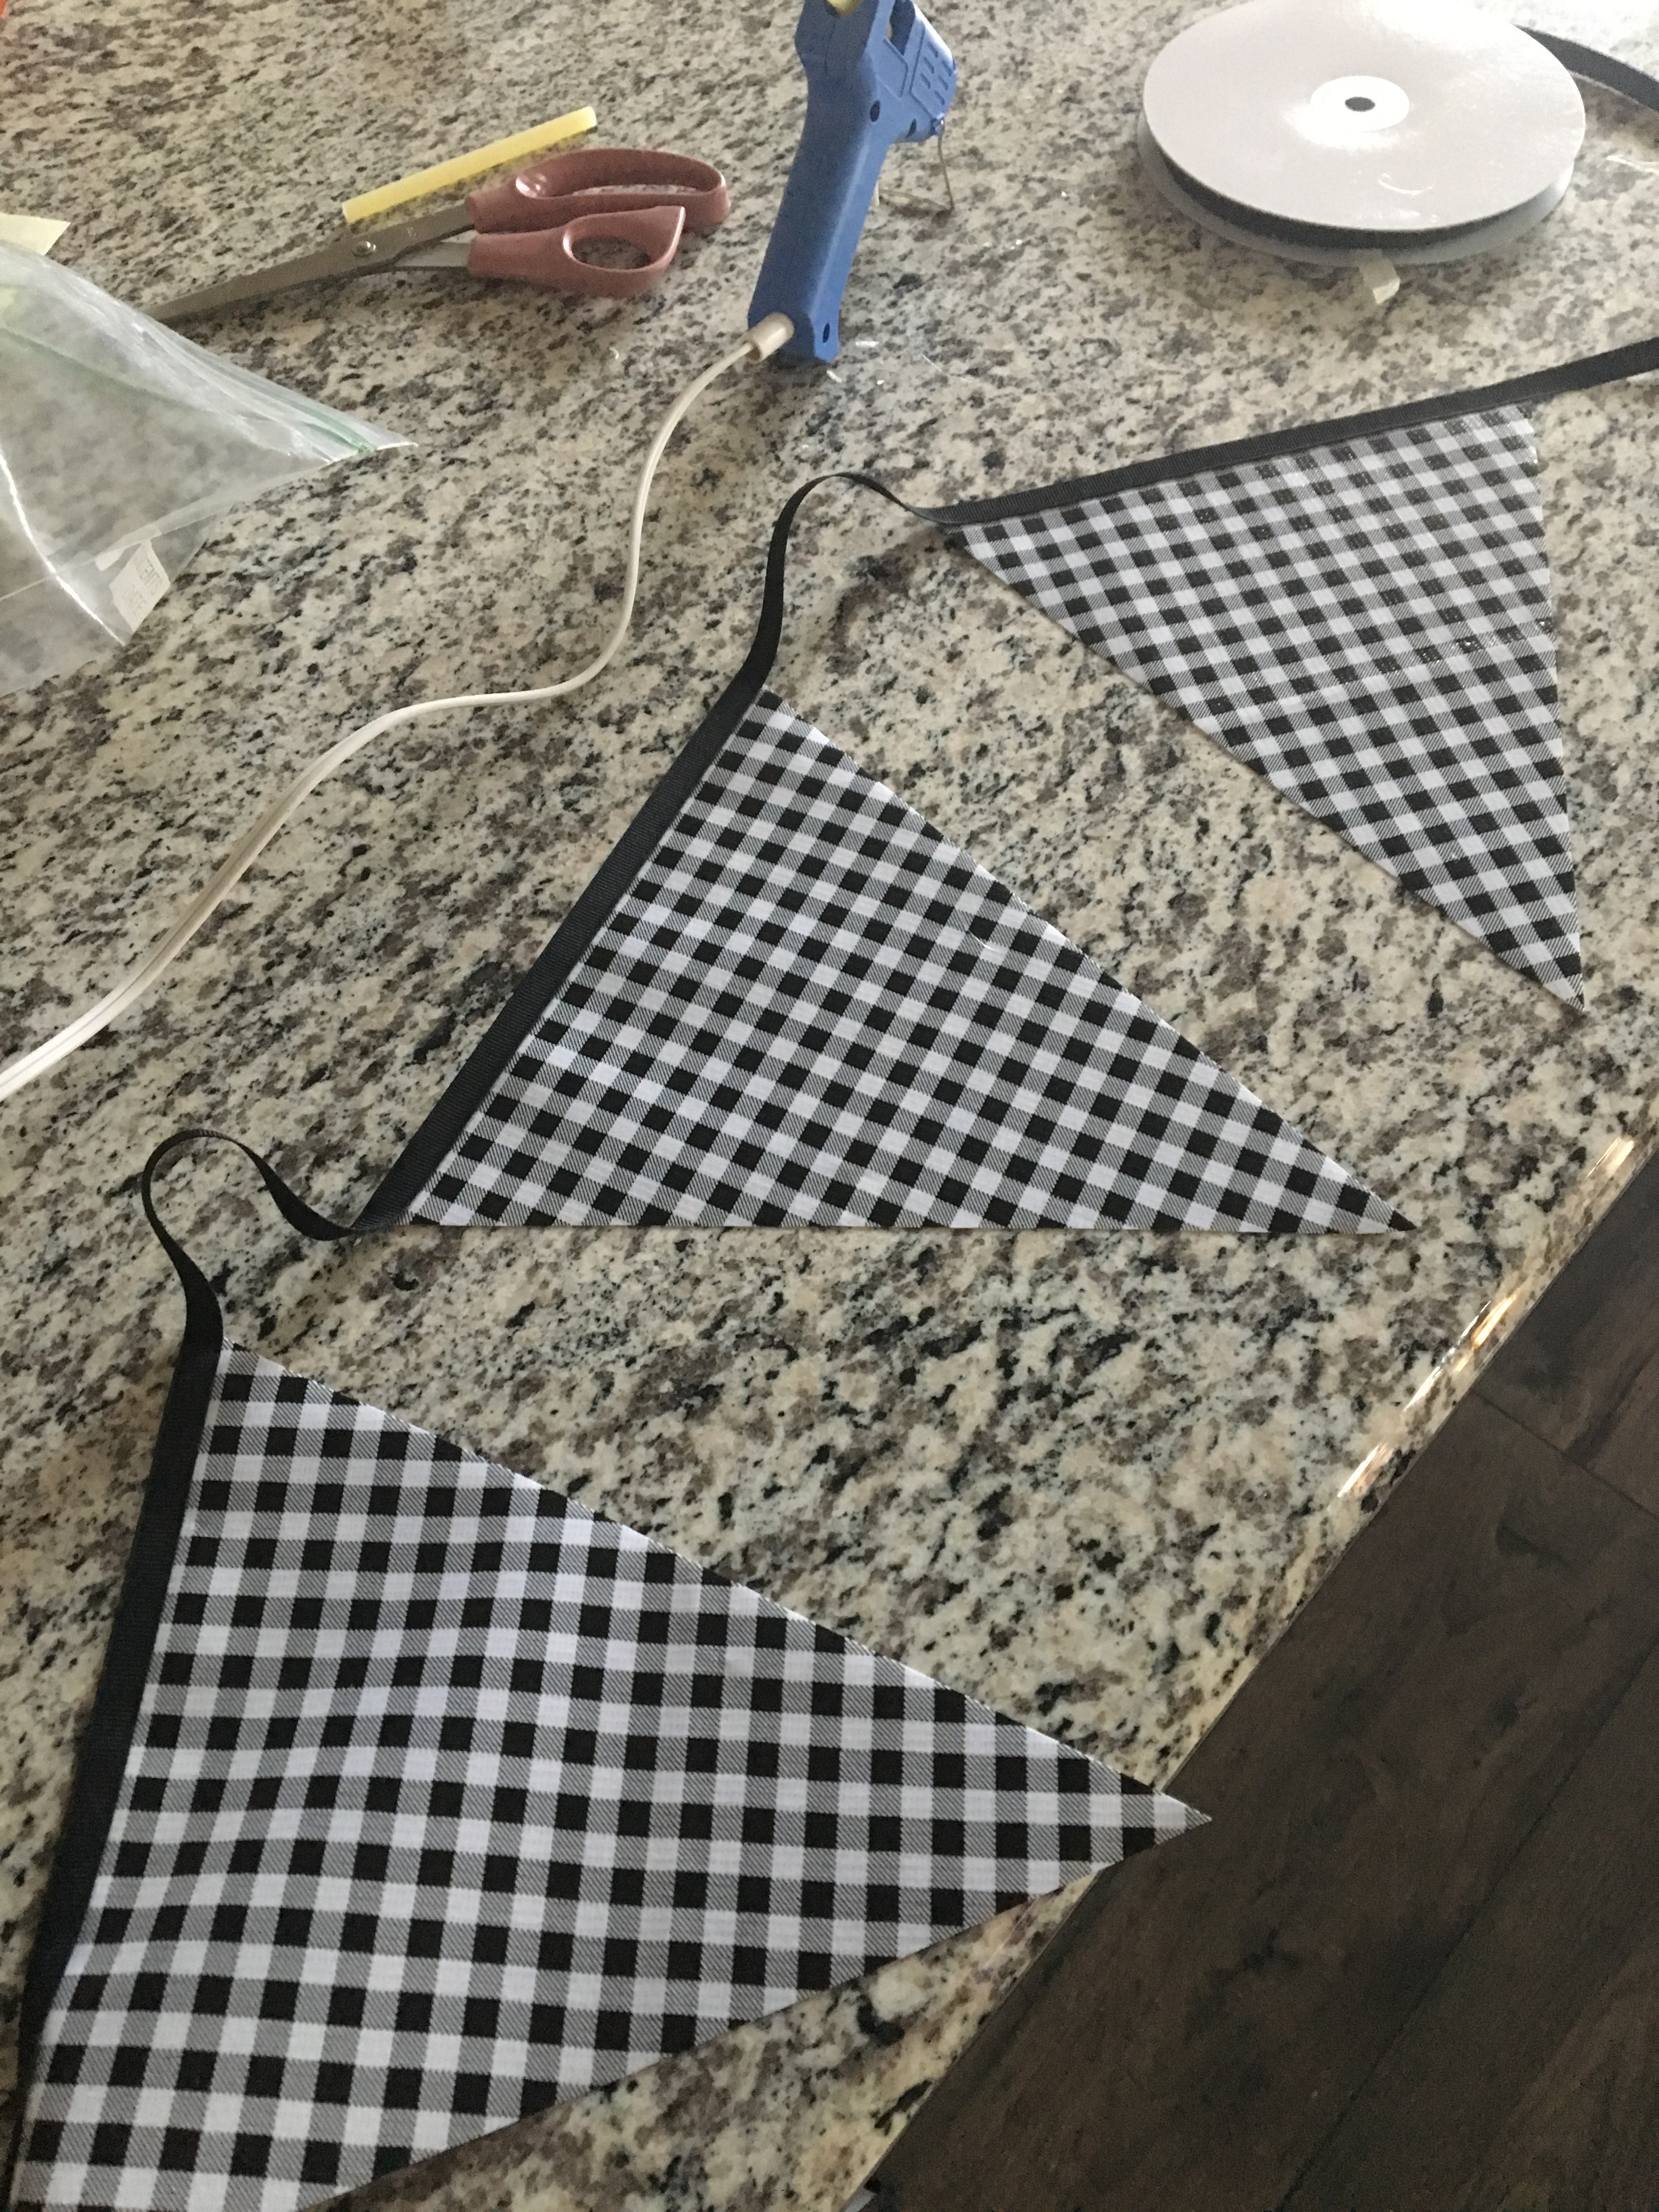
And that’s it! You have an adorable banner to hang on your porch!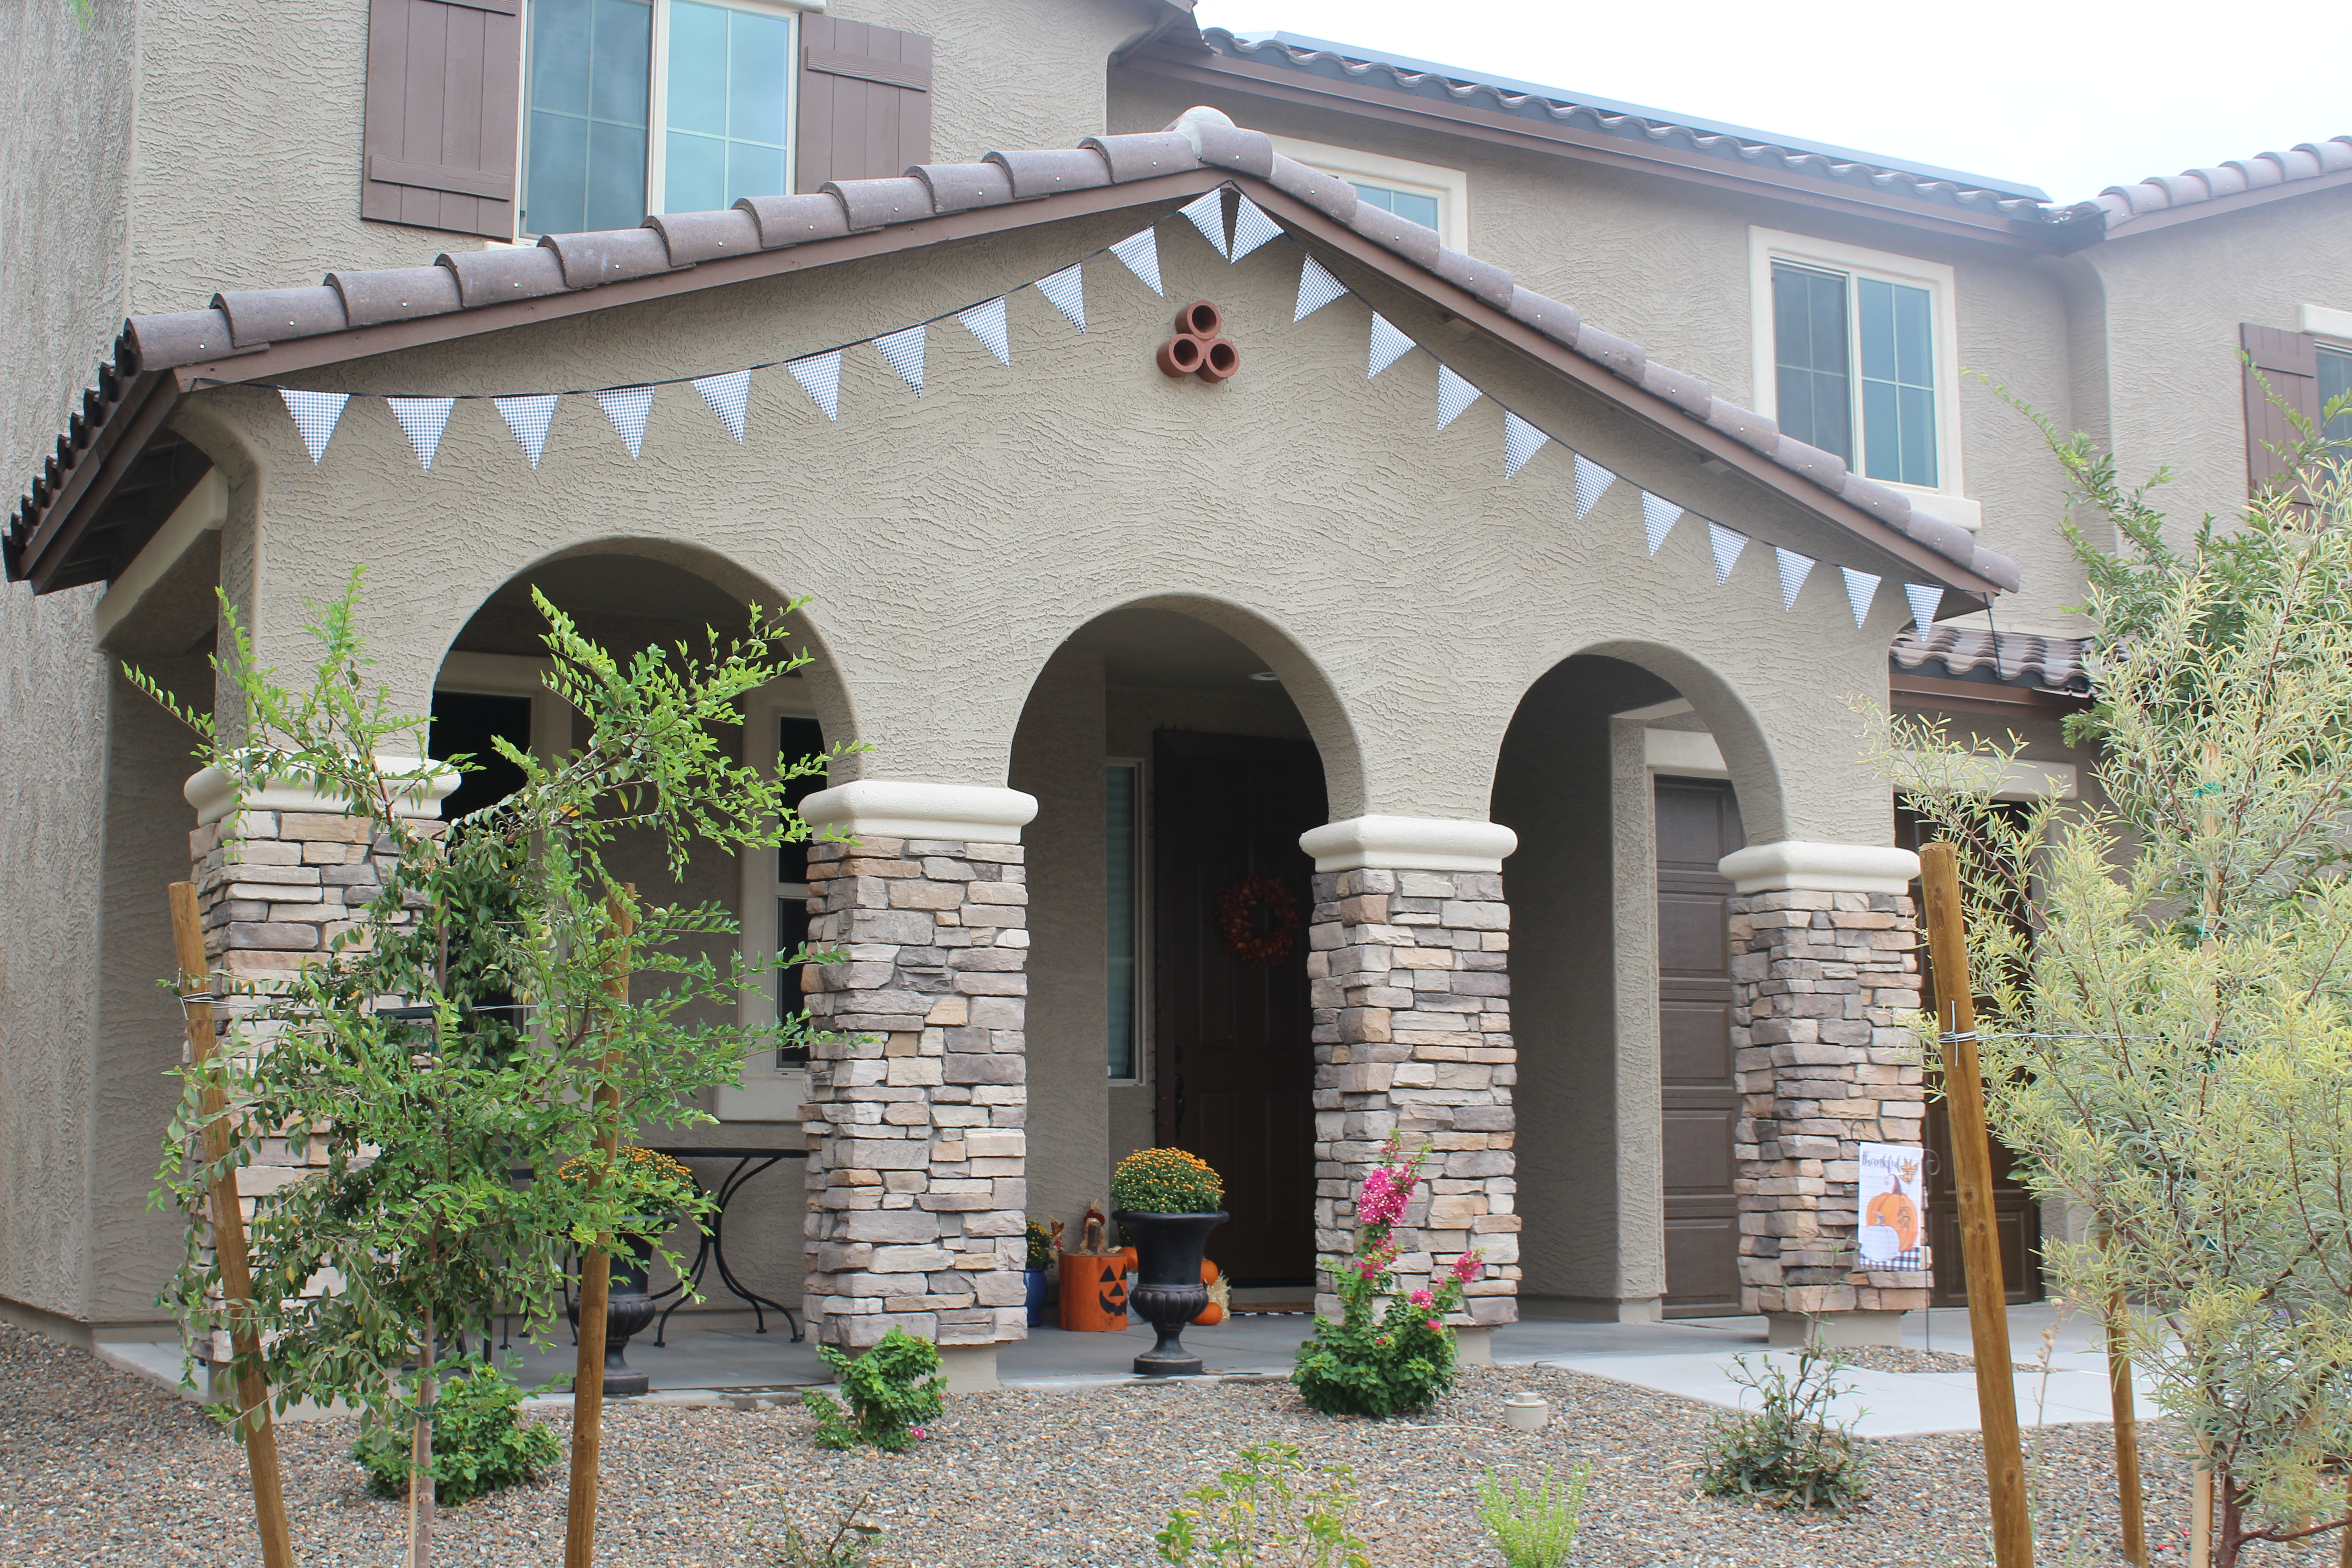
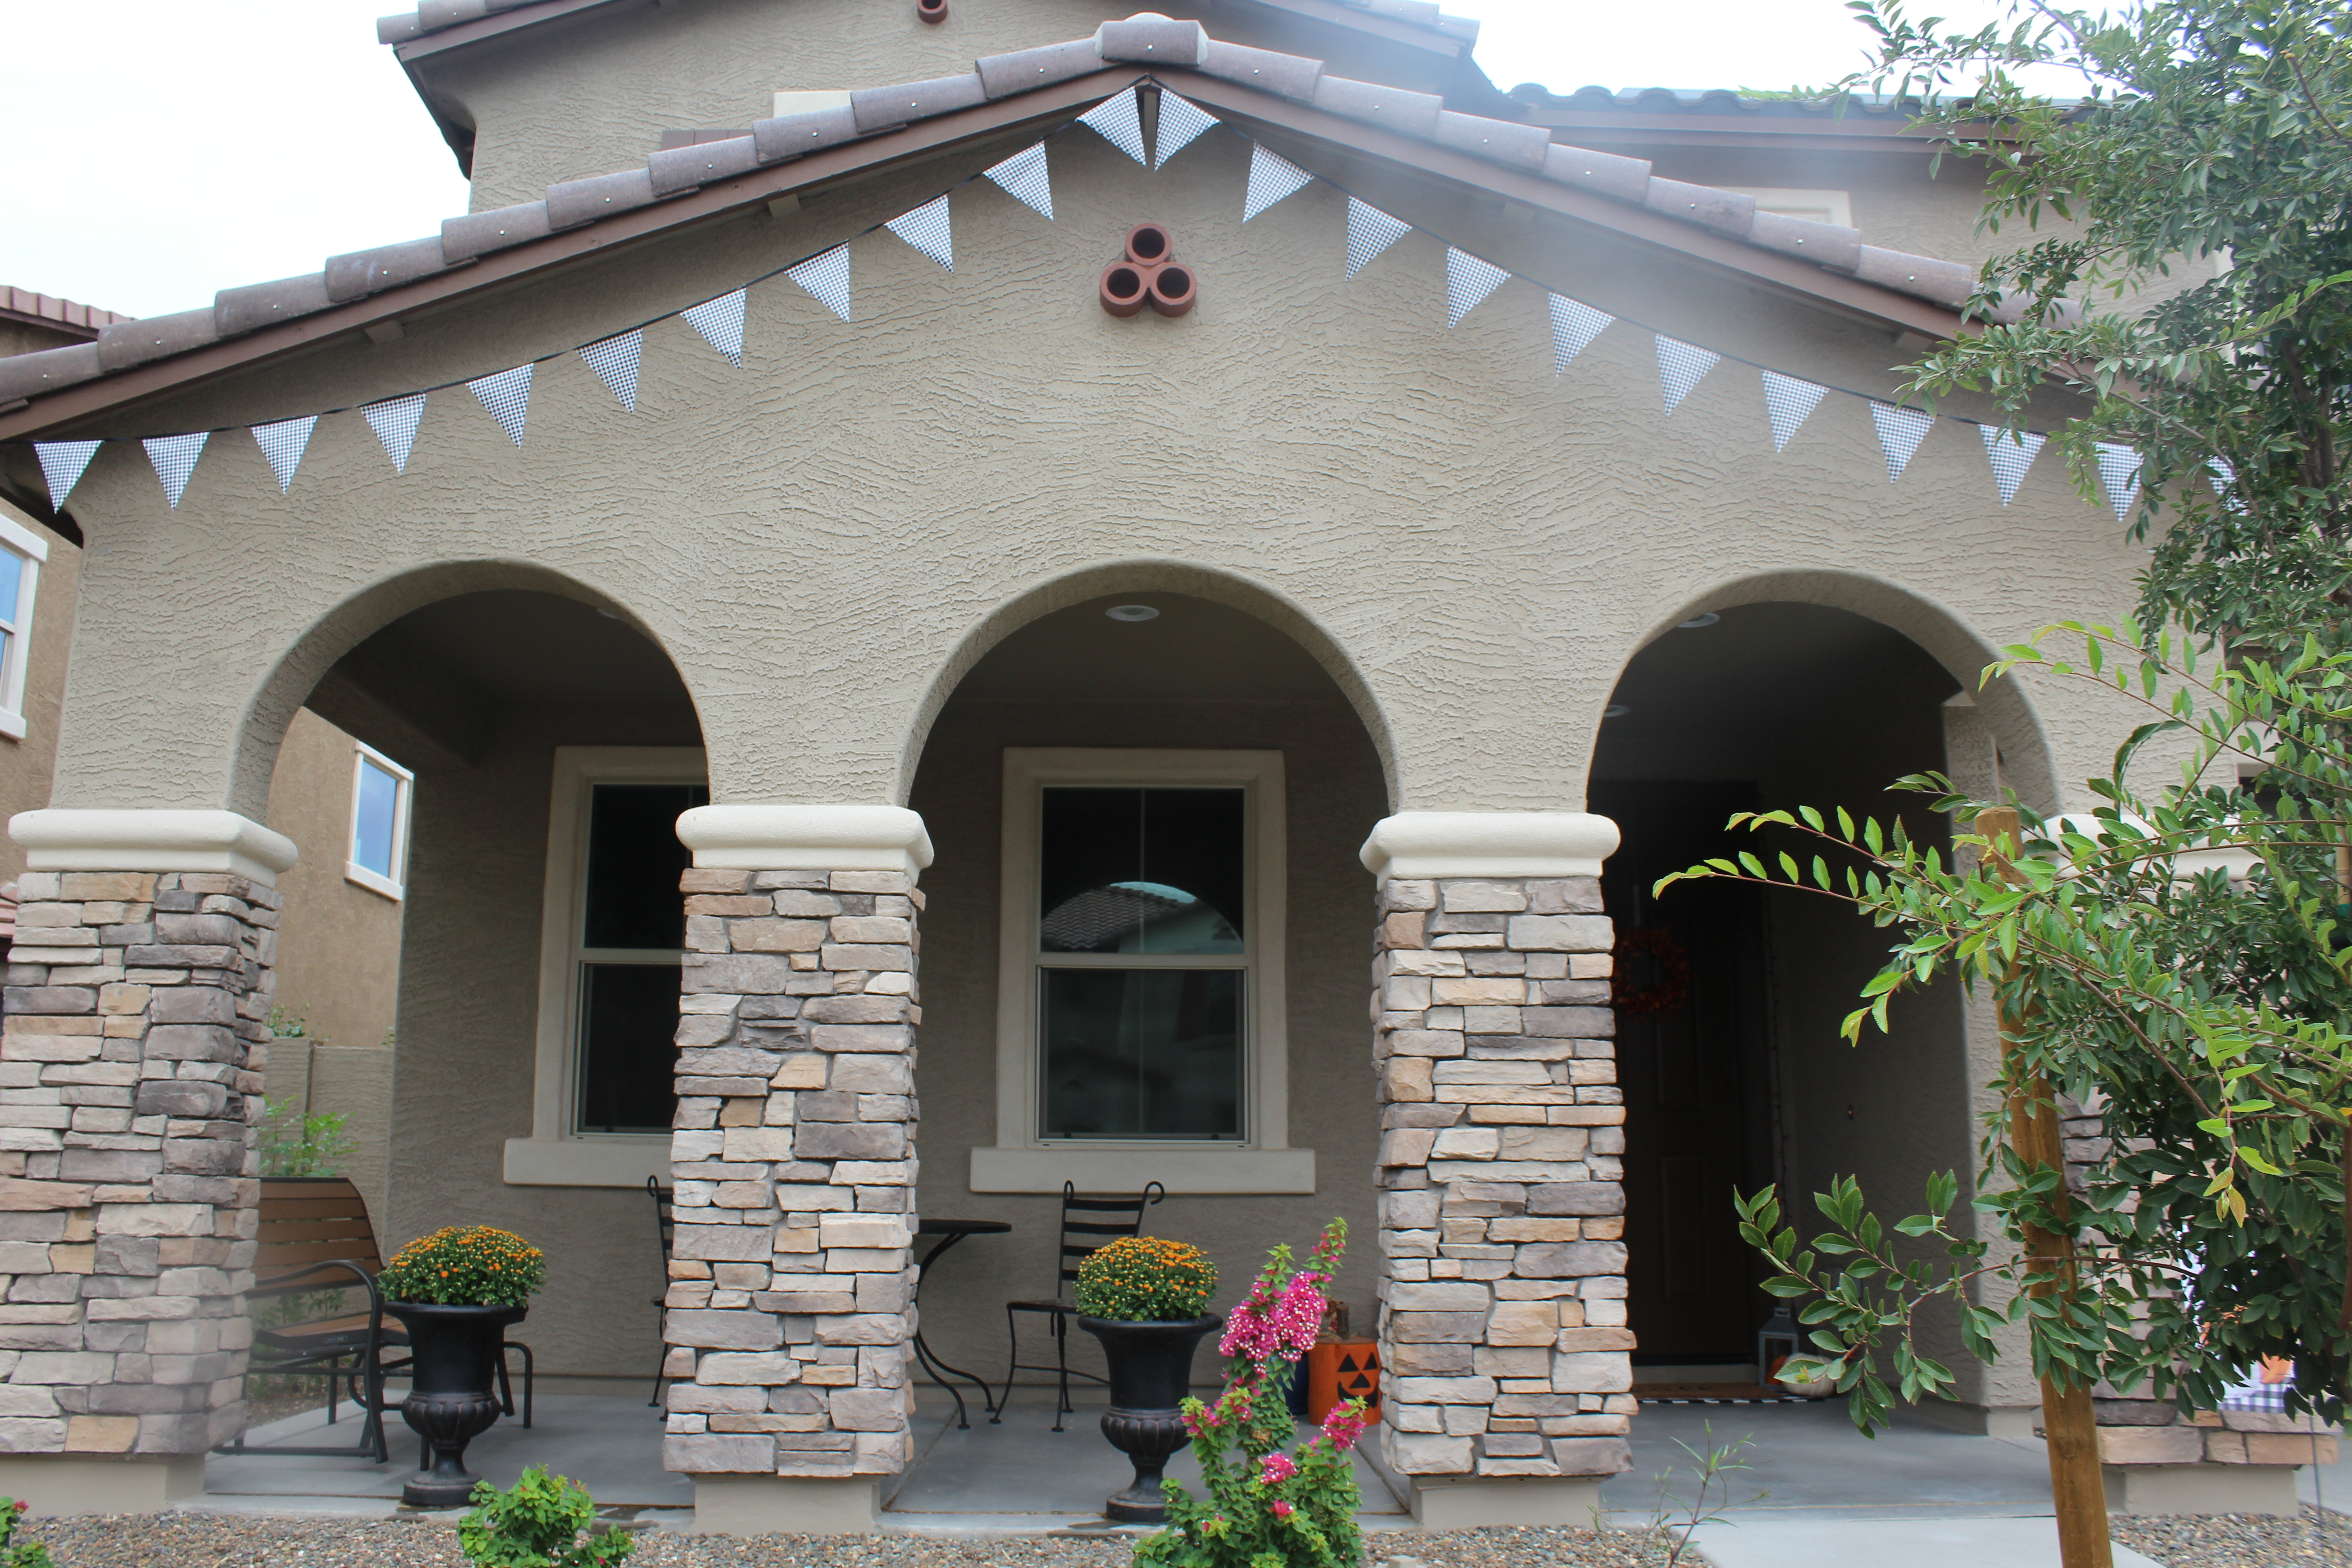
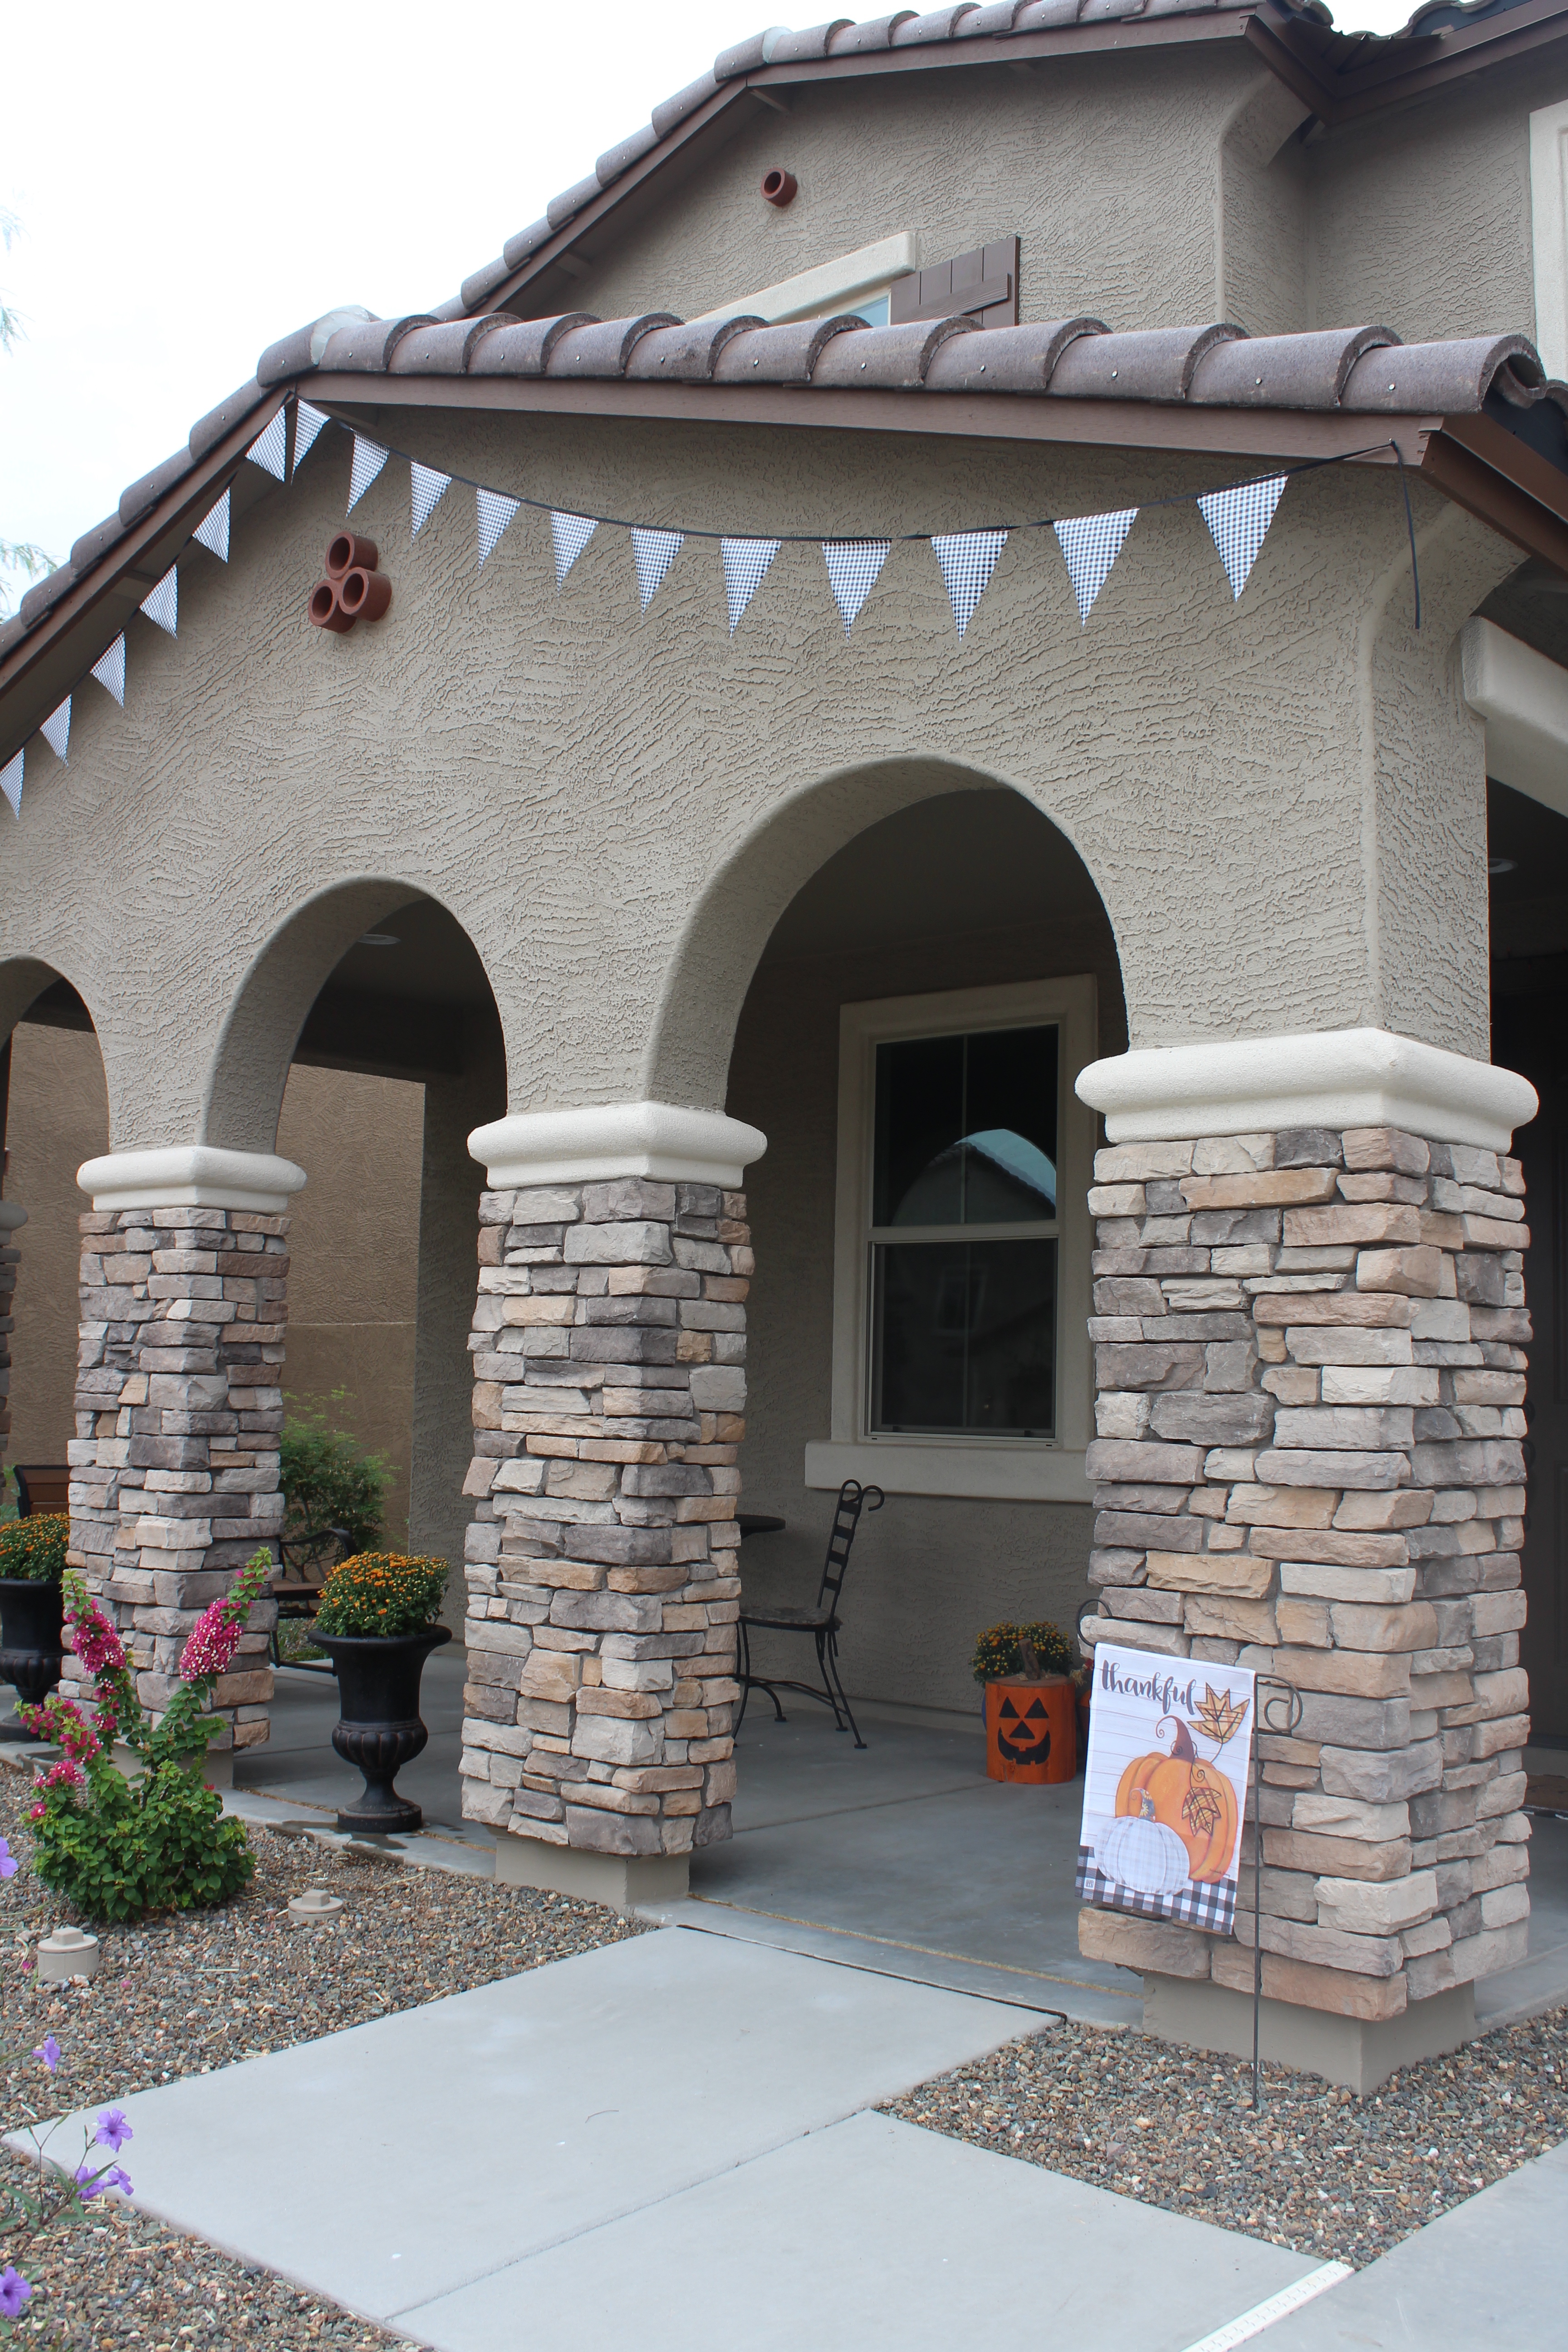
To hang up my banner my husband used 3 nails, one at each point of the roof line over the porch. We first found the middle point of the banner and hung that up first and looped it around once to secure it better. Then we he tied on the banner to each of the side nails letting it kind of drape a little. We have had a few storms and wind and it has stayed put!
I love what it adds to my front porch for fall!! 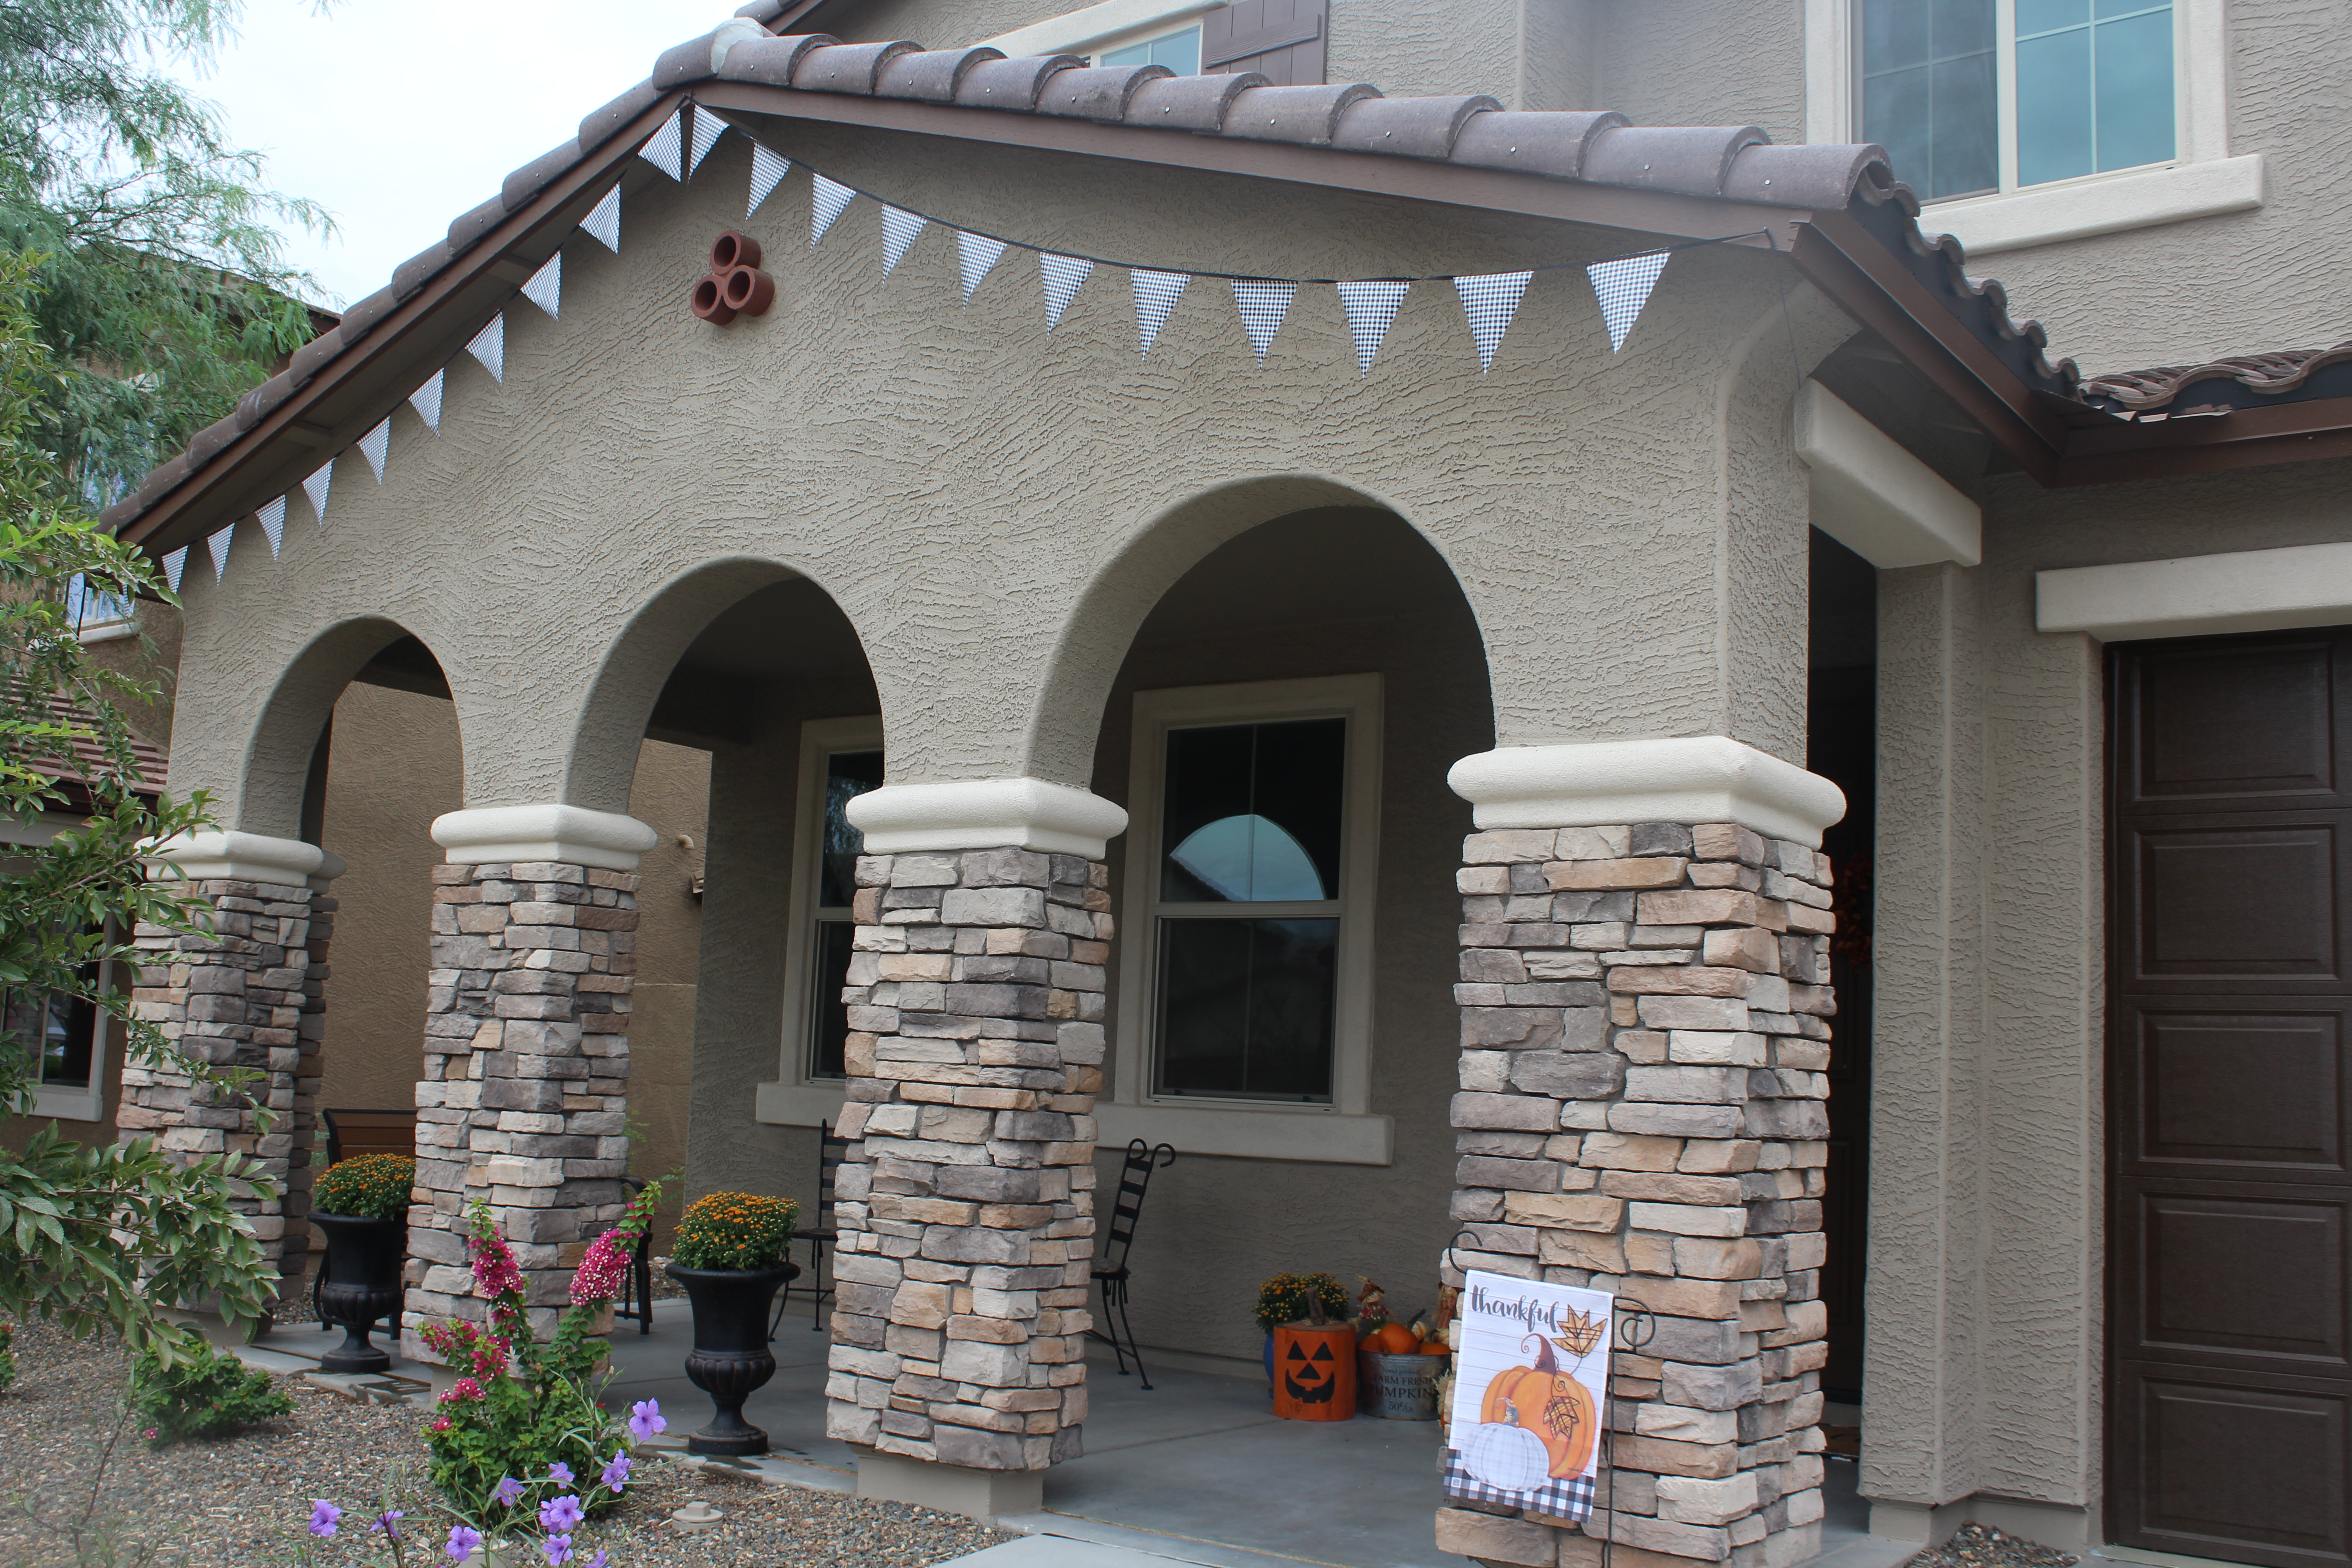
- Note- I did find that when going to hang up the banner some of the pennants were not holding with the glue very well. I was worried that once hung up some might fall off and that would be a big pain to get them secured back on. So I took a stapler and reinforced each pennant with 2 staples. This worked fine for me because the pennant was being hung up high and you can’t even see the staples. So with that being said feel free to just attach with staples, or hot glue will probably be fine if the banner is kept inside and out of the elements.


Great addition to your porch! Thank you for sharing at Party In Your PJs!
Thank you!
Looks great!! Thanks for sharing with us at the To Grandma’s house we go link party!
Thank you!