When thinking about pies I know we often think of fall and the holiday season, but with all the amazing summer fruit that is out, or soon to be out, I think summer is where they can really shine! I went strawberry picking the other day and they were just begging to be put in a pie. 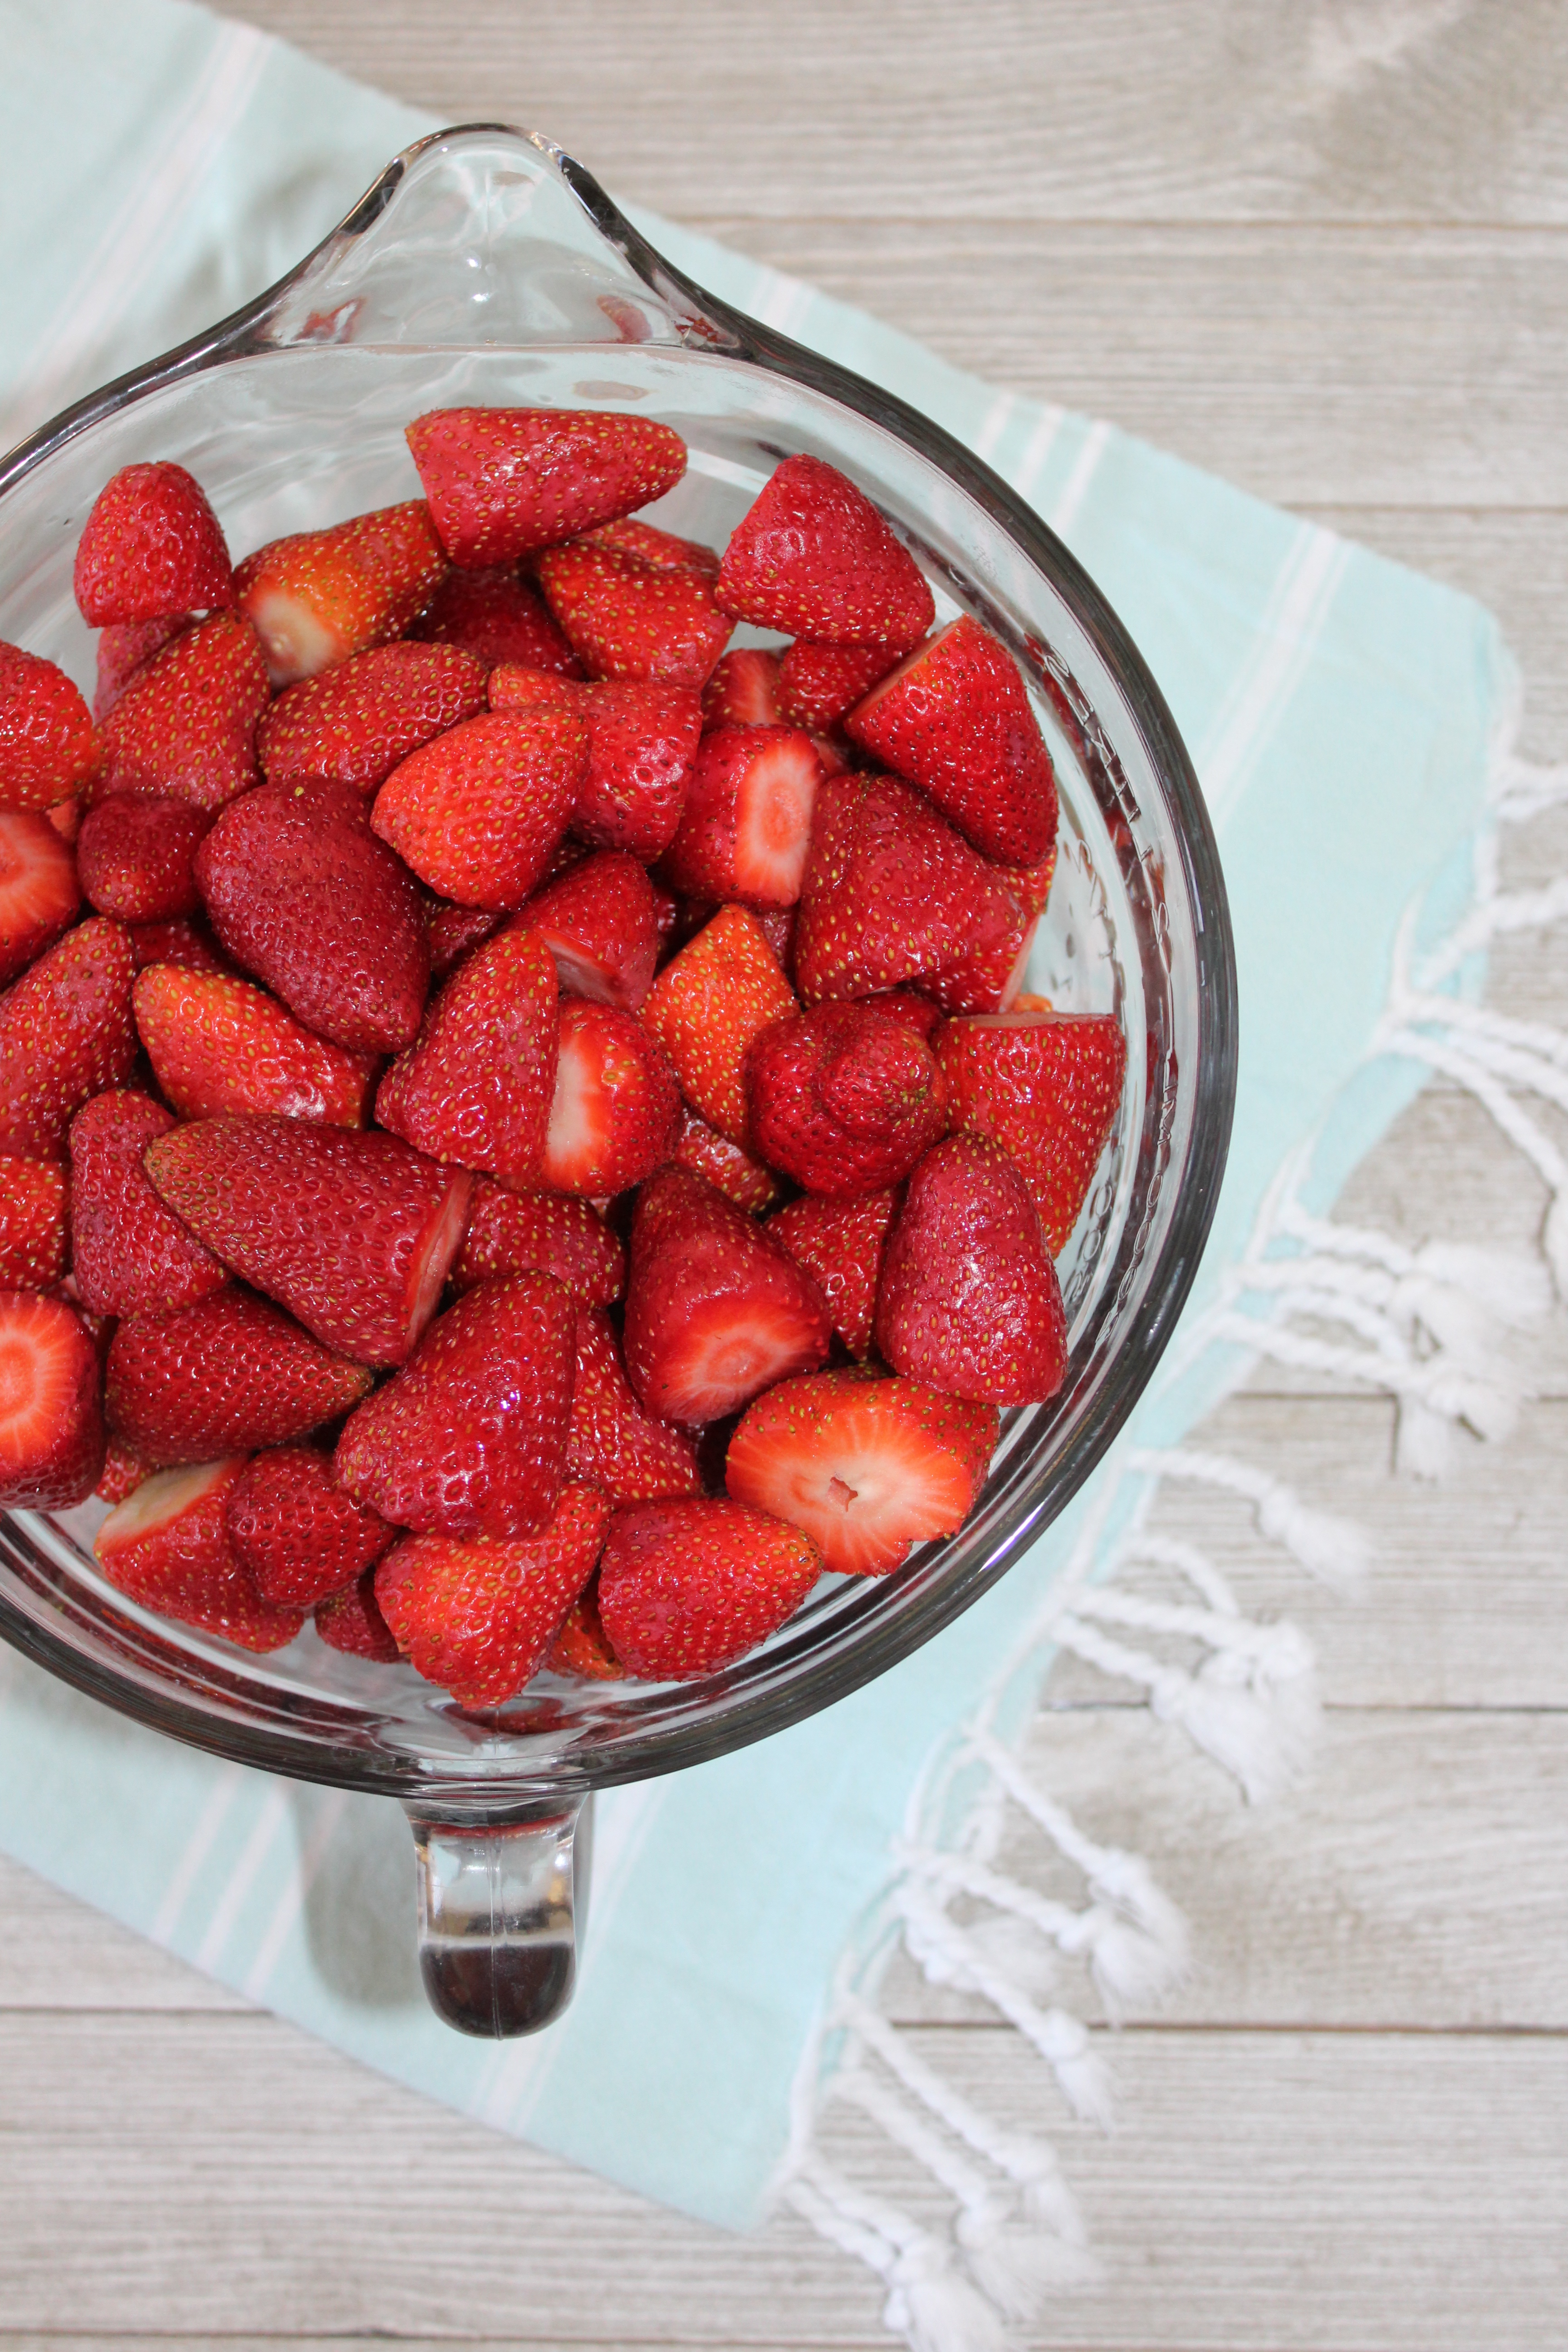
I will be sharing the recipe for my strawberry pie soon but I first wanted to share my favorite pie crust. This recipe uses a combo of butter and shortening and I love this combo and how it is all buttery and flakey. To me it seems not as heavy as some other pie crusts so I enjoy eating this pie crust all the way to the end!
This crust is super simple to make so don’t let the idea of homemade pie crust scare you if you have never made it. It only has 4 ingredients: flour, shortening, butter, and cold water. I like working with the shortening sticks so go ahead and cut off the needed amount and pop that in the fridge or freezer for a few minutes to chill while you are assembling your other ingredients. Keep your butter in the refrigerator as well too until you need it so it is nice and cold. I find the butter and shortening are easier to work with when they are chilled.
In a bowl measure out your flour and then cut your butter and shortening in to small pieces and add to the flour. 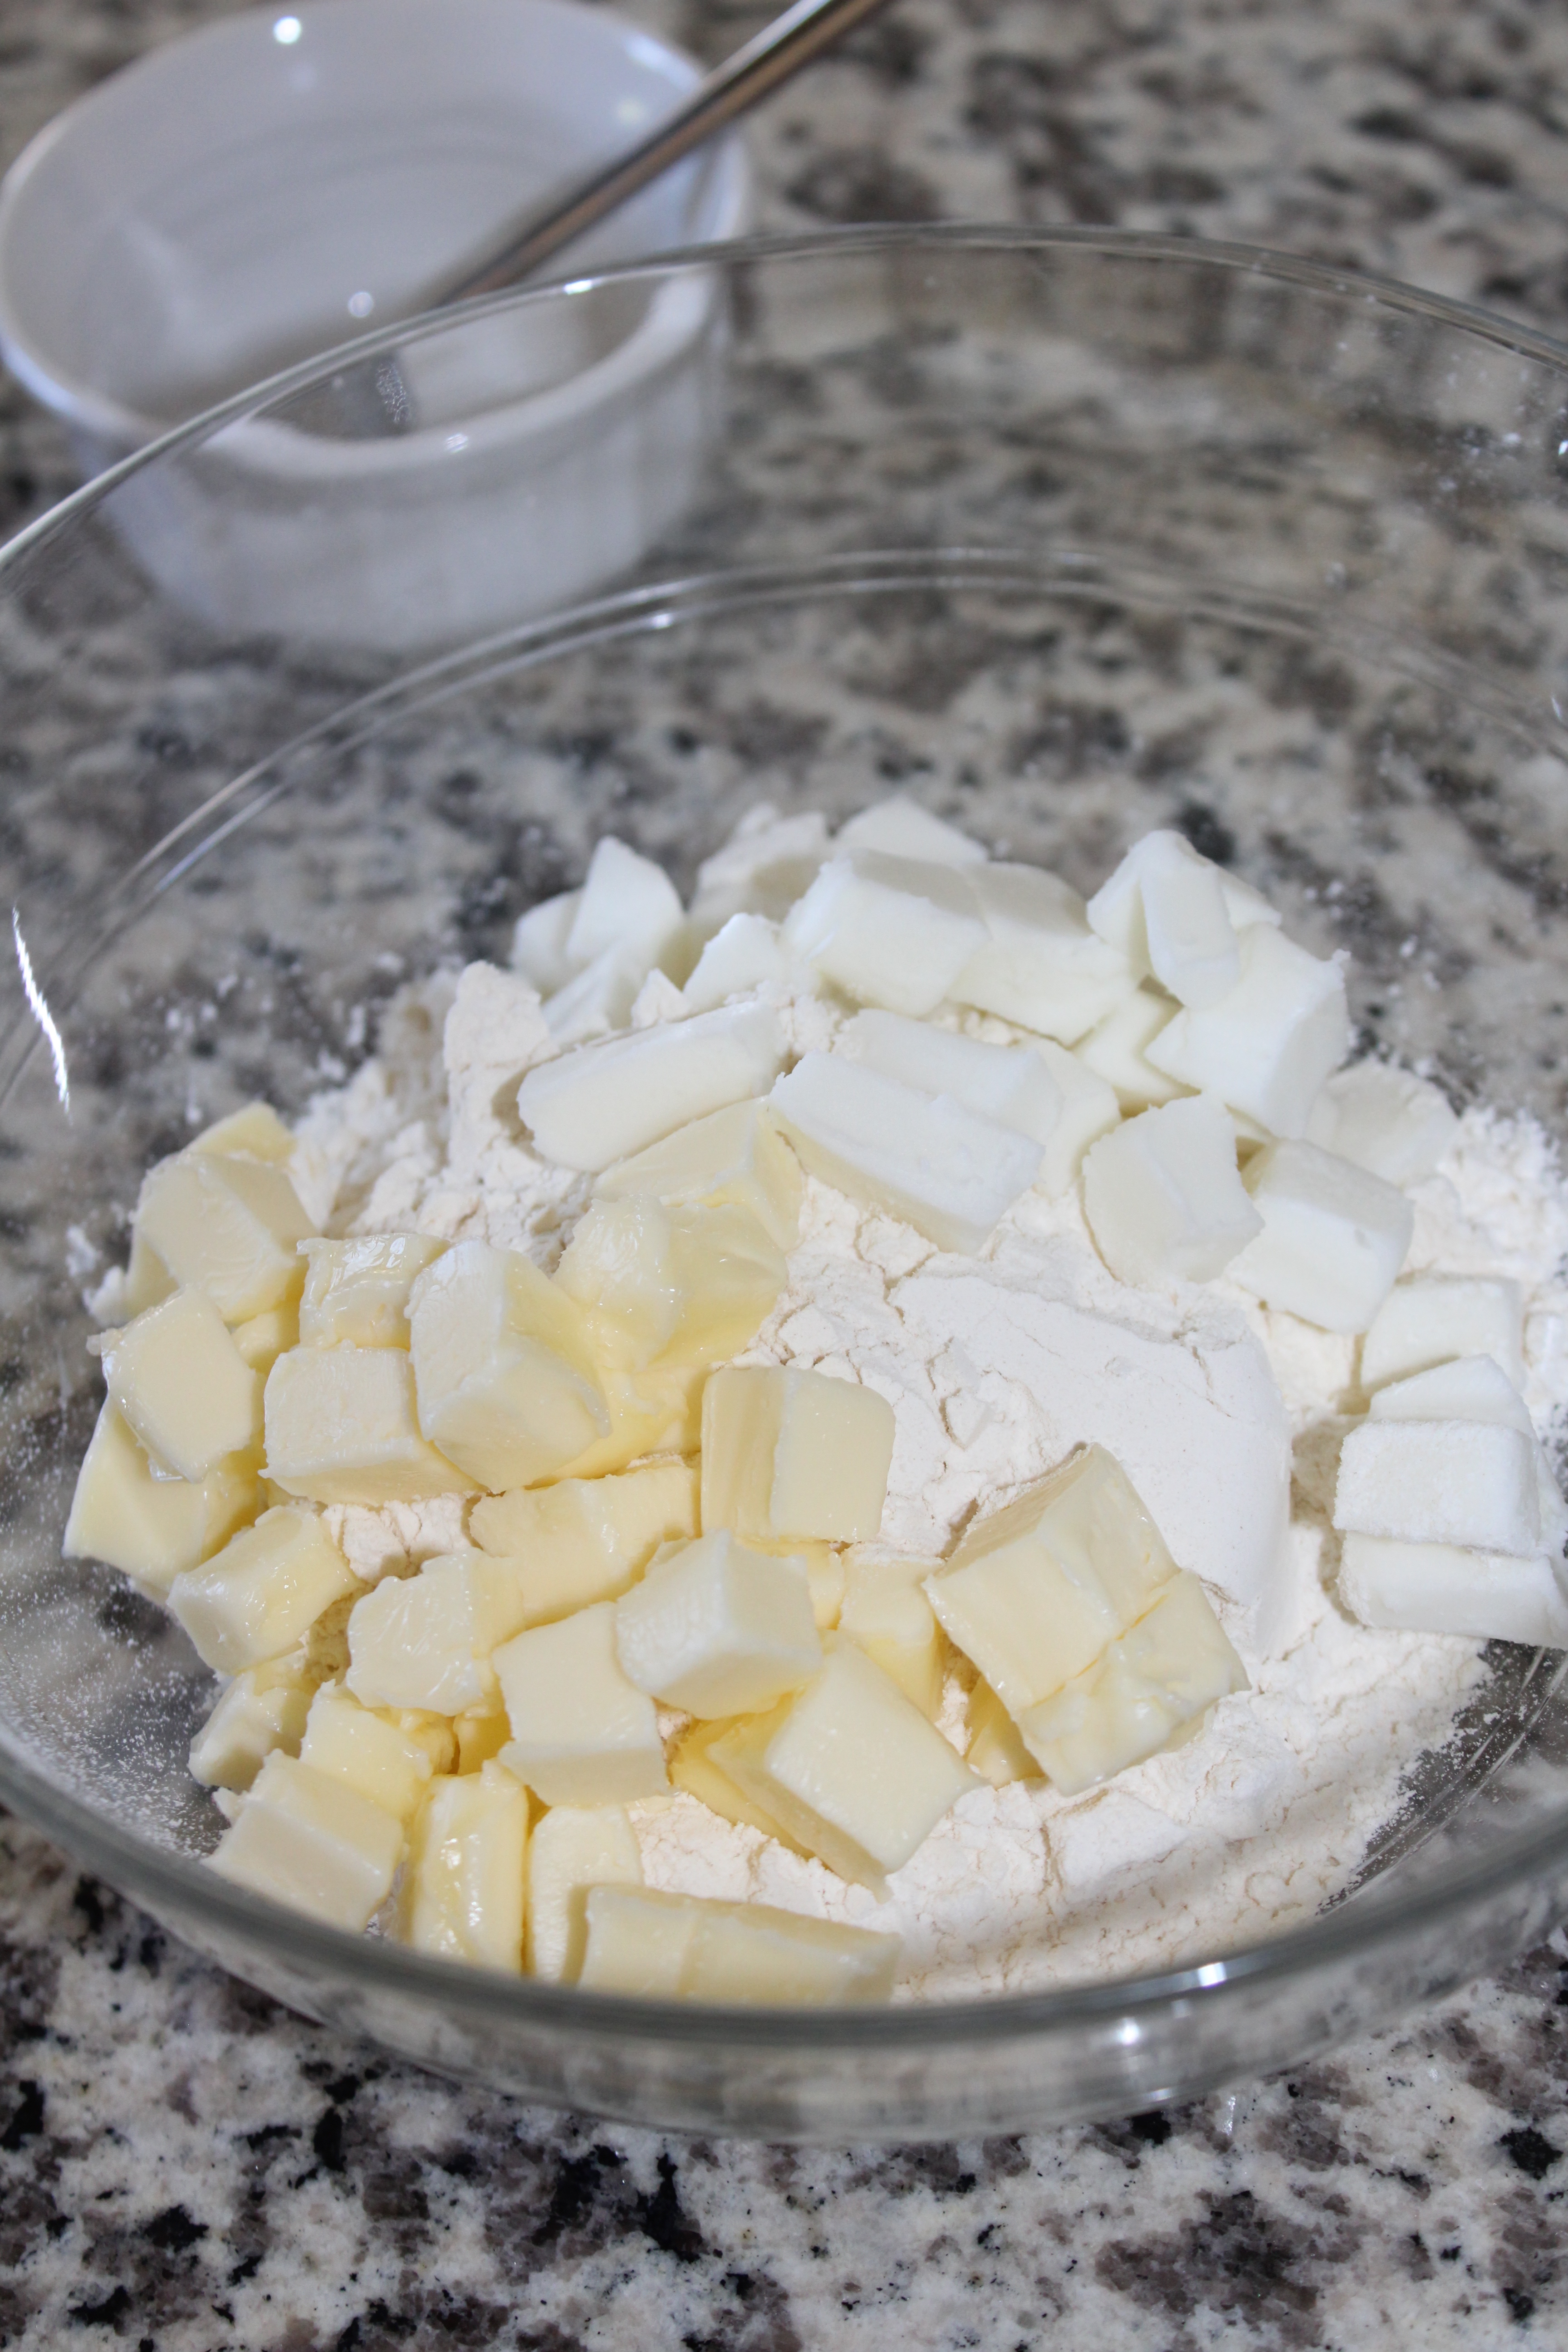
With a pastry blender, or clean hands if you don’t have one, work your mixture all together. I actually use both. With my right hand I use the pastry blender and then I work on continuing to get it all crumbled up with my left hand. You want it to look like the picture below when you are all done. 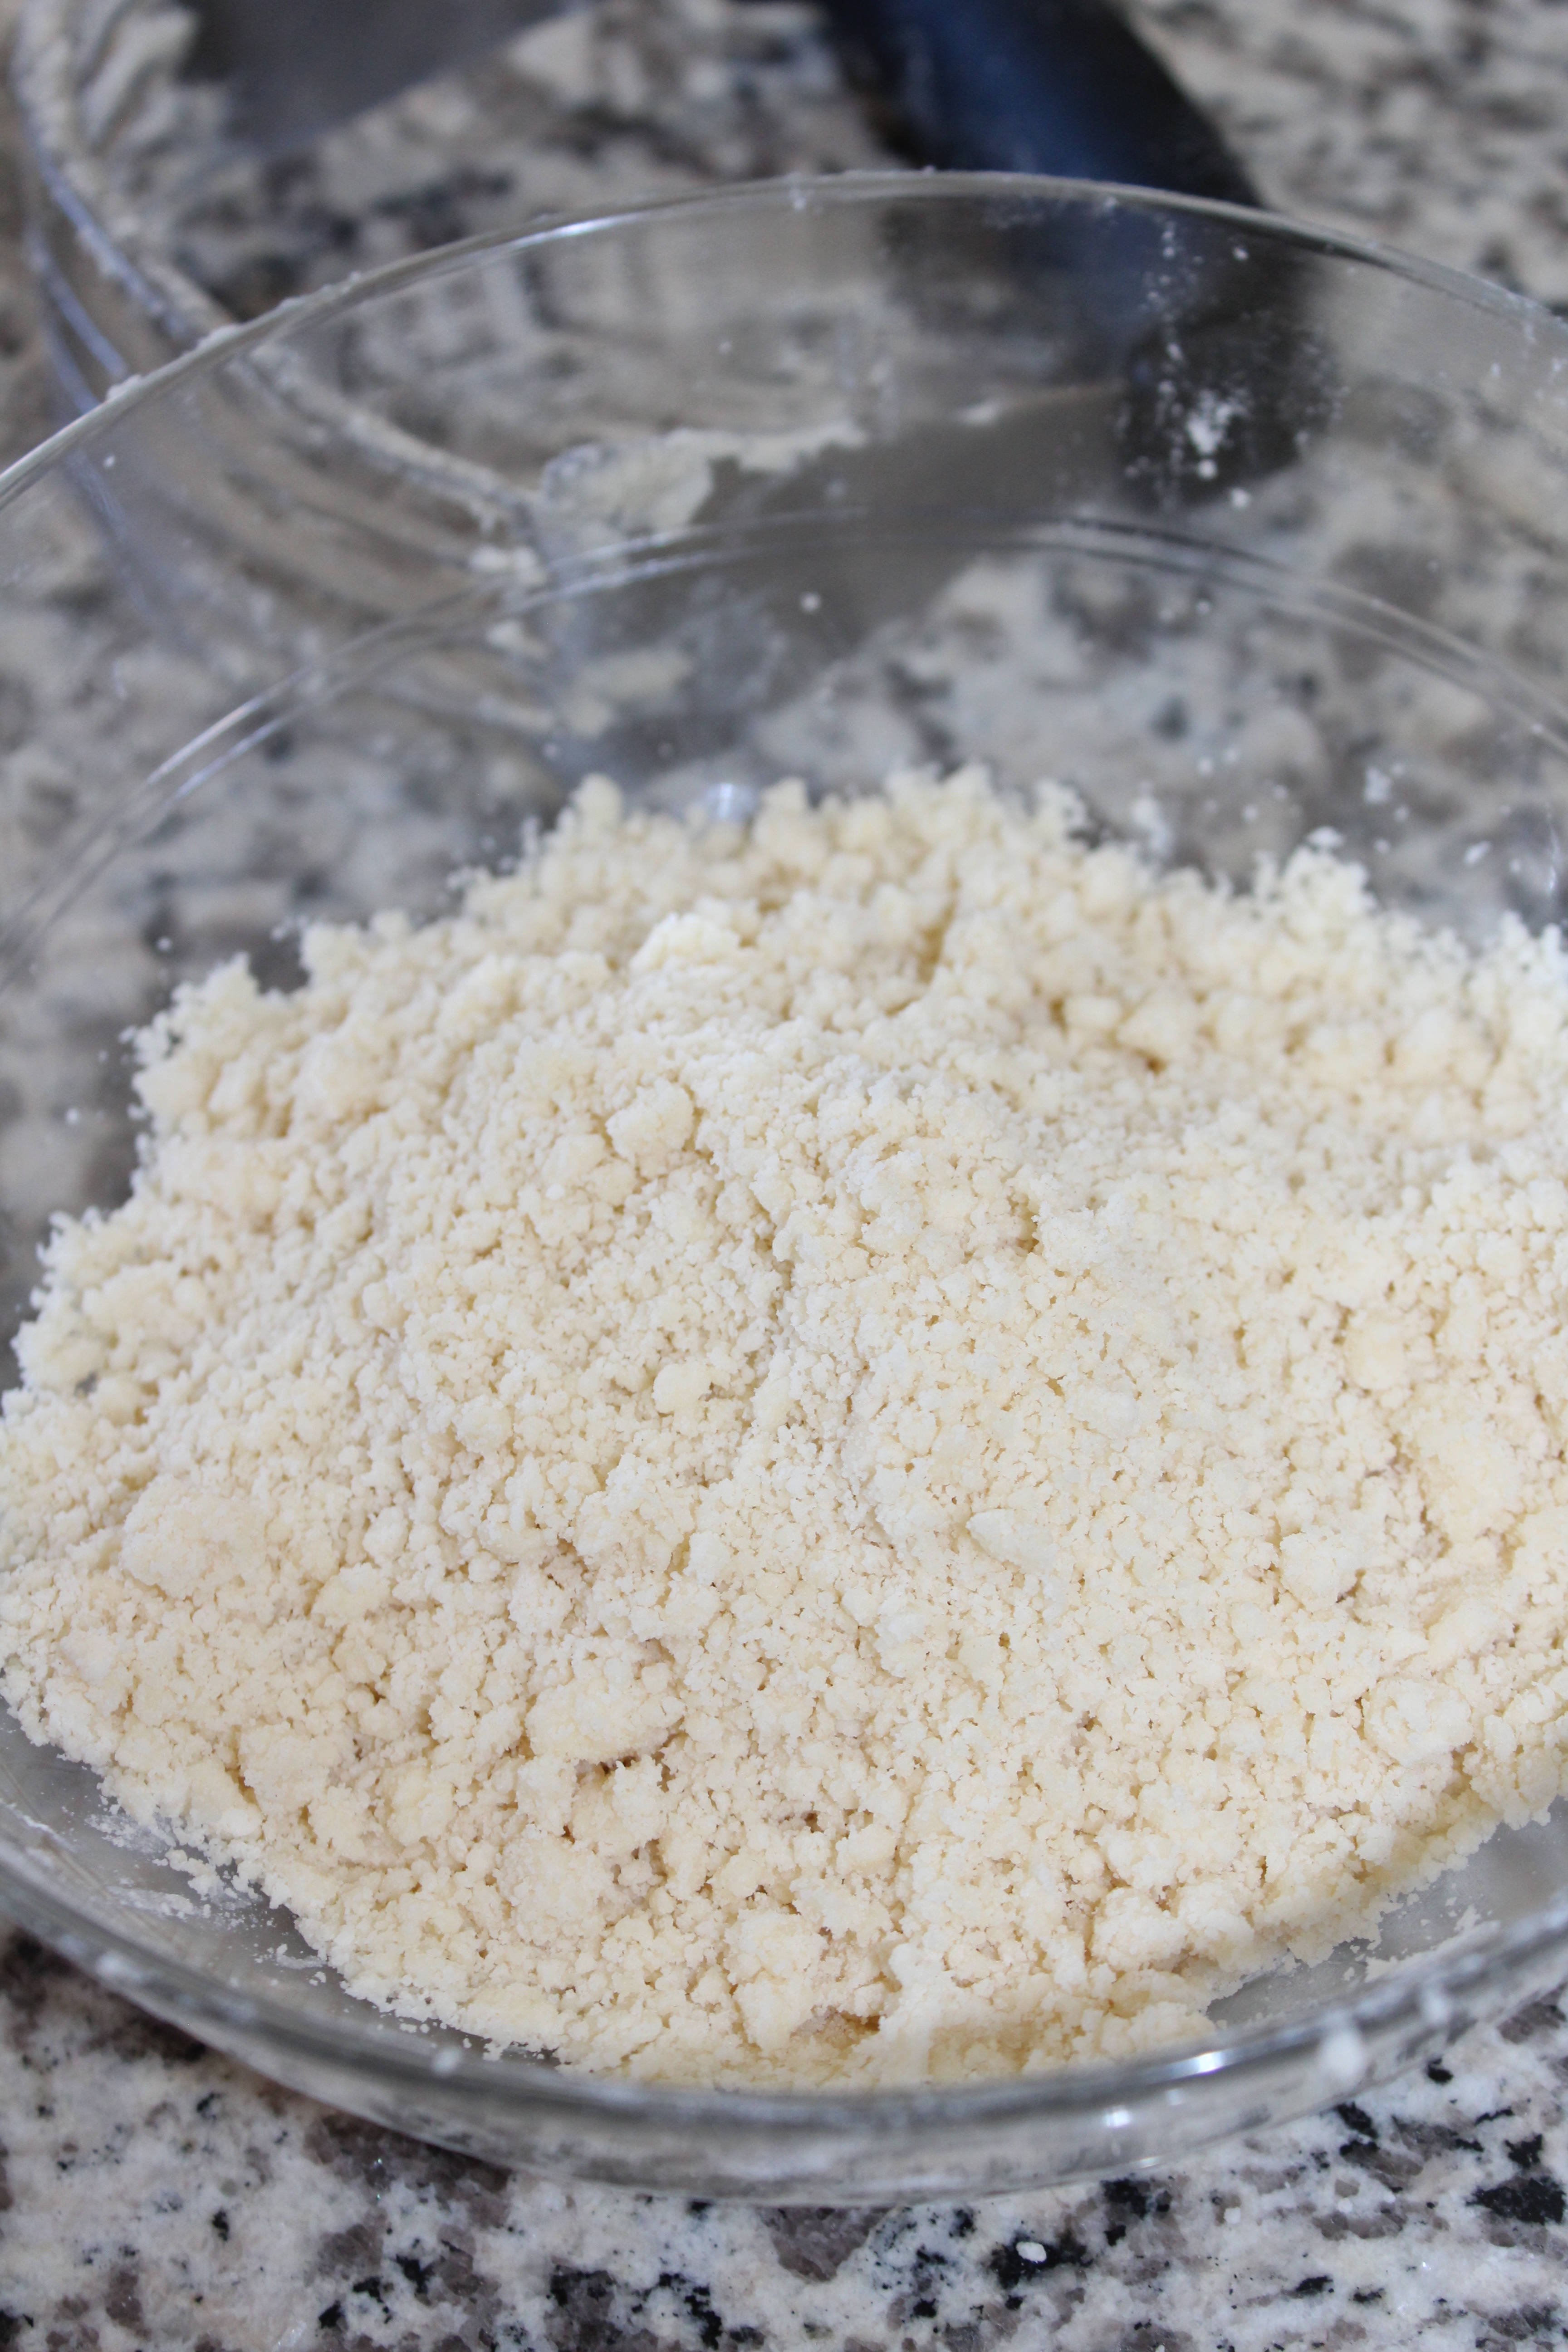
Then go ahead and add in your cold water. I actually put a few small pieces of ice in it to get it really cold. Just make sure the ice melts before you pour it into your flour mixture or once the water is cold enough just pull out the ice. 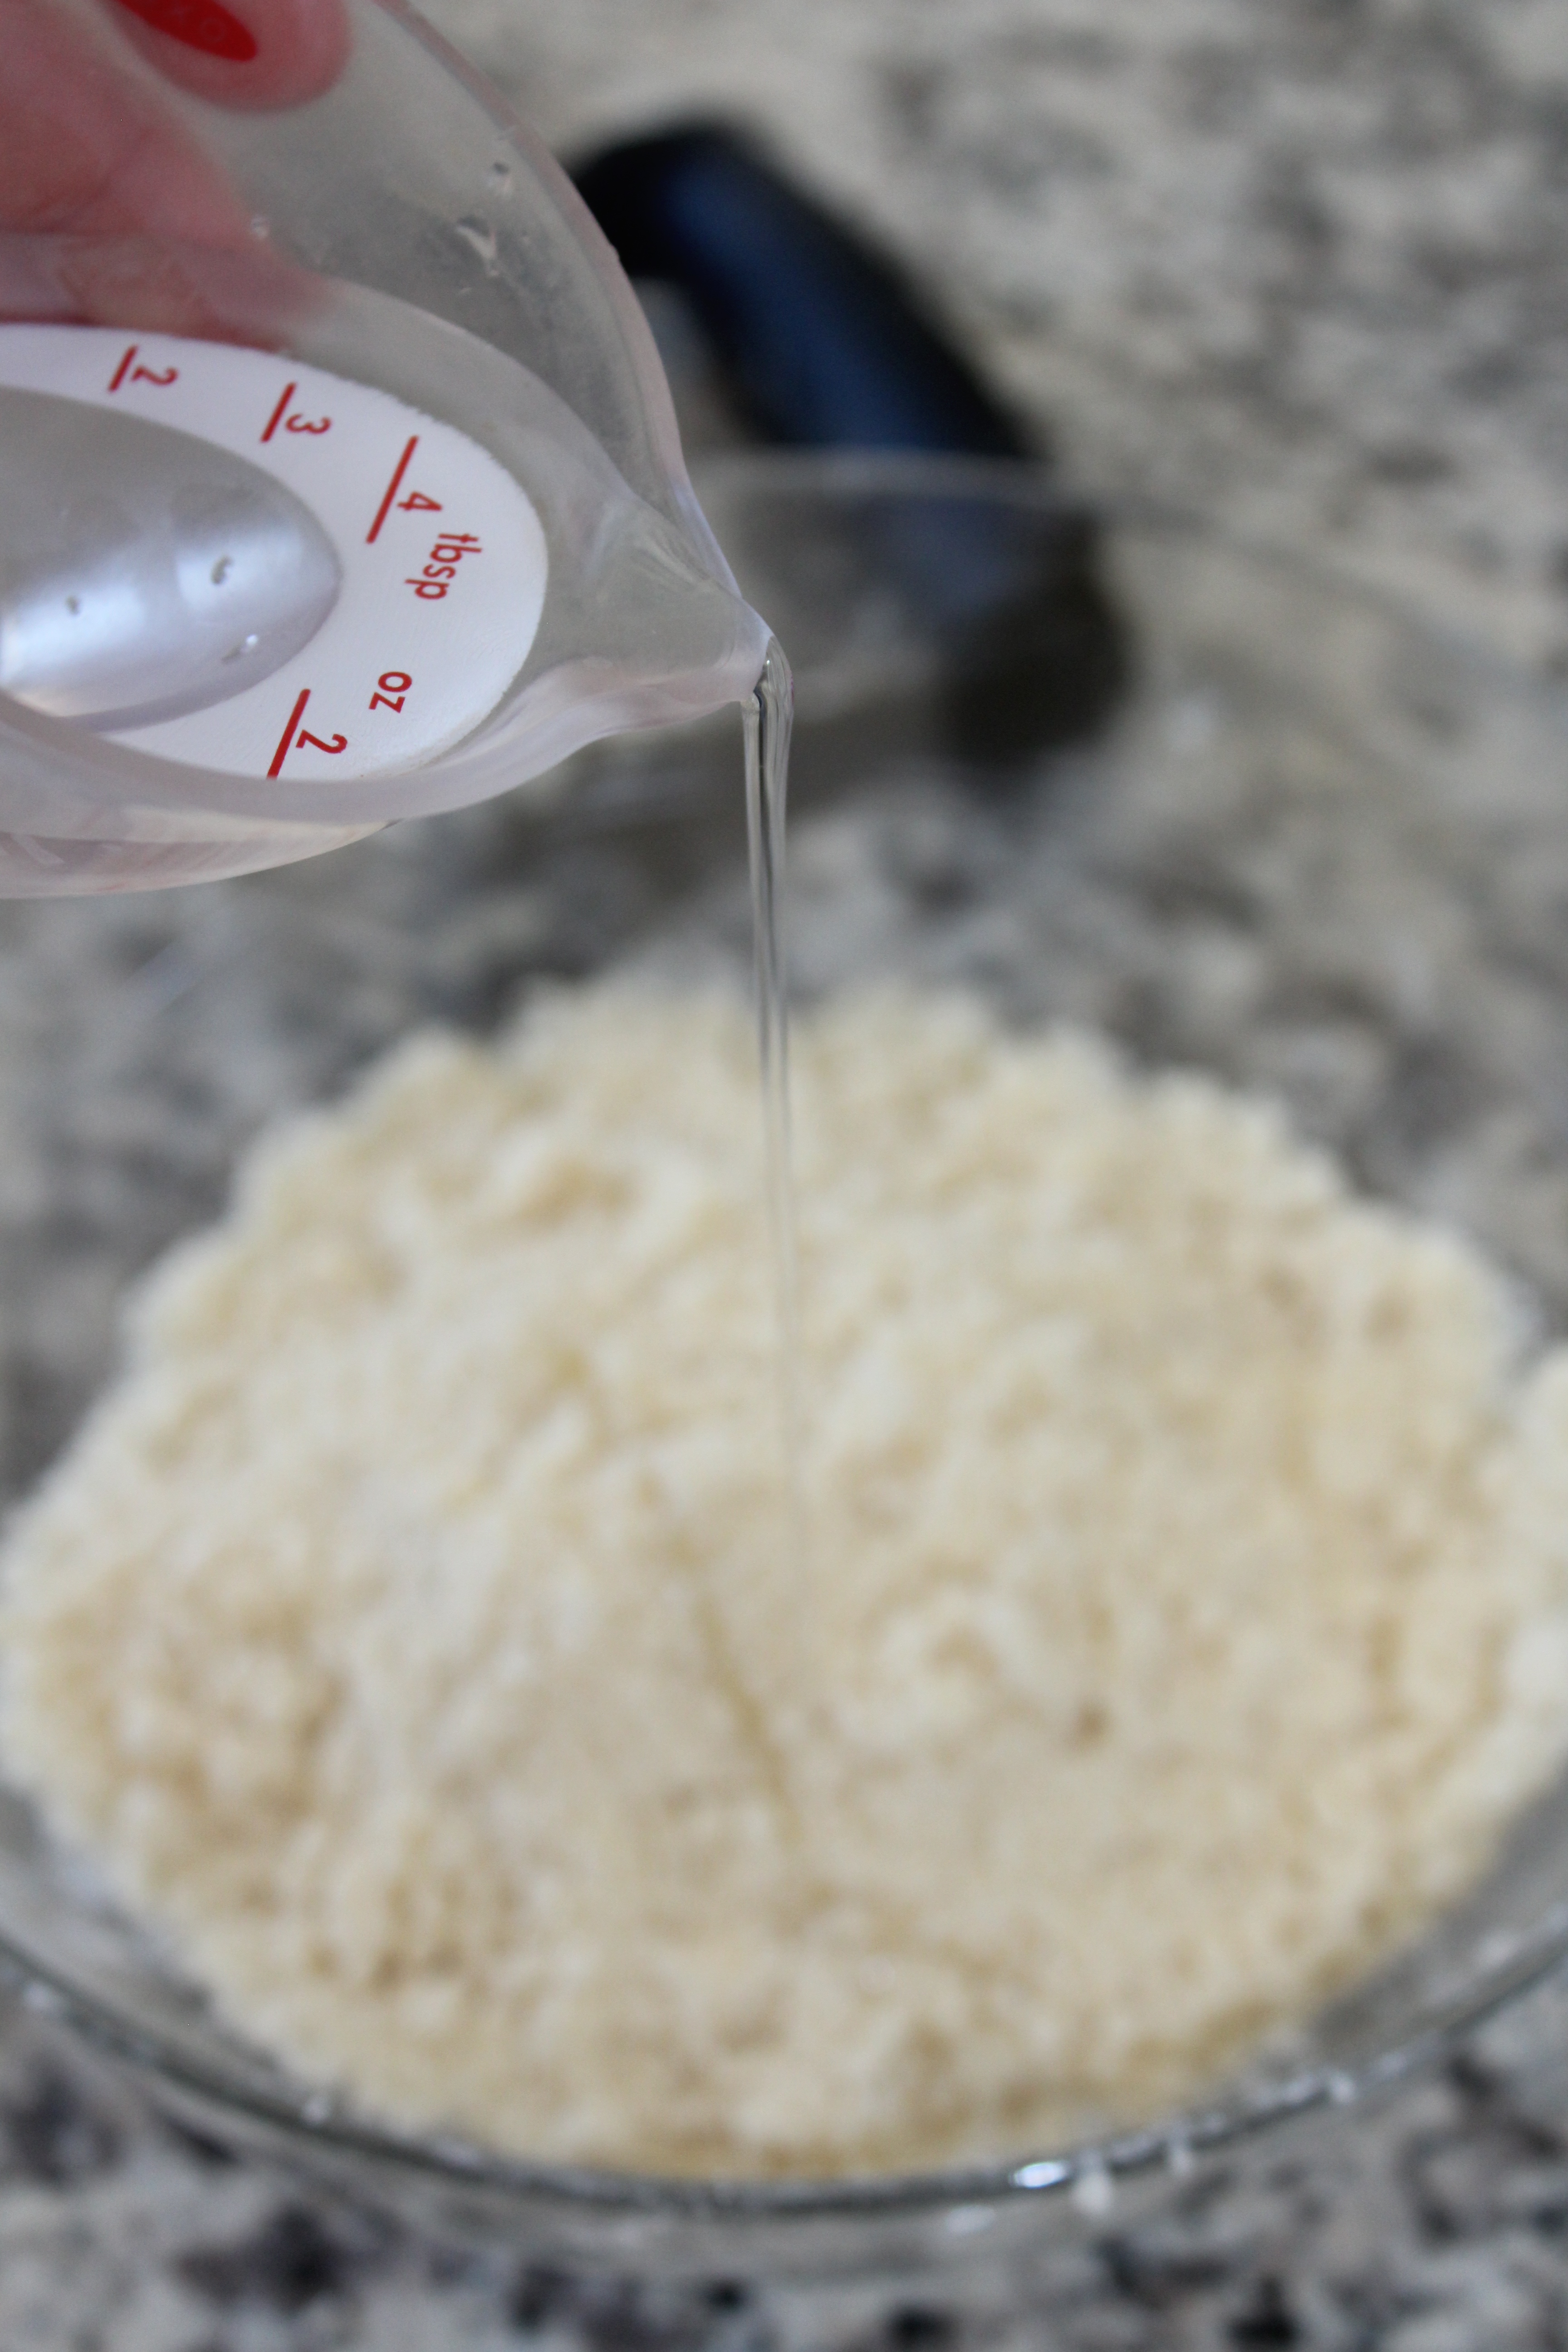
Mix the water in with a fork until it is combined and then pat into a disk, wrap in plastic wrap, and chill. I will often put it in the freezer so it will chill faster. 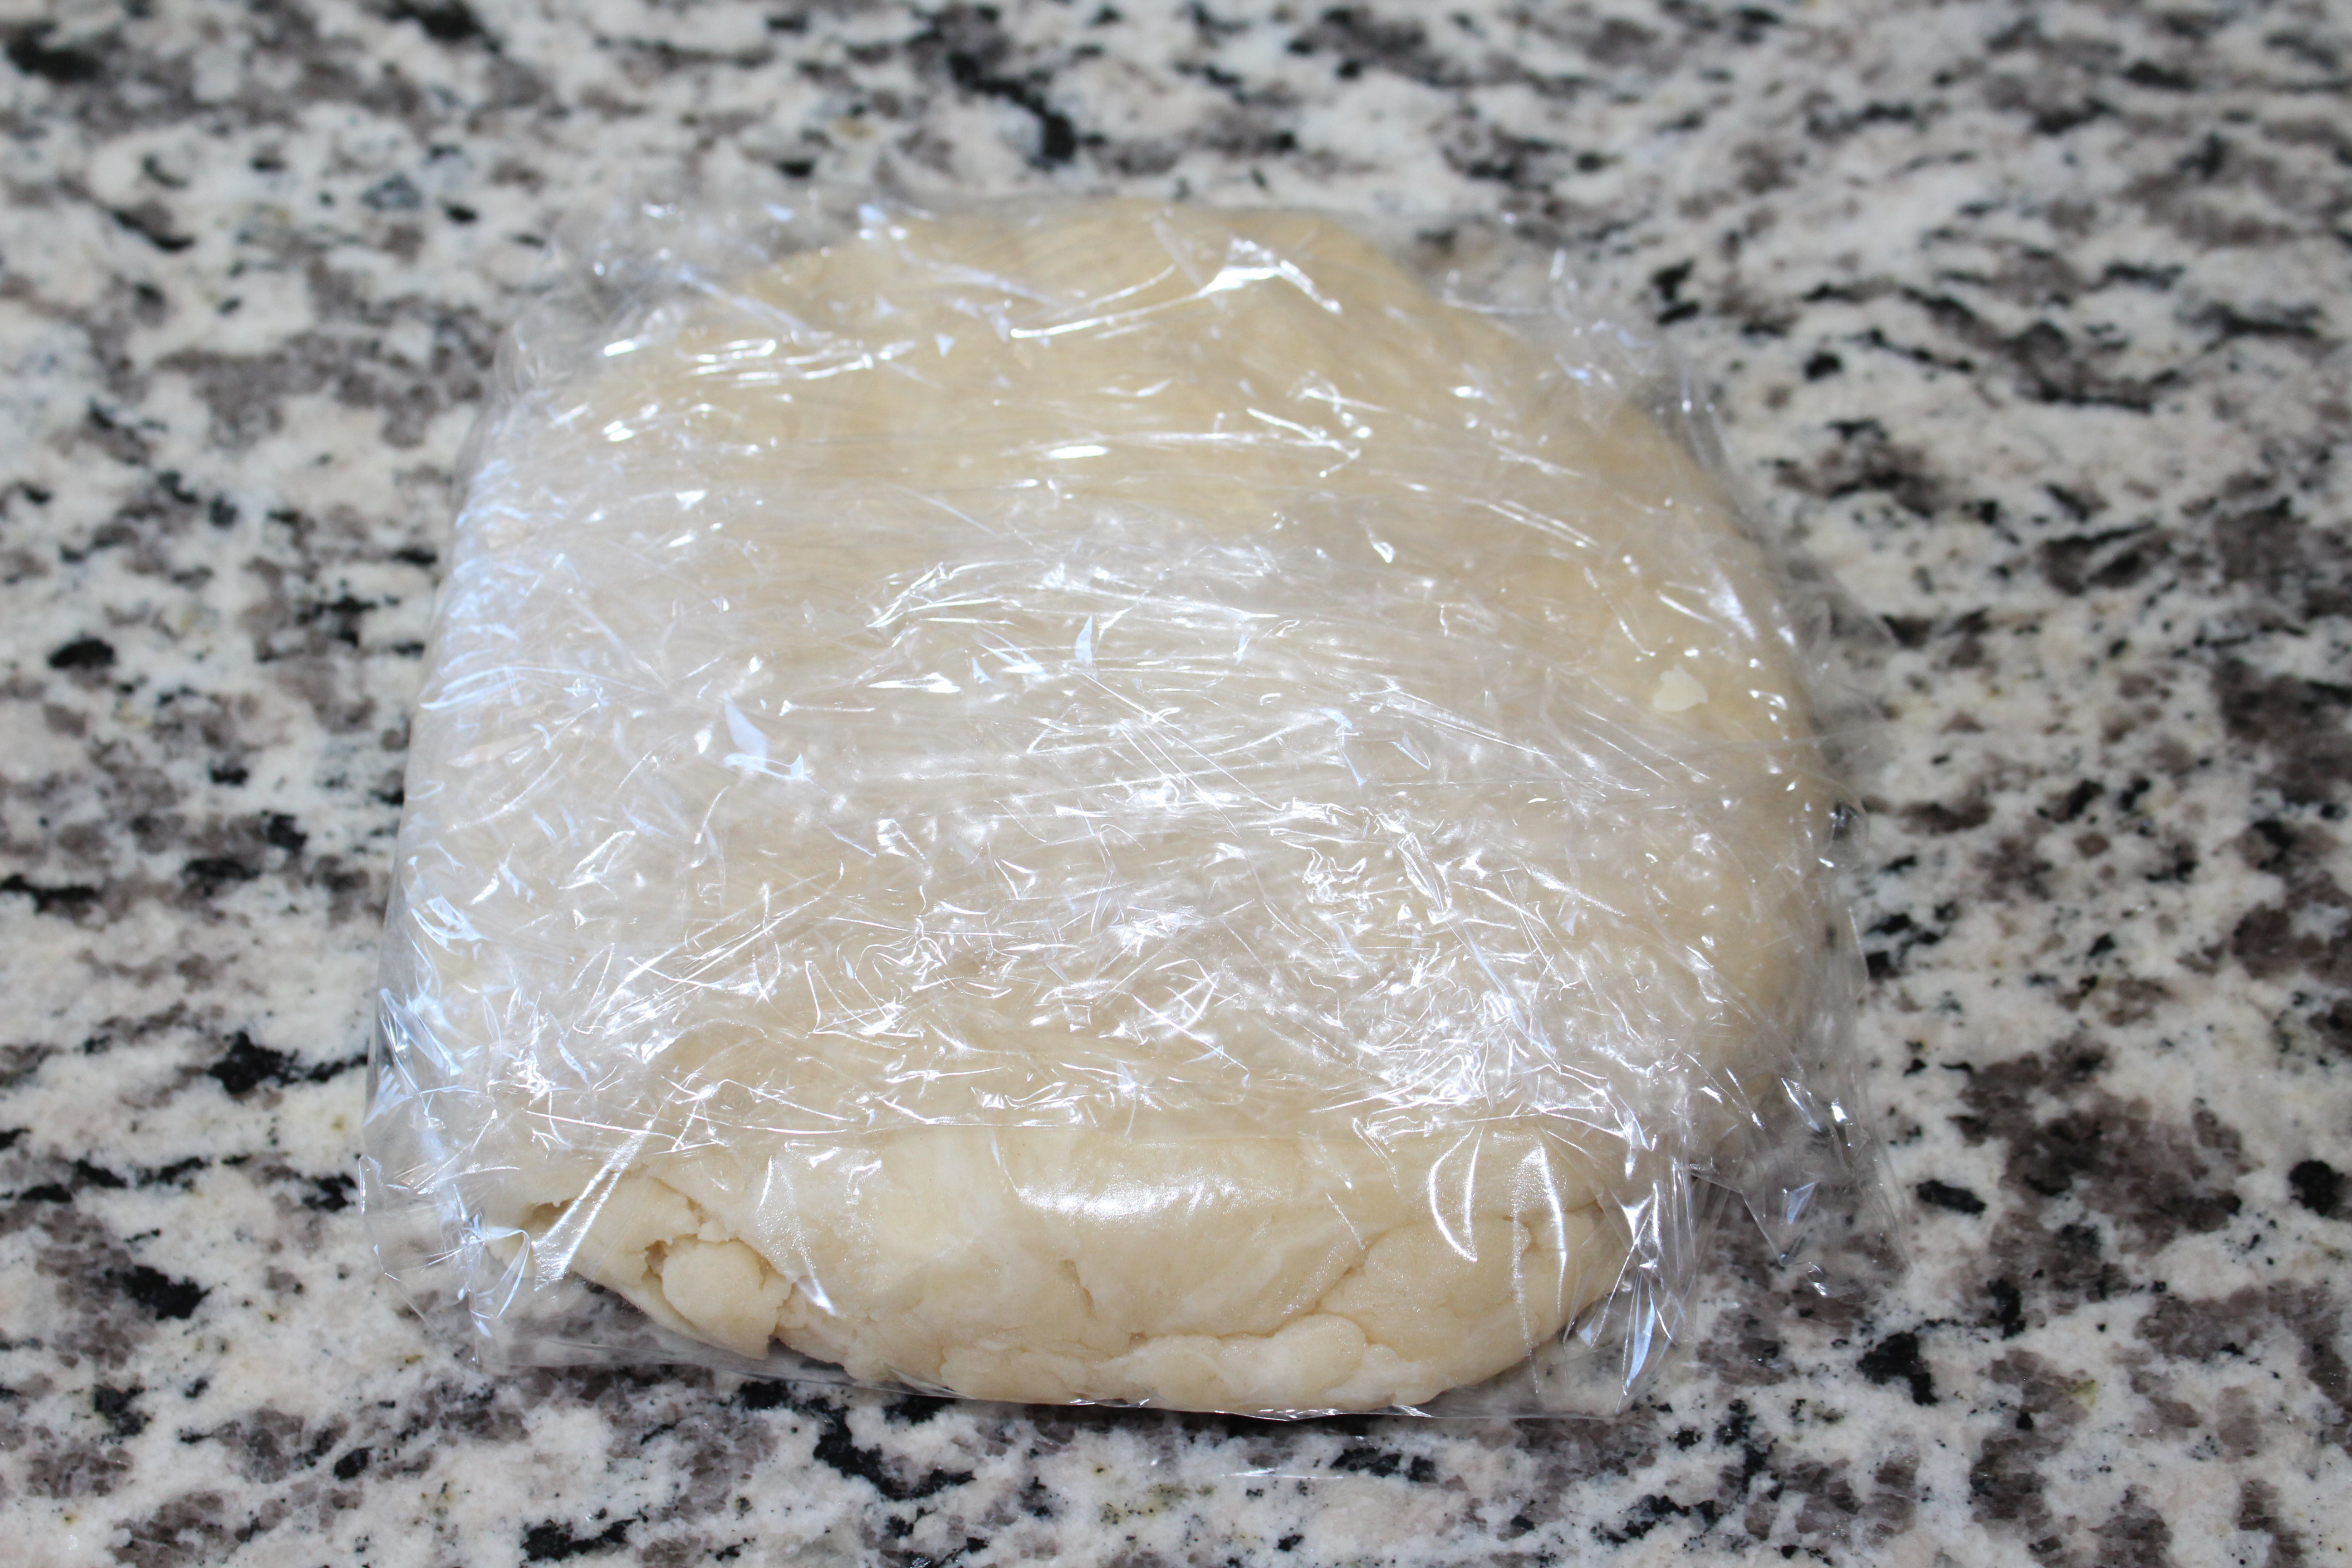
After chilling roll it out on to a floured surface. 
To transfer the crust to a pie plate I just rolled the dough on to my rolling pin as best as I could. 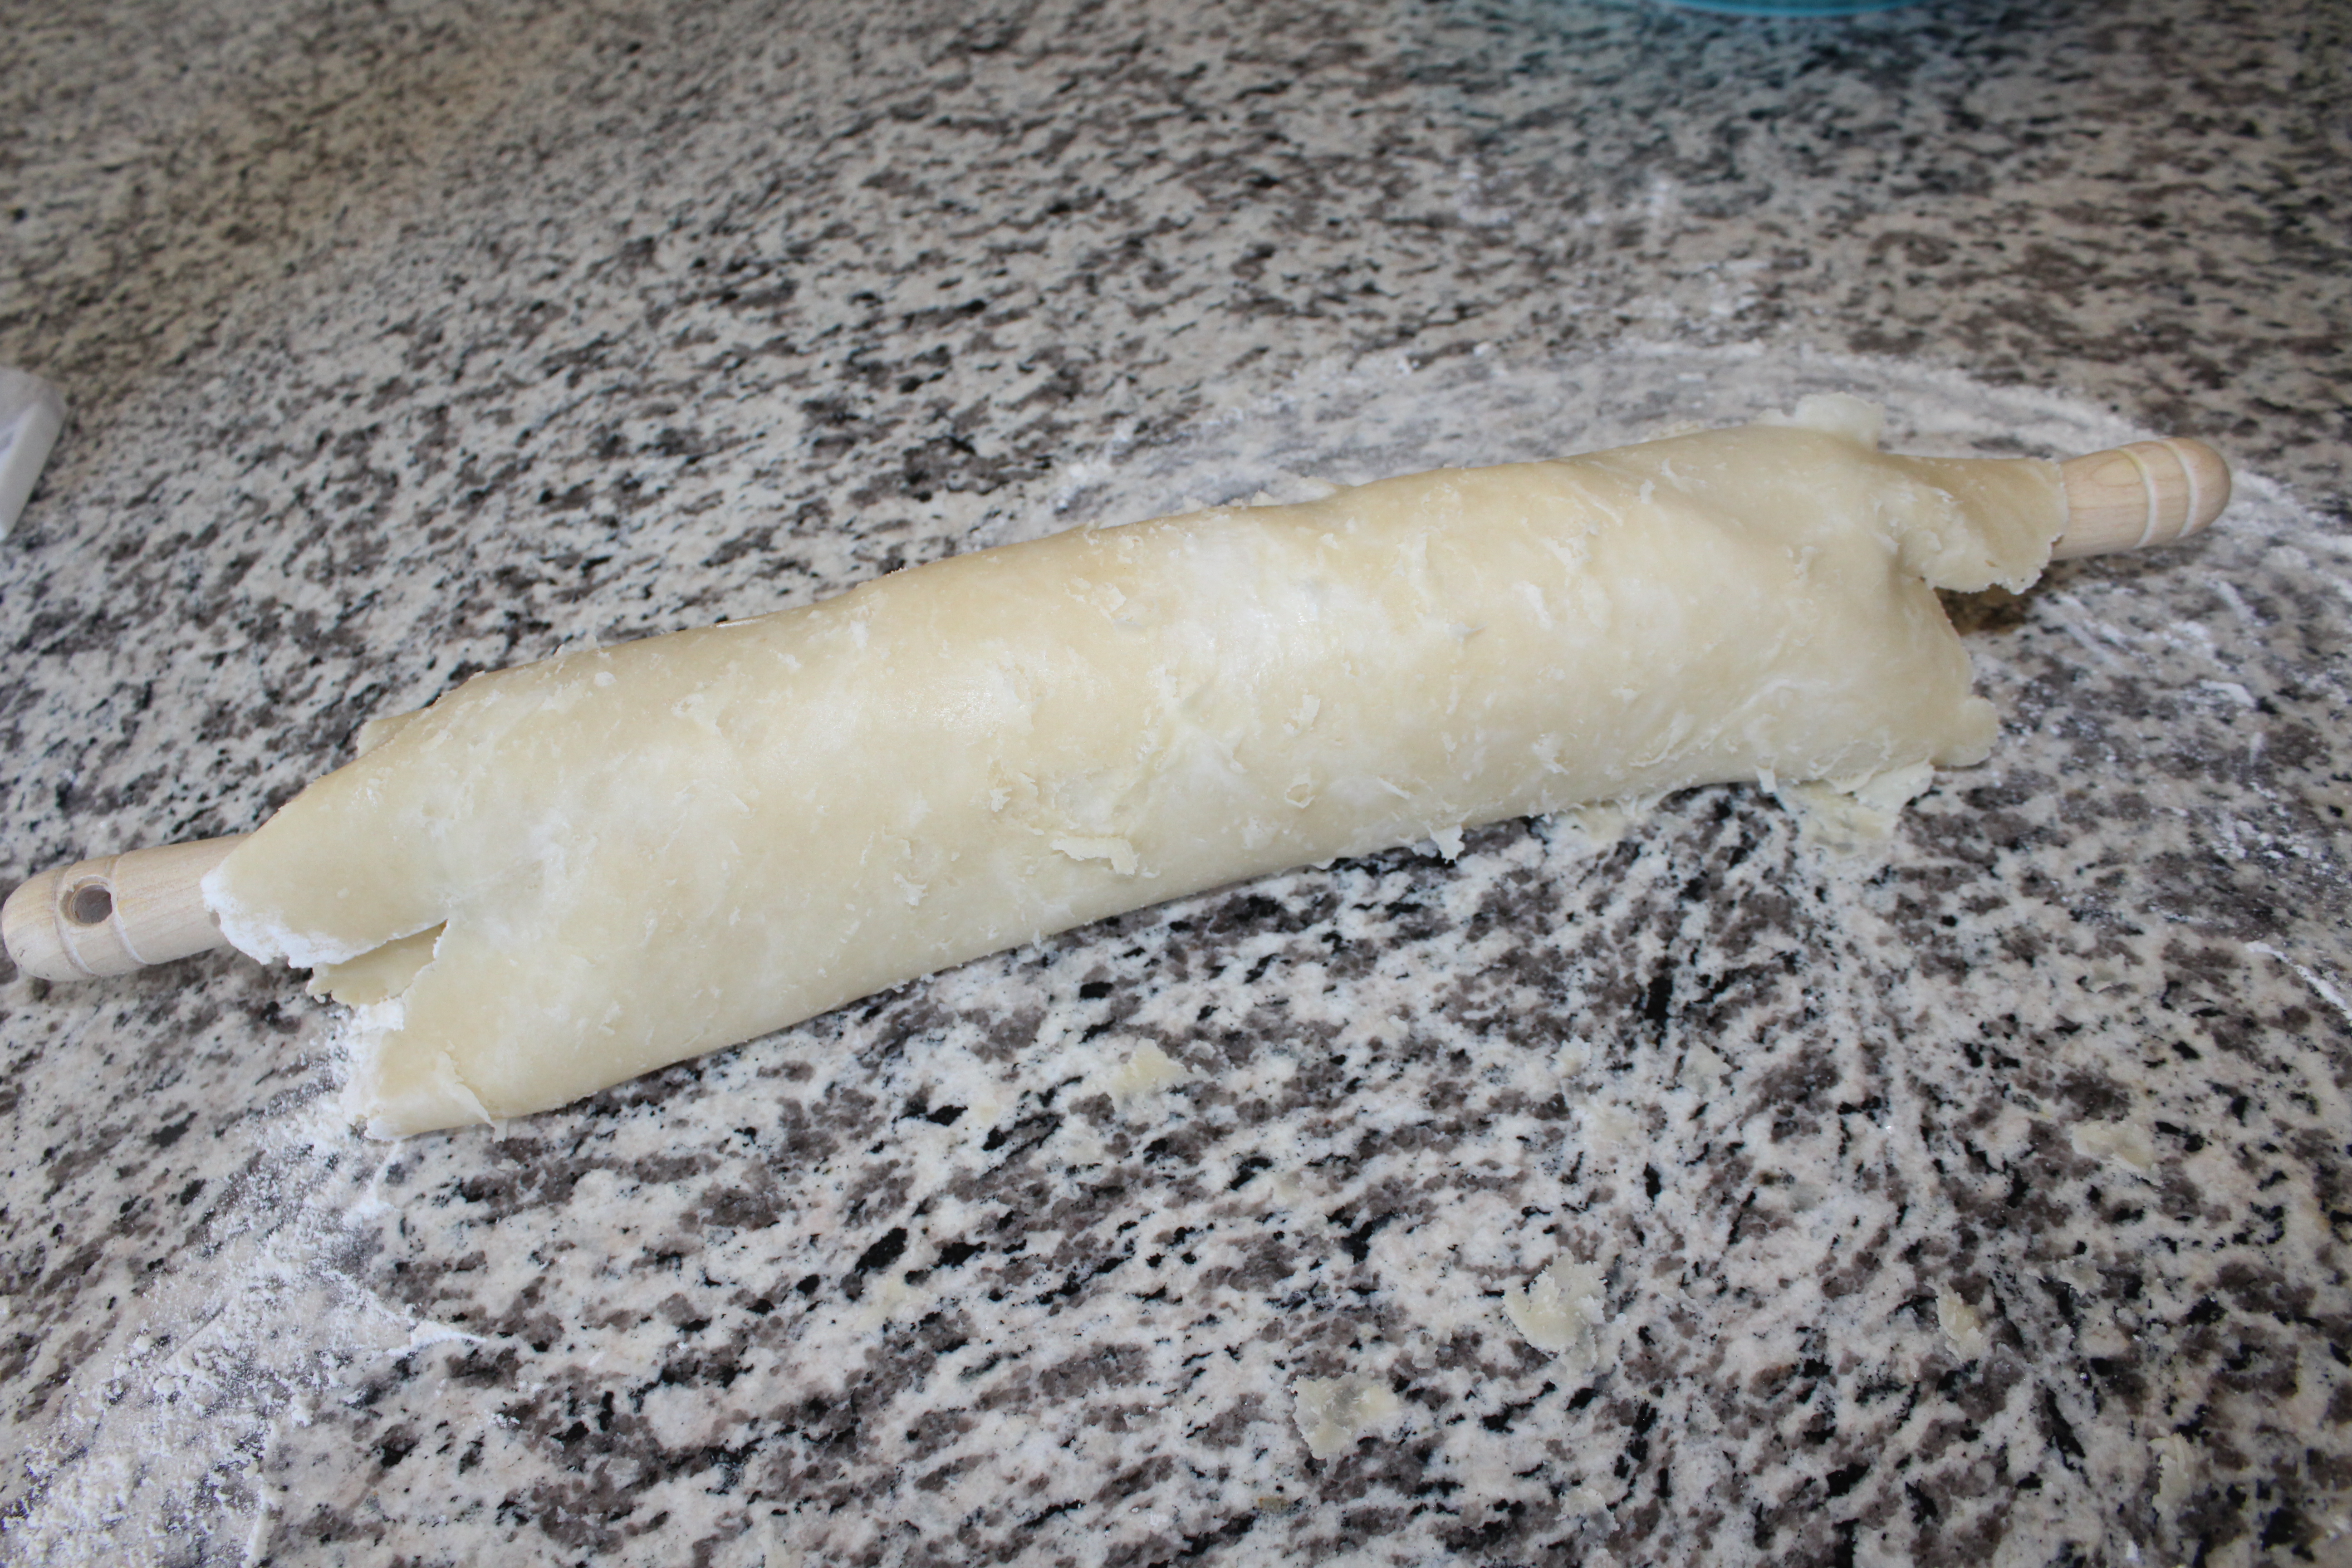
Then I unrolled it on to the pie plate. You can grab my favorite pie plate here! 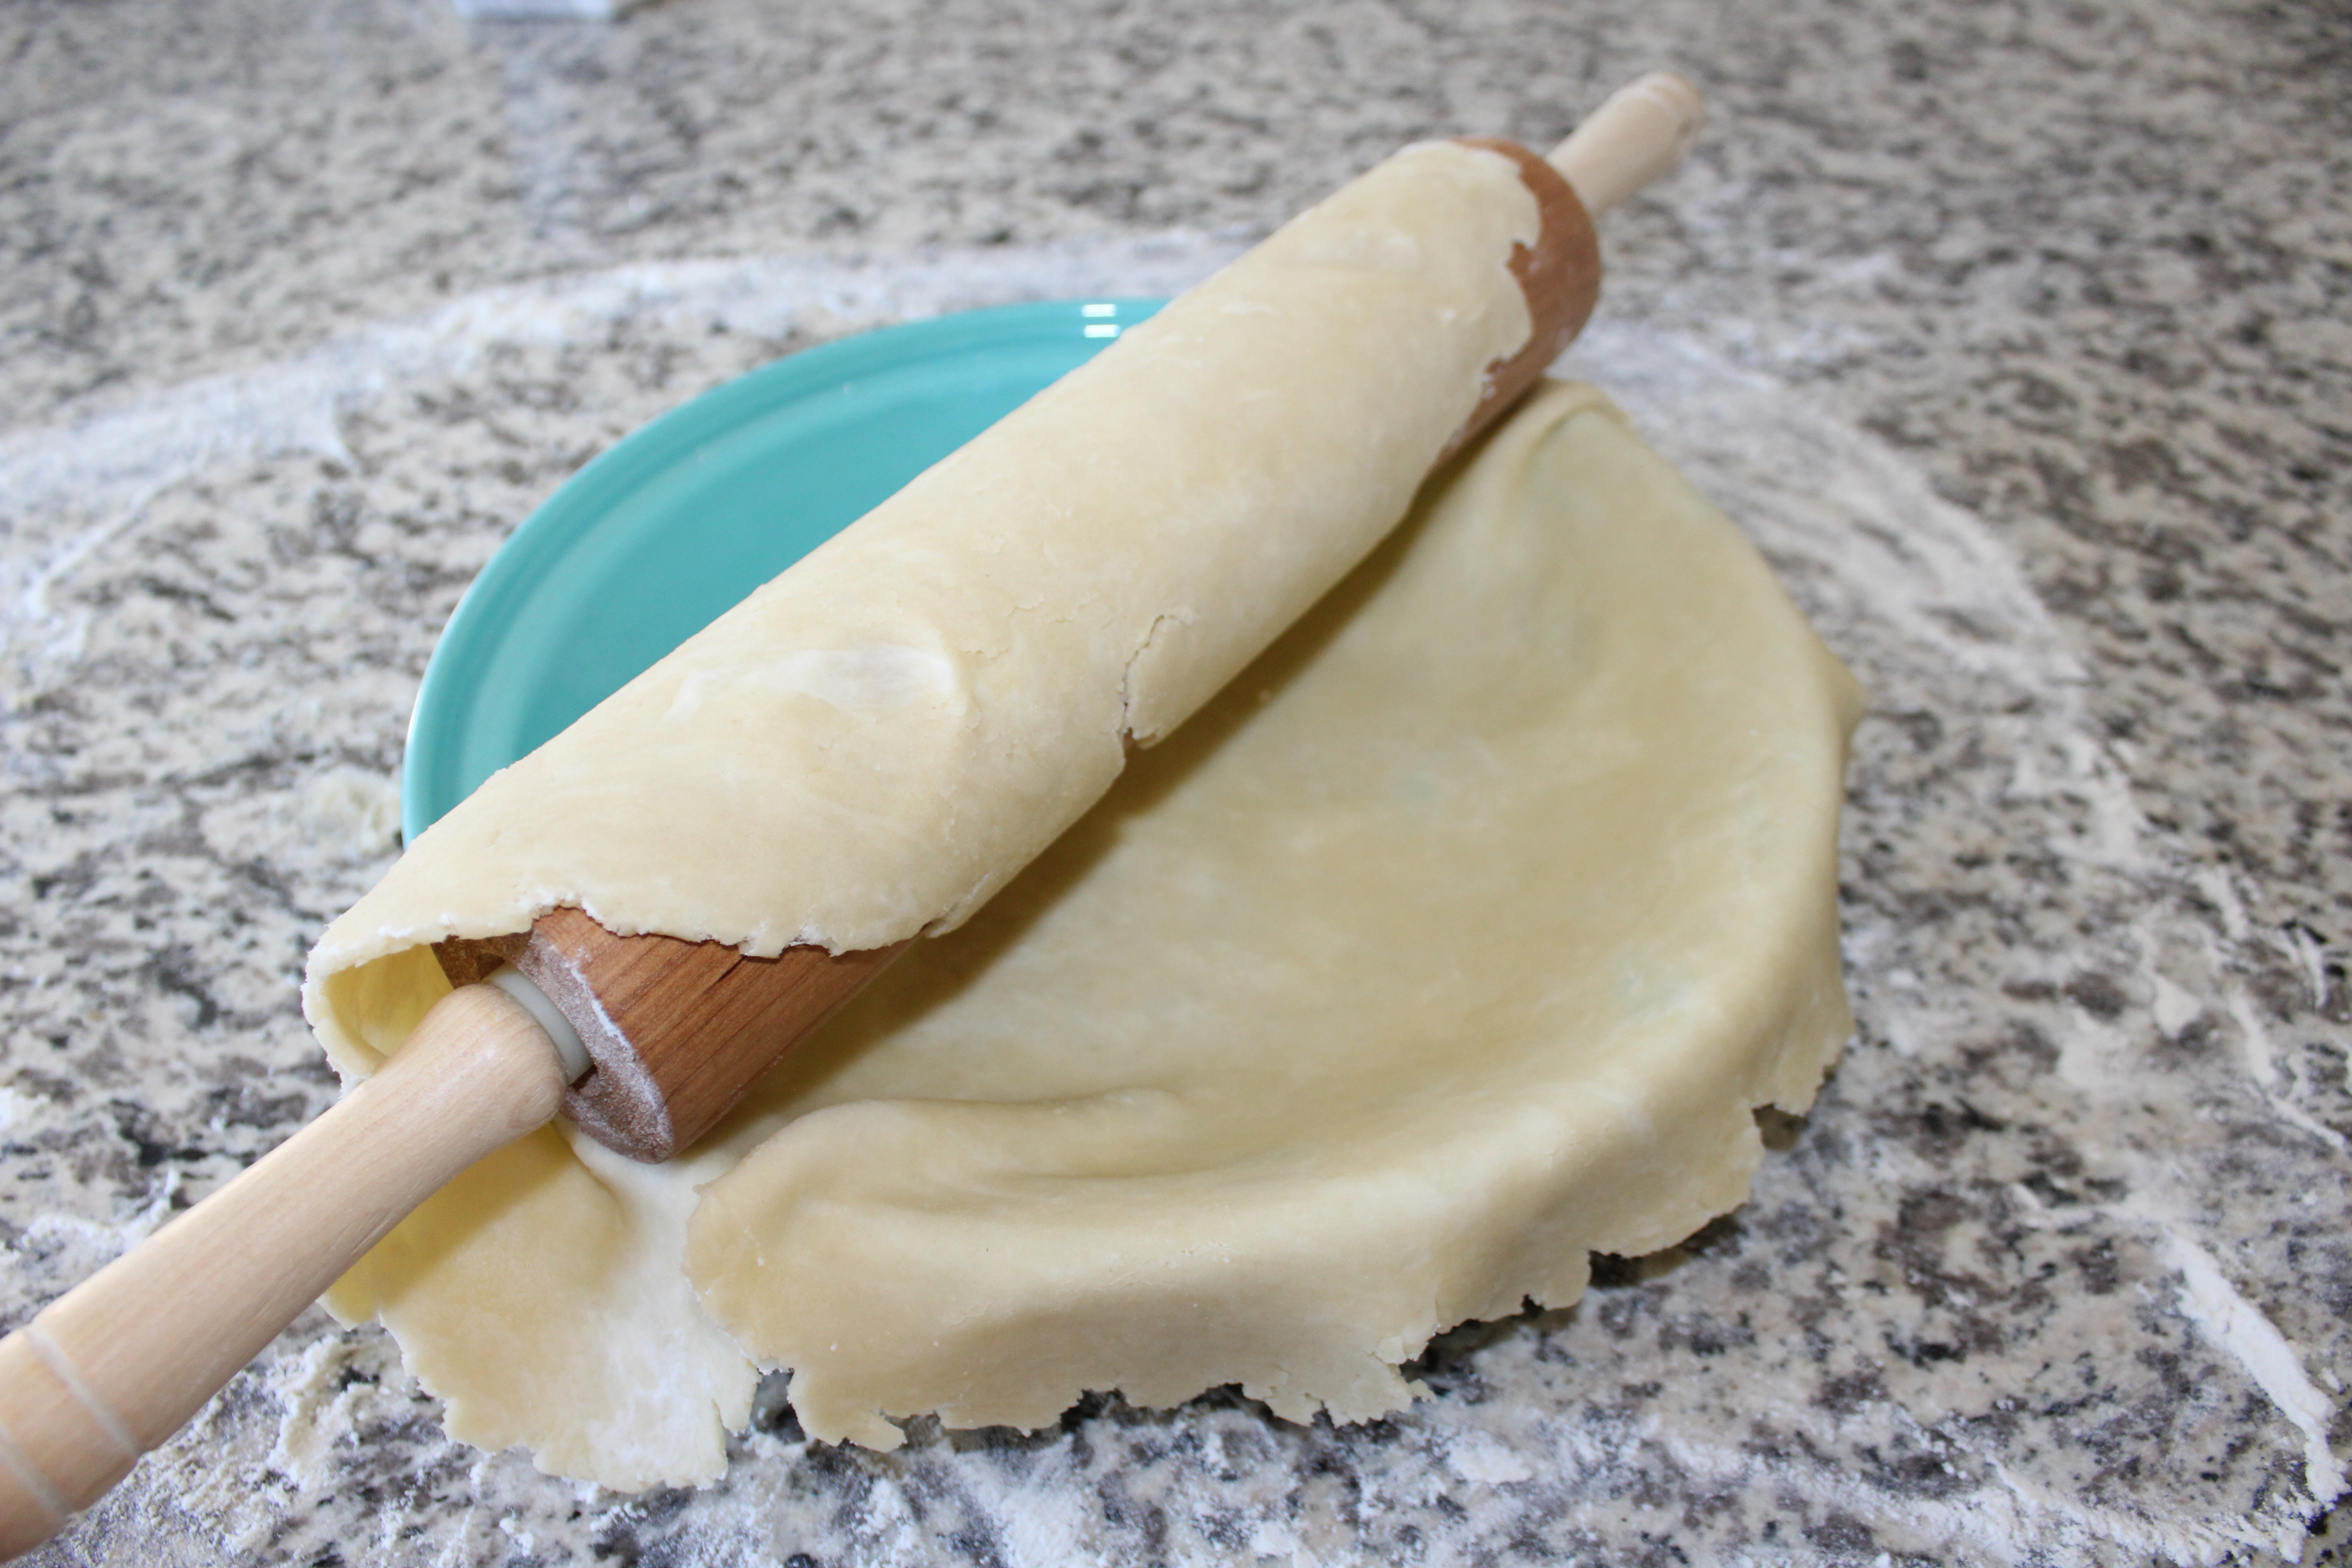
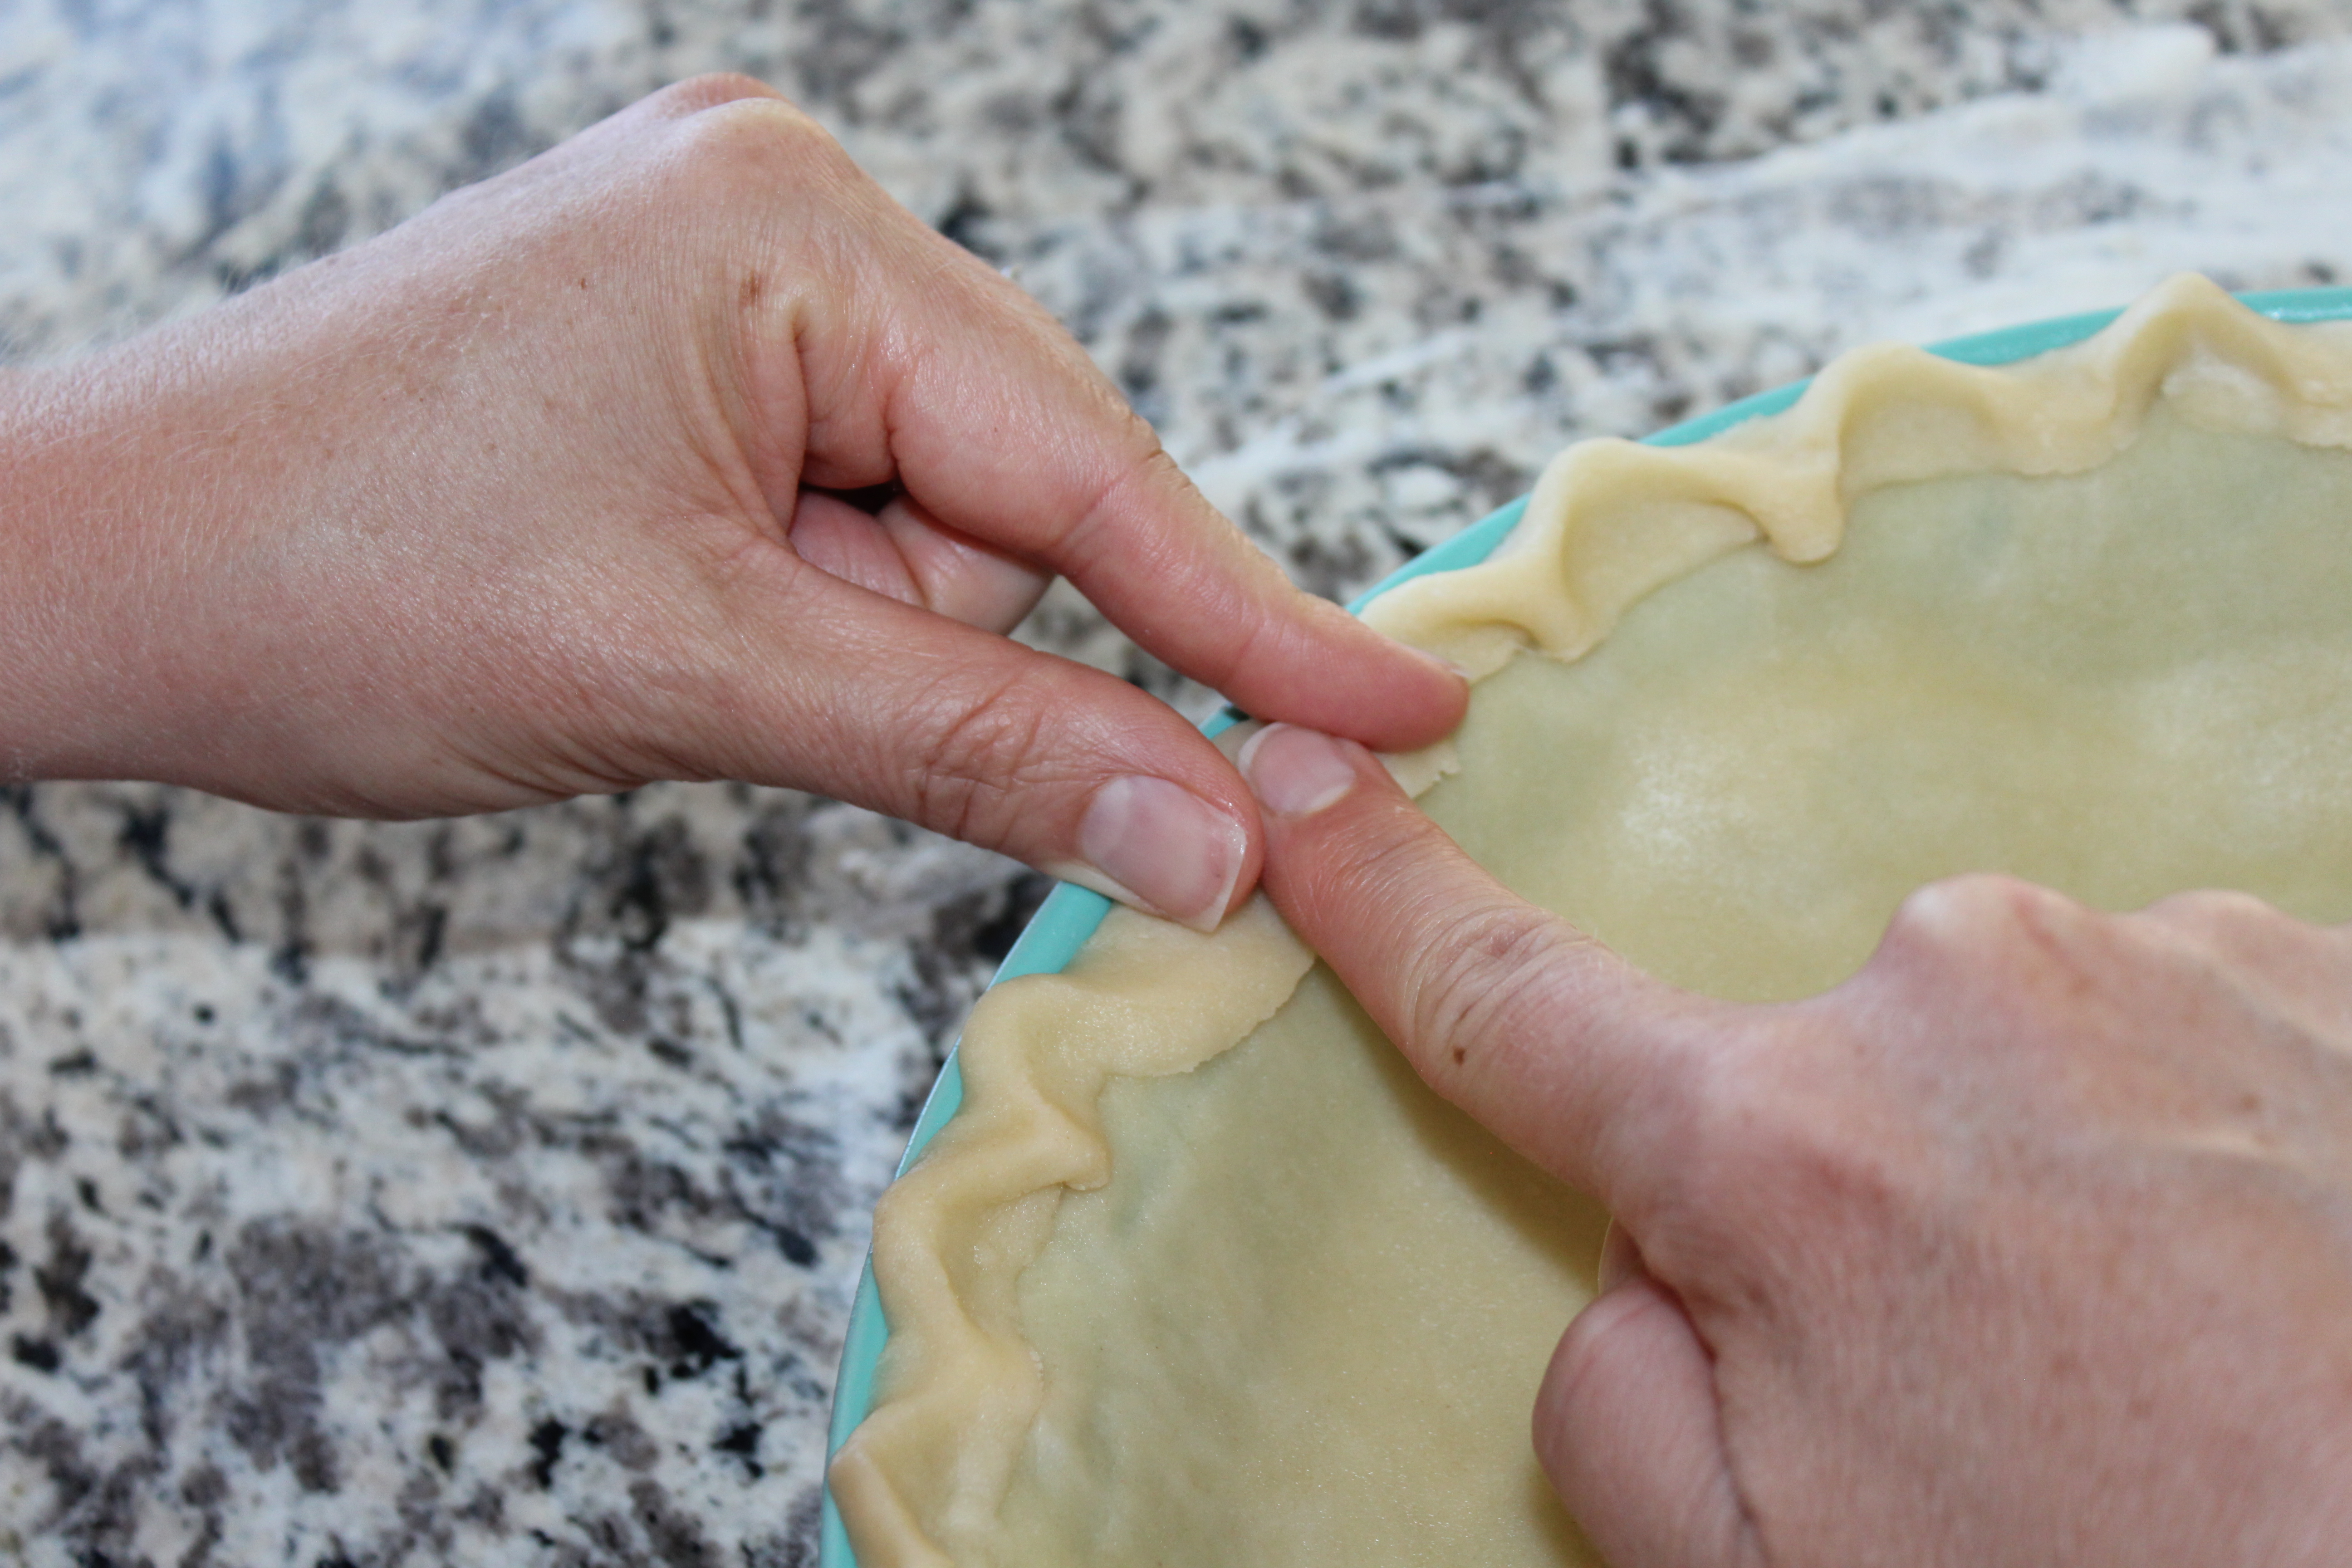
If the dough cracks or separates at all just pinch it back together. Then I trimmed the crust about a half inch past the pie plate and then folded it back over so I had a nice even edge all around. That gives me the extra dough to make a nice scalloped edge. Just use your index finger and thumb of your left hand and your index finger of your right hand and go all around the pie, just like I am doing in the pictures below. 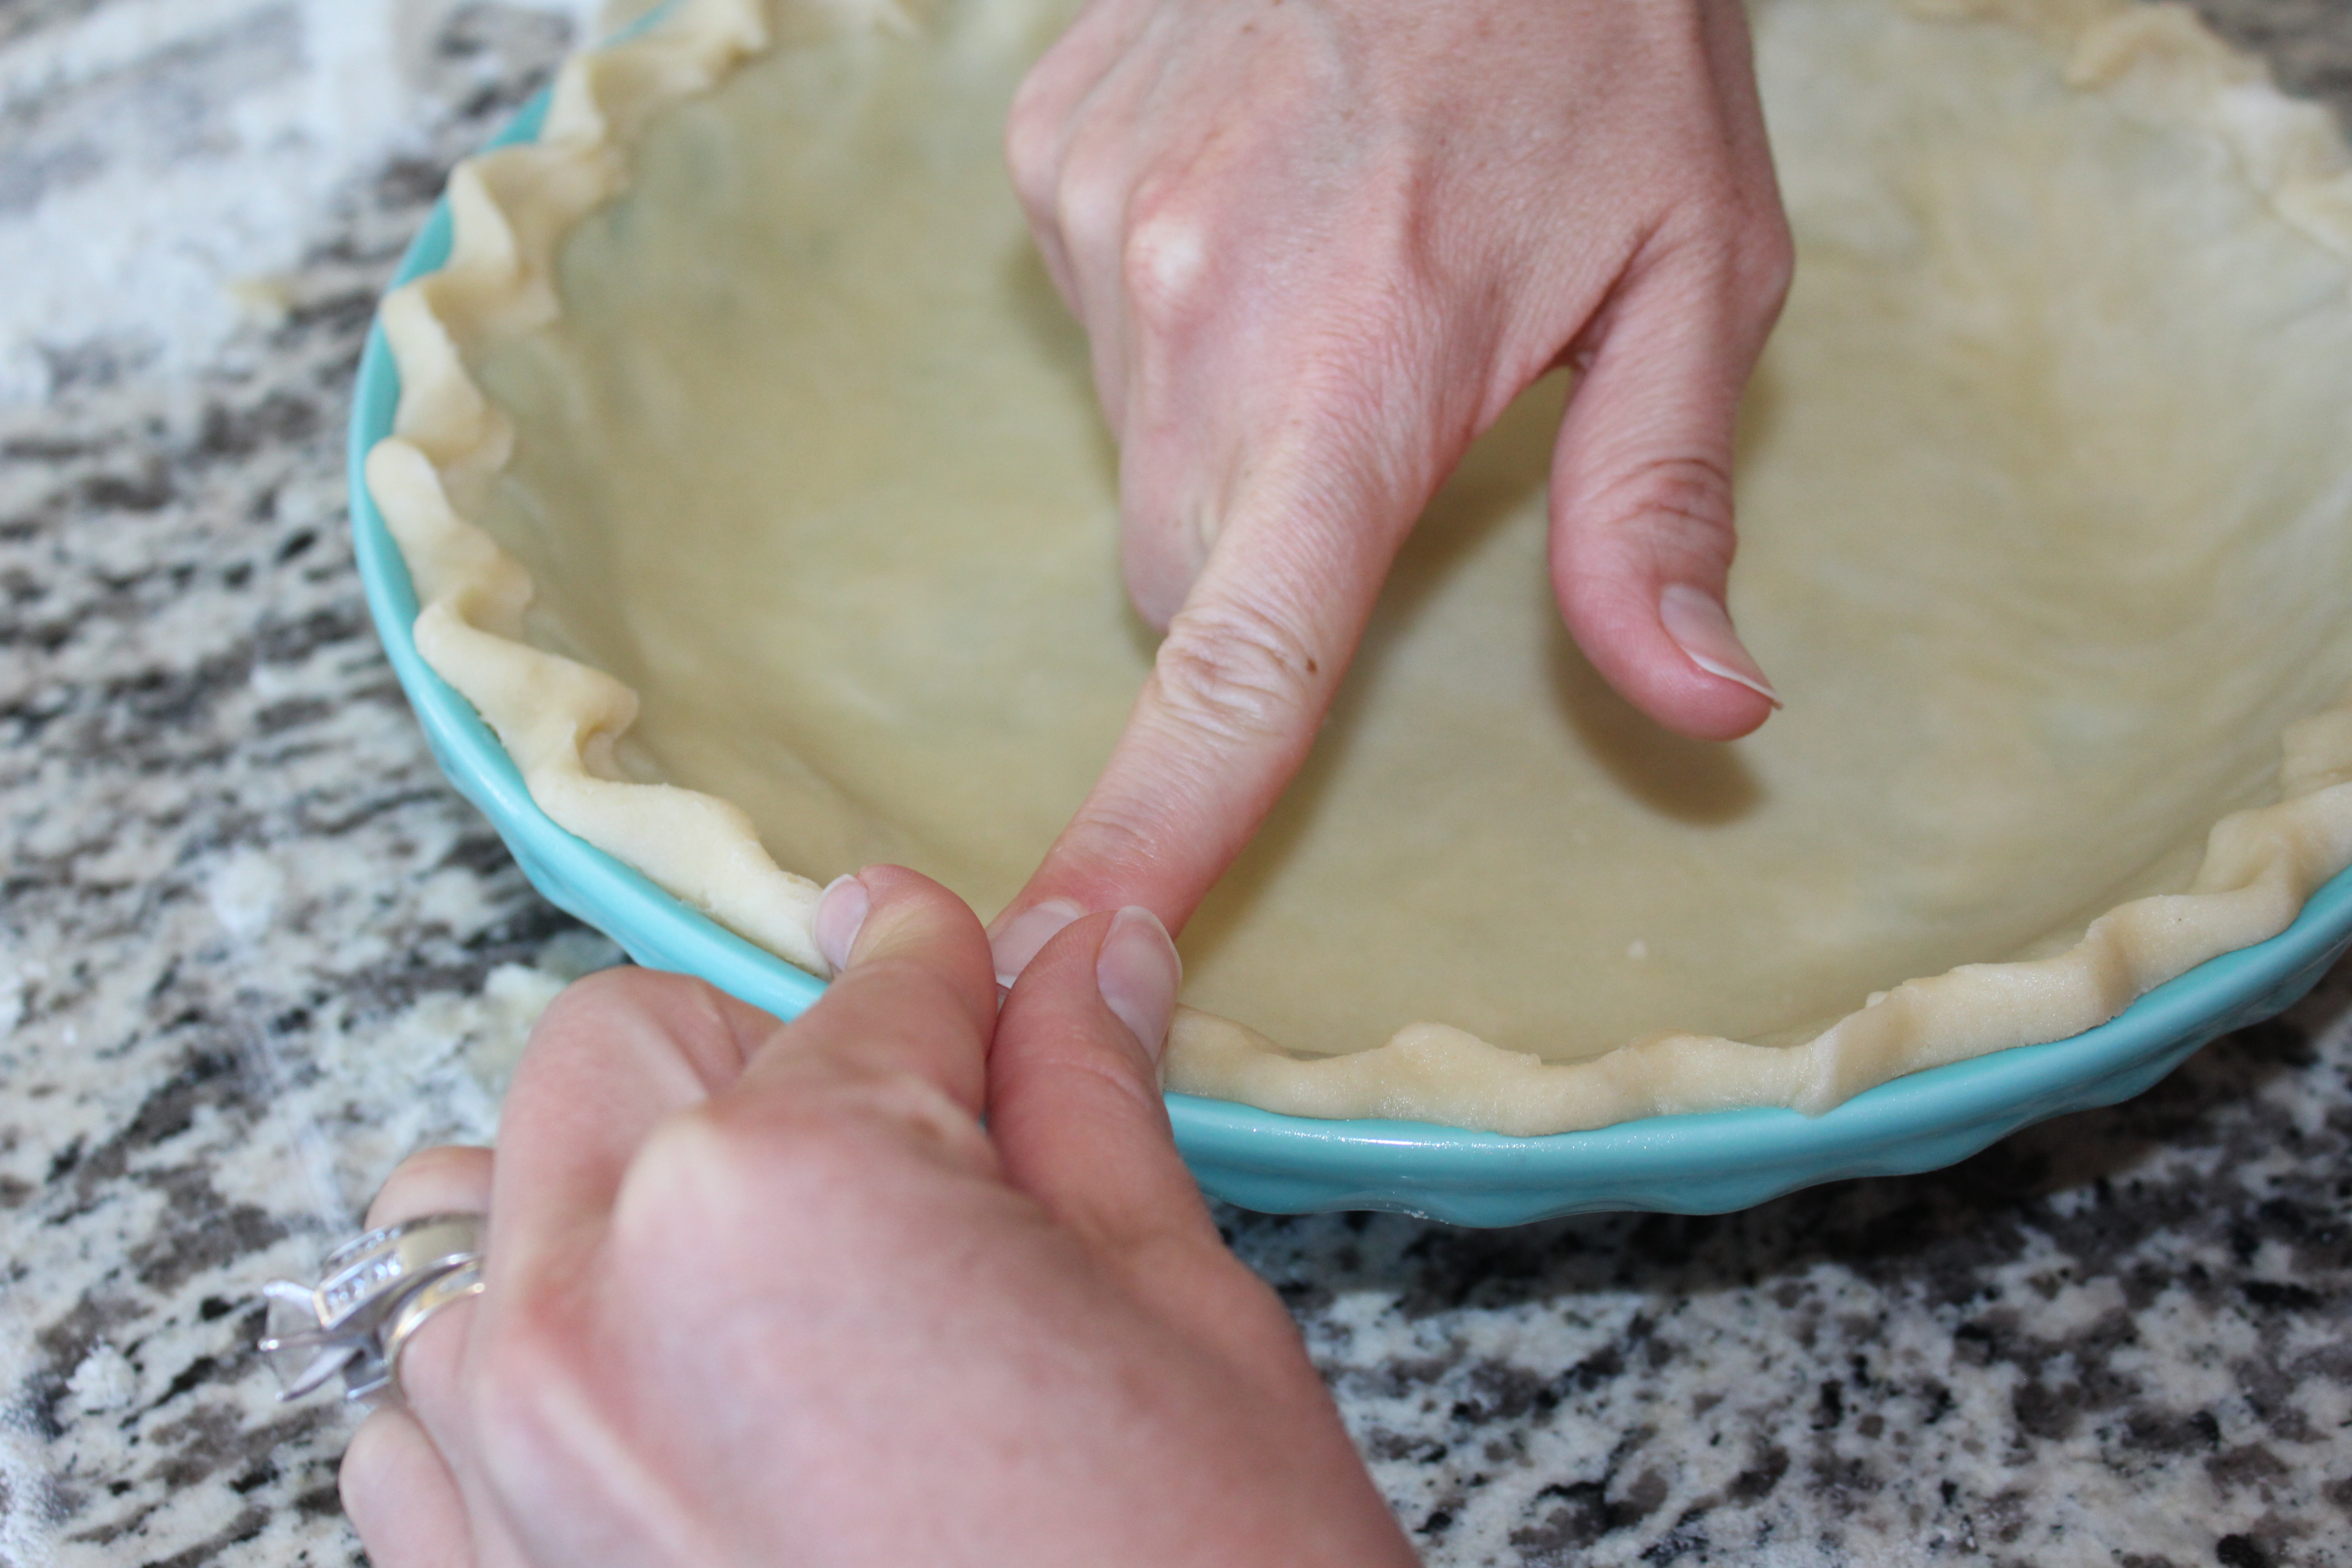
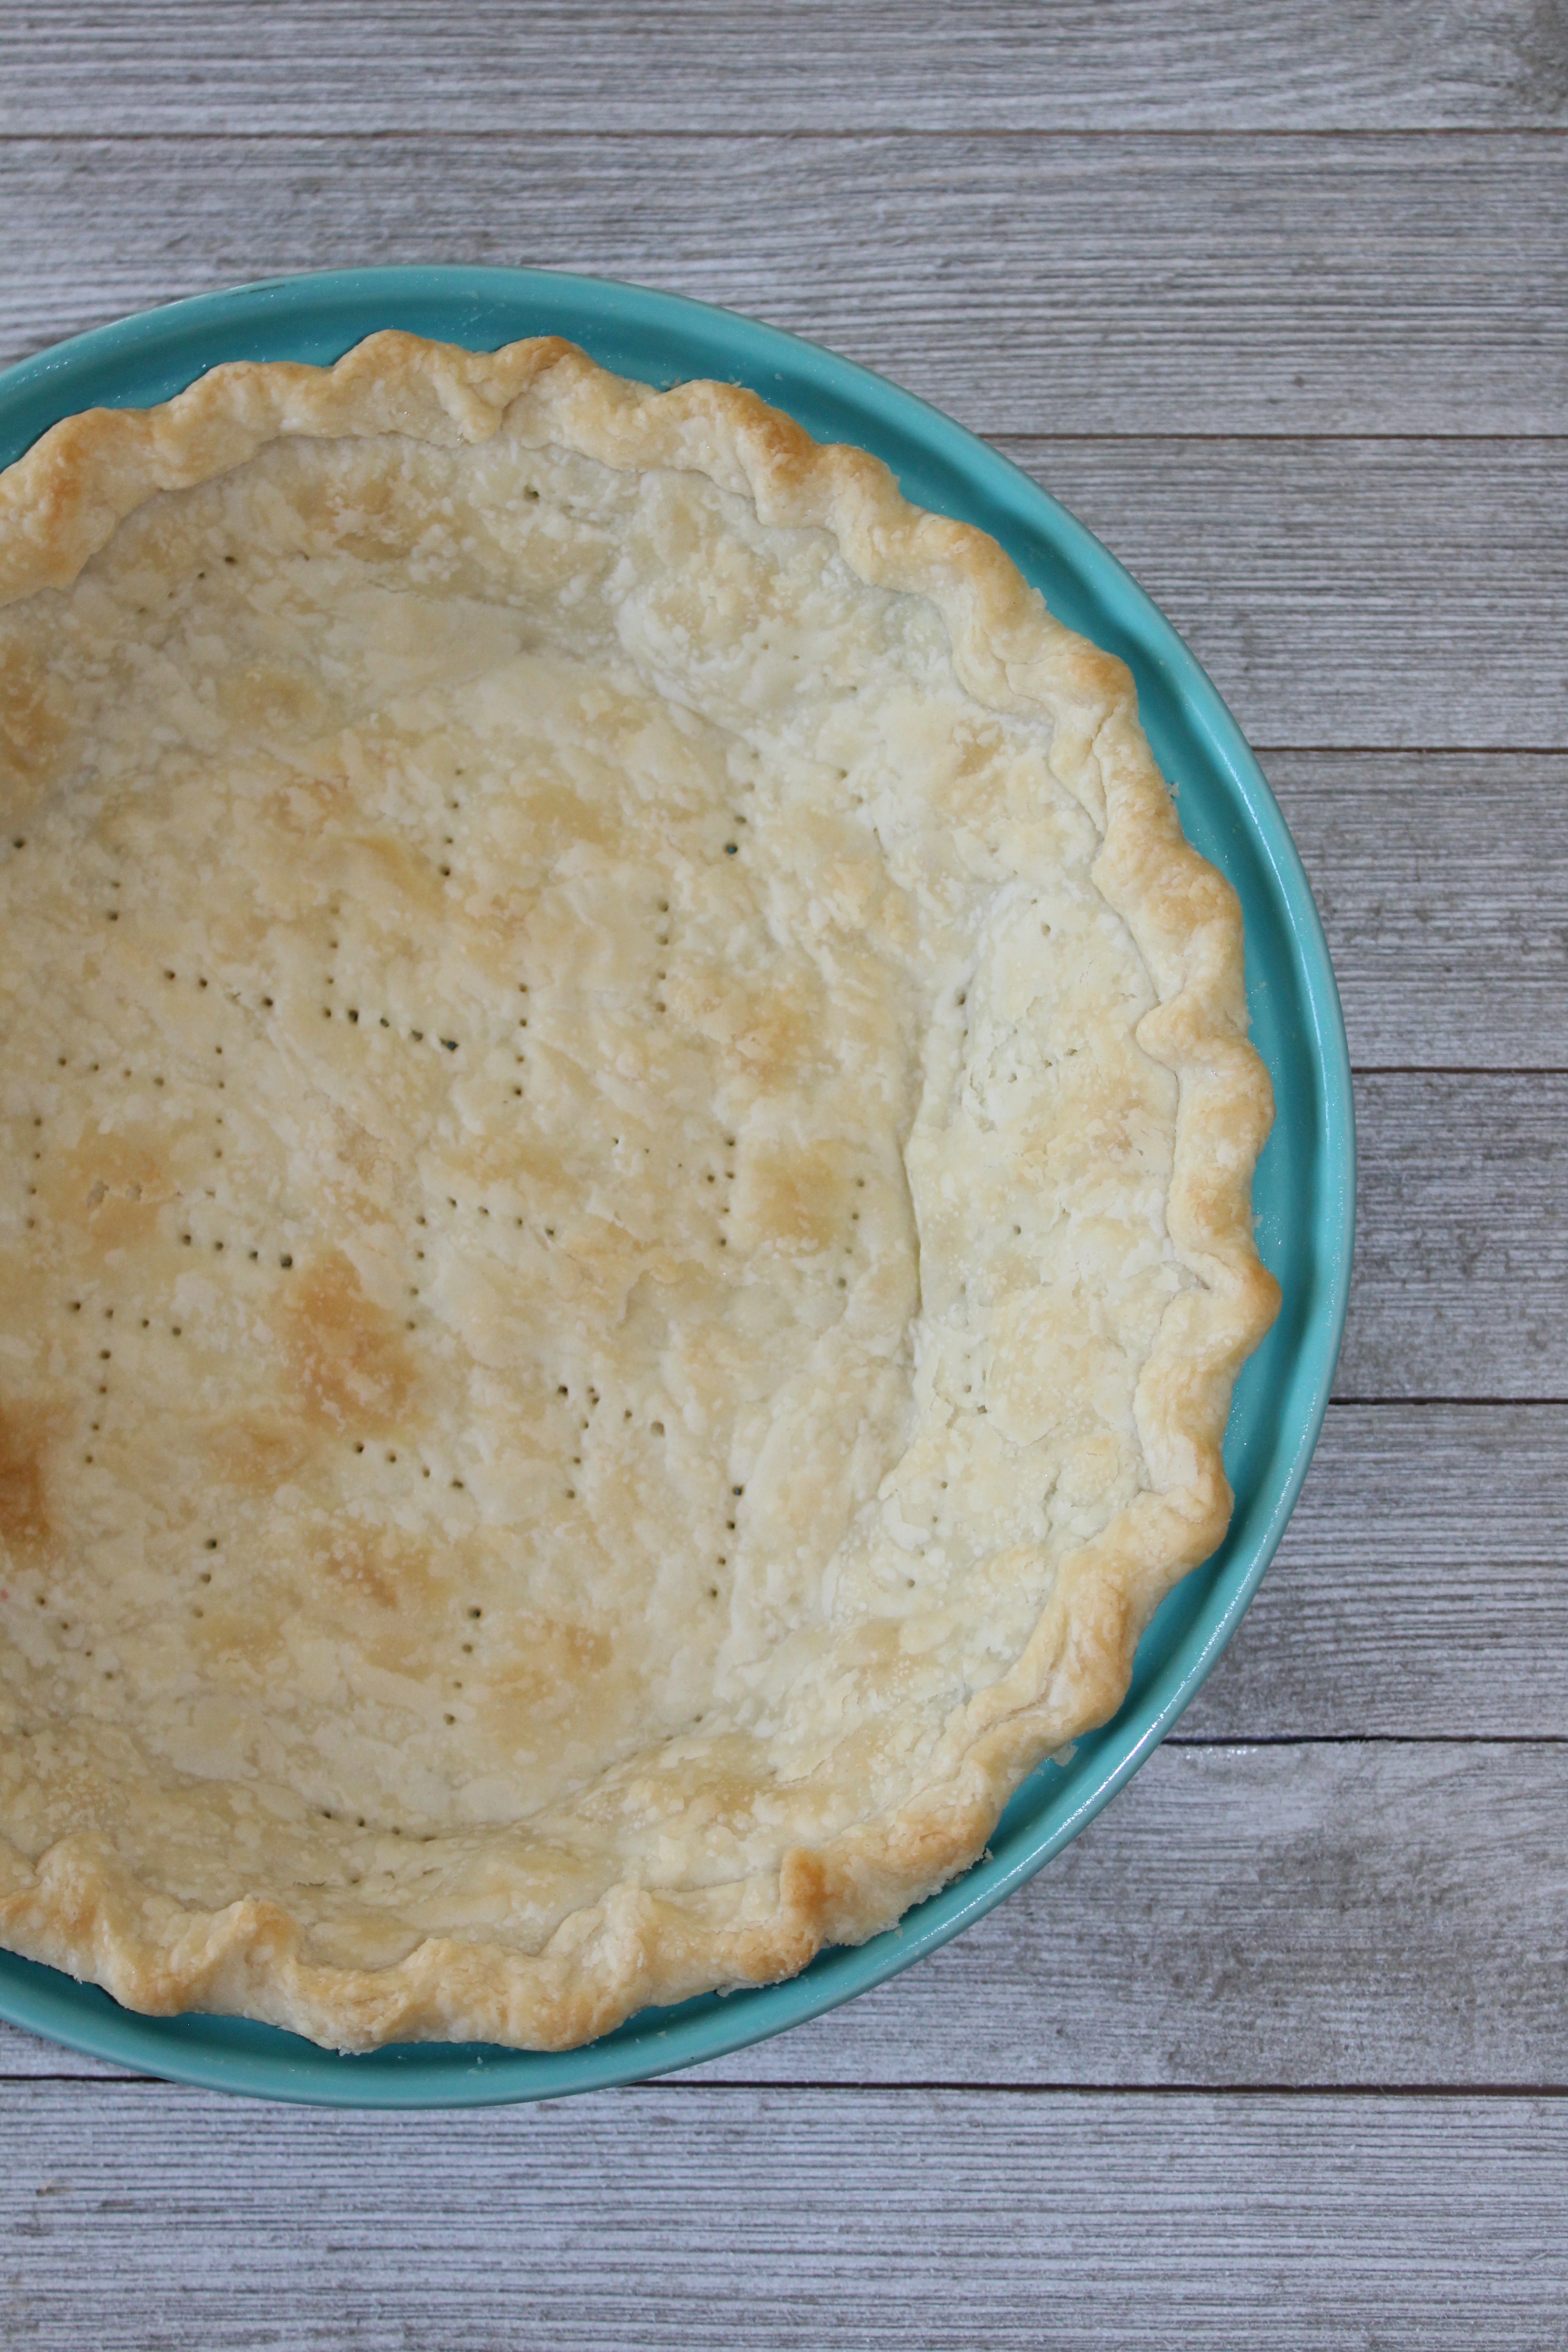
Then fill as desired and bake according to pie directions. Or as I did here for a baked unfilled pie shell, prick crust all over the bottom and sides with a fork. 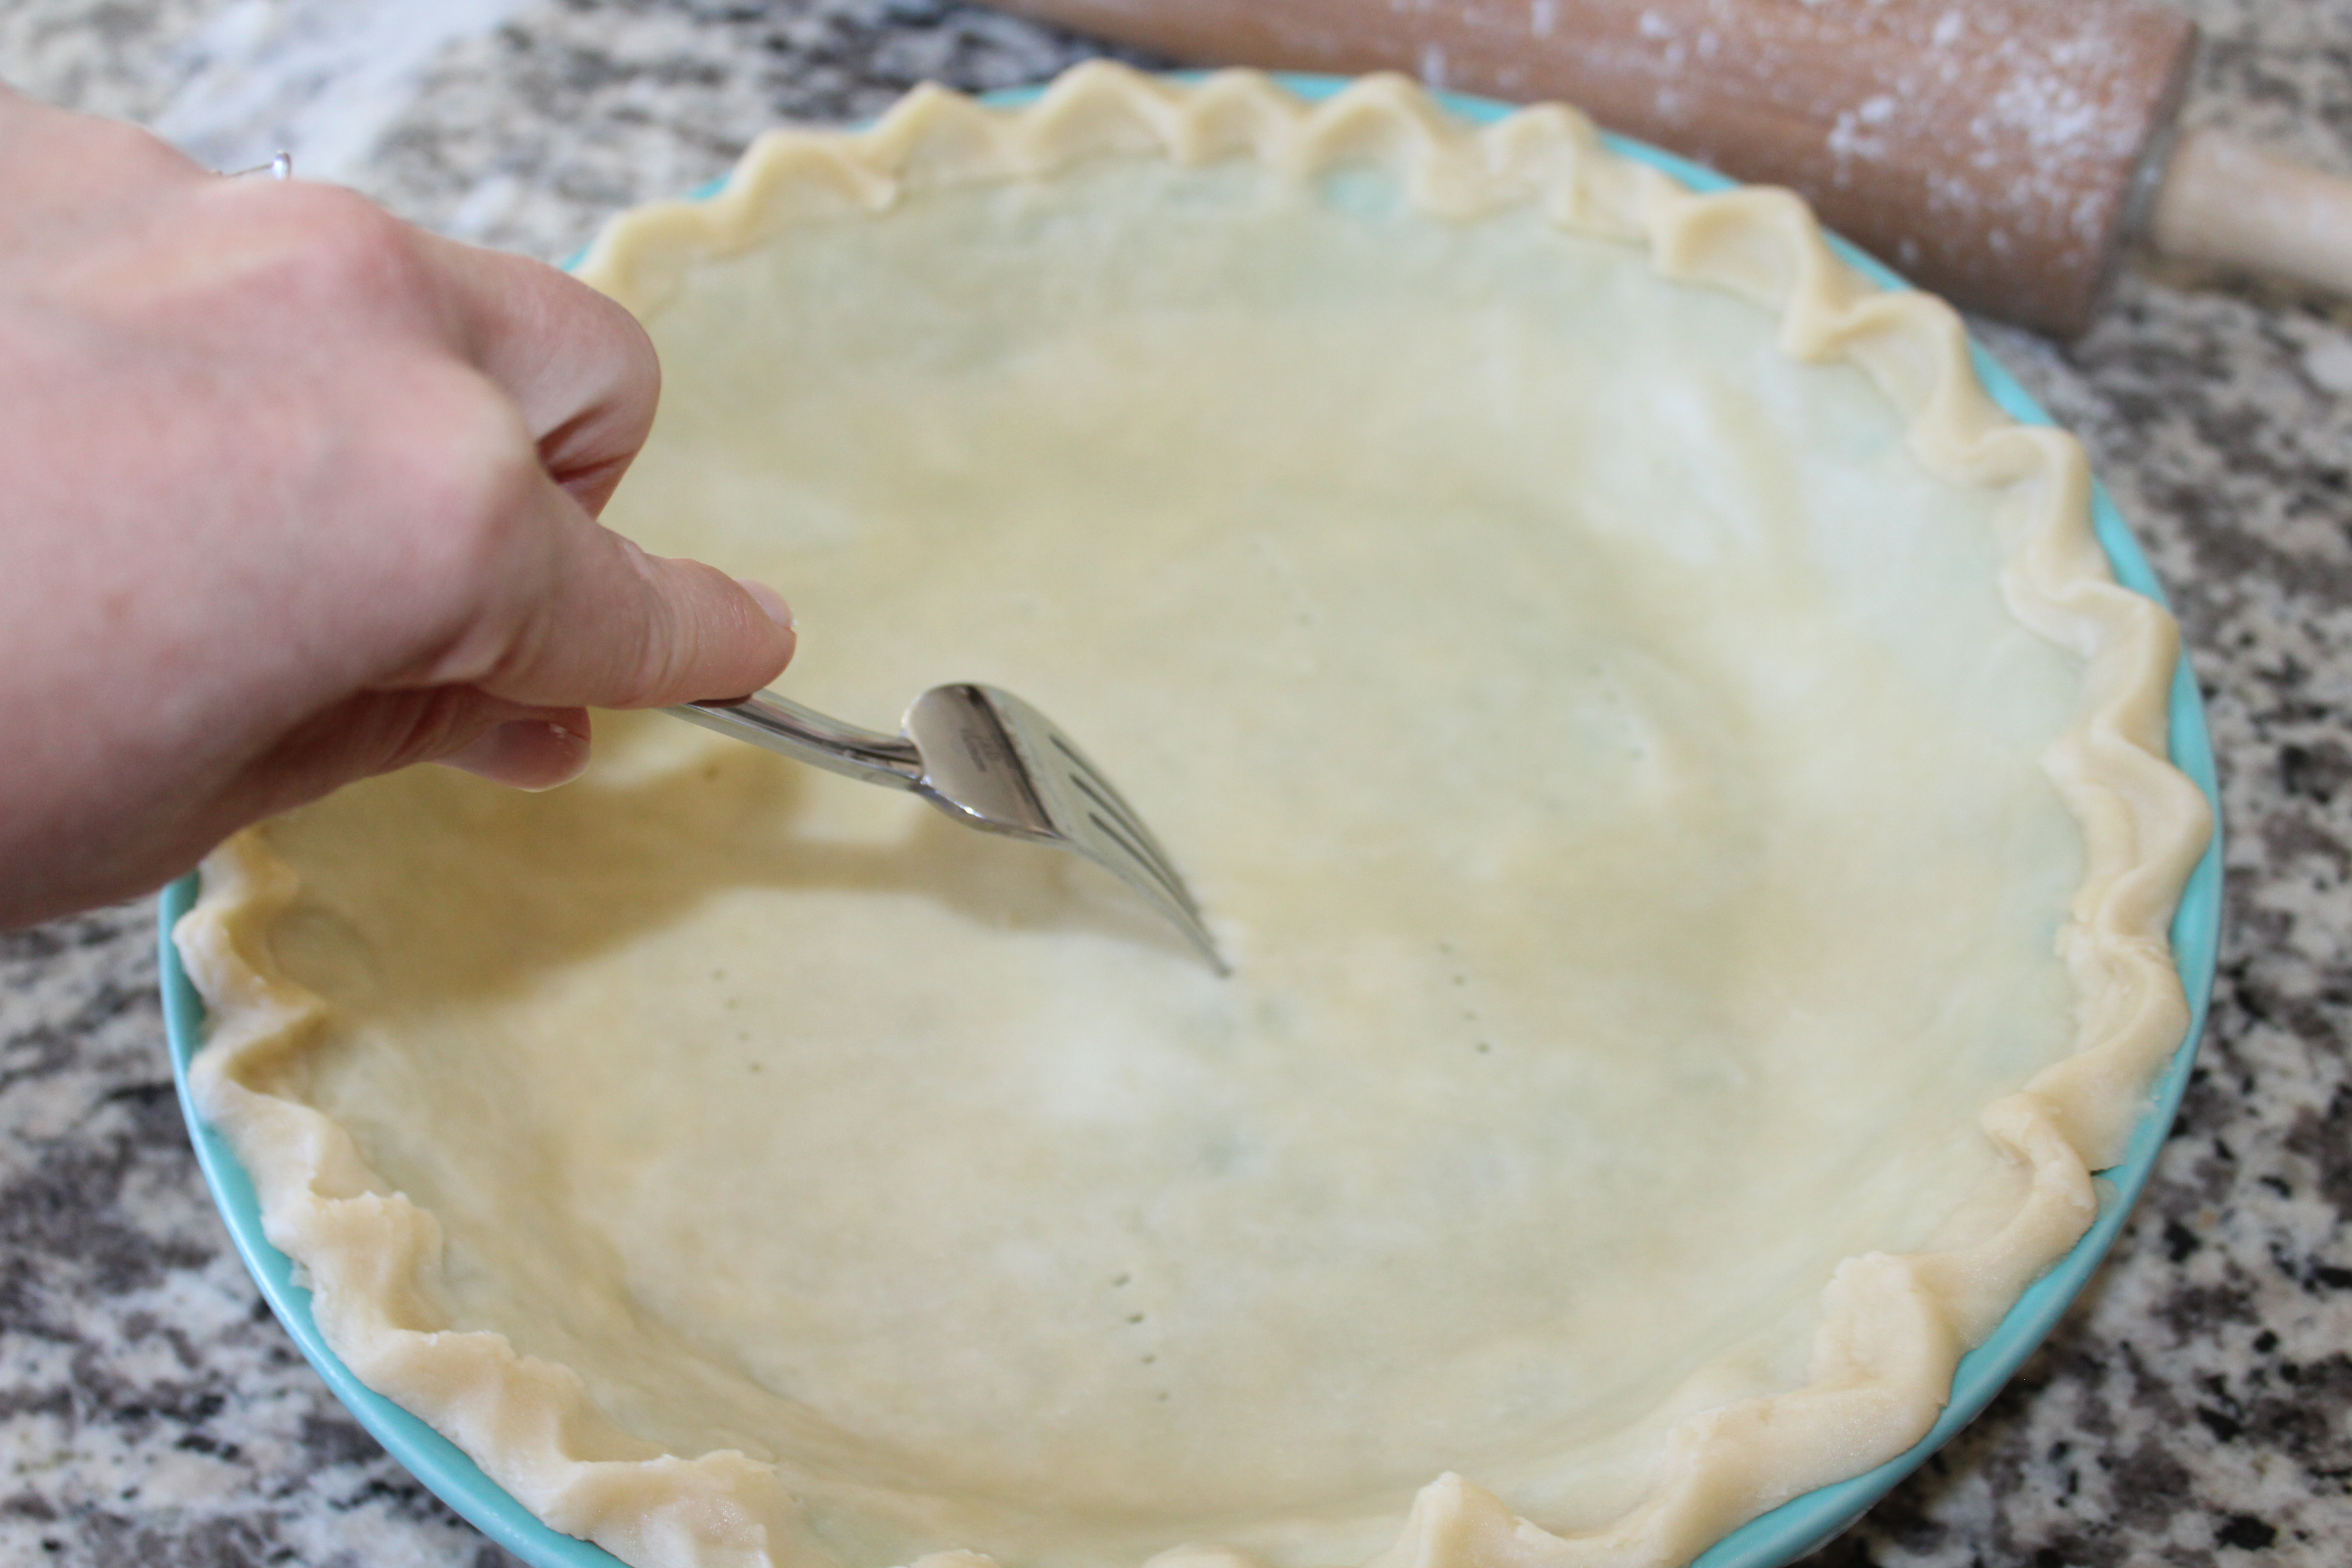
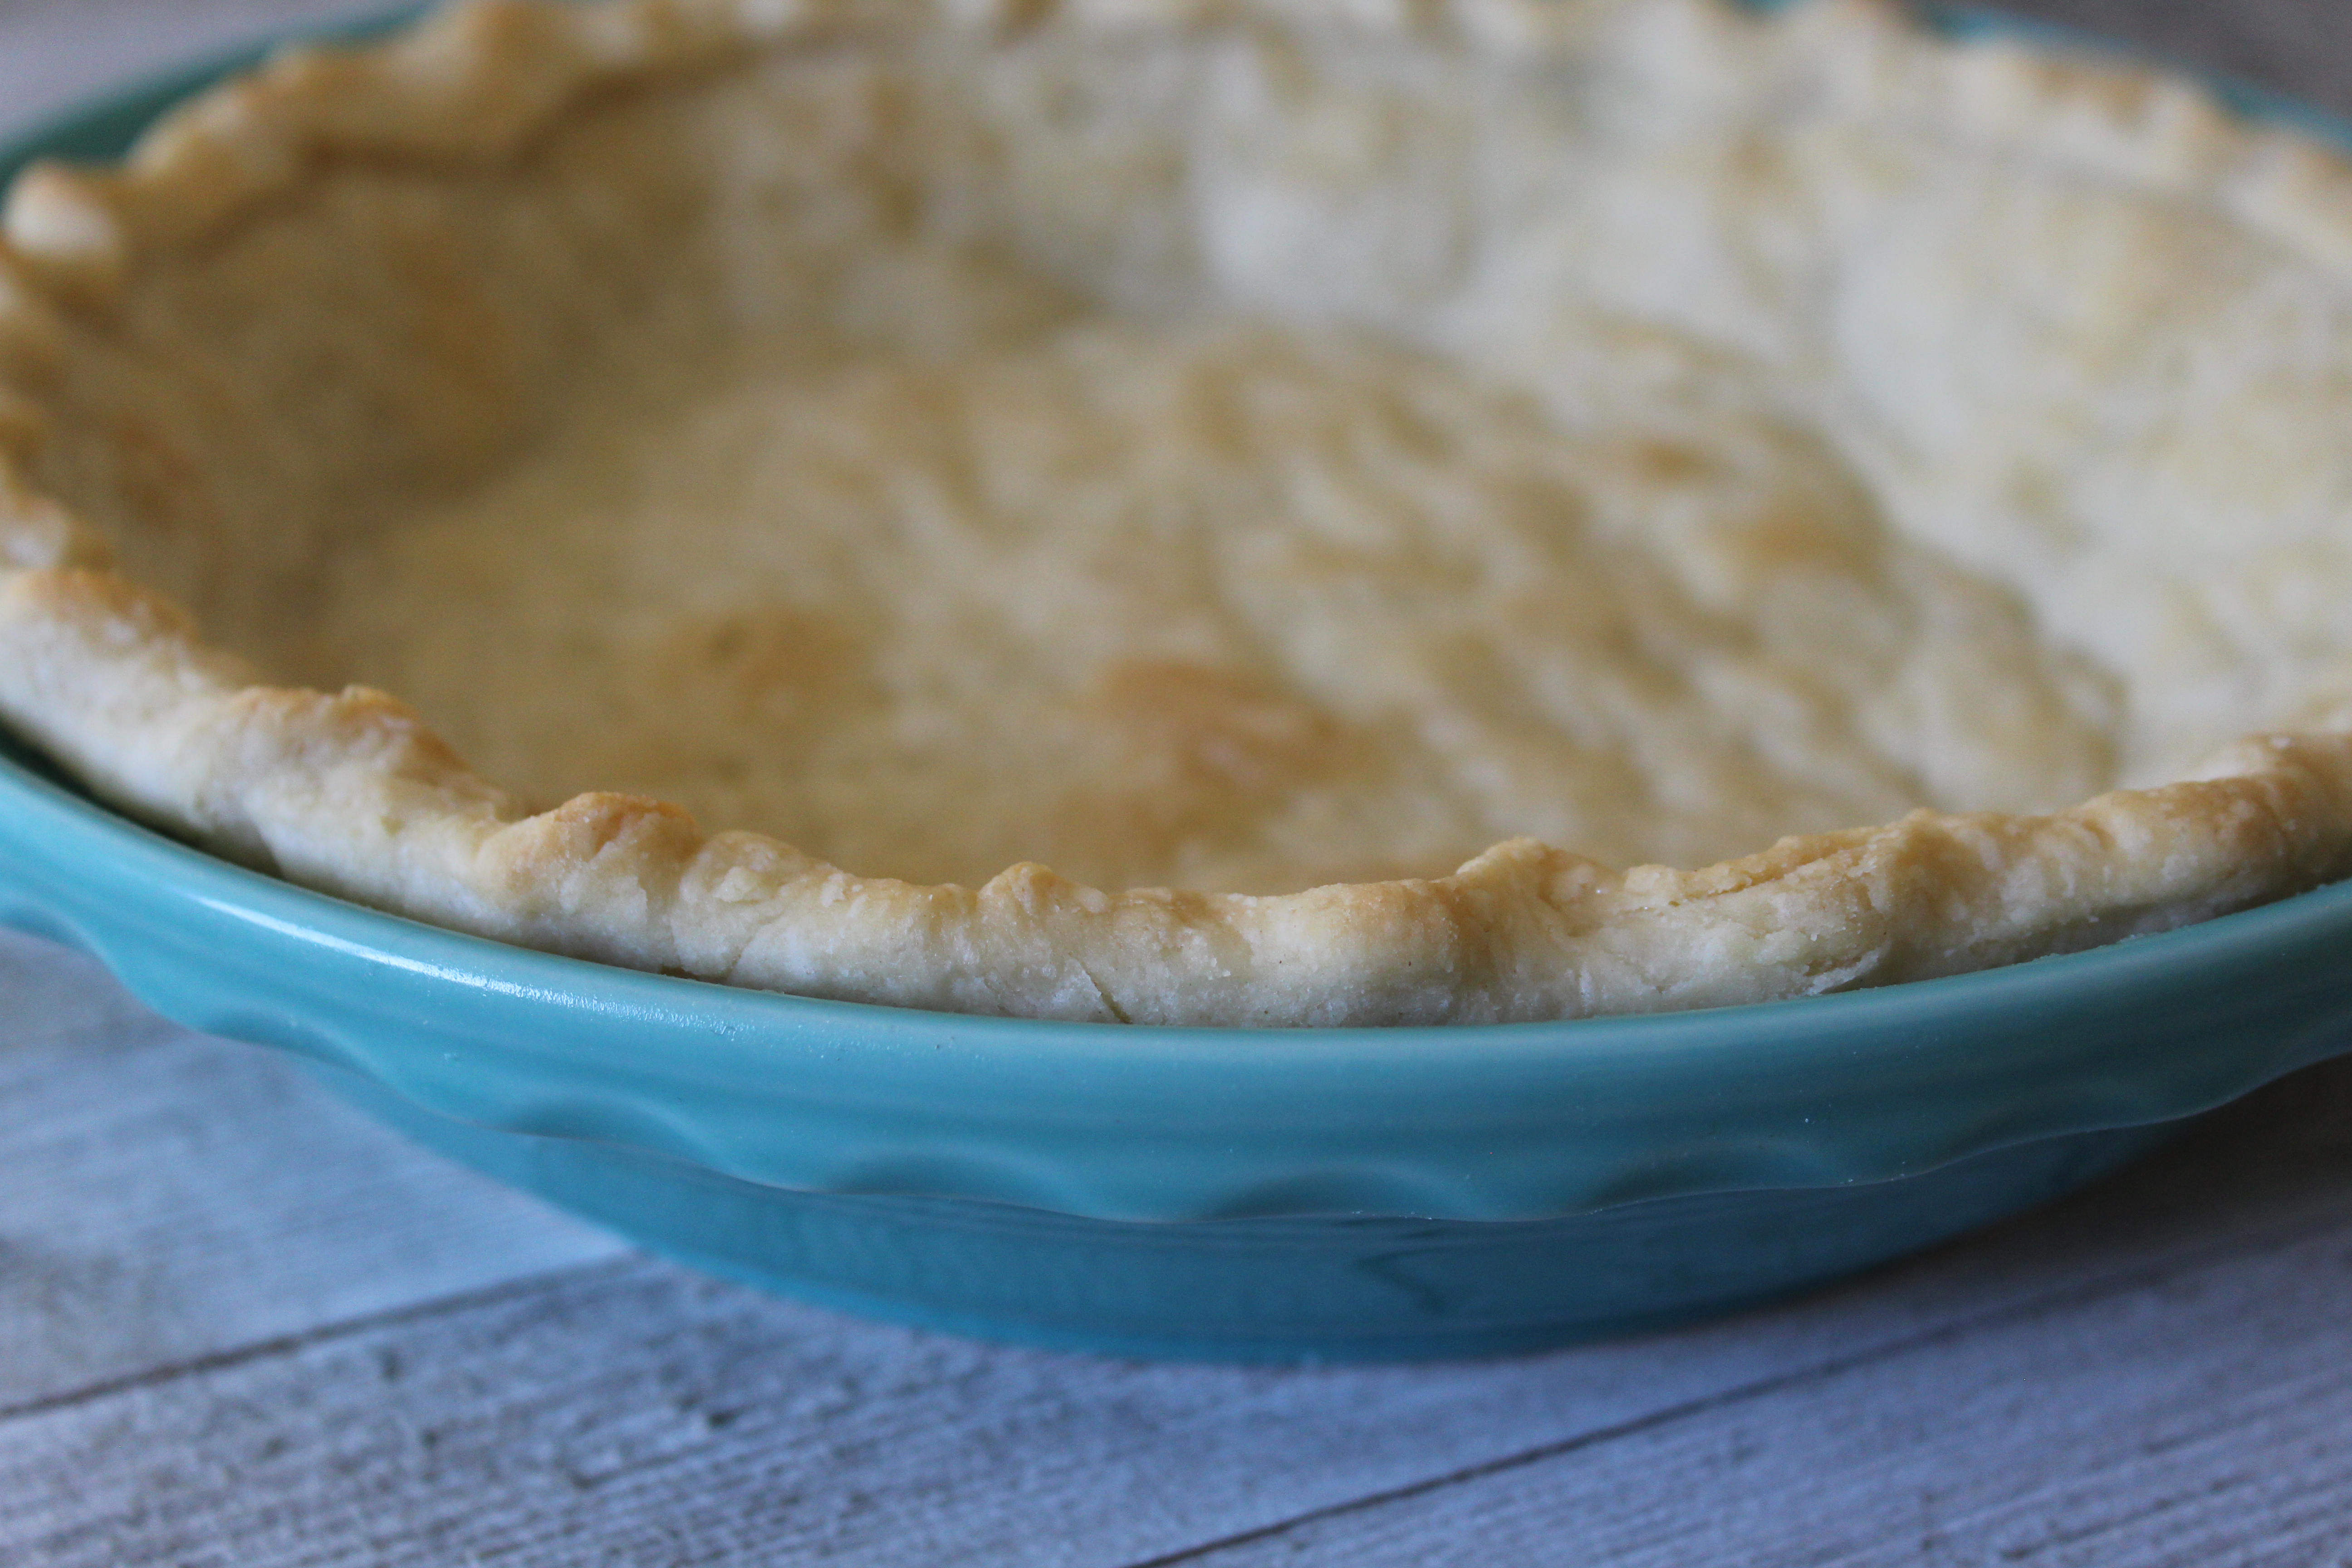
Bake at 450 degrees for 10-12 minutes or until lightly browned. Cool before filling. 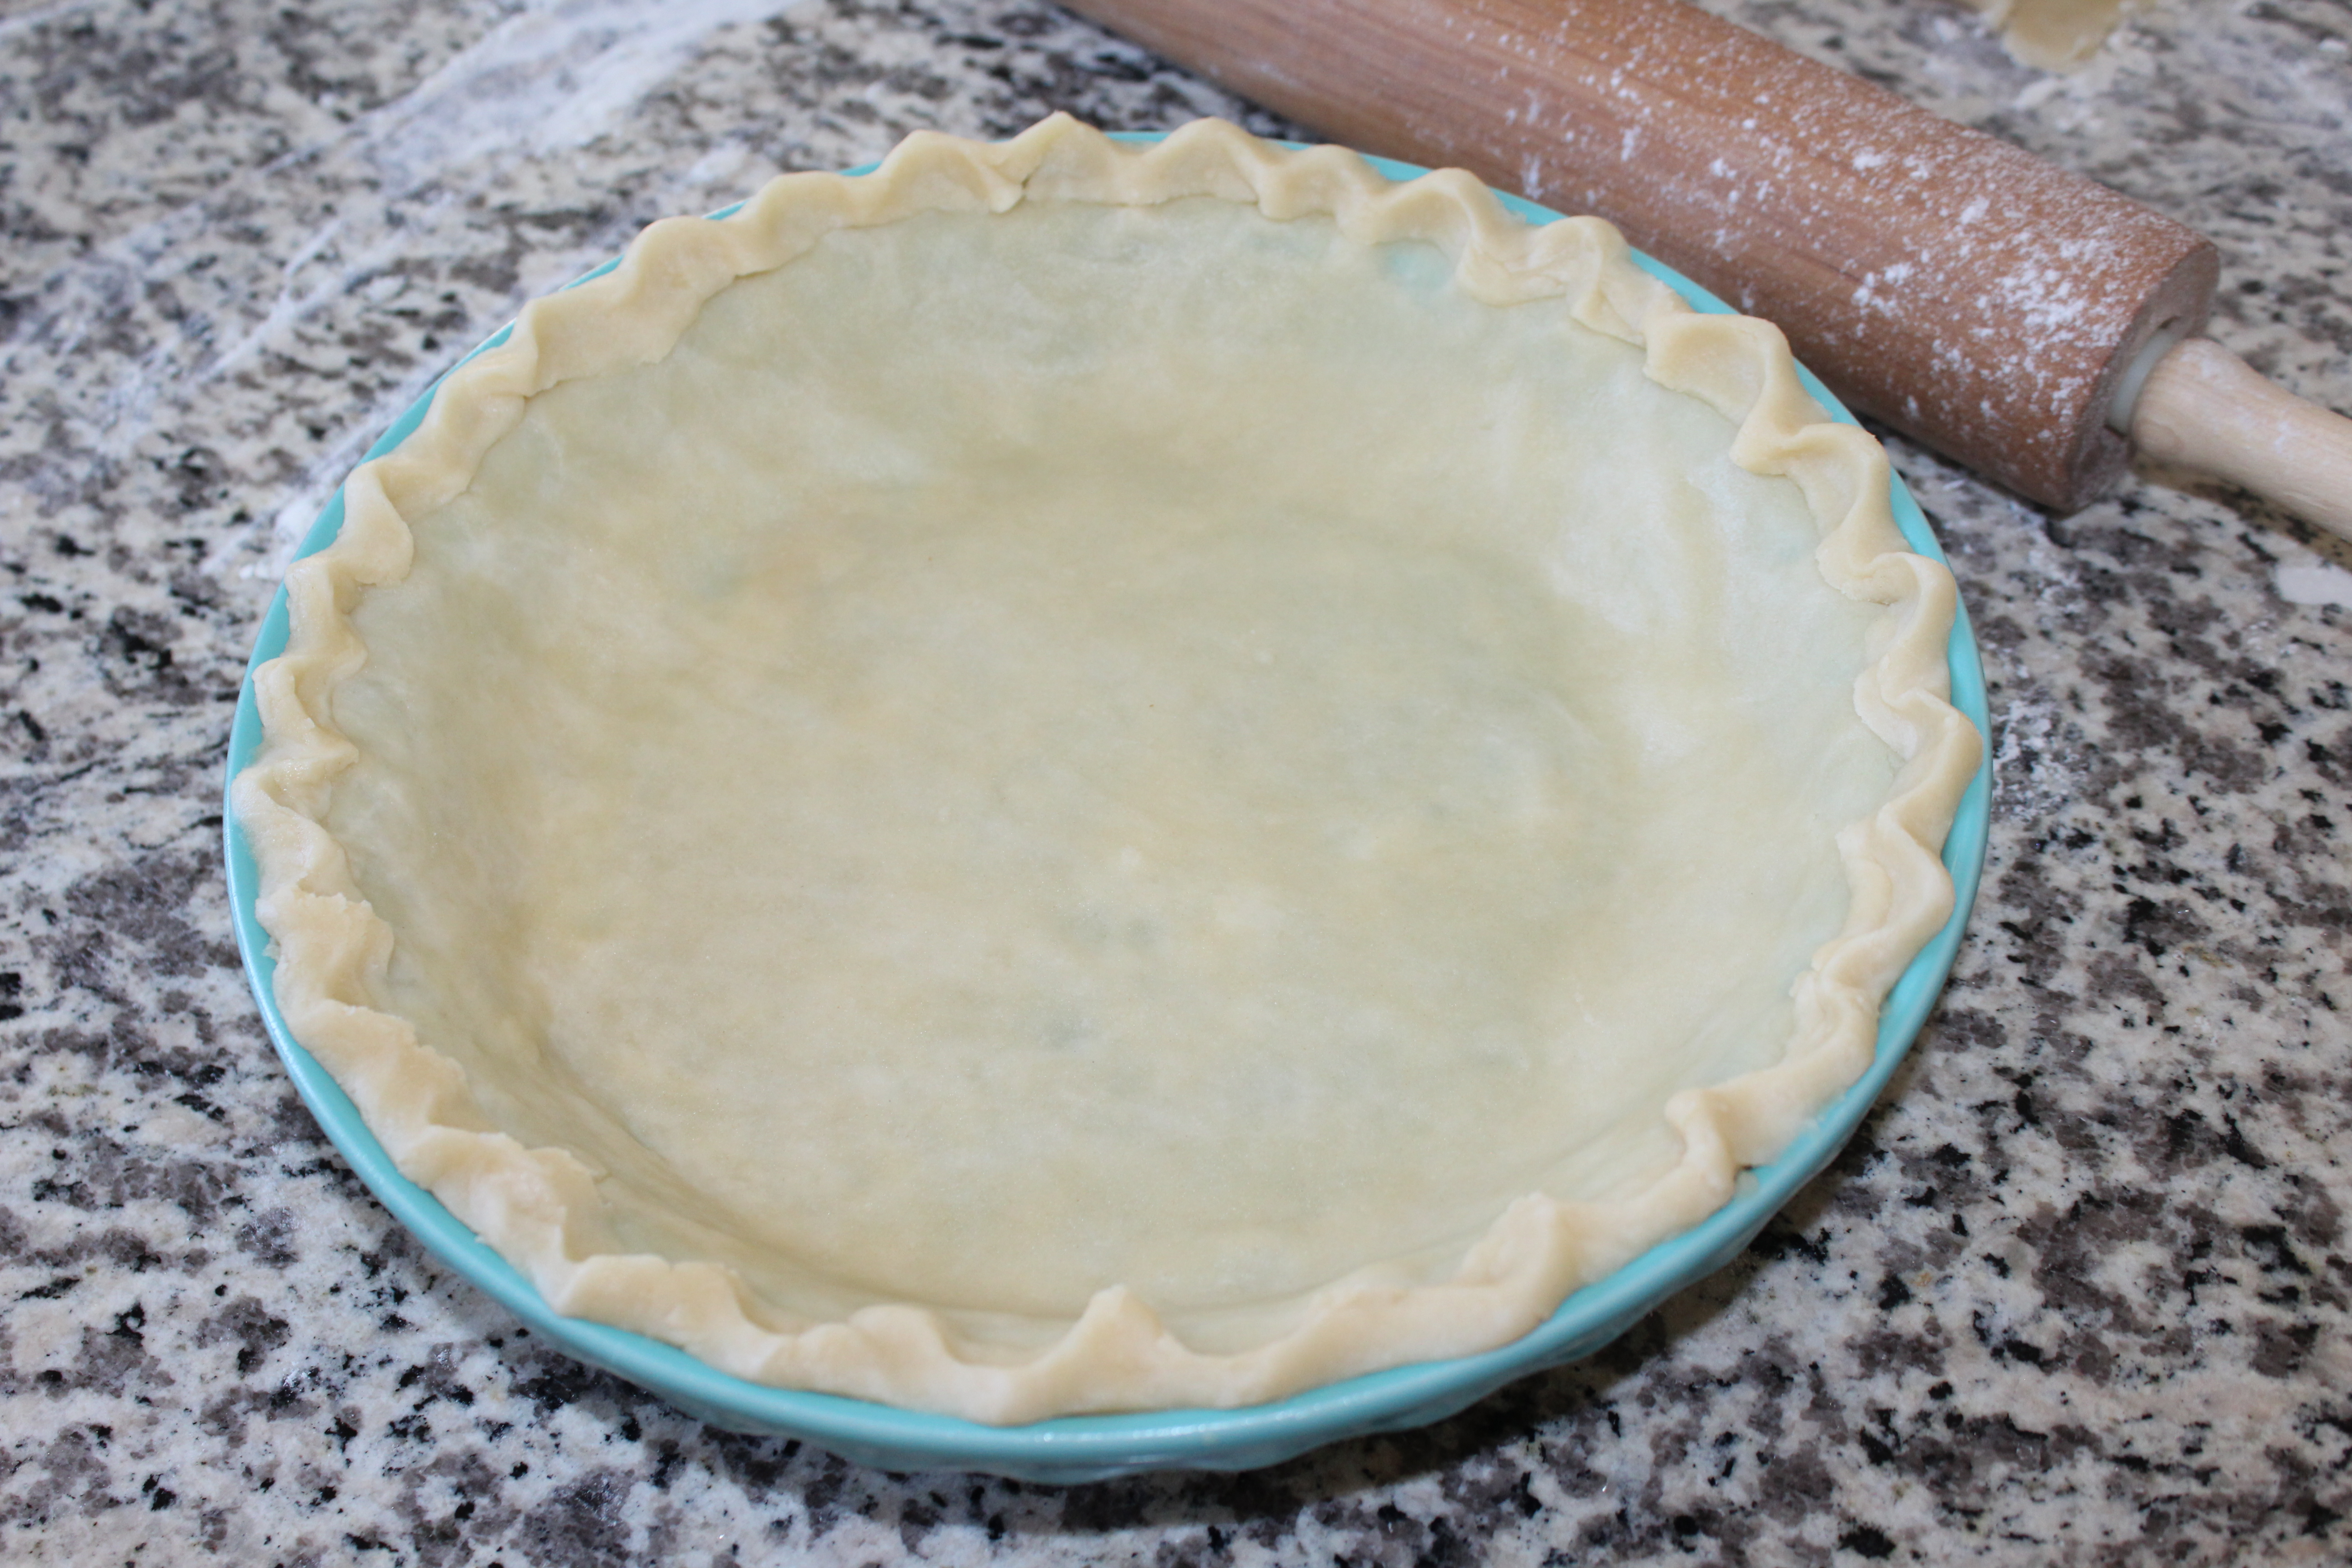
I love how this bakes up all buttery and flaky!
Perfect and all ready for your no-bake fruit pies this summer!
I would love if you would join my Friday link up party!
Disclaimer: This post contains affiliate links.
Here is your printable recipe!
- 1 cup flour
- ¼ cup real butter, chilled
- ¼ cup shortening, chilled
- 3 tablespoons ice cold water
- In a bowl measure out your flour and then cut your butter and shortening in to small pieces and add to the flour.
- With a pastry blender, or clean hands if you don't have one, work your mixture all together until it looks like course crumbs.
- Add in your cold water and mix with a fork until it is combined then pat into a disk.
- Wrap with plastic wrap and chill in the refrigerator for at least one hour. I will often put it in the freezer for less time to speed it along.
- After chilling roll out the dough on a lightly floured surface in a circle for a pie.
- Transfer the crust to a pie plate. Trim the crust about a half inch past the pie plate and then fold it back over to have a nice even edge all around. Use your index finger and thumb of your left hand and your index finger of your right hand and crimp it all around.
- Fill as desired and bake according to pie directions.
- For a baked unfilled pie shell, prick crust all over the bottom and sides with a fork, and then bake at 450 degrees for 10-12 minutes or until lightly browned. Cool before filling.


Looks delish! Mine is a little different and uses vinegar of all things (and makes 4-5) – I’ll need to combine butter and shortening like yours and see how it turns out!
Yes, I love the combo of butter and shortening!
That is a great pie crust! Thanks so much for sharing with us at Full Plate Thursday and have a great week!
Miz Helen
Thank you! Have a great weekend!