After completing our DIY Chalkboard Wall downstairs I knew I also wanted a large chalkboard in our play/schoolroom. It has only taken us over a year but last week we finally made it happen! 
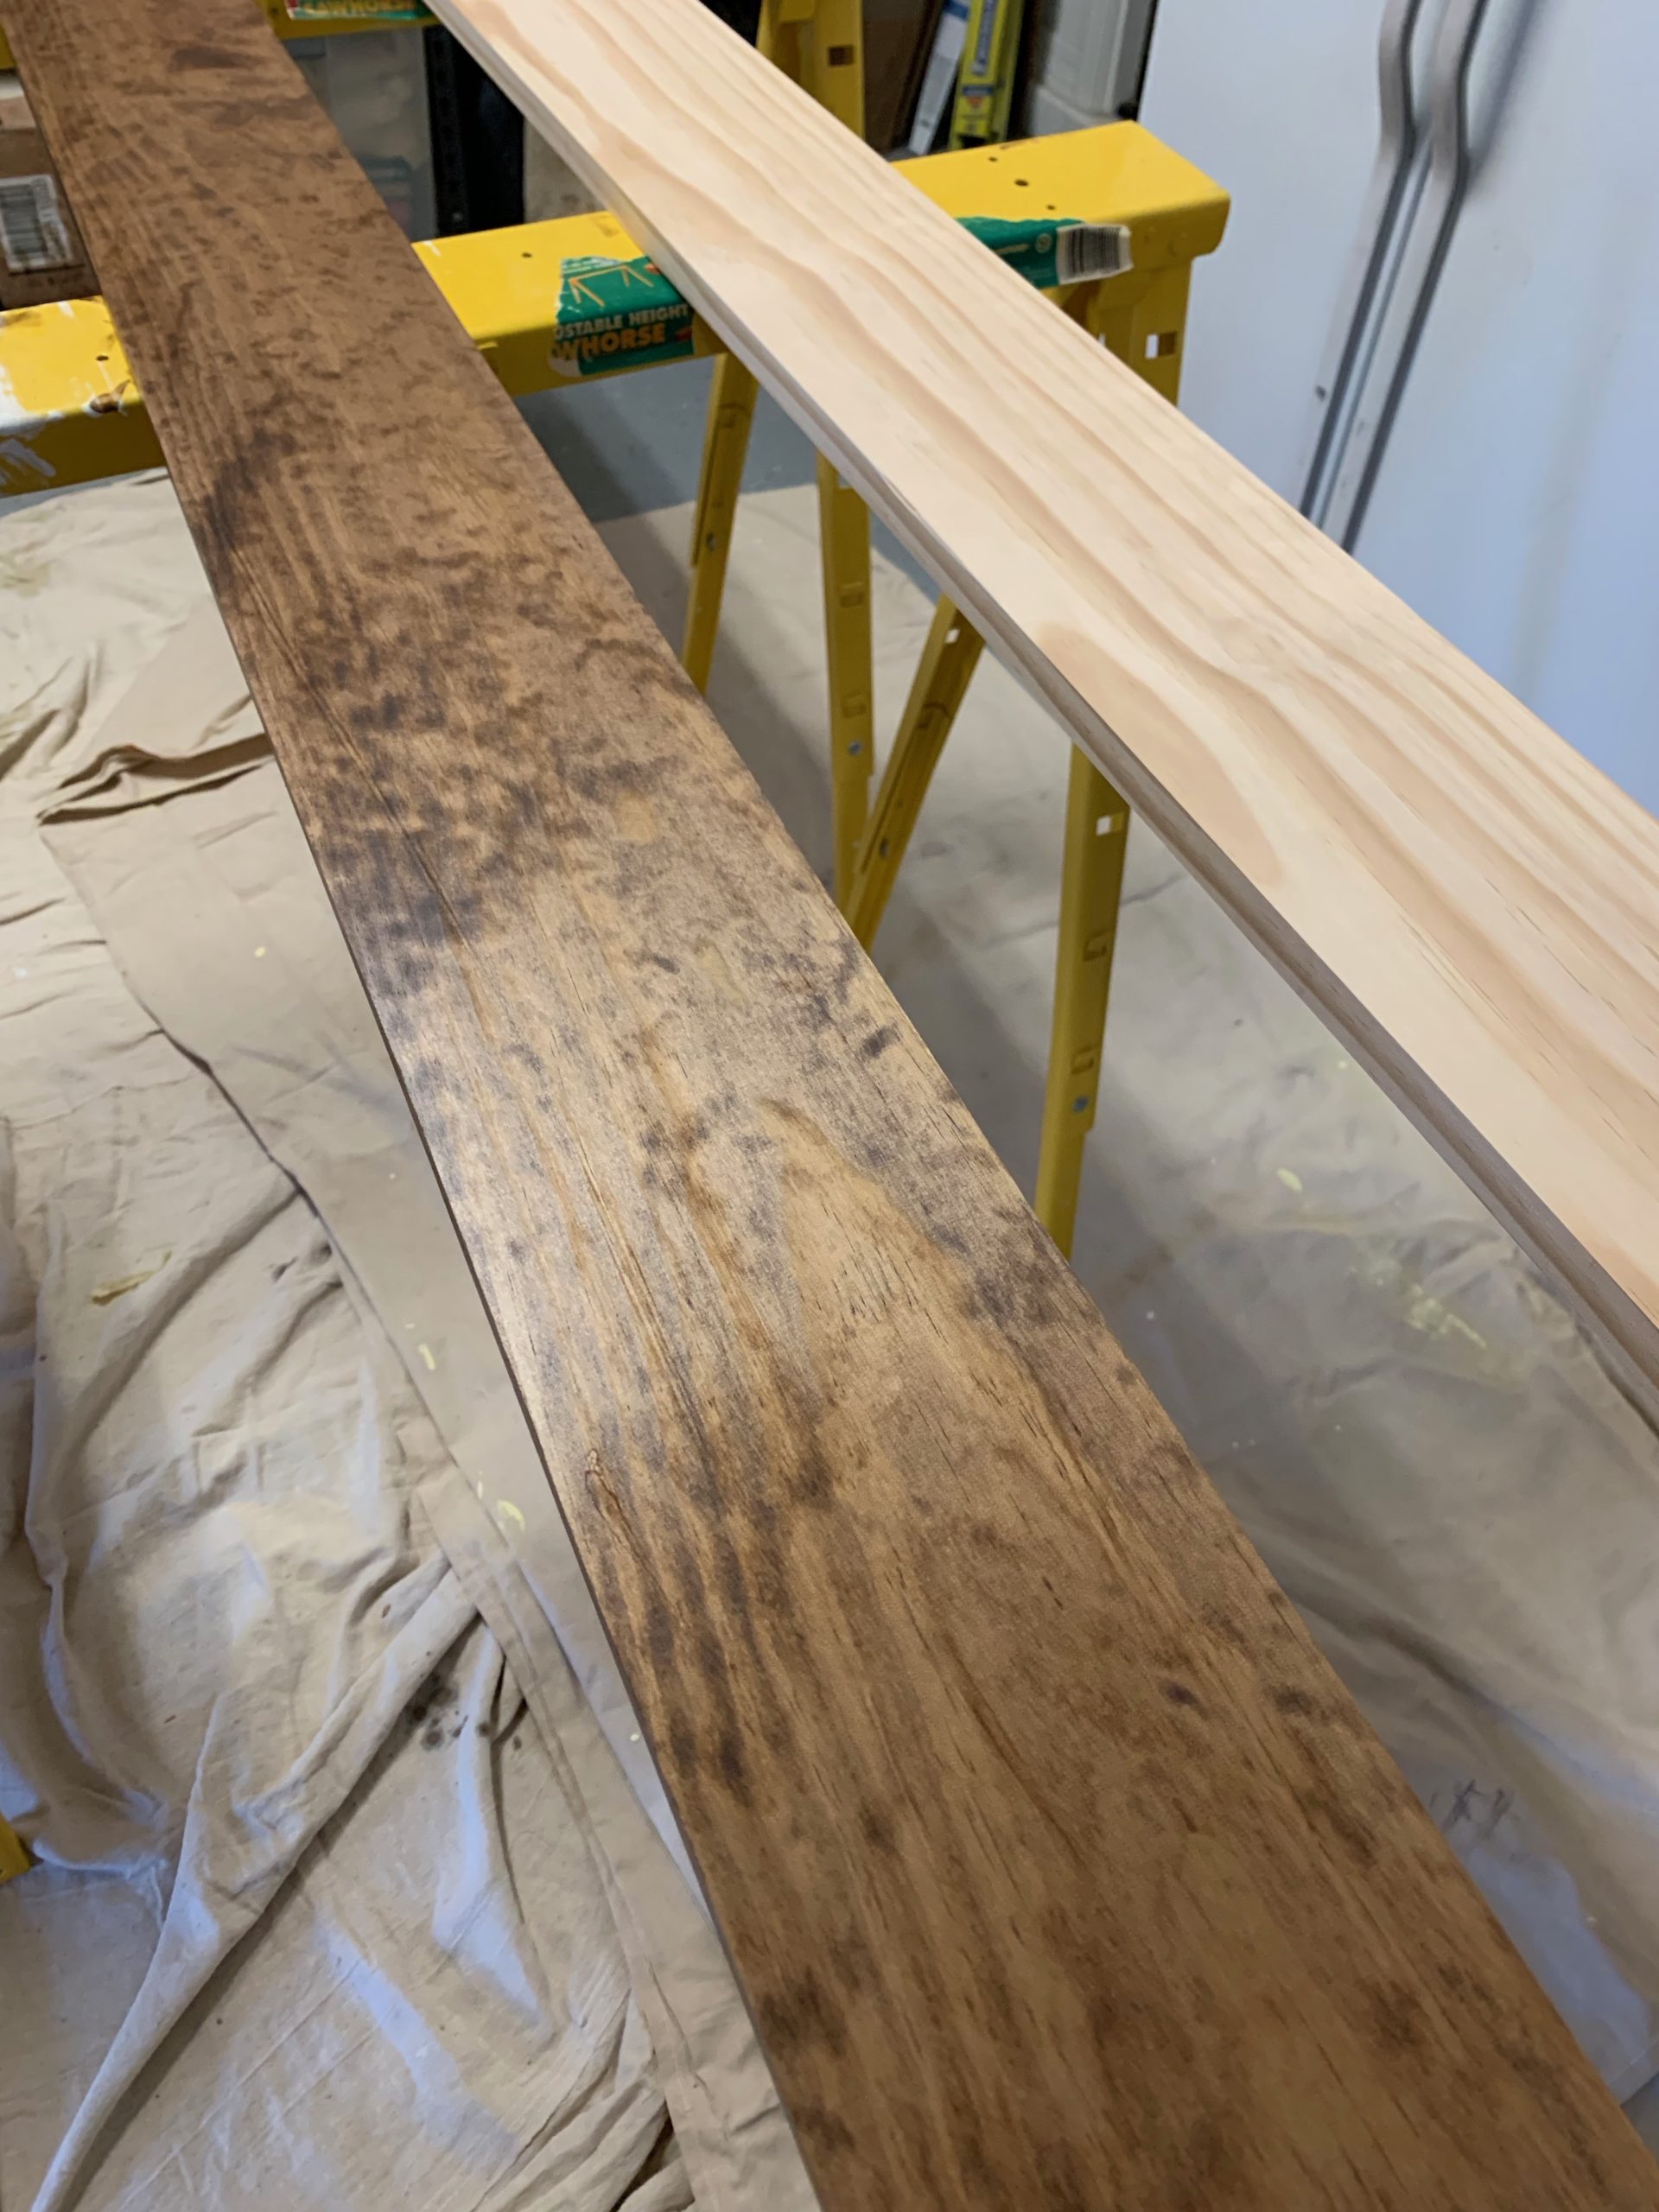
Because I had so long to think this over we decided to make a few changes from our downstairs chalkboard. For this one we decided to paint the chalkboard on birch plywood so it could be hung on the wall, verses paint right on the wall like we did downstairs. We sanded the wall downstairs before painting but it was still hard to get rid of the wall texture. Also for this one we chose to not use angle cuts on the outside boards and stain them instead of painting them white. I love the farmhouse rustic feel with this one and it was so much easier than having to match up exact angels and fill in seems. The color choice for this one was actually something done more last minute. I had originally assumed we would paint it black, but being in the playroom we decided to go with green to keep it more light and bright! And my 3 youngest really wanted green! 🙂
Affiliate links (Amazon) are included for some of the items below for your convenience. If you click on a link and make a purchase, I’ll receive a small commission at no extra cost to you. See my disclosure here.
DIY Giant Chalkboard
Supplies:
1/4 inch birch plywood (We bought ours at Home Depot)
1×6 pine boards (Home Depot)
Fine grain sand paper if needed
Wood Stain Provincial (Home Depot) Here is similar on Amazon
Chalk Paint – I used 2 cans for this size board
clamps (if needed)
3/4 inch nails
D Ring Hangers (Home Depot)
2 large screws
Directions
As I mentioned above we chose to paint the chalkboard on 1/4 inch birch plywood. It comes in a 4ft x 8ft size at Home Depot and because we had such a large wall to fill we did not cut it down. You can cut it down smaller if needed. 
Then we used 1 x 6 pine boards for the border. They measure 5.5 inches wide. We found 8 foot boards so we only had to purchase 3 boards. Two of them we did not have to cut and the third one we cut two 37 inch pieces out of it to fit along the sides. How did we get 37 inches?? The sides are 4 feet so 48 inches. Subtract out 5.5 inches for the top board and 5.5 inches for the bottom board and that leaves 37 inches in the middle for the side board. Hopefully that makes since! 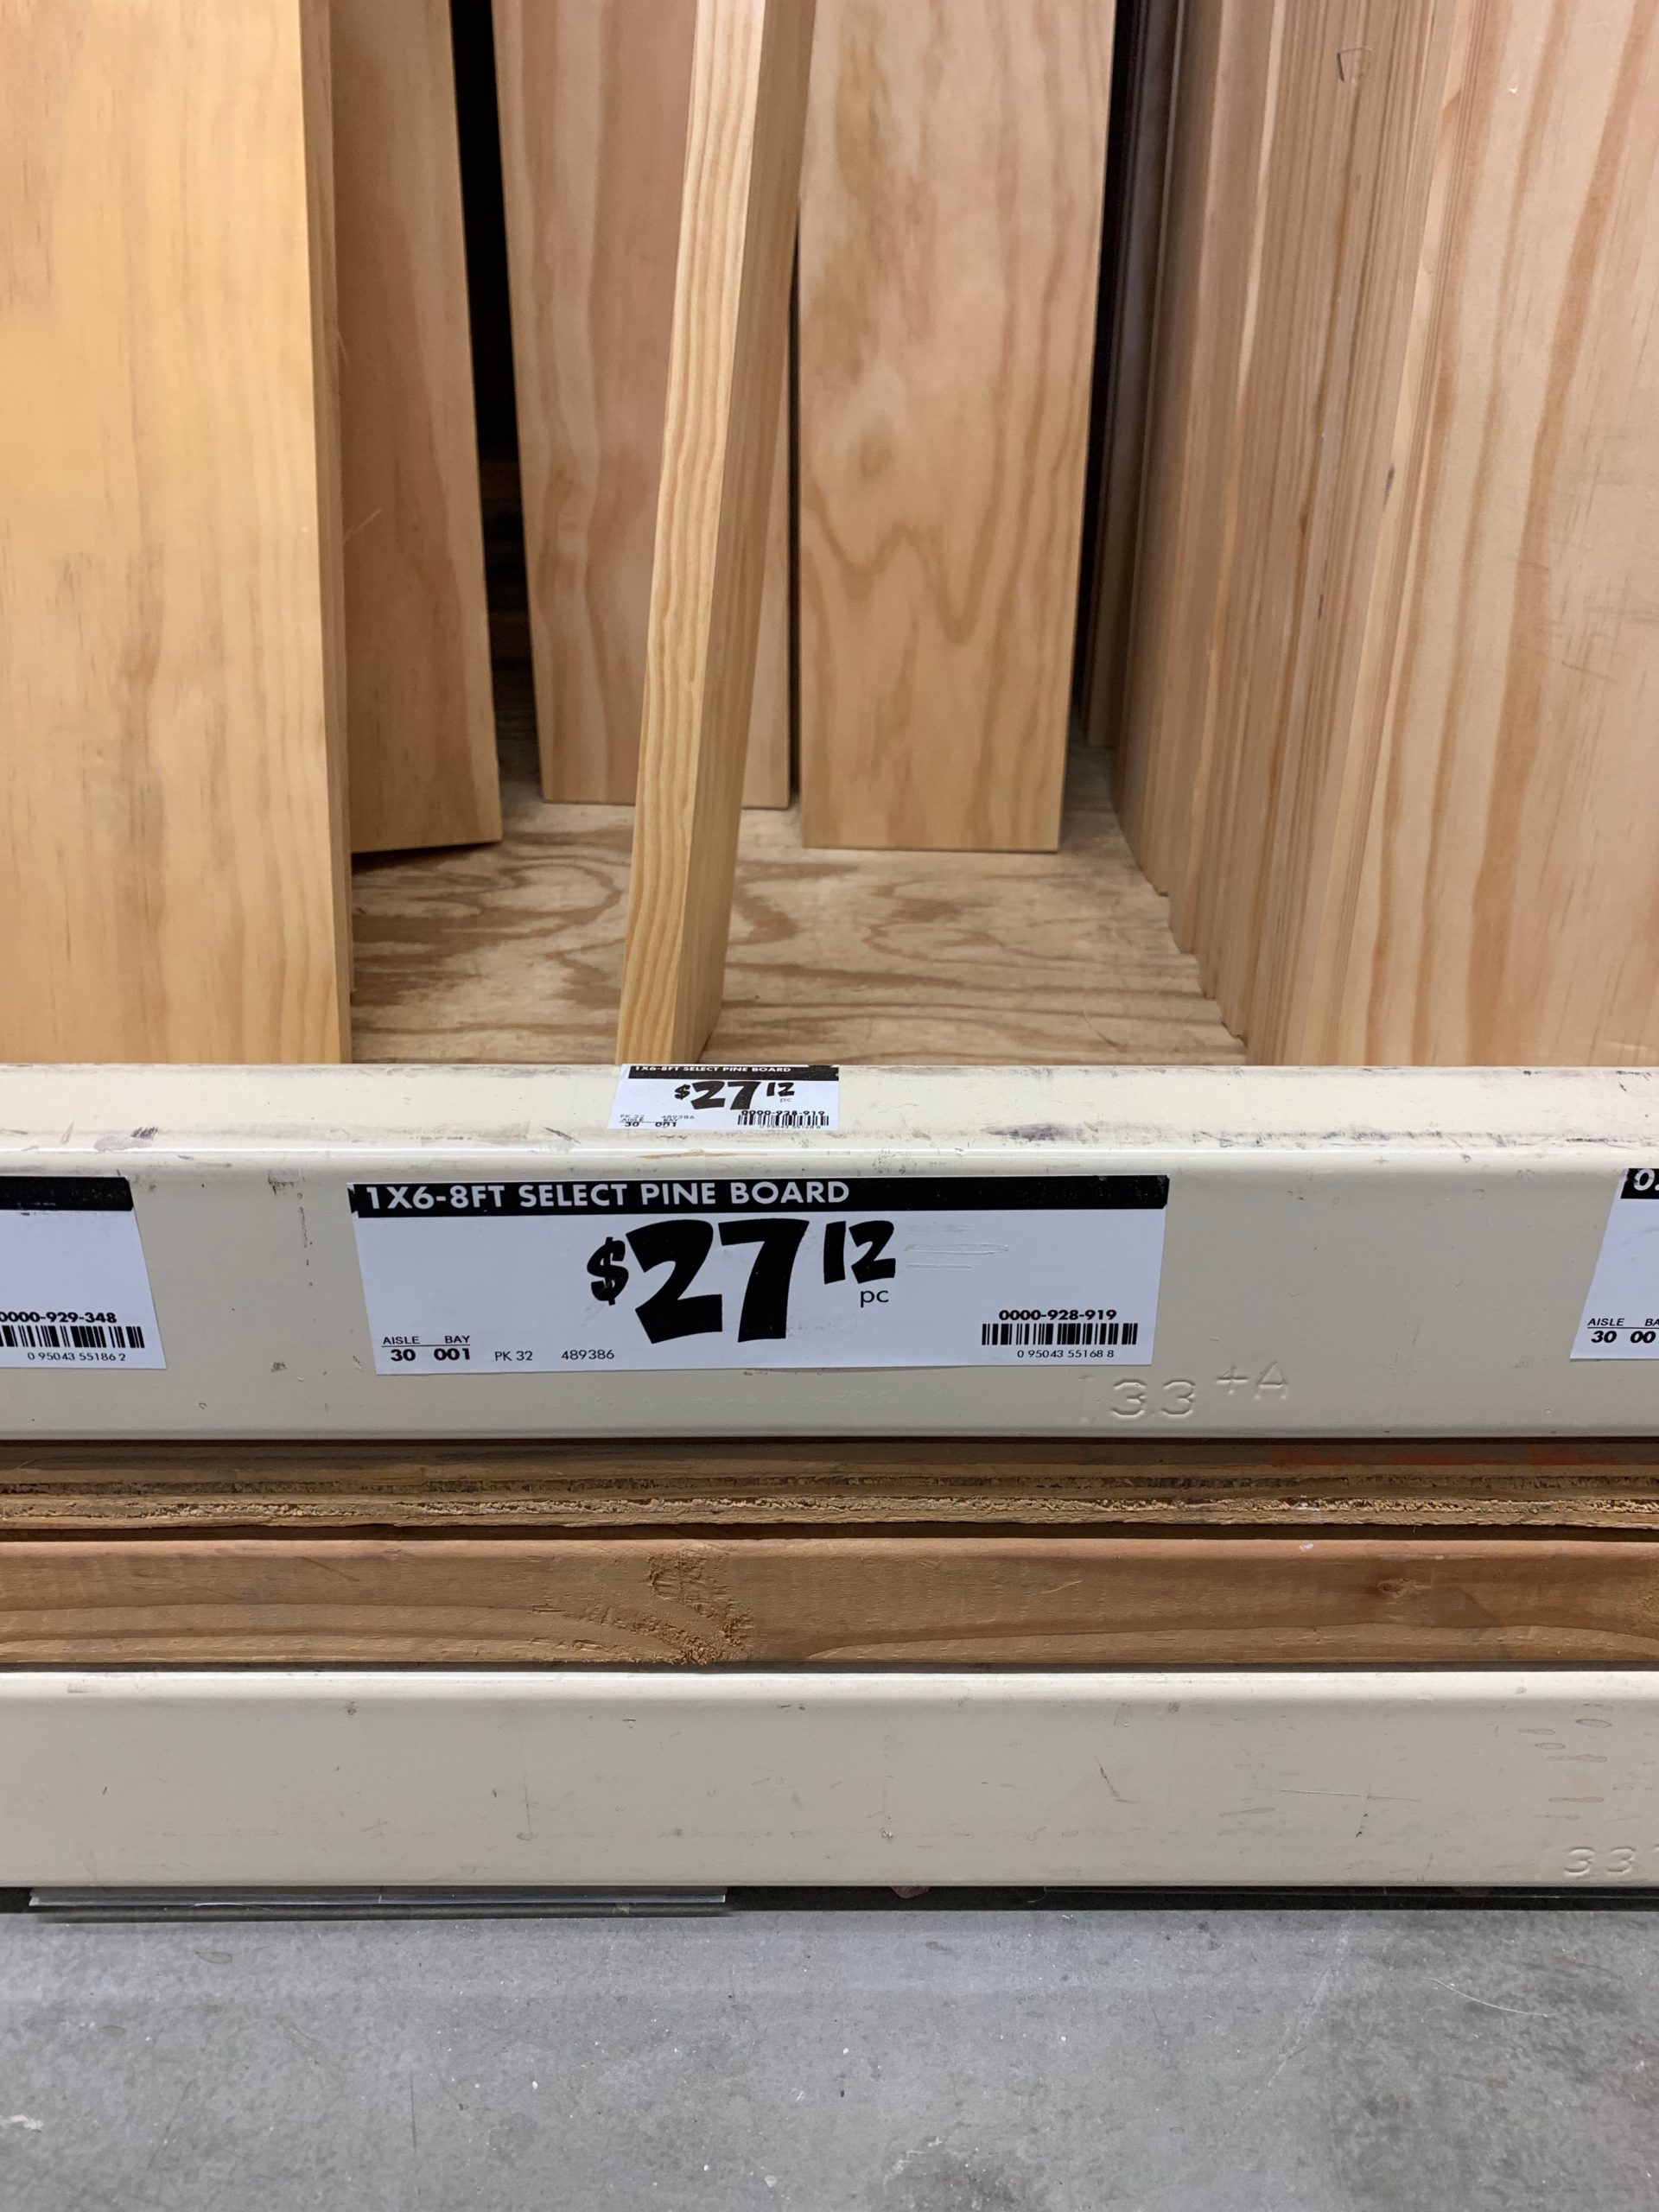
First I lightly sanded the boards and then I stained them with a foam brush. 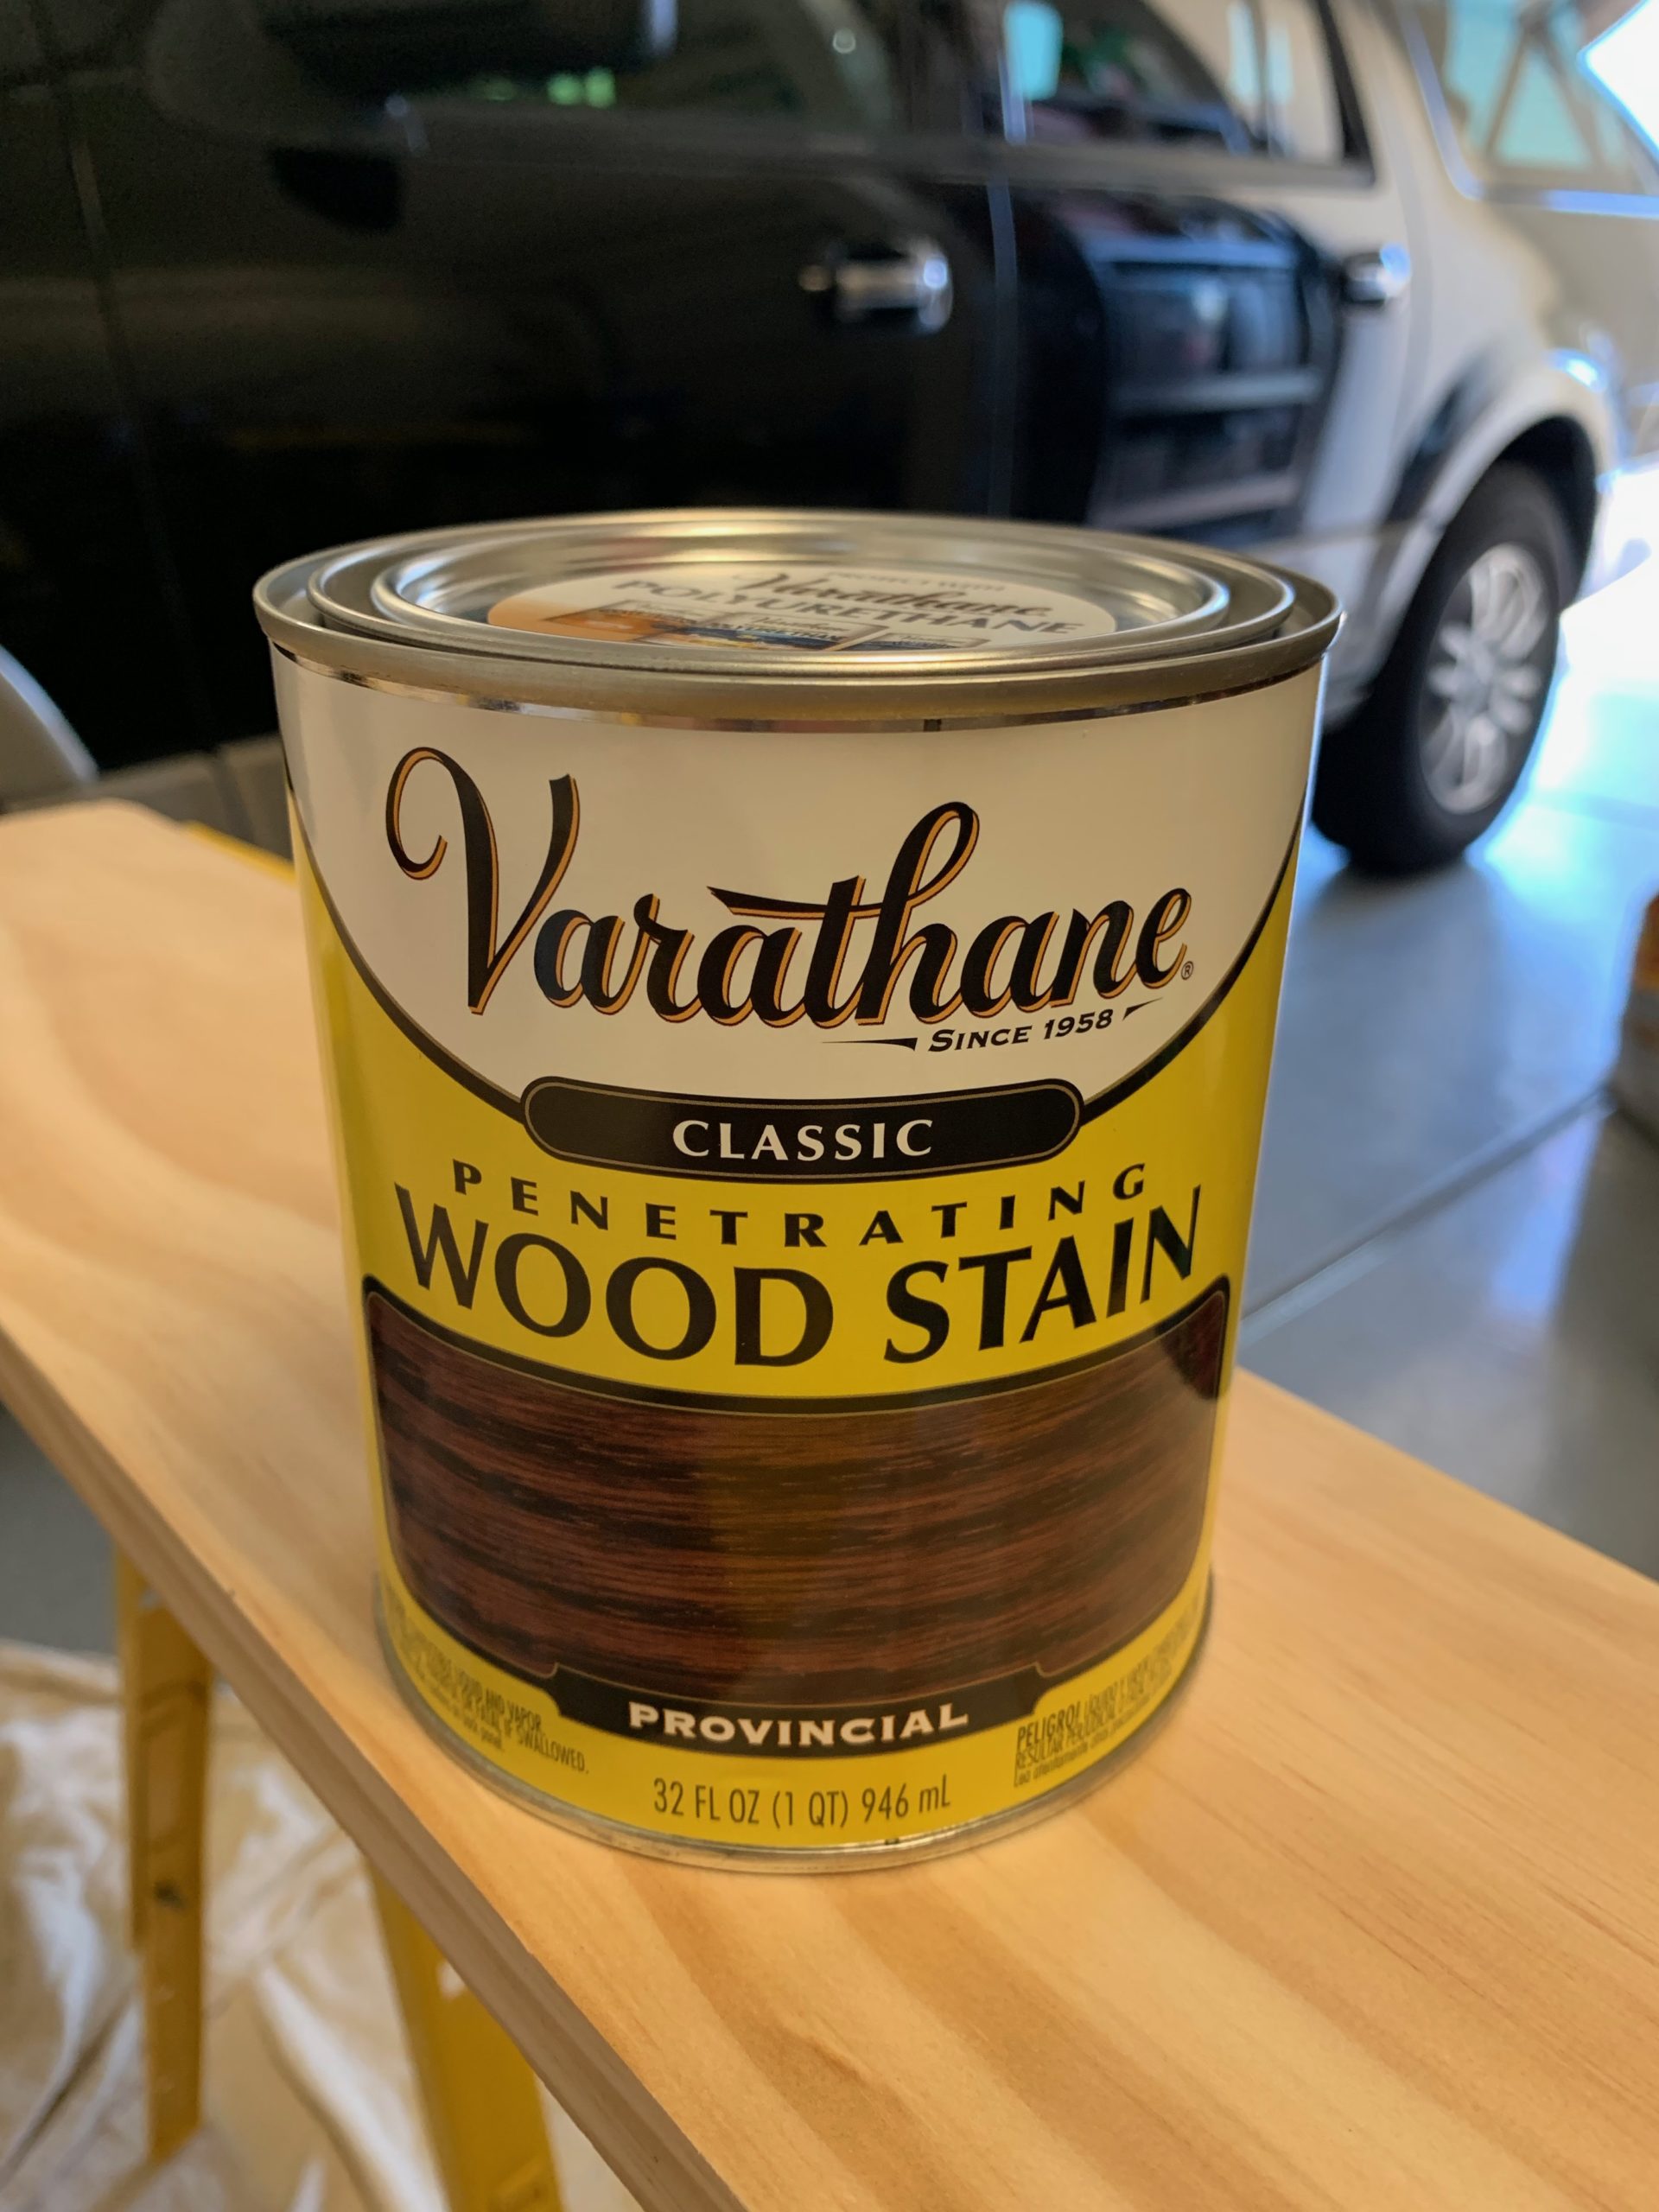
Then we applied 3 coats of of the chalkboard paint to the plywood letting it dry between each coat. We did lightly sand the plywood too.

We let it dry overnight and then we took wood glue and glued on the side boards. Some of the boards were a little warped so my husband used clamps to keep the boards flat on the plywood while it dried. 

Then we turned it over, leaving on the clamps, and we nailed in 3/4 inch nails all around. 
Then we lugged this upstairs, it took 3 of us! We centered it to where we wanted and then my husband found where the studs were and we matched that up to where we needed to add the hangers on the back of the board. We found these D Ring hangers at Home Depot and they worked great. Then he screwed those in place. 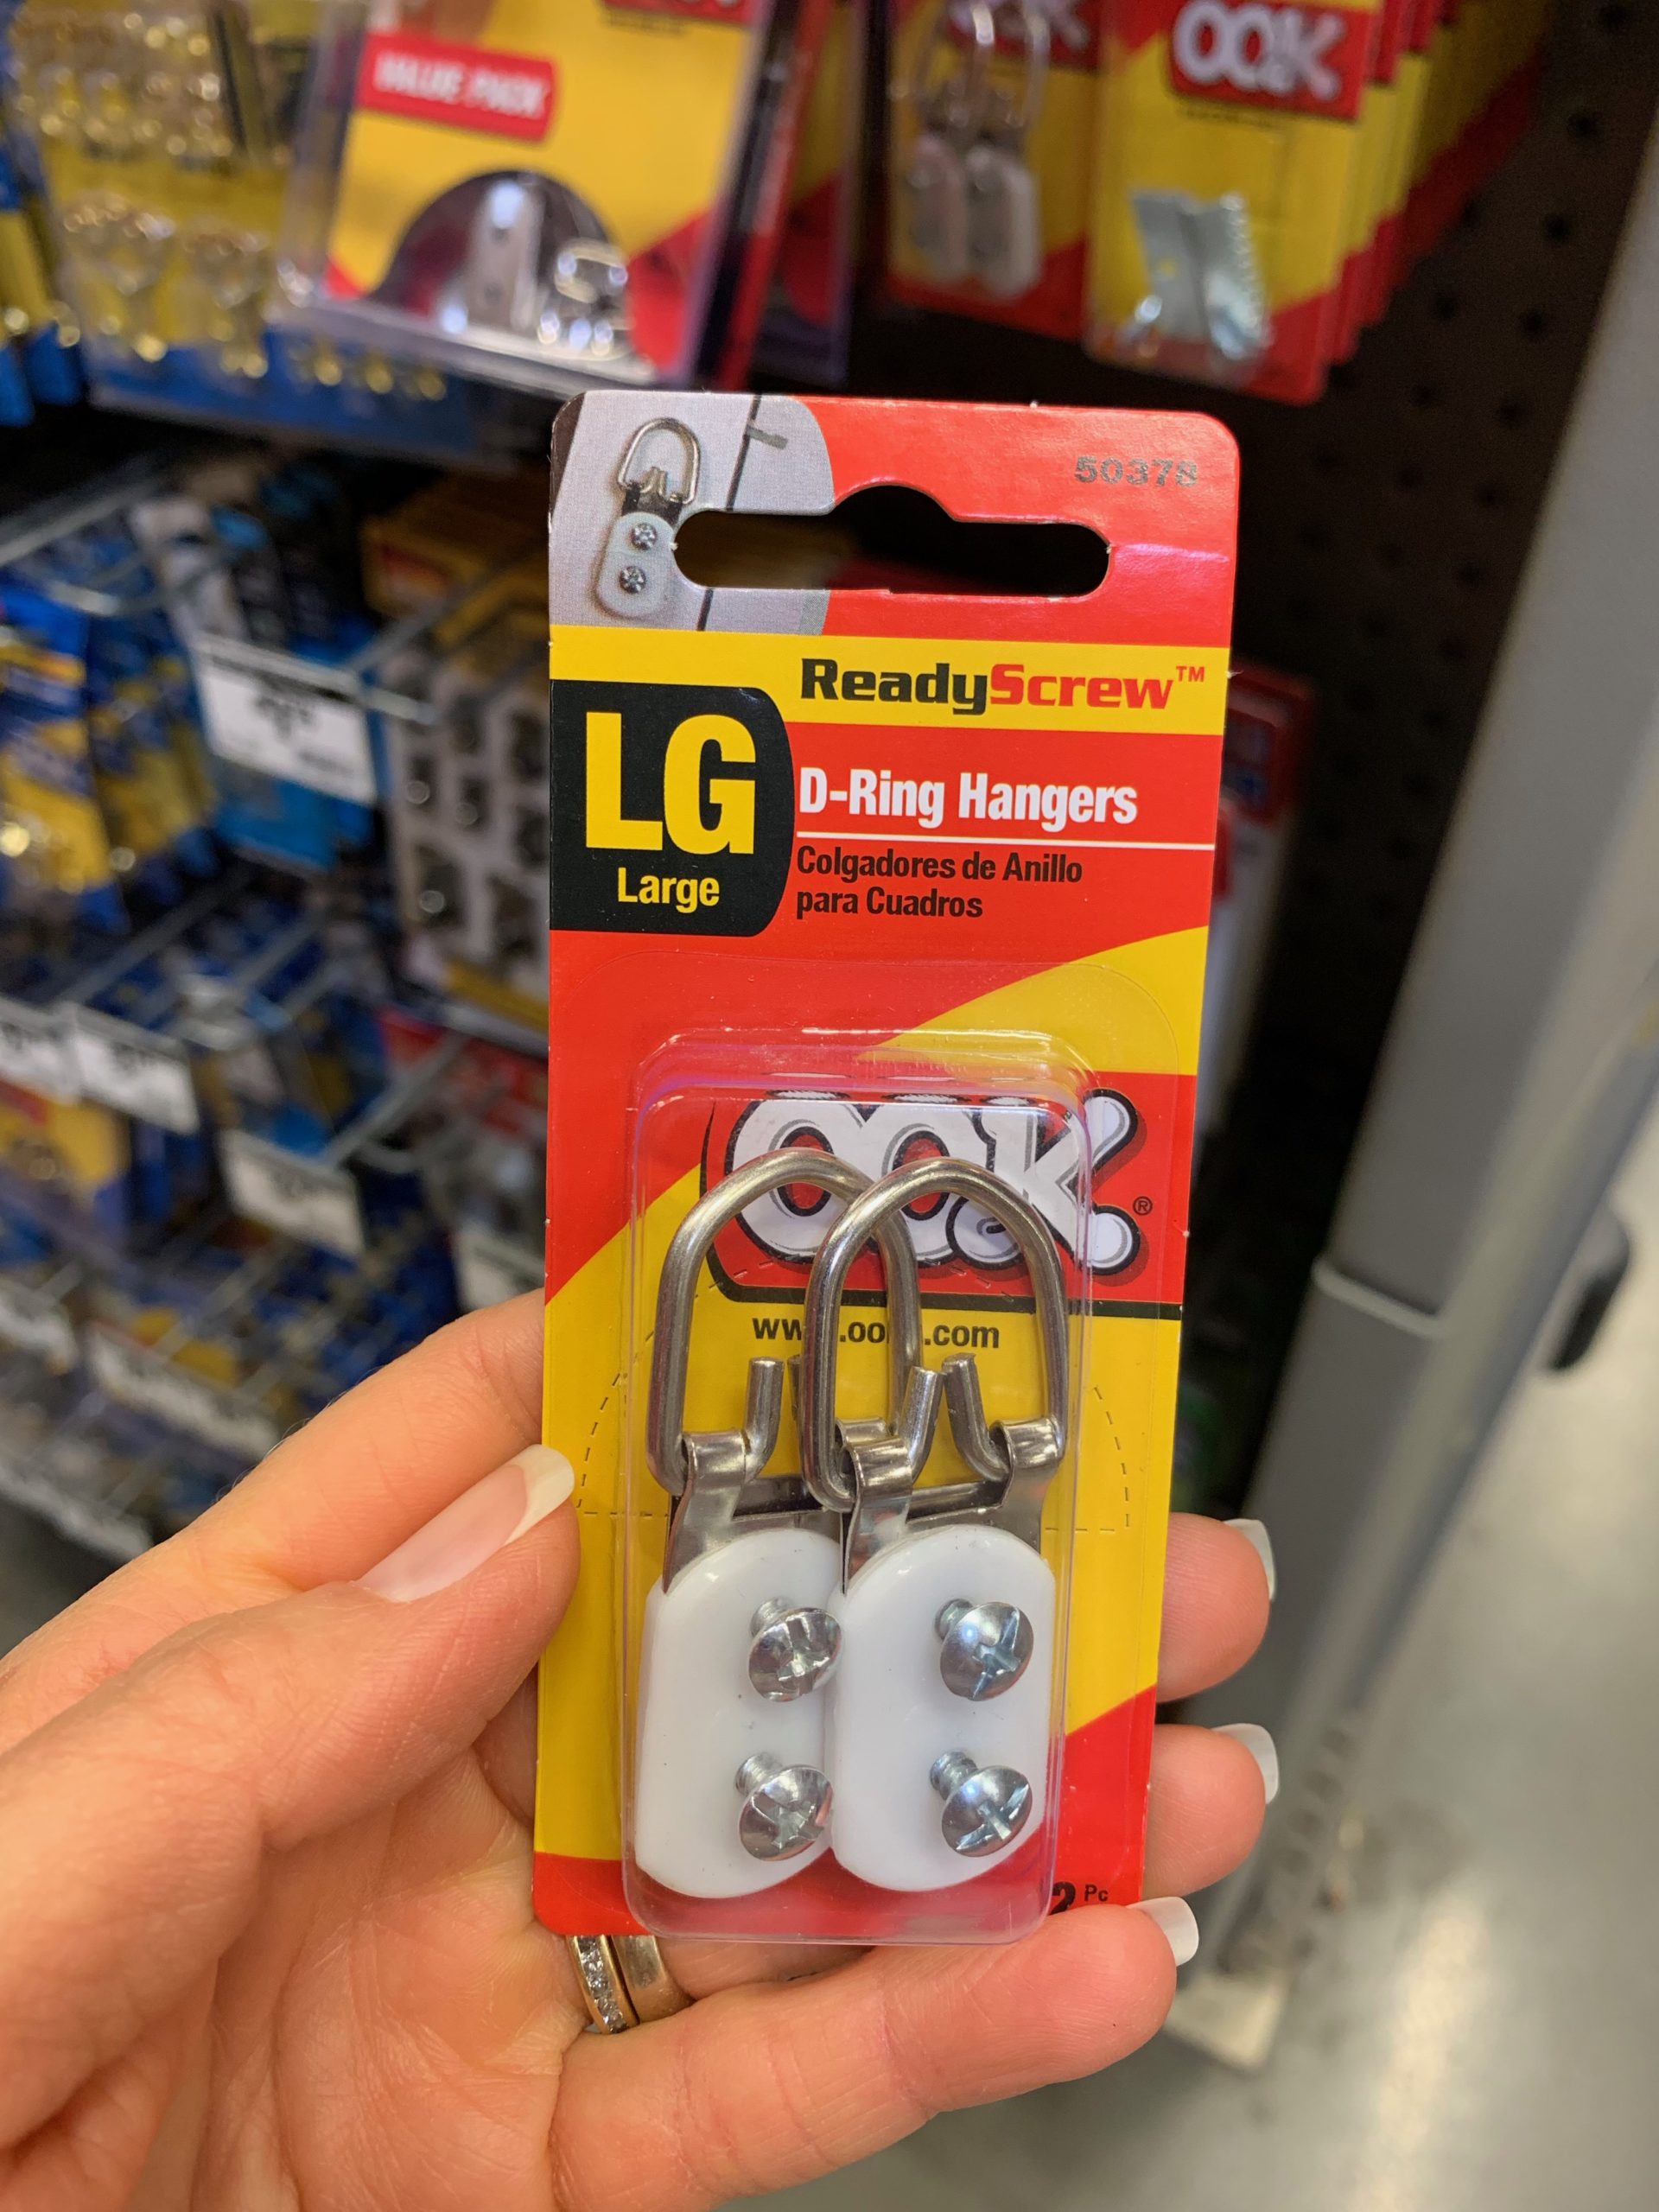

Then we used large screws and my husband just screwed those right into the stud and we hung the hangers right on the screws. 
The final step is to season your chalkboard after letting the paint dry for at least 3 days. Otherwise you will have an image that won’t fully erase and will stay there forever. This is really simple. To season your chalkboard you just take the side of a piece of chalk and chalk completely over the board, first going vertically and then horizontally. Then wipe it all off with a cloth to remove the excess dust. Just make sure you don’t use low dust chalk as it does not work as well and can scratch the board.
This was a simple project and we already love having this addition to the playroom!


That is beautiful!
Thank you so much!! 🙂
I love the green chalkboard! We had black chalkboard walls in our old home and we absolutely loved them. There is something so nostalgic about the green though. This looks fantastic!
Shelbee
http://www.shelbeeontheedge.com
Thank you Shelbee! We have a black chalkboard downstairs and love that too! We thought the green would be perfect for the play/schoolroom though!