This past Sunday I finally used up the last of the lingering apples left over from apple picking. When I was thinking about what to make I remembered I still hadn’t made one of our yearly favorites. So to wrap up our apple month, what I like to call September, I thought I would share one last favorite apple recipe….Apple Pie!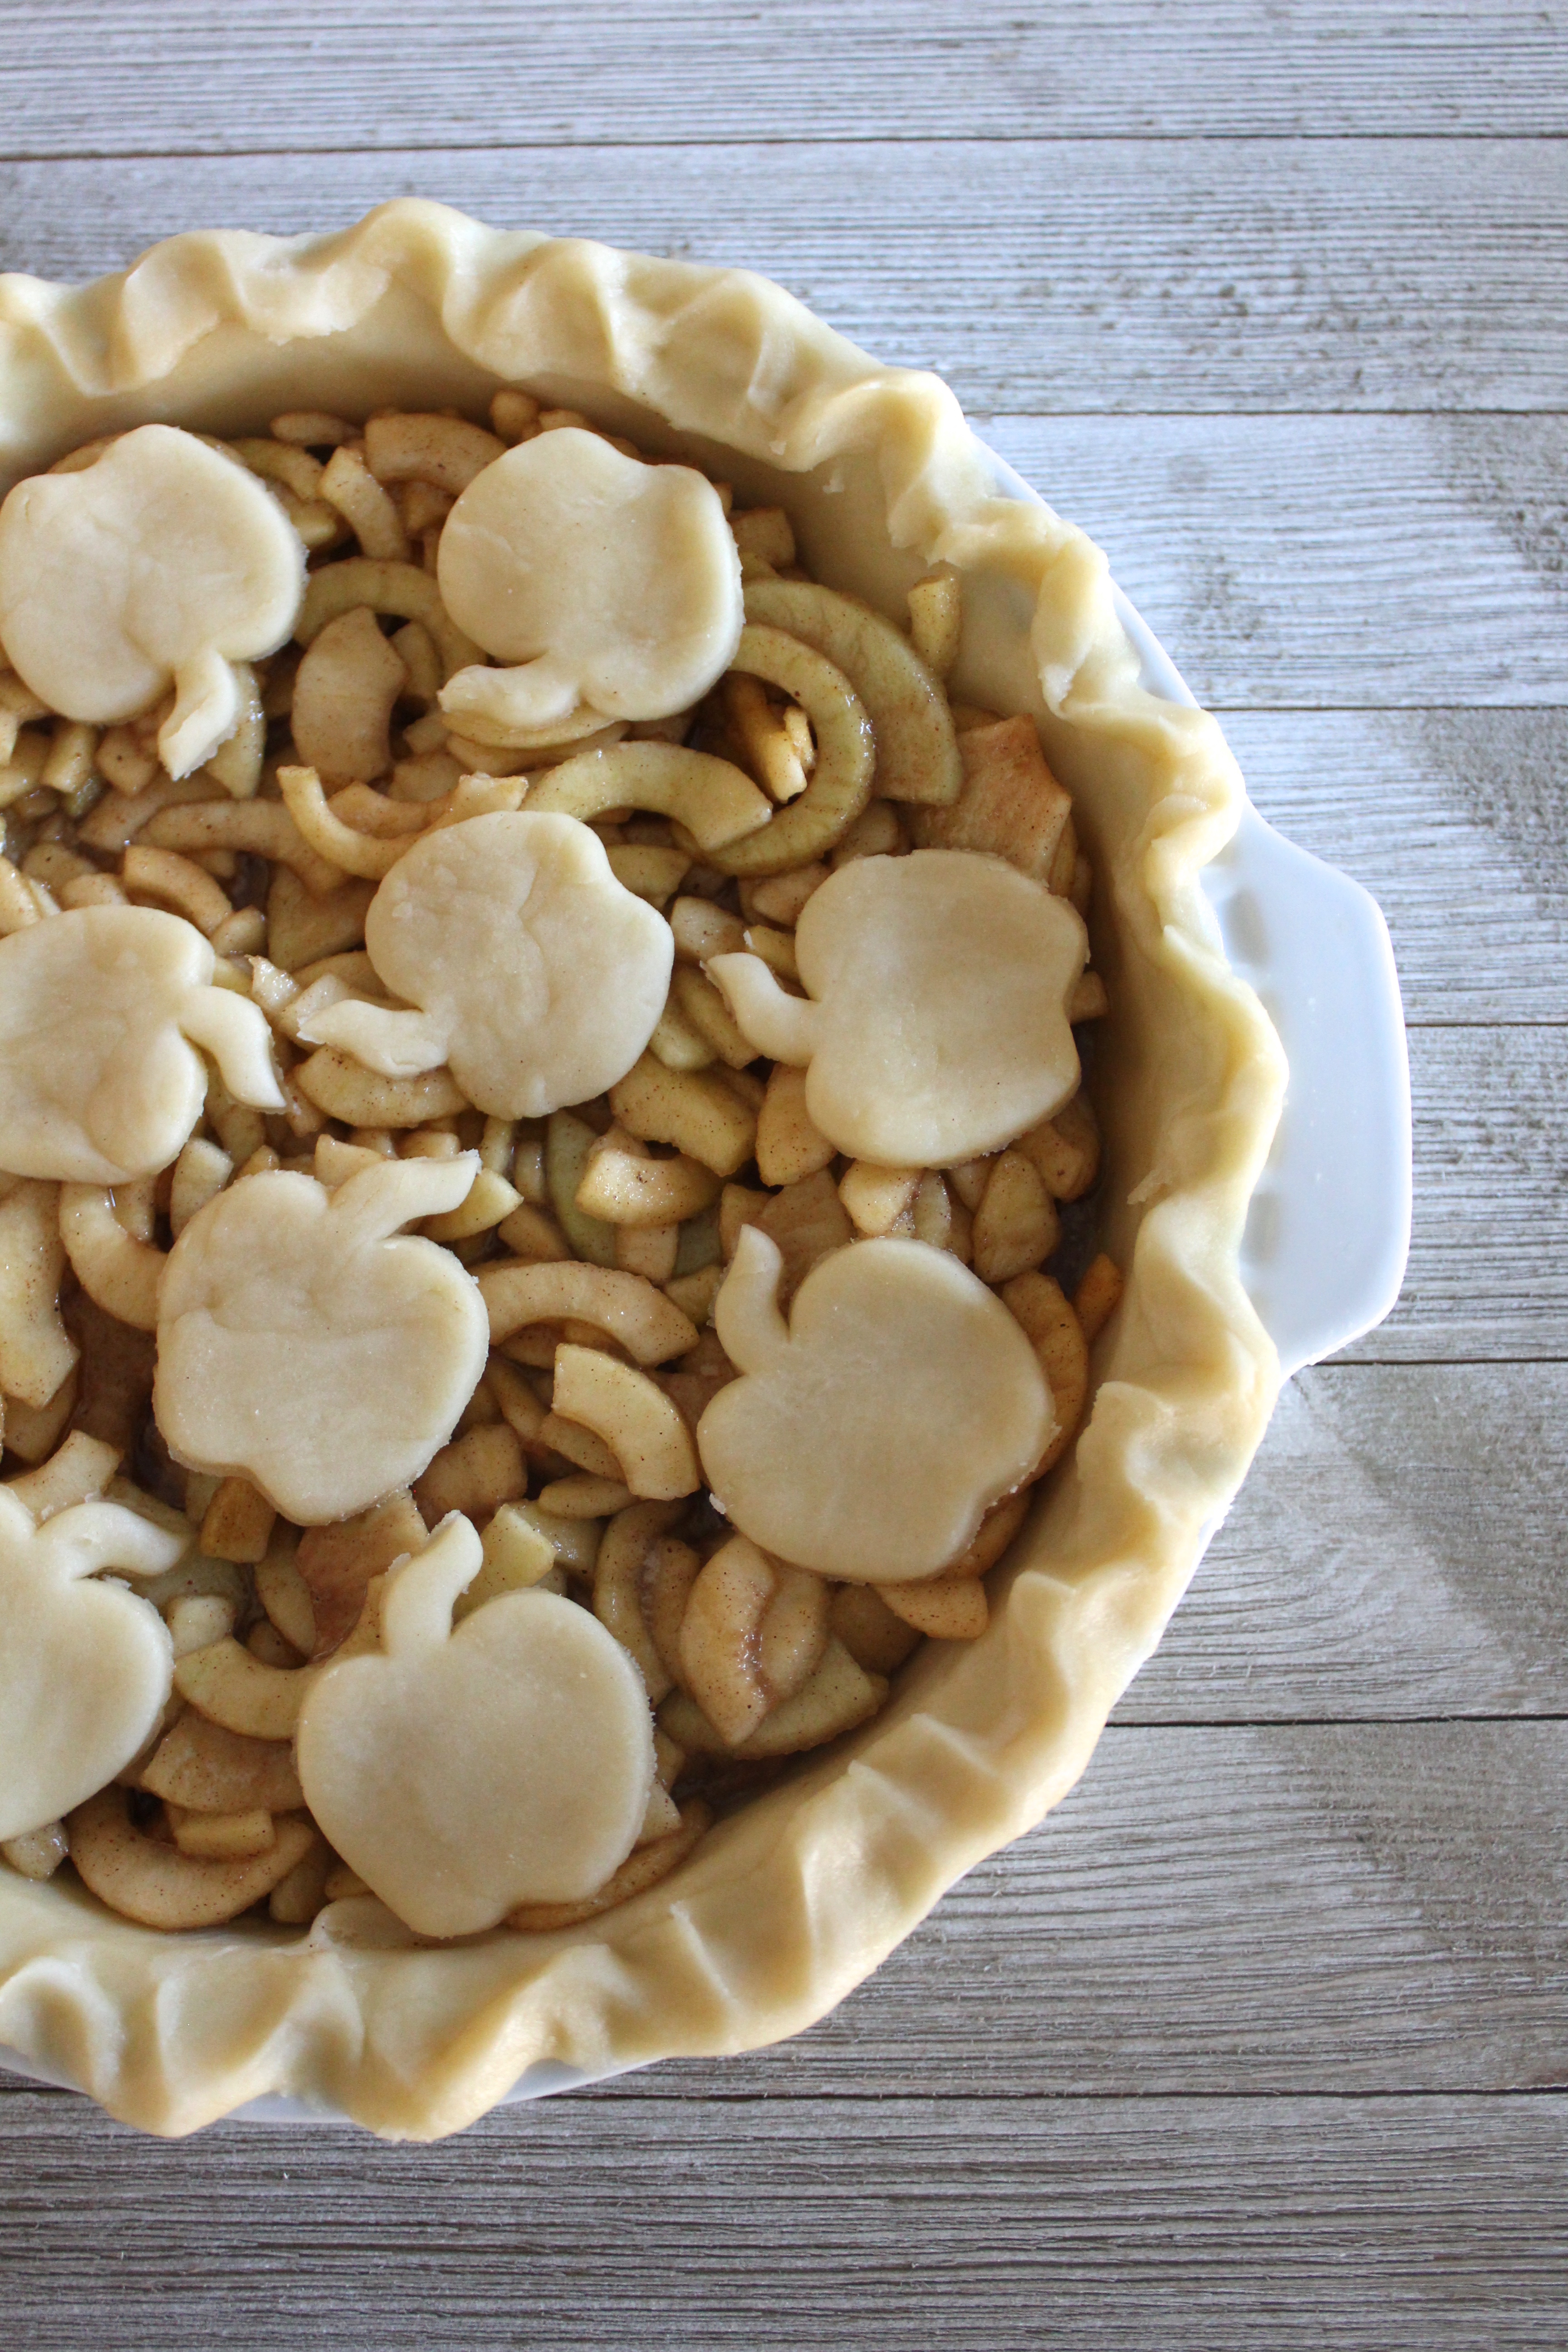
I think “fall” just doesn’t get much better than freshly made apple pie! Such a sign of my favorite season.
I usually only make apple pie in September following apple picking and most of the apples I end up with tend to run smaller than the ones that you buy in the grocery store. So that means I am using way more apples in my pie than if you have a larger size apple. Seriously, because most of these leftover apples I had were so small, this kids think it is fun to pick all sizes, I think I used about 20 or so! Normally you would probably only use about 8-10 regular size apples.
I always use my apple peeler corer slicer (affiliate link) when making most of my apple desserts. It makes it so much quicker when you have lots of apples to get through. 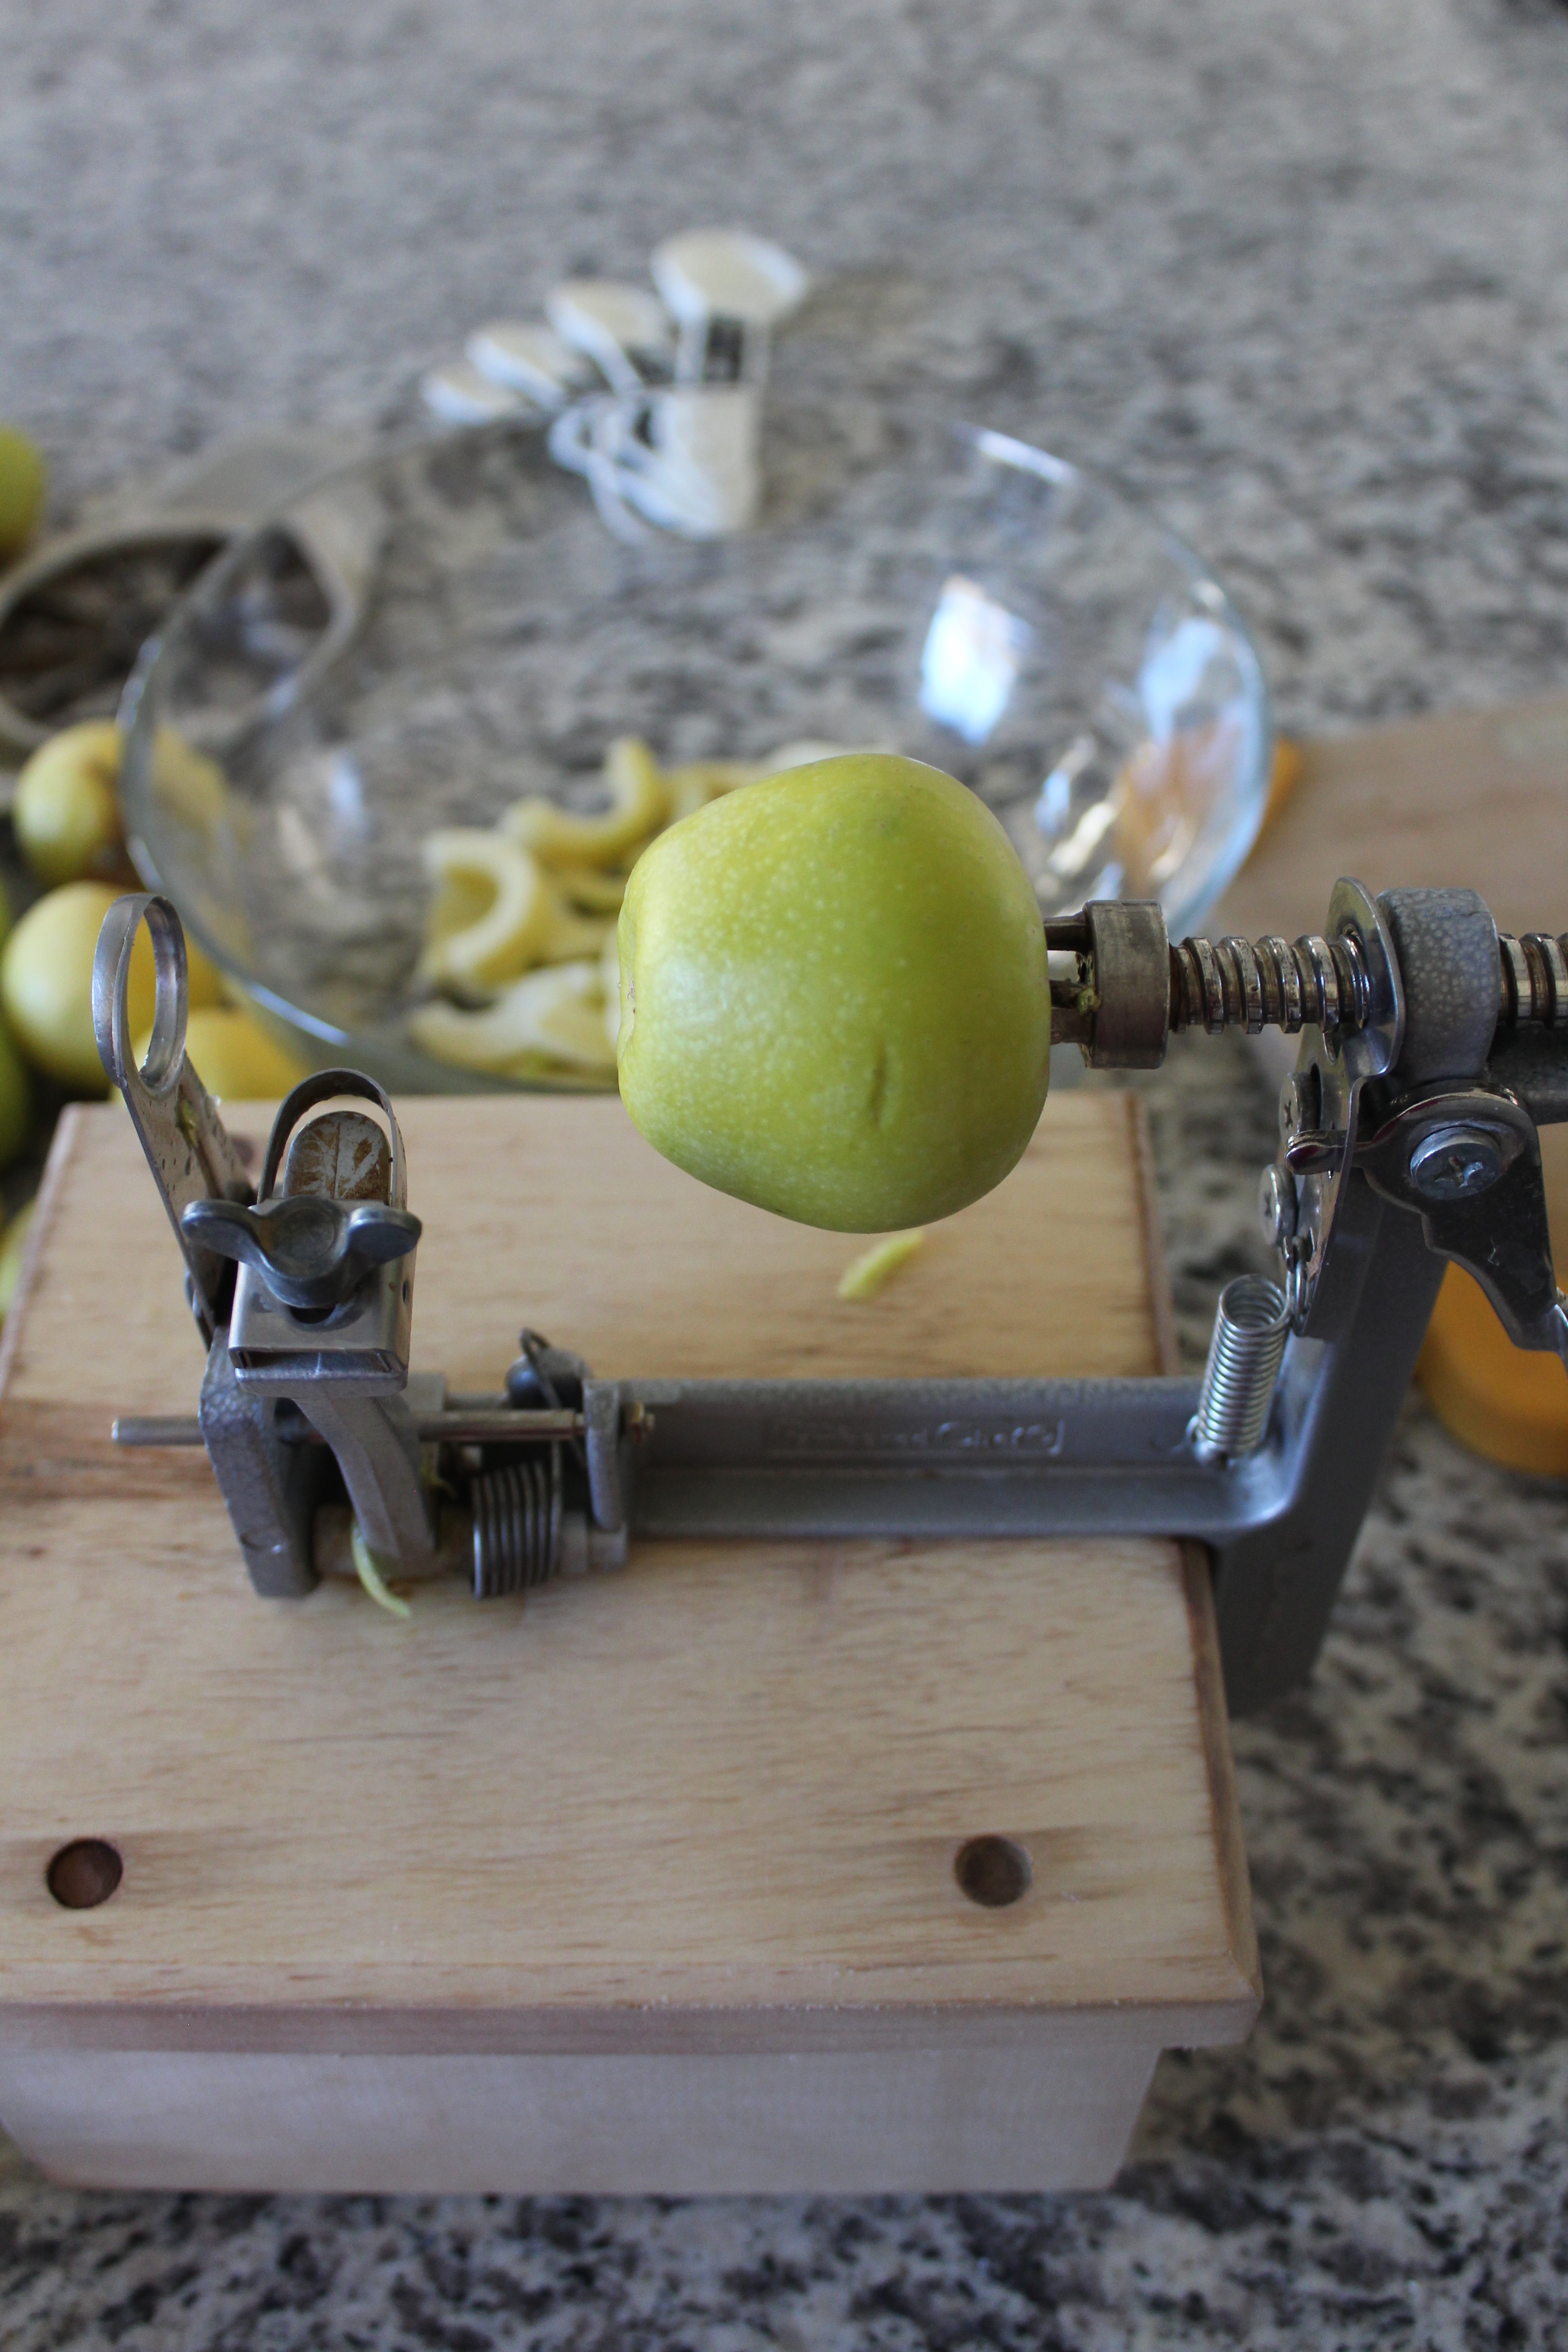
I had prepared my pie crust before hand and gave the dough time to chill in the fridge while getting the apples ready. I won’t go into all the details of my pie crust in this post but you can grab all the details about it here! 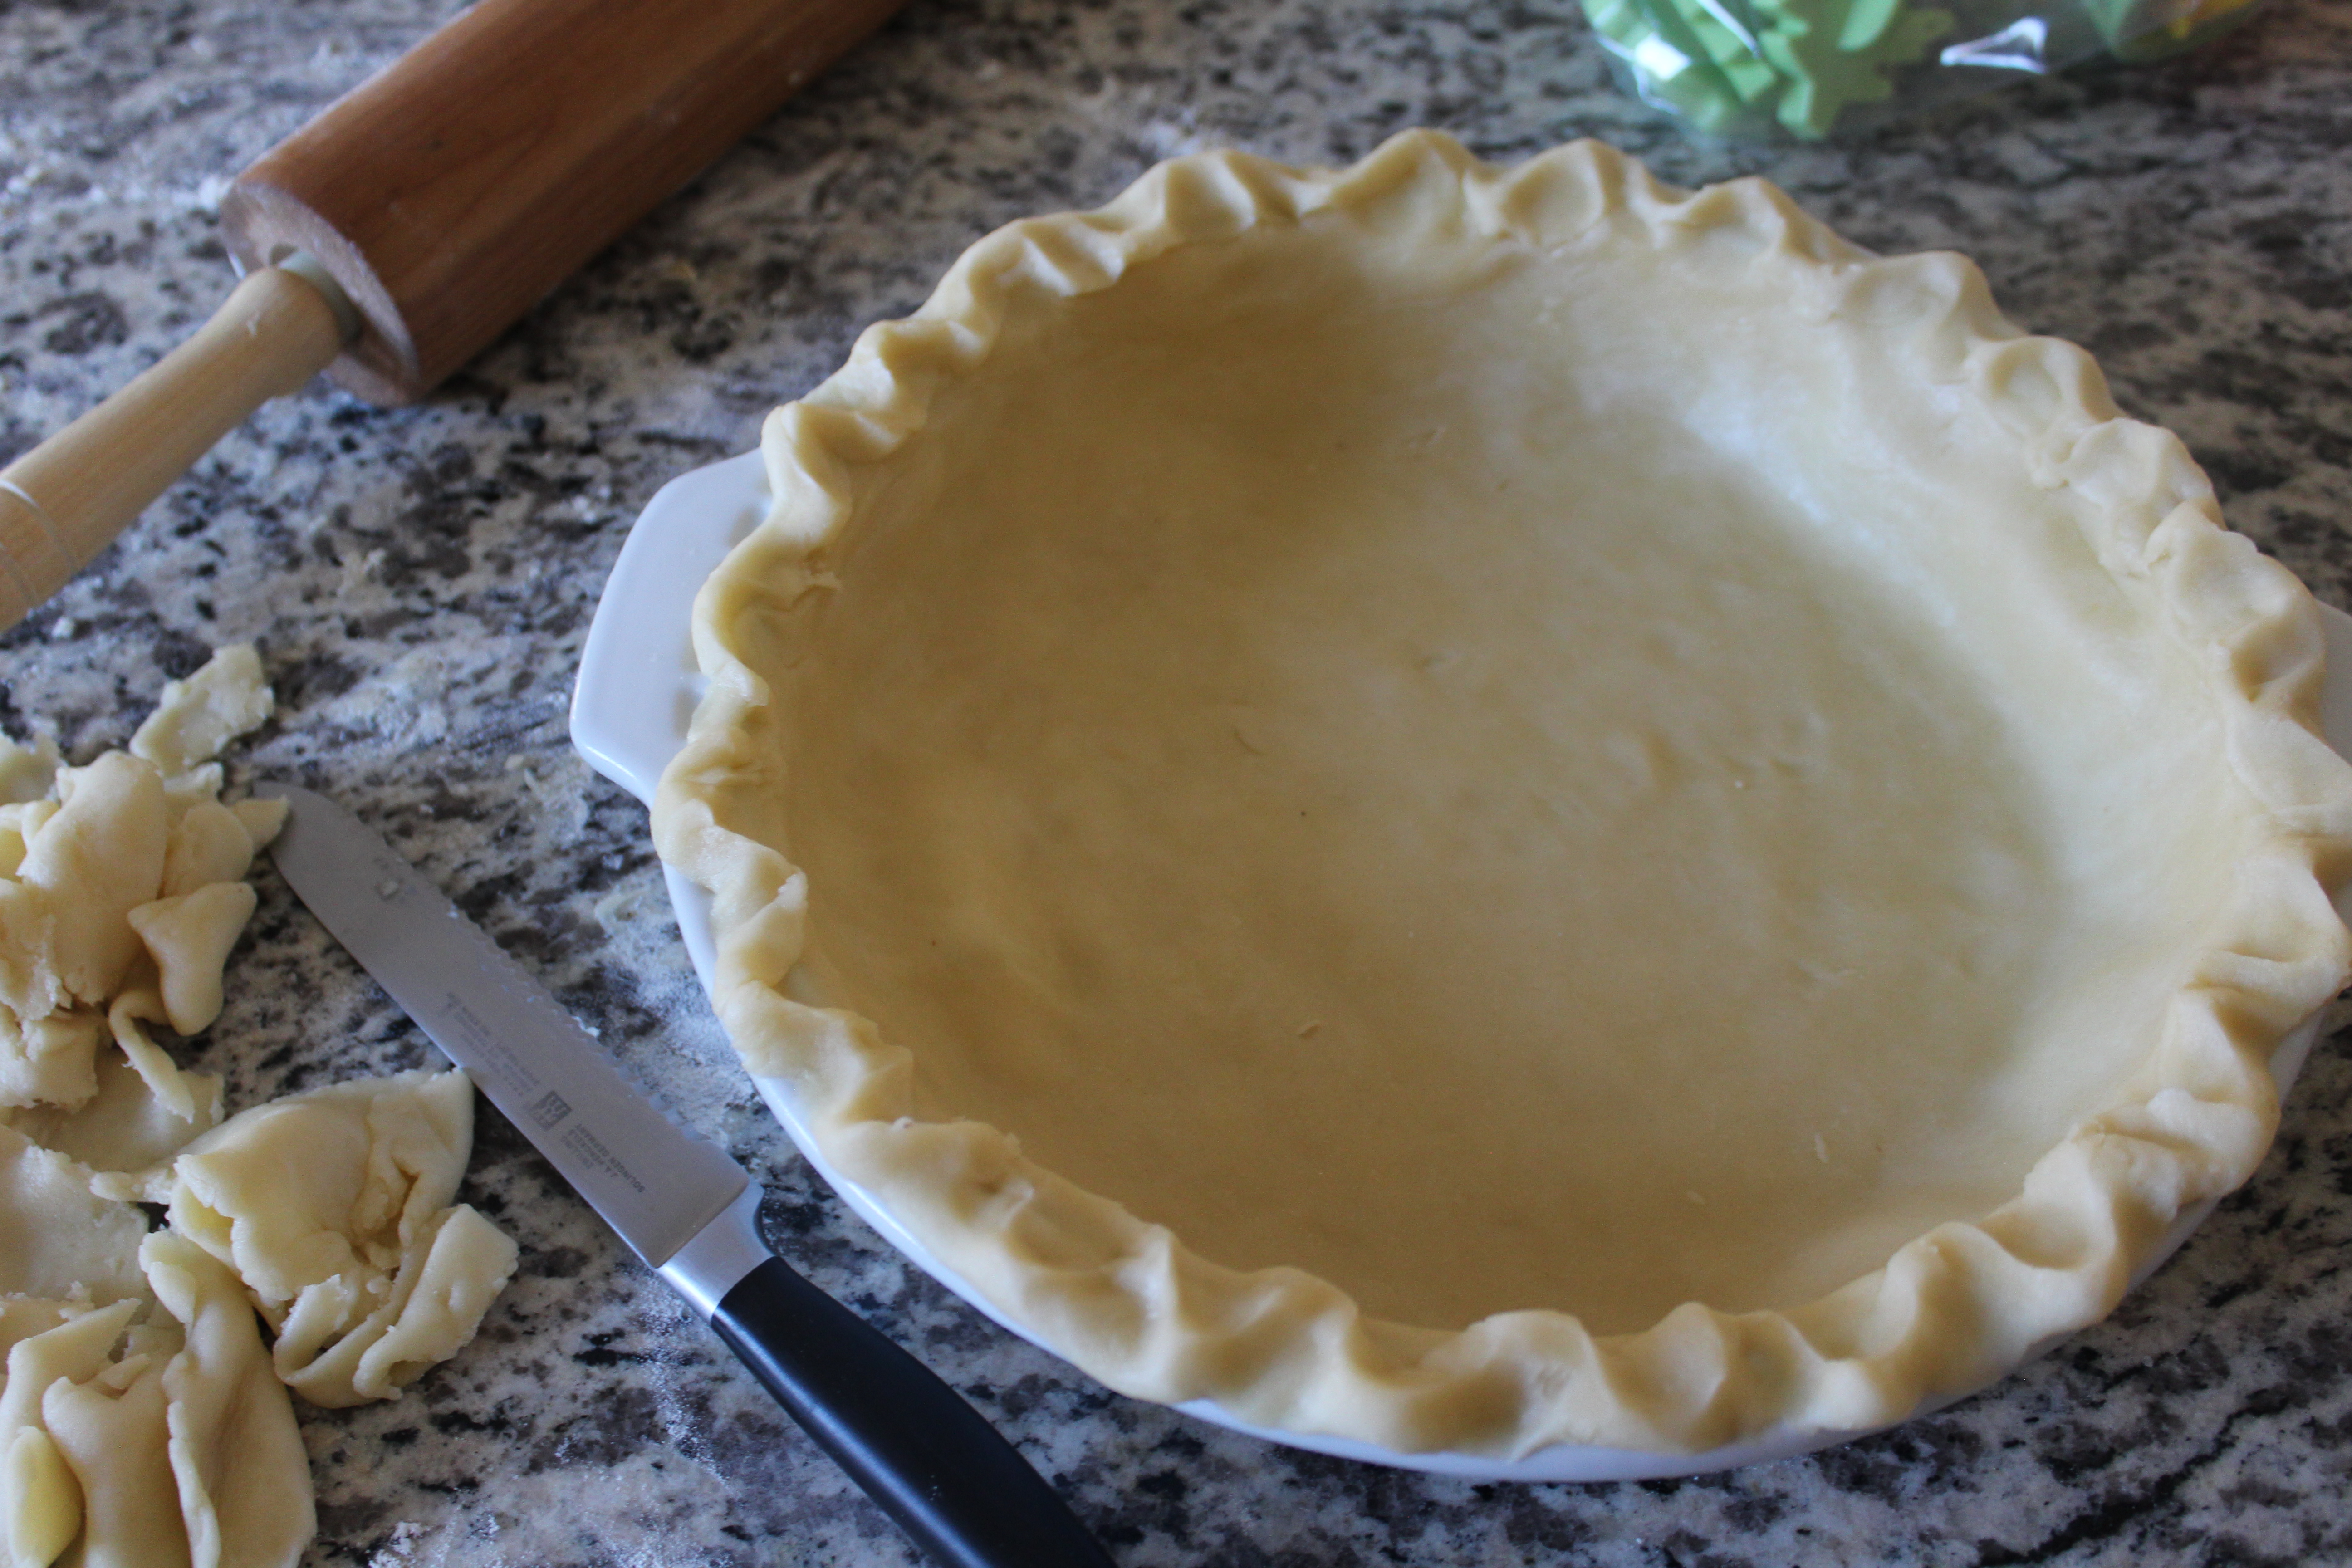
After you peel, core, and slice up your apples place them in a large bowl and mix in your lemon juice.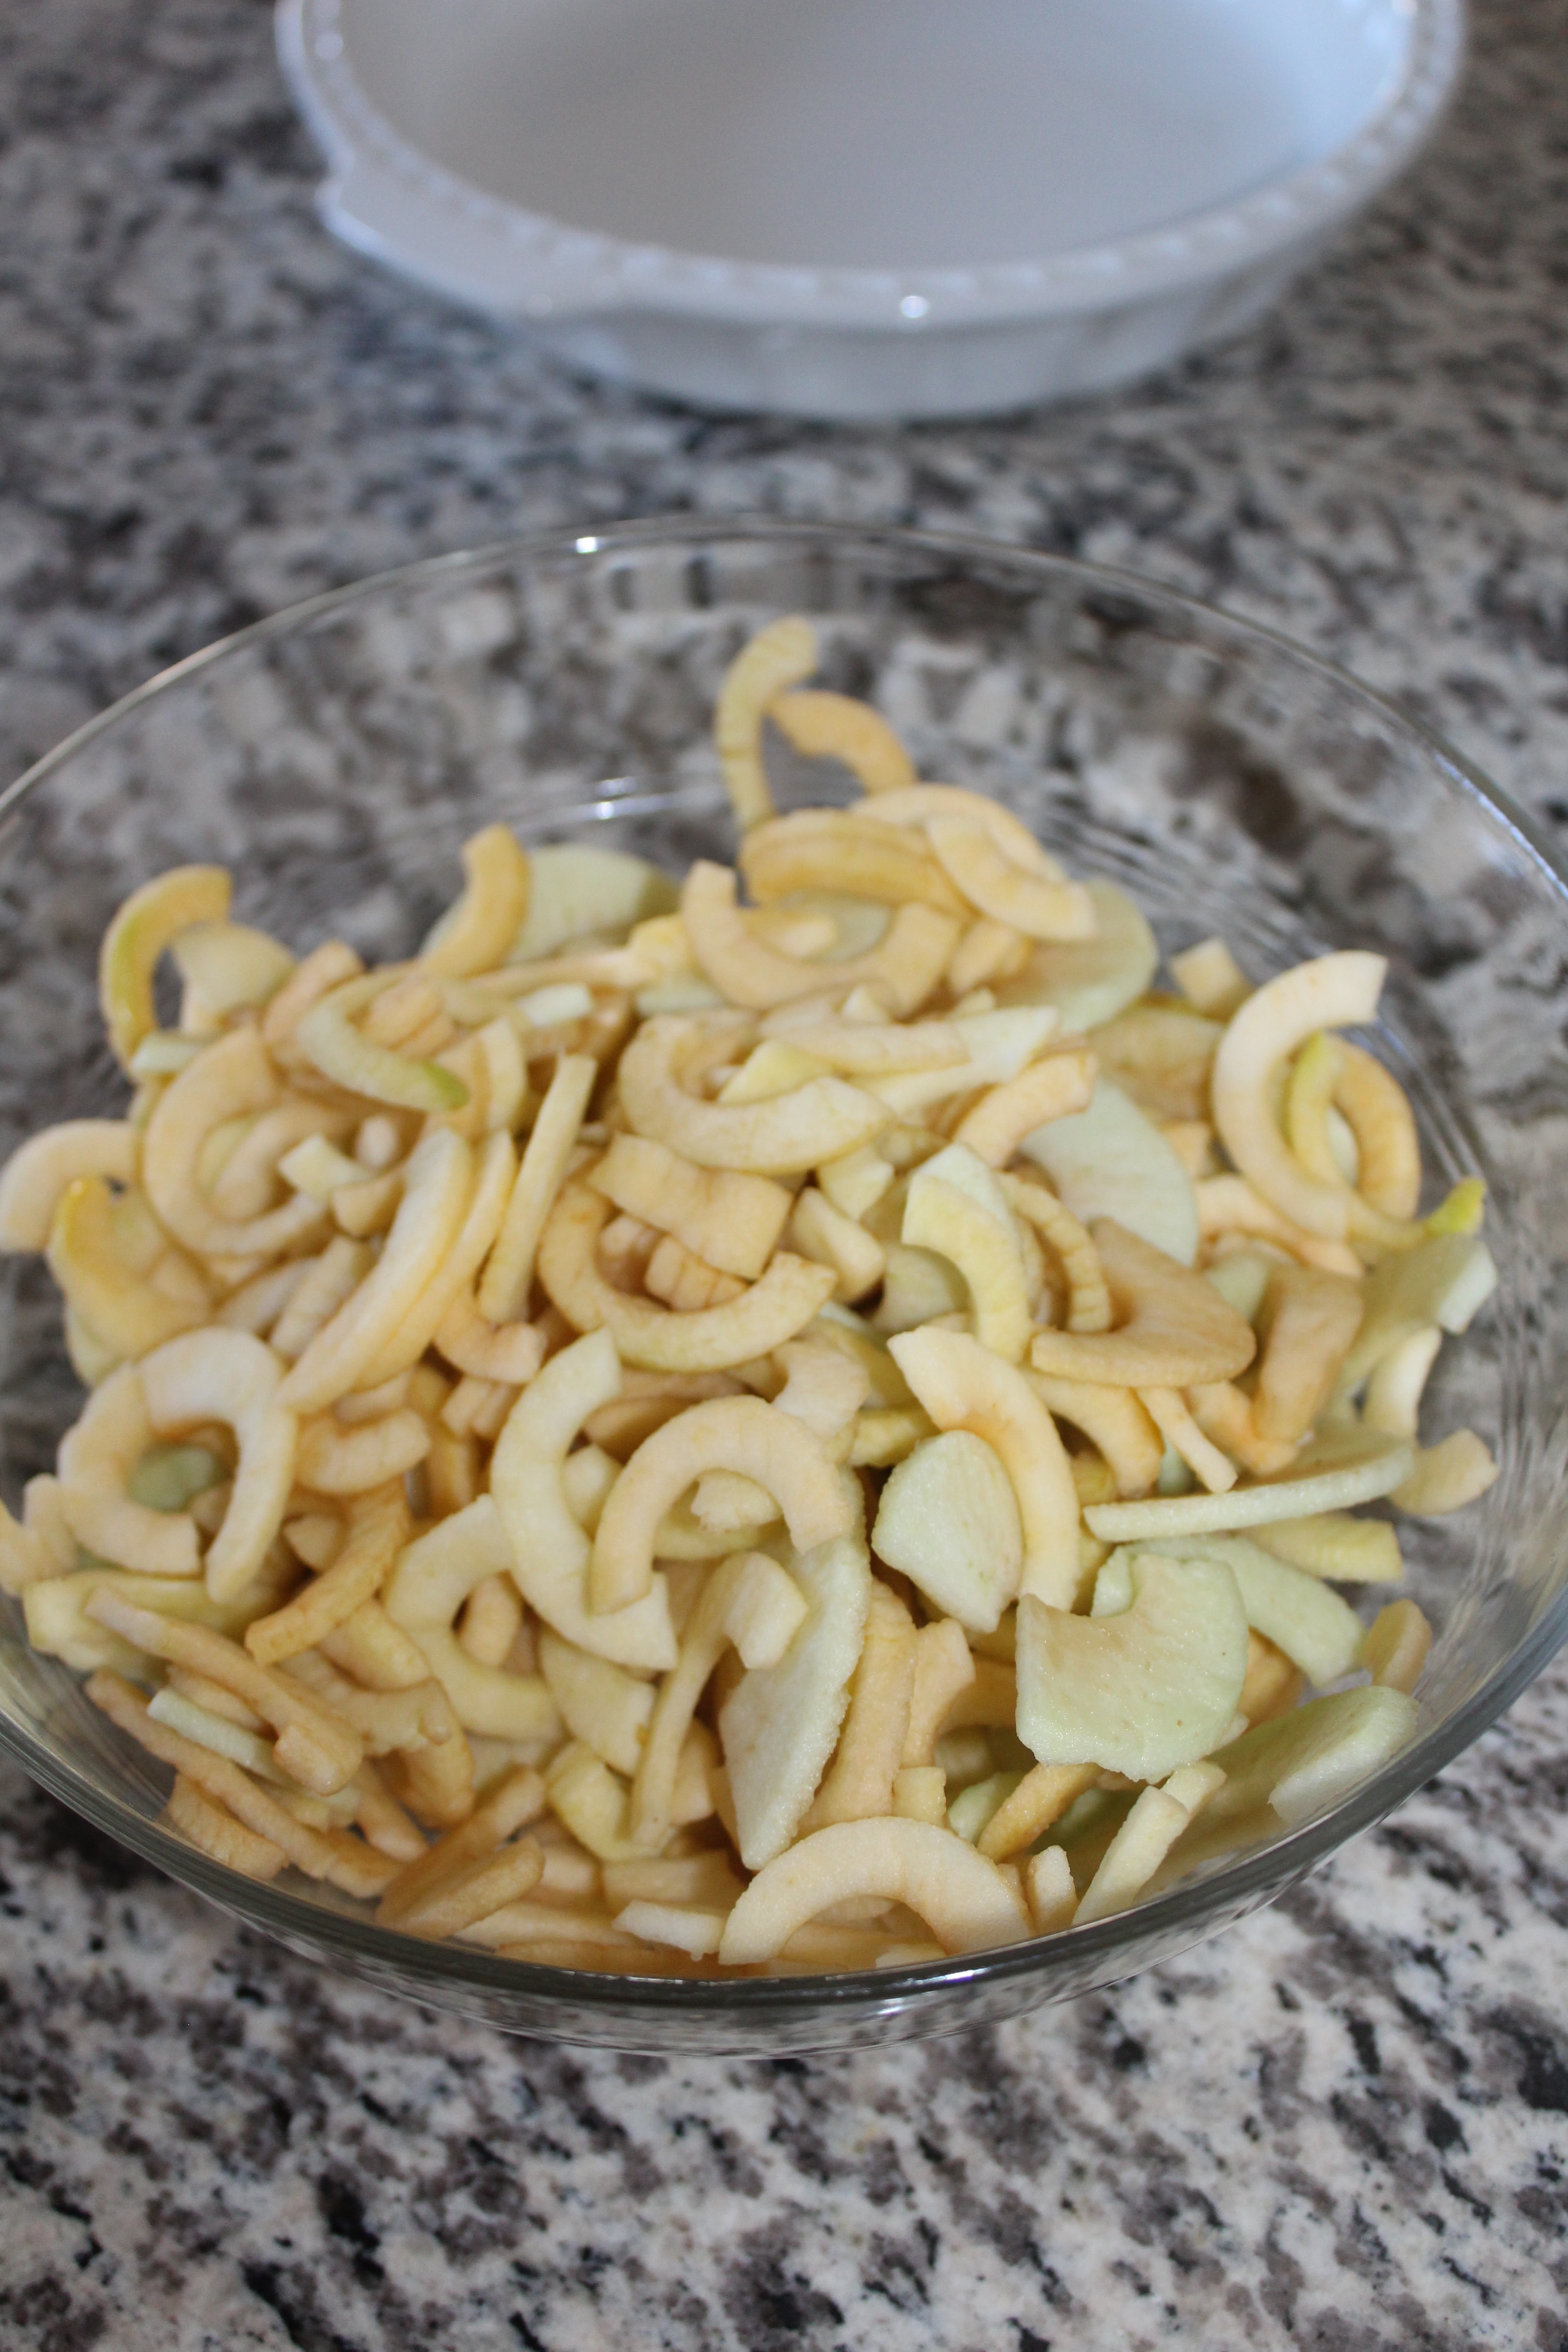
Add in the sugar, brown sugar, flour, and pumpkin pie spice and then stir. 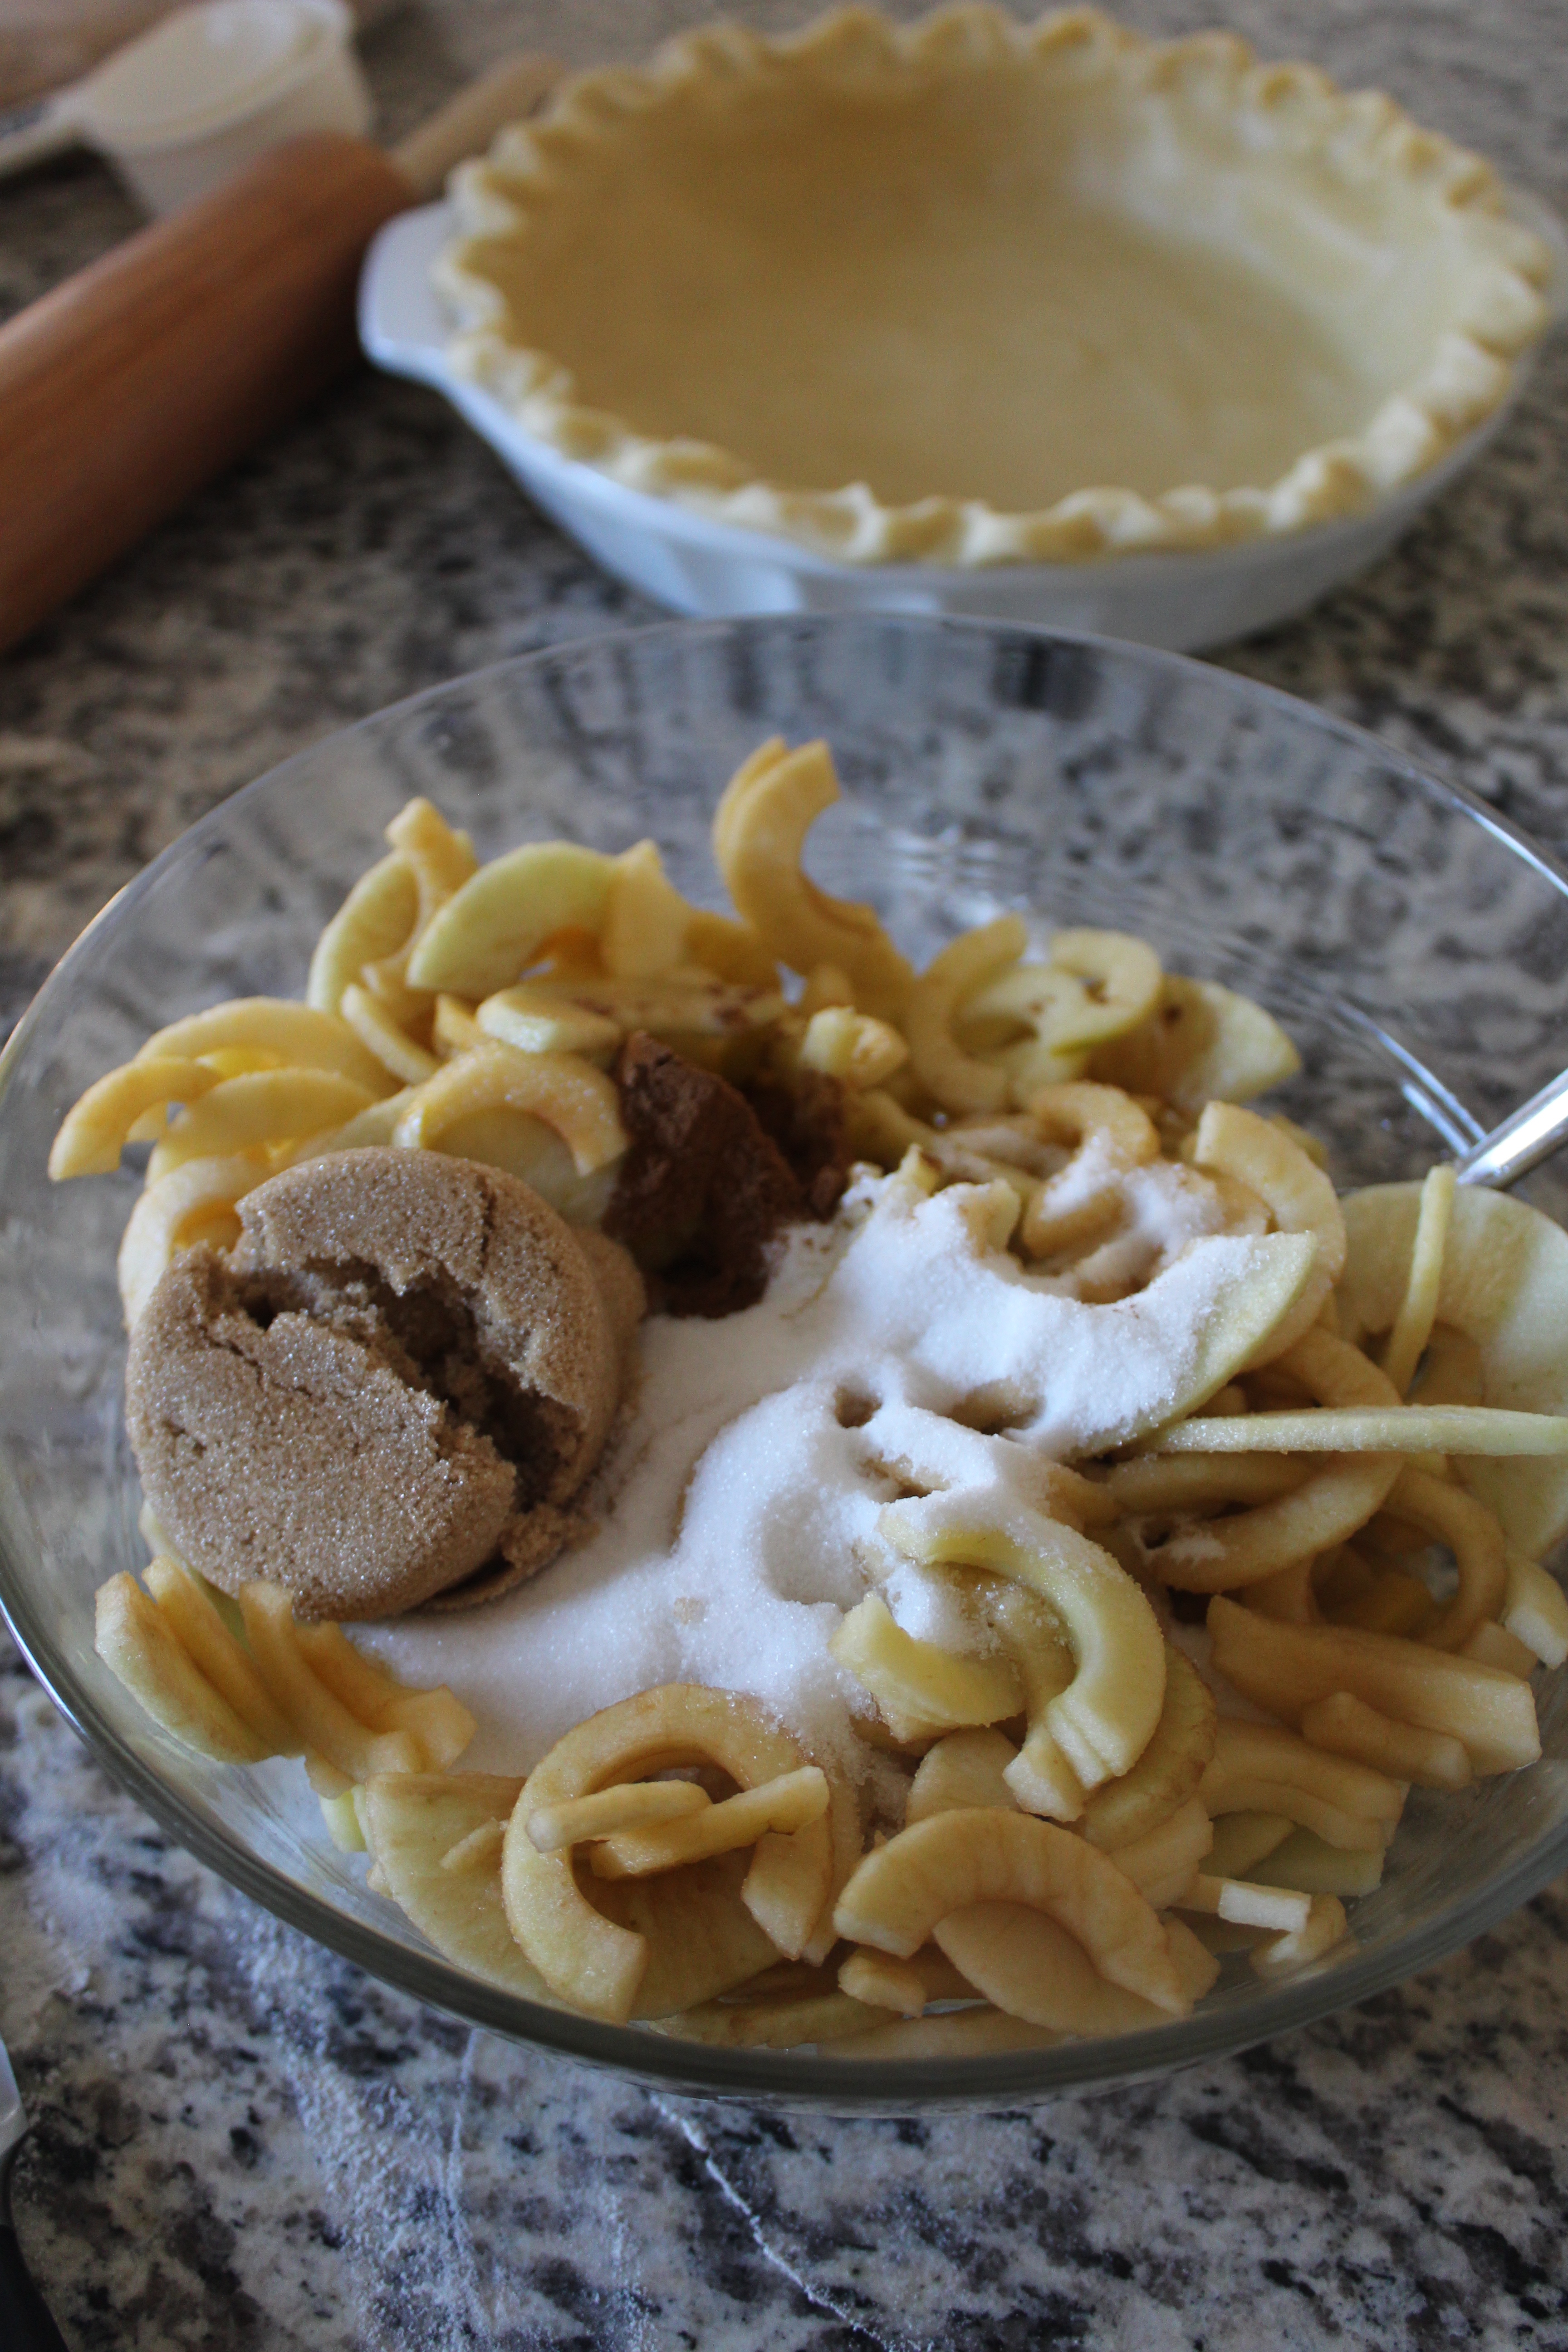
Pour into your pie pan lined with your pie crust. Then melt the butter and drizzle it over your pie. 
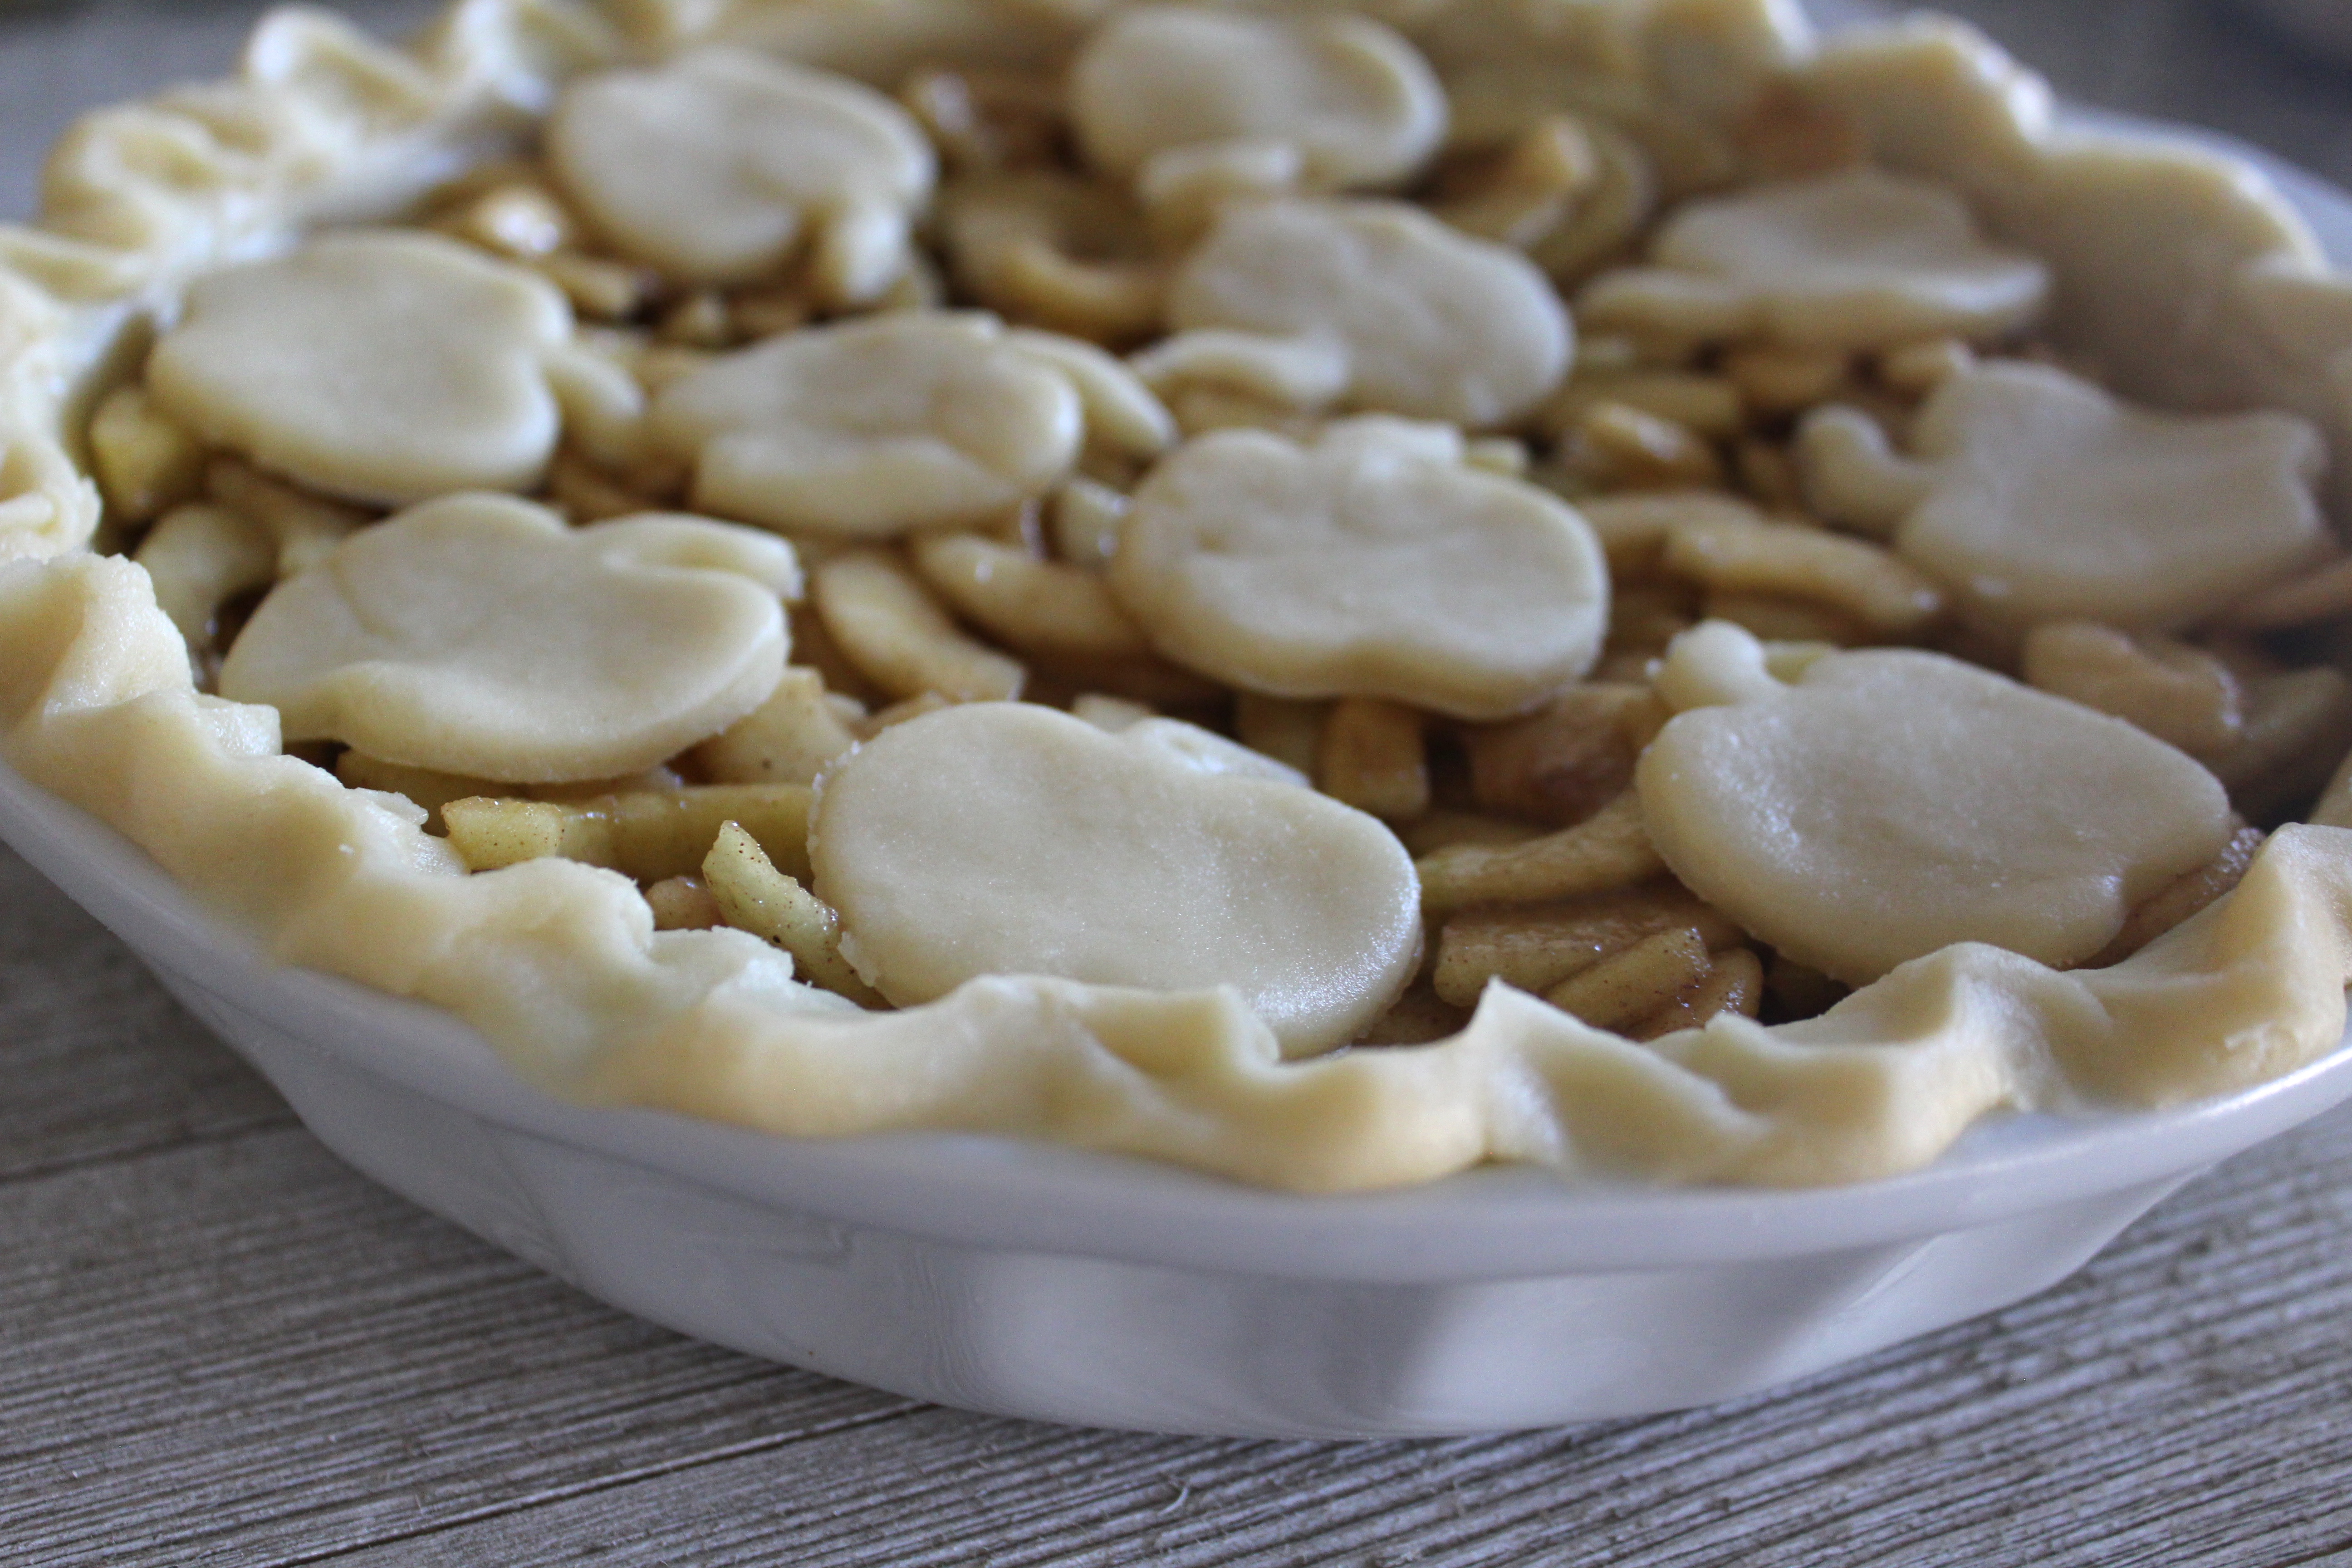
I usually don’t fully cover the top of my pie with a second layer of crust but you can always do that if you want. I prefer a lattice or making fun shapes like apples or leaves. See this extra dough here from trimming the edges off of my pie? I like to just roll that out and add some cute little shapes on top….of course I used apple shapes here for the apple pie. 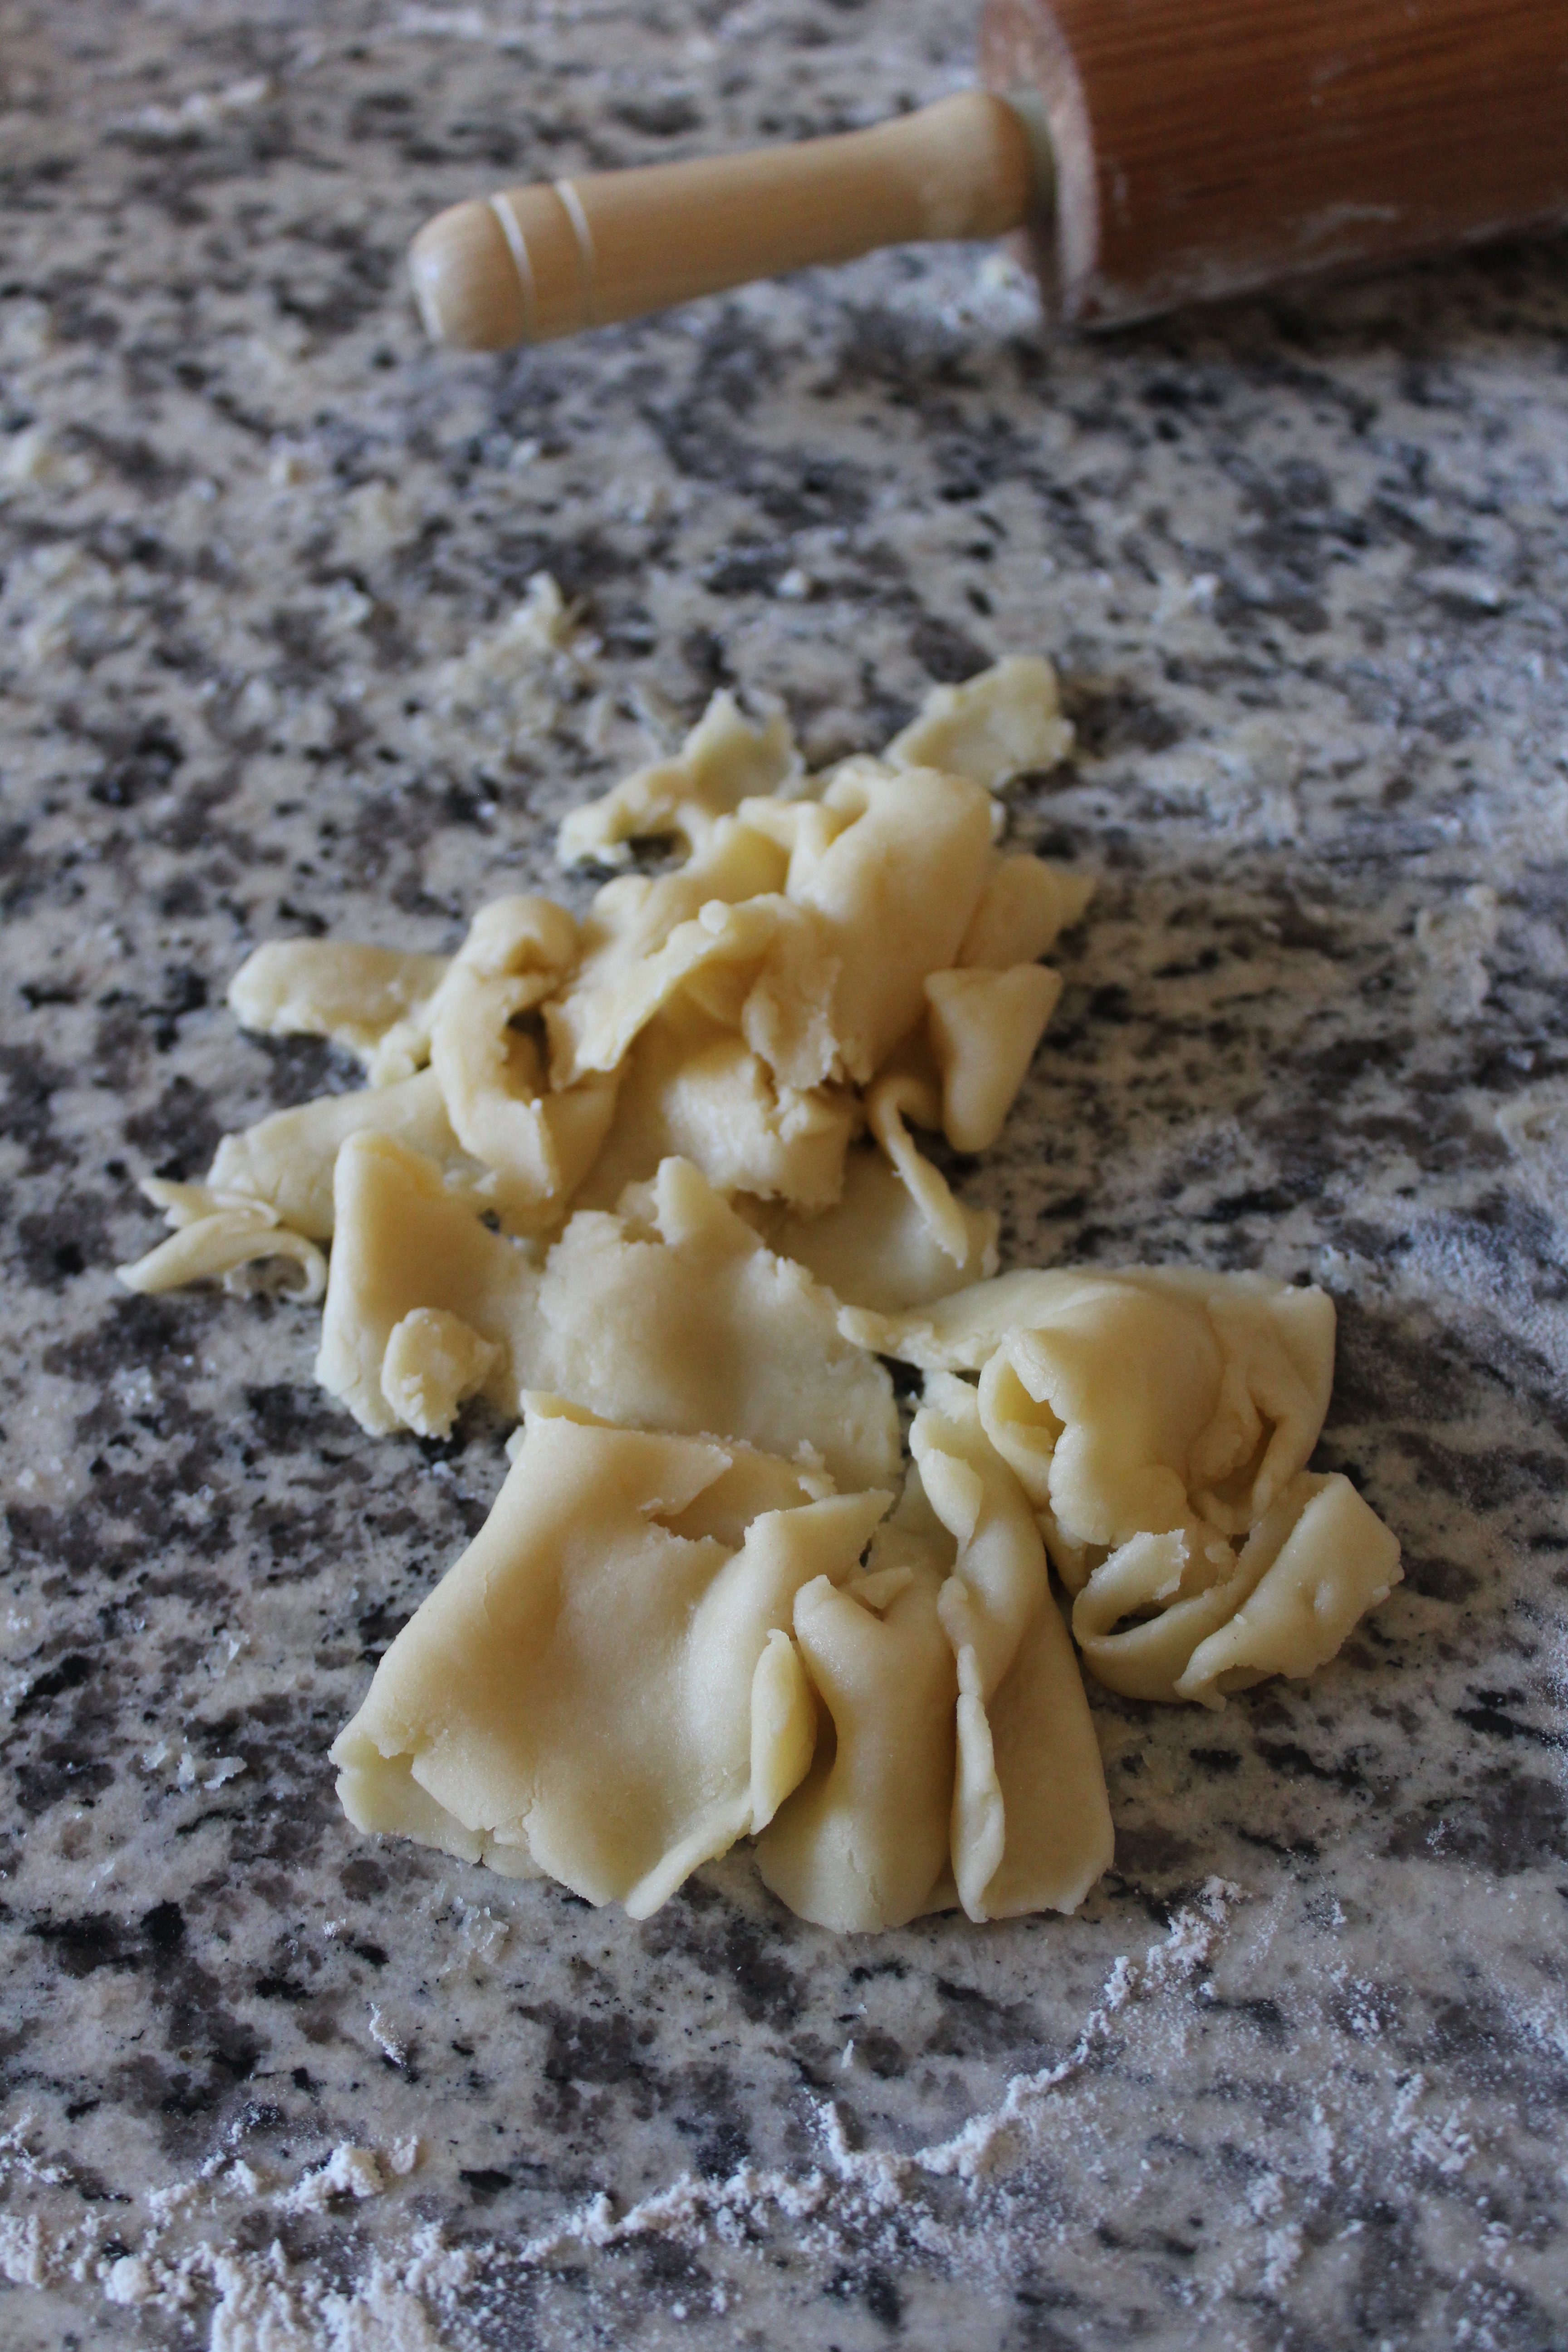
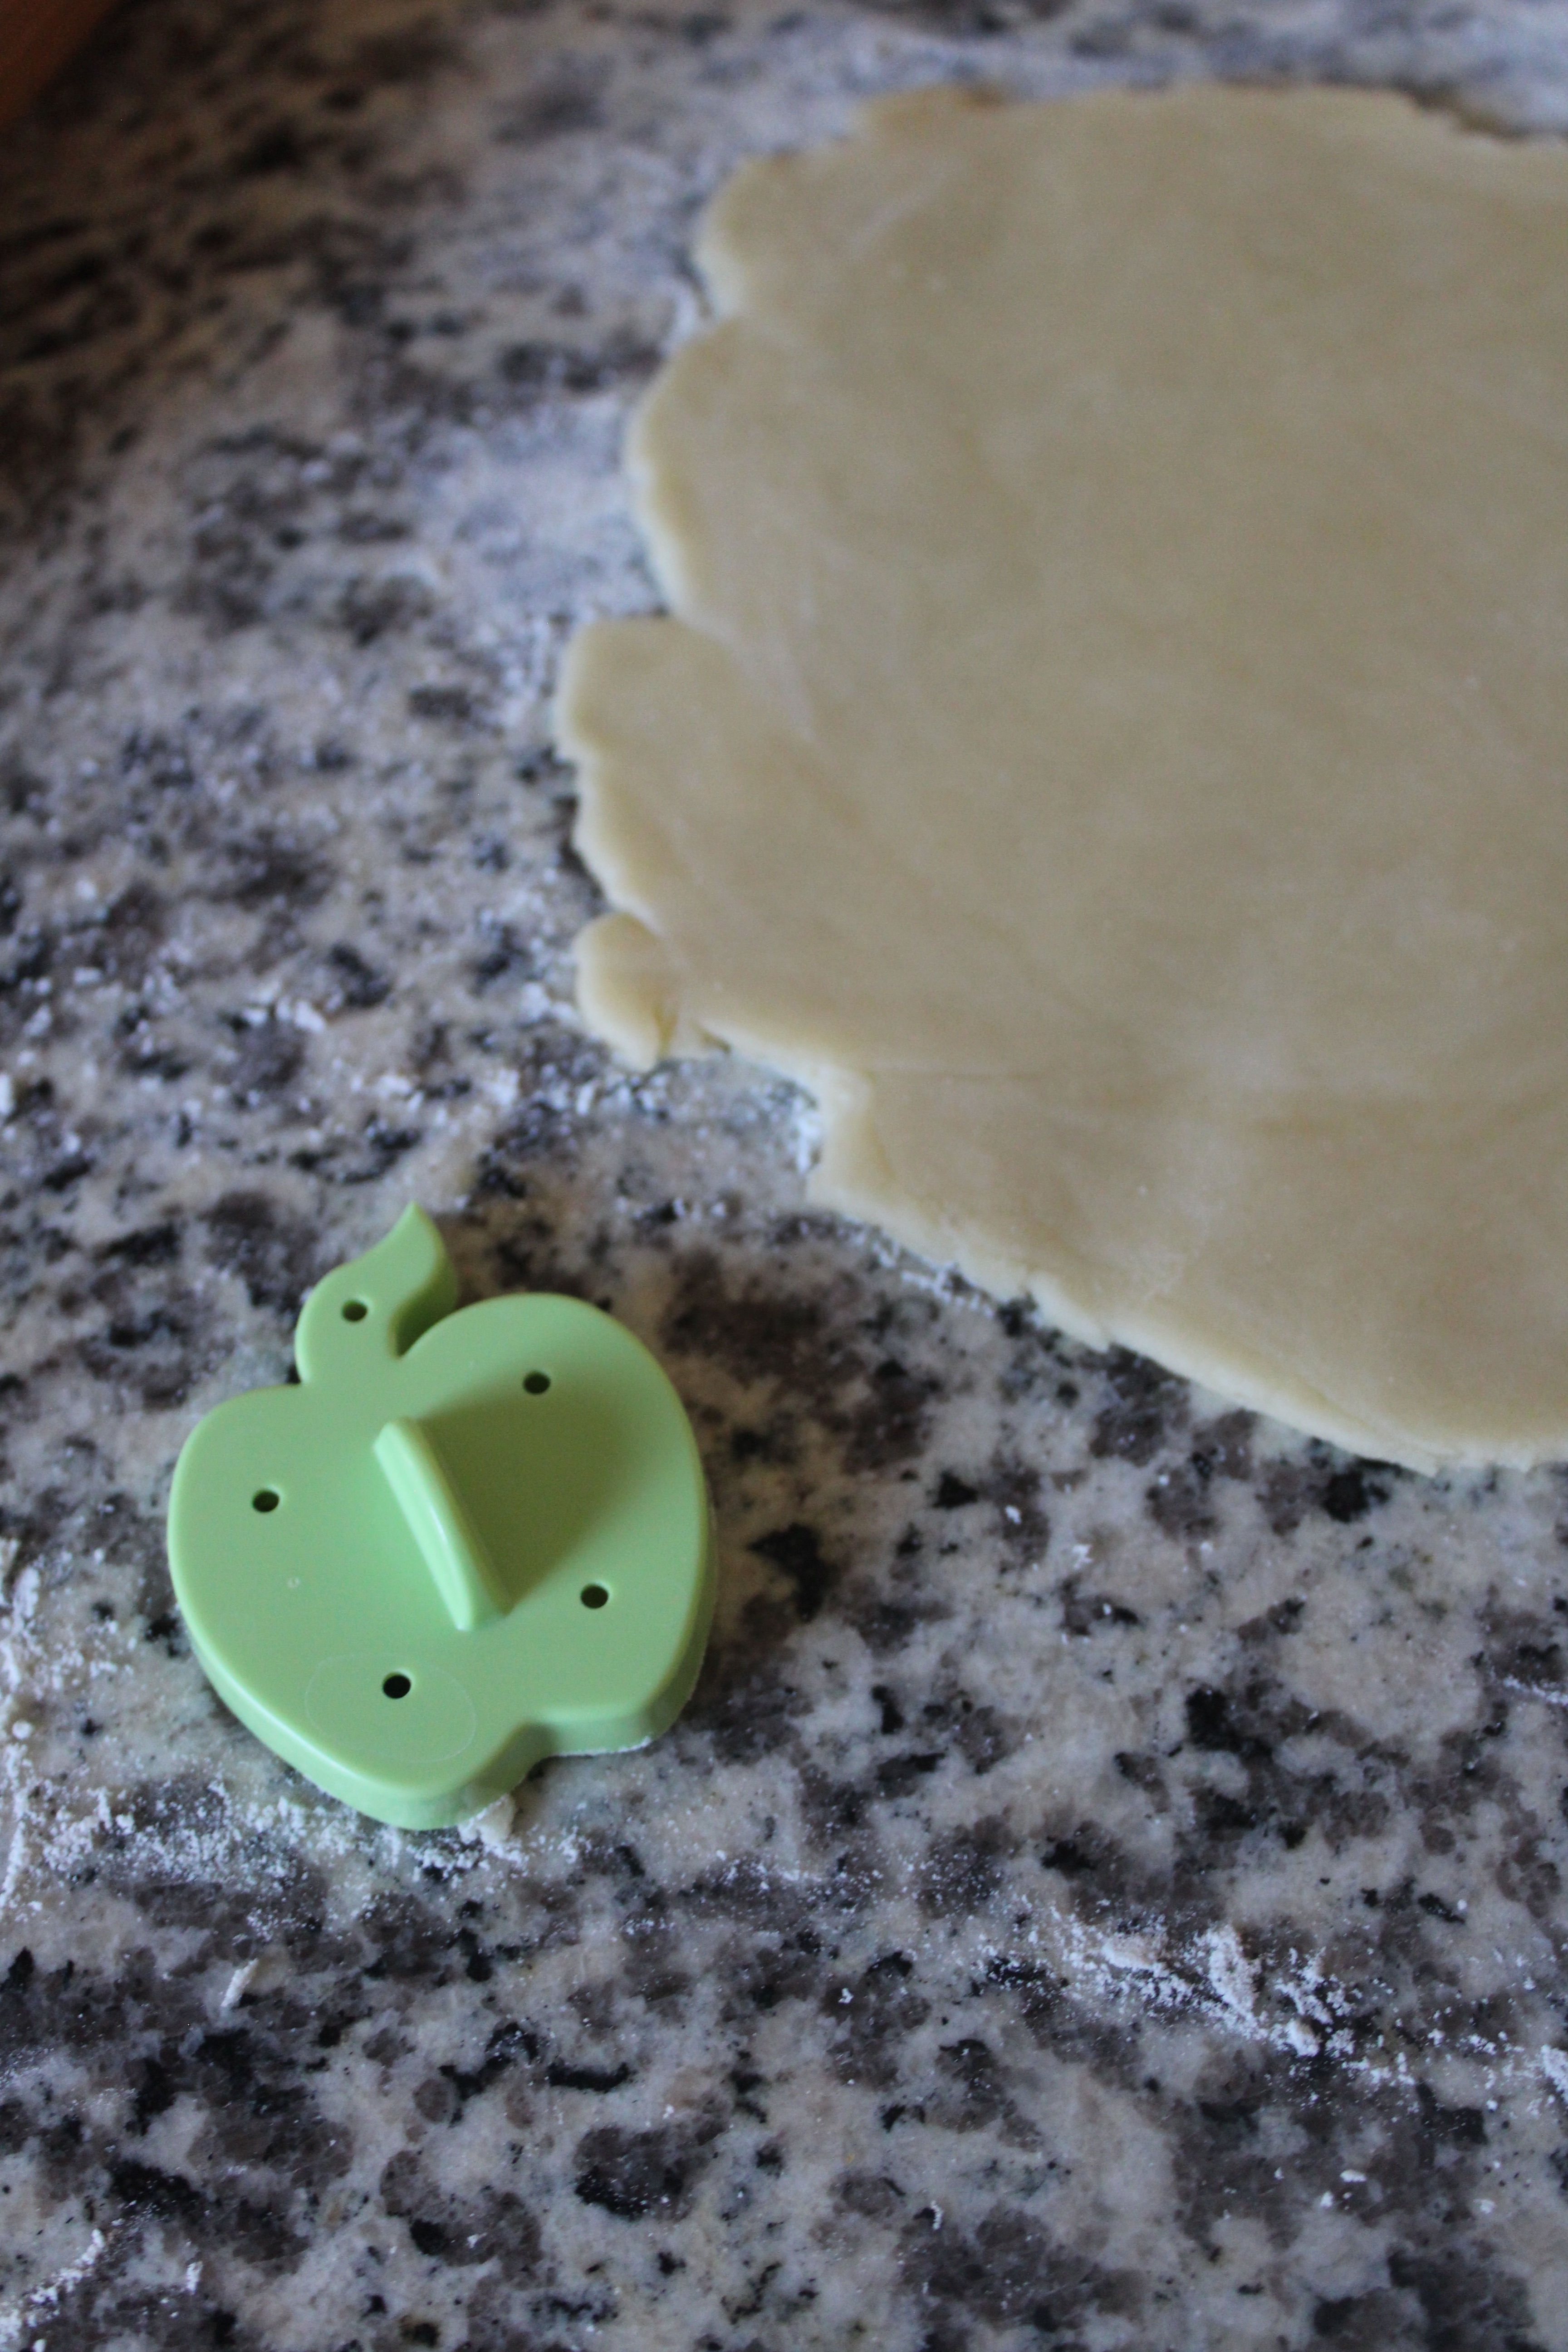
These are so fun, I found all these cute little pastry stampers and pie decorating kit on Amazon. I will link them here (affiliate link) if you are interested! 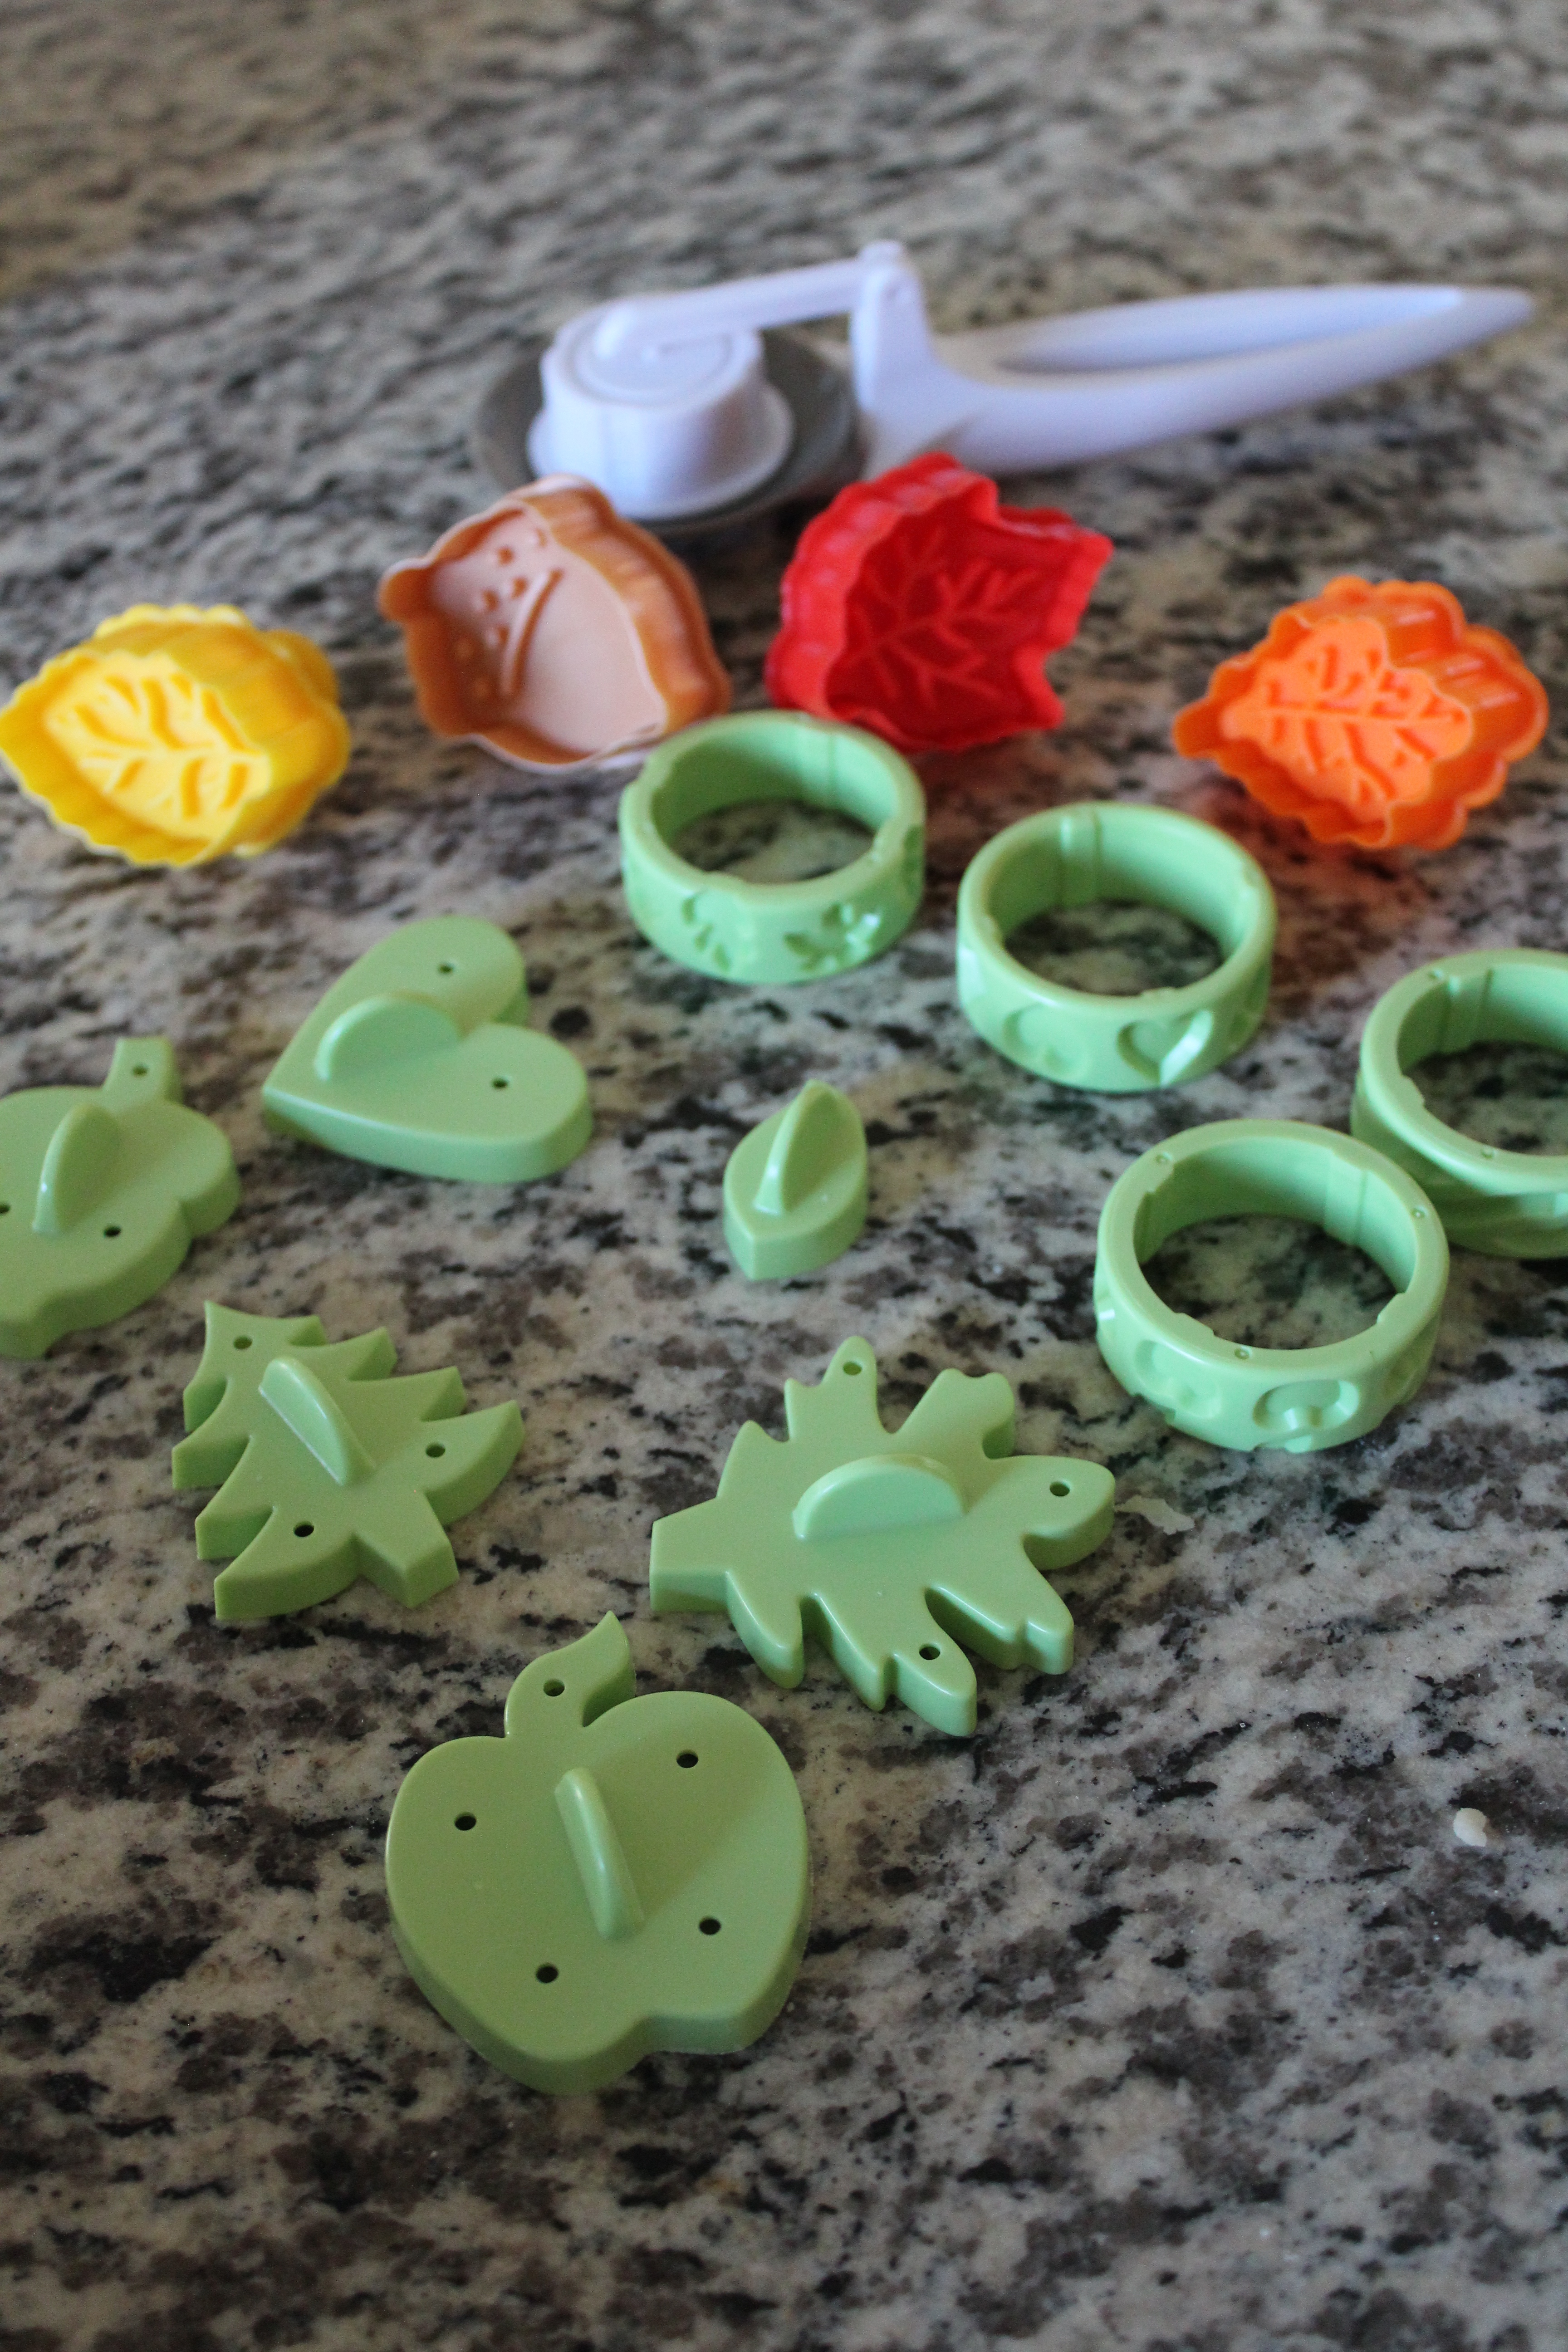
Don’t they just make the pie so much cuter?!?!
Bake in a preheated 400 degree oven for about 35-45 minutes. Because my apples are so small, and sliced thin, from using the apple peeler, corer, slicer, my pie is done in about the 35 – 40 minute range. If your apples are bigger and thicker you will probably need longer. Just watch that the crust does not start to burn. You can loosely cover the edges with foil towards the end if the crust starts to get too brown. 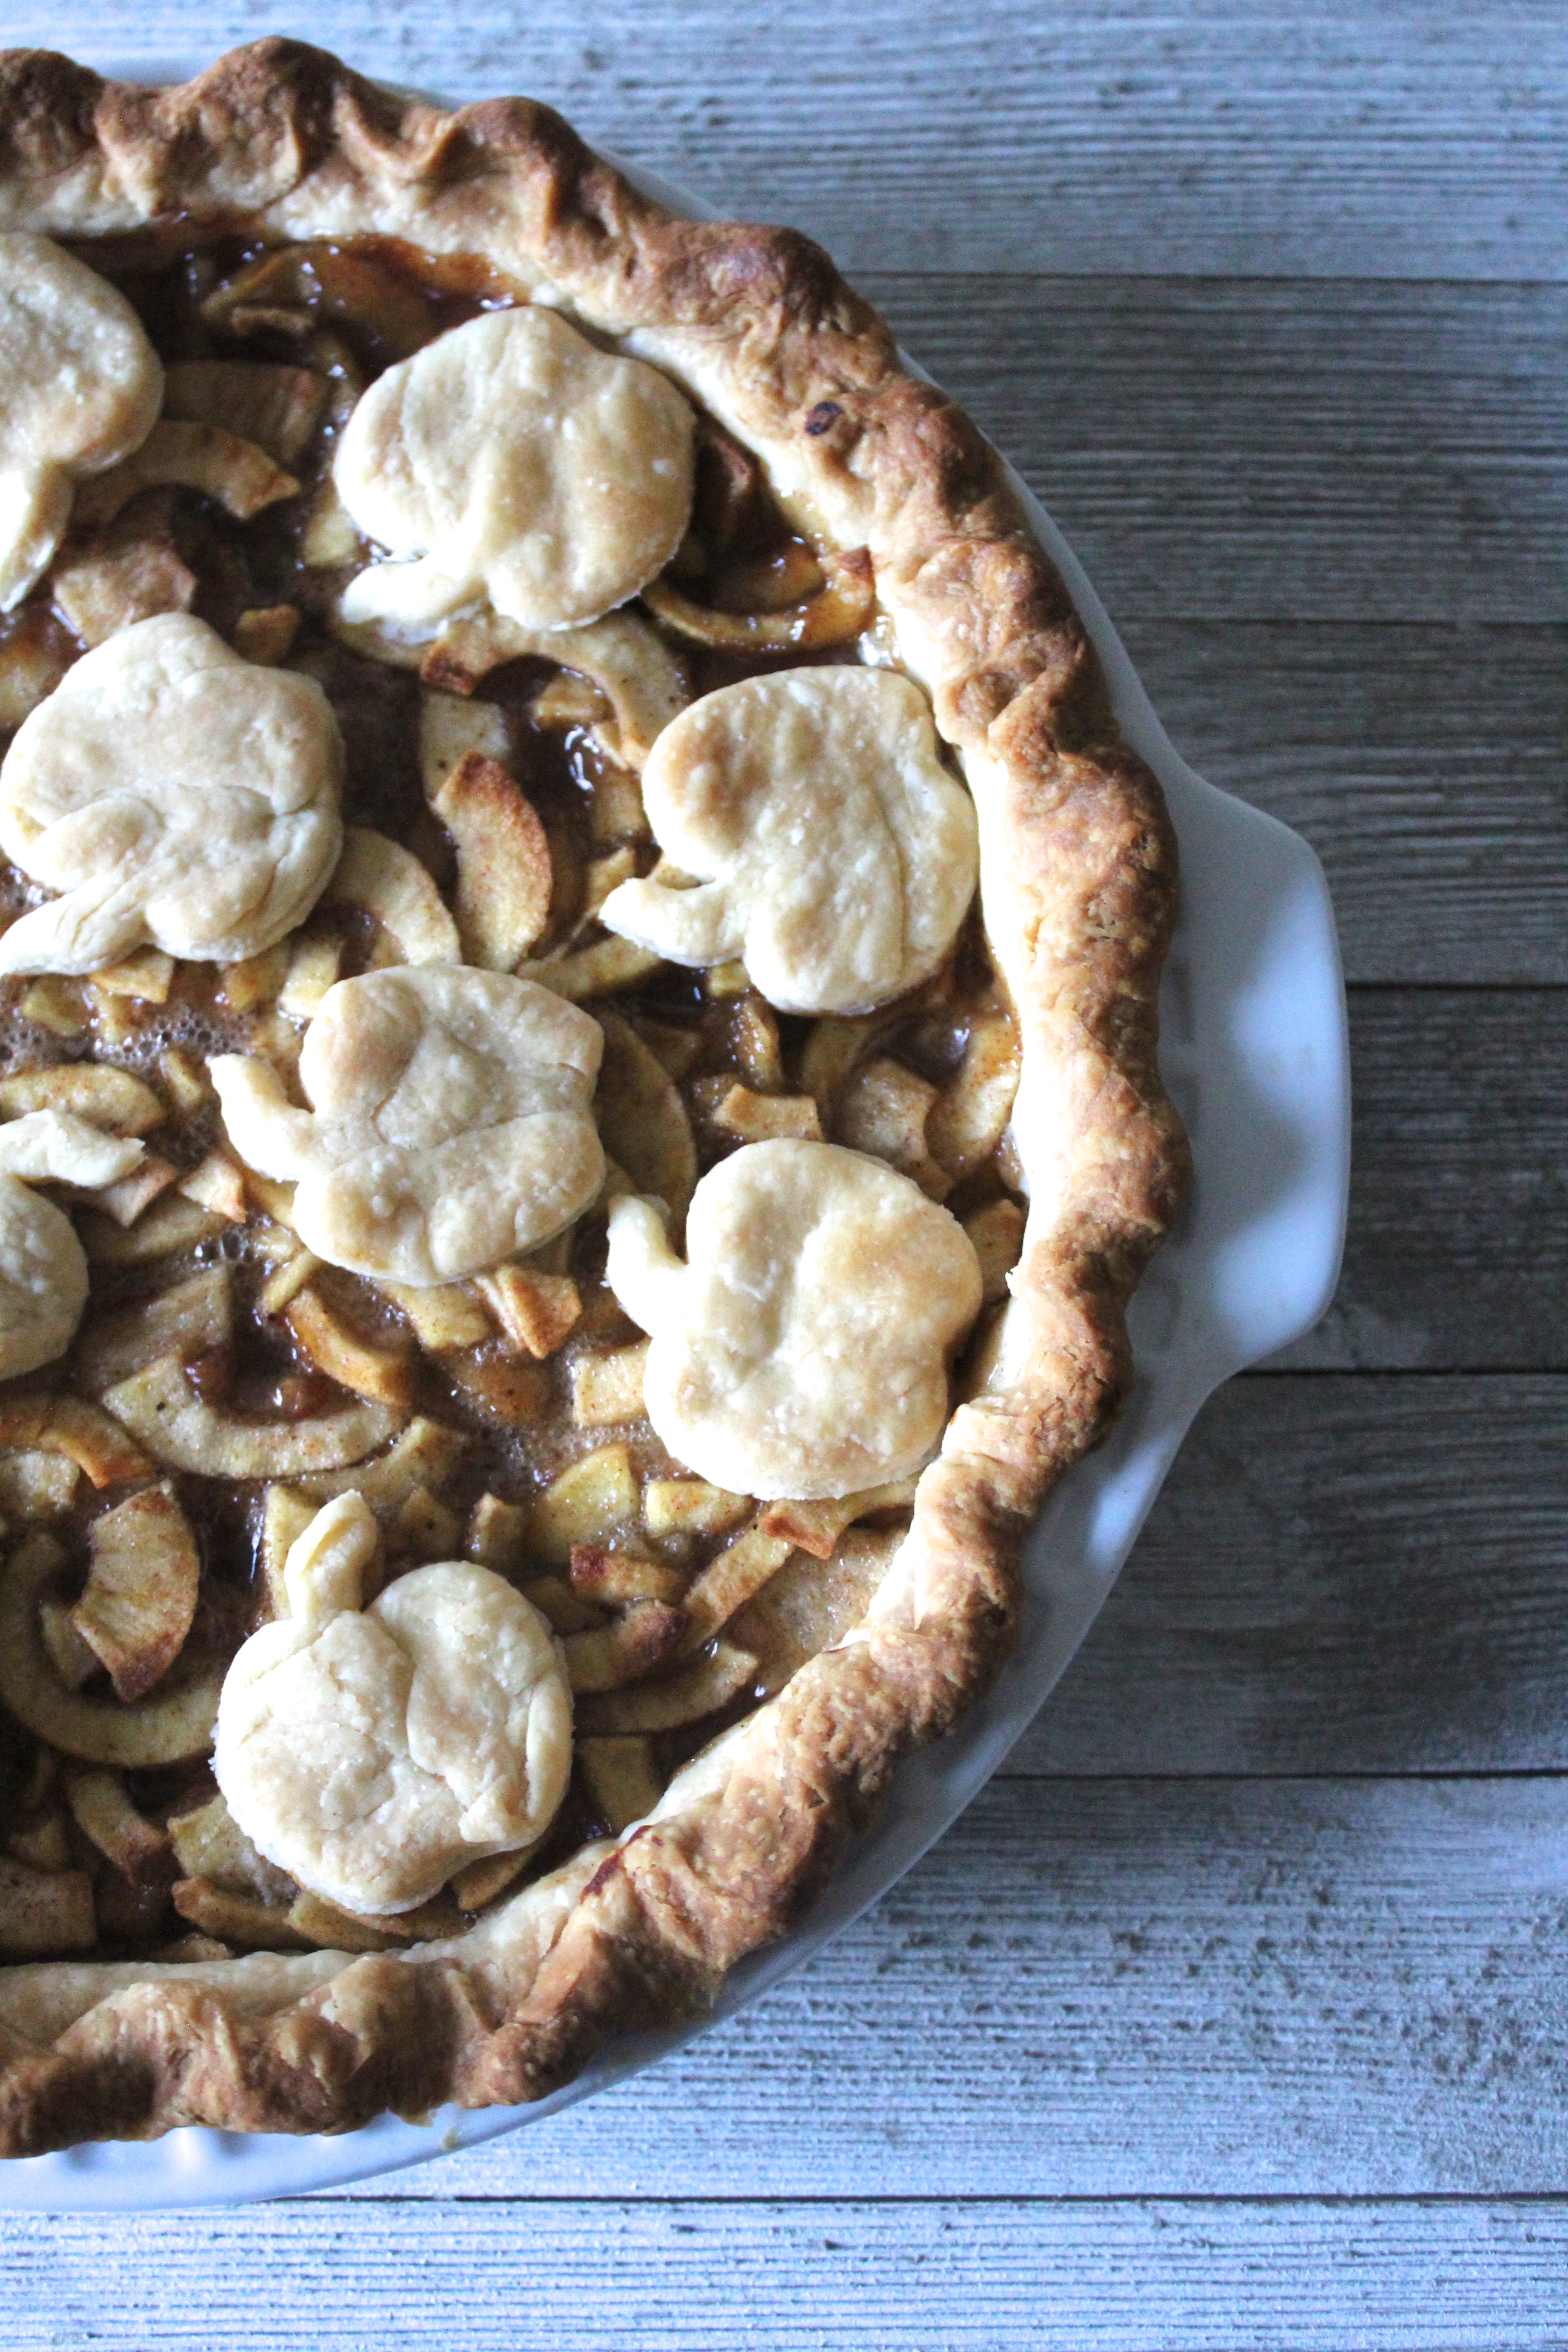
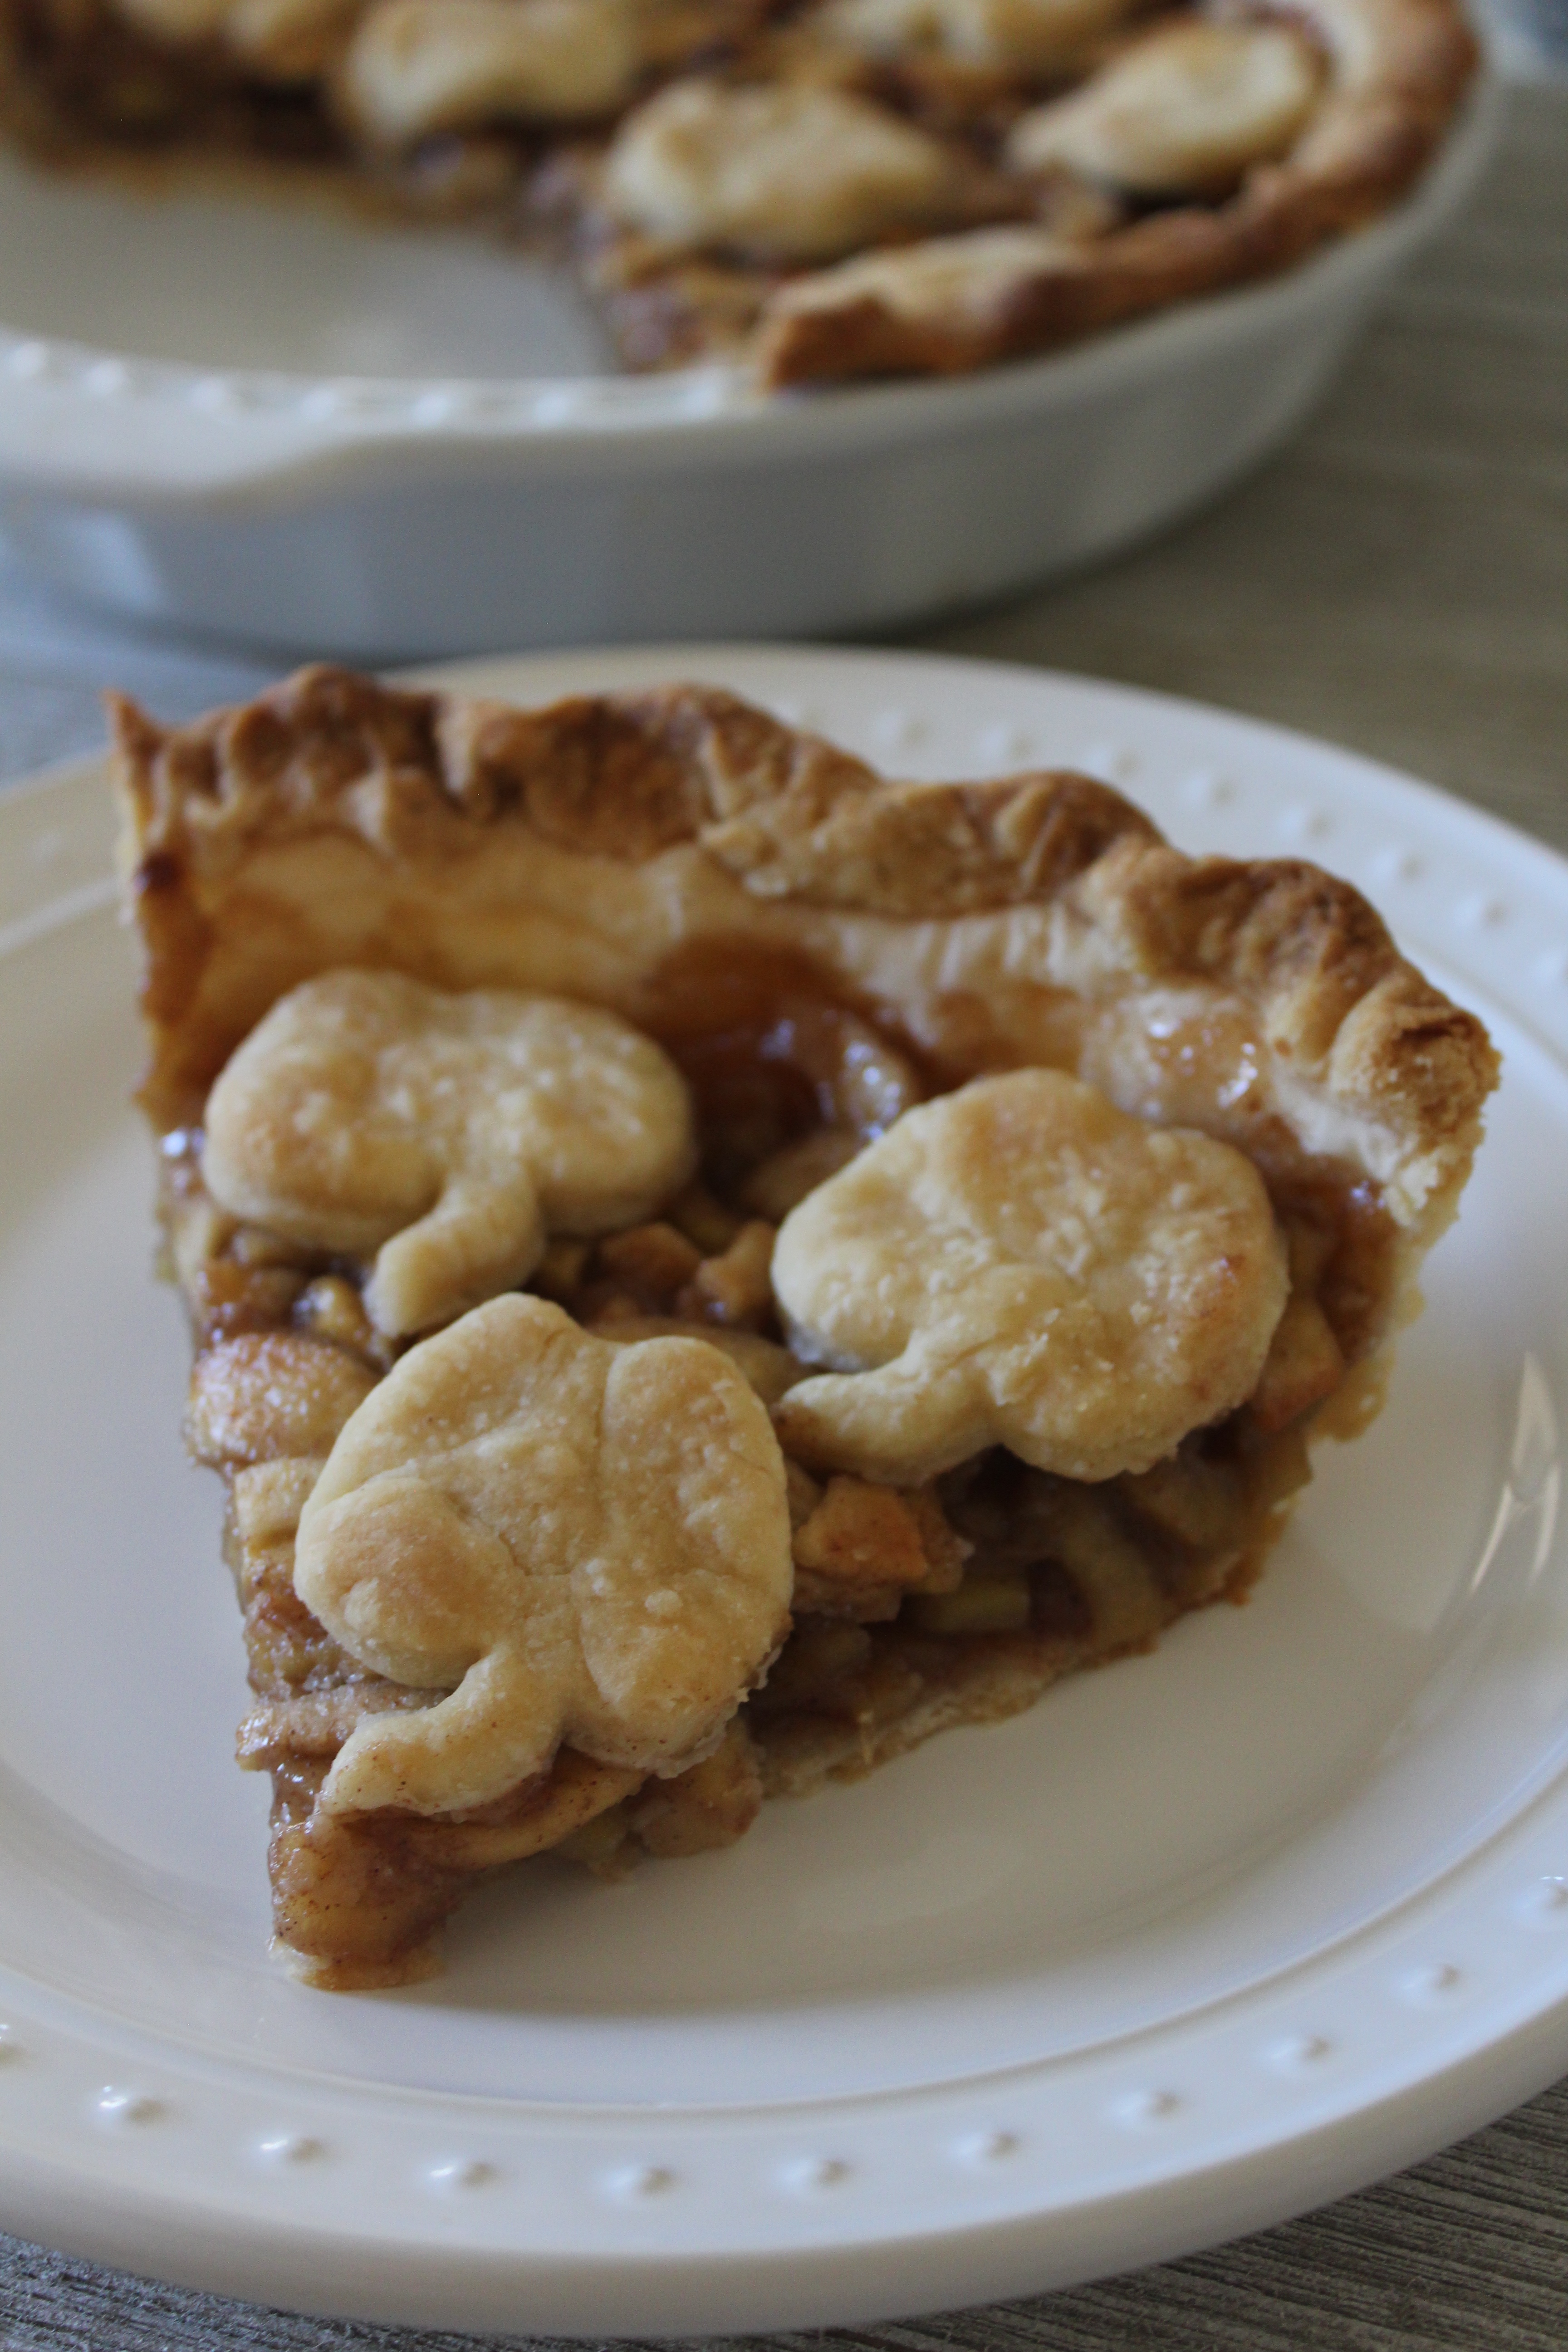
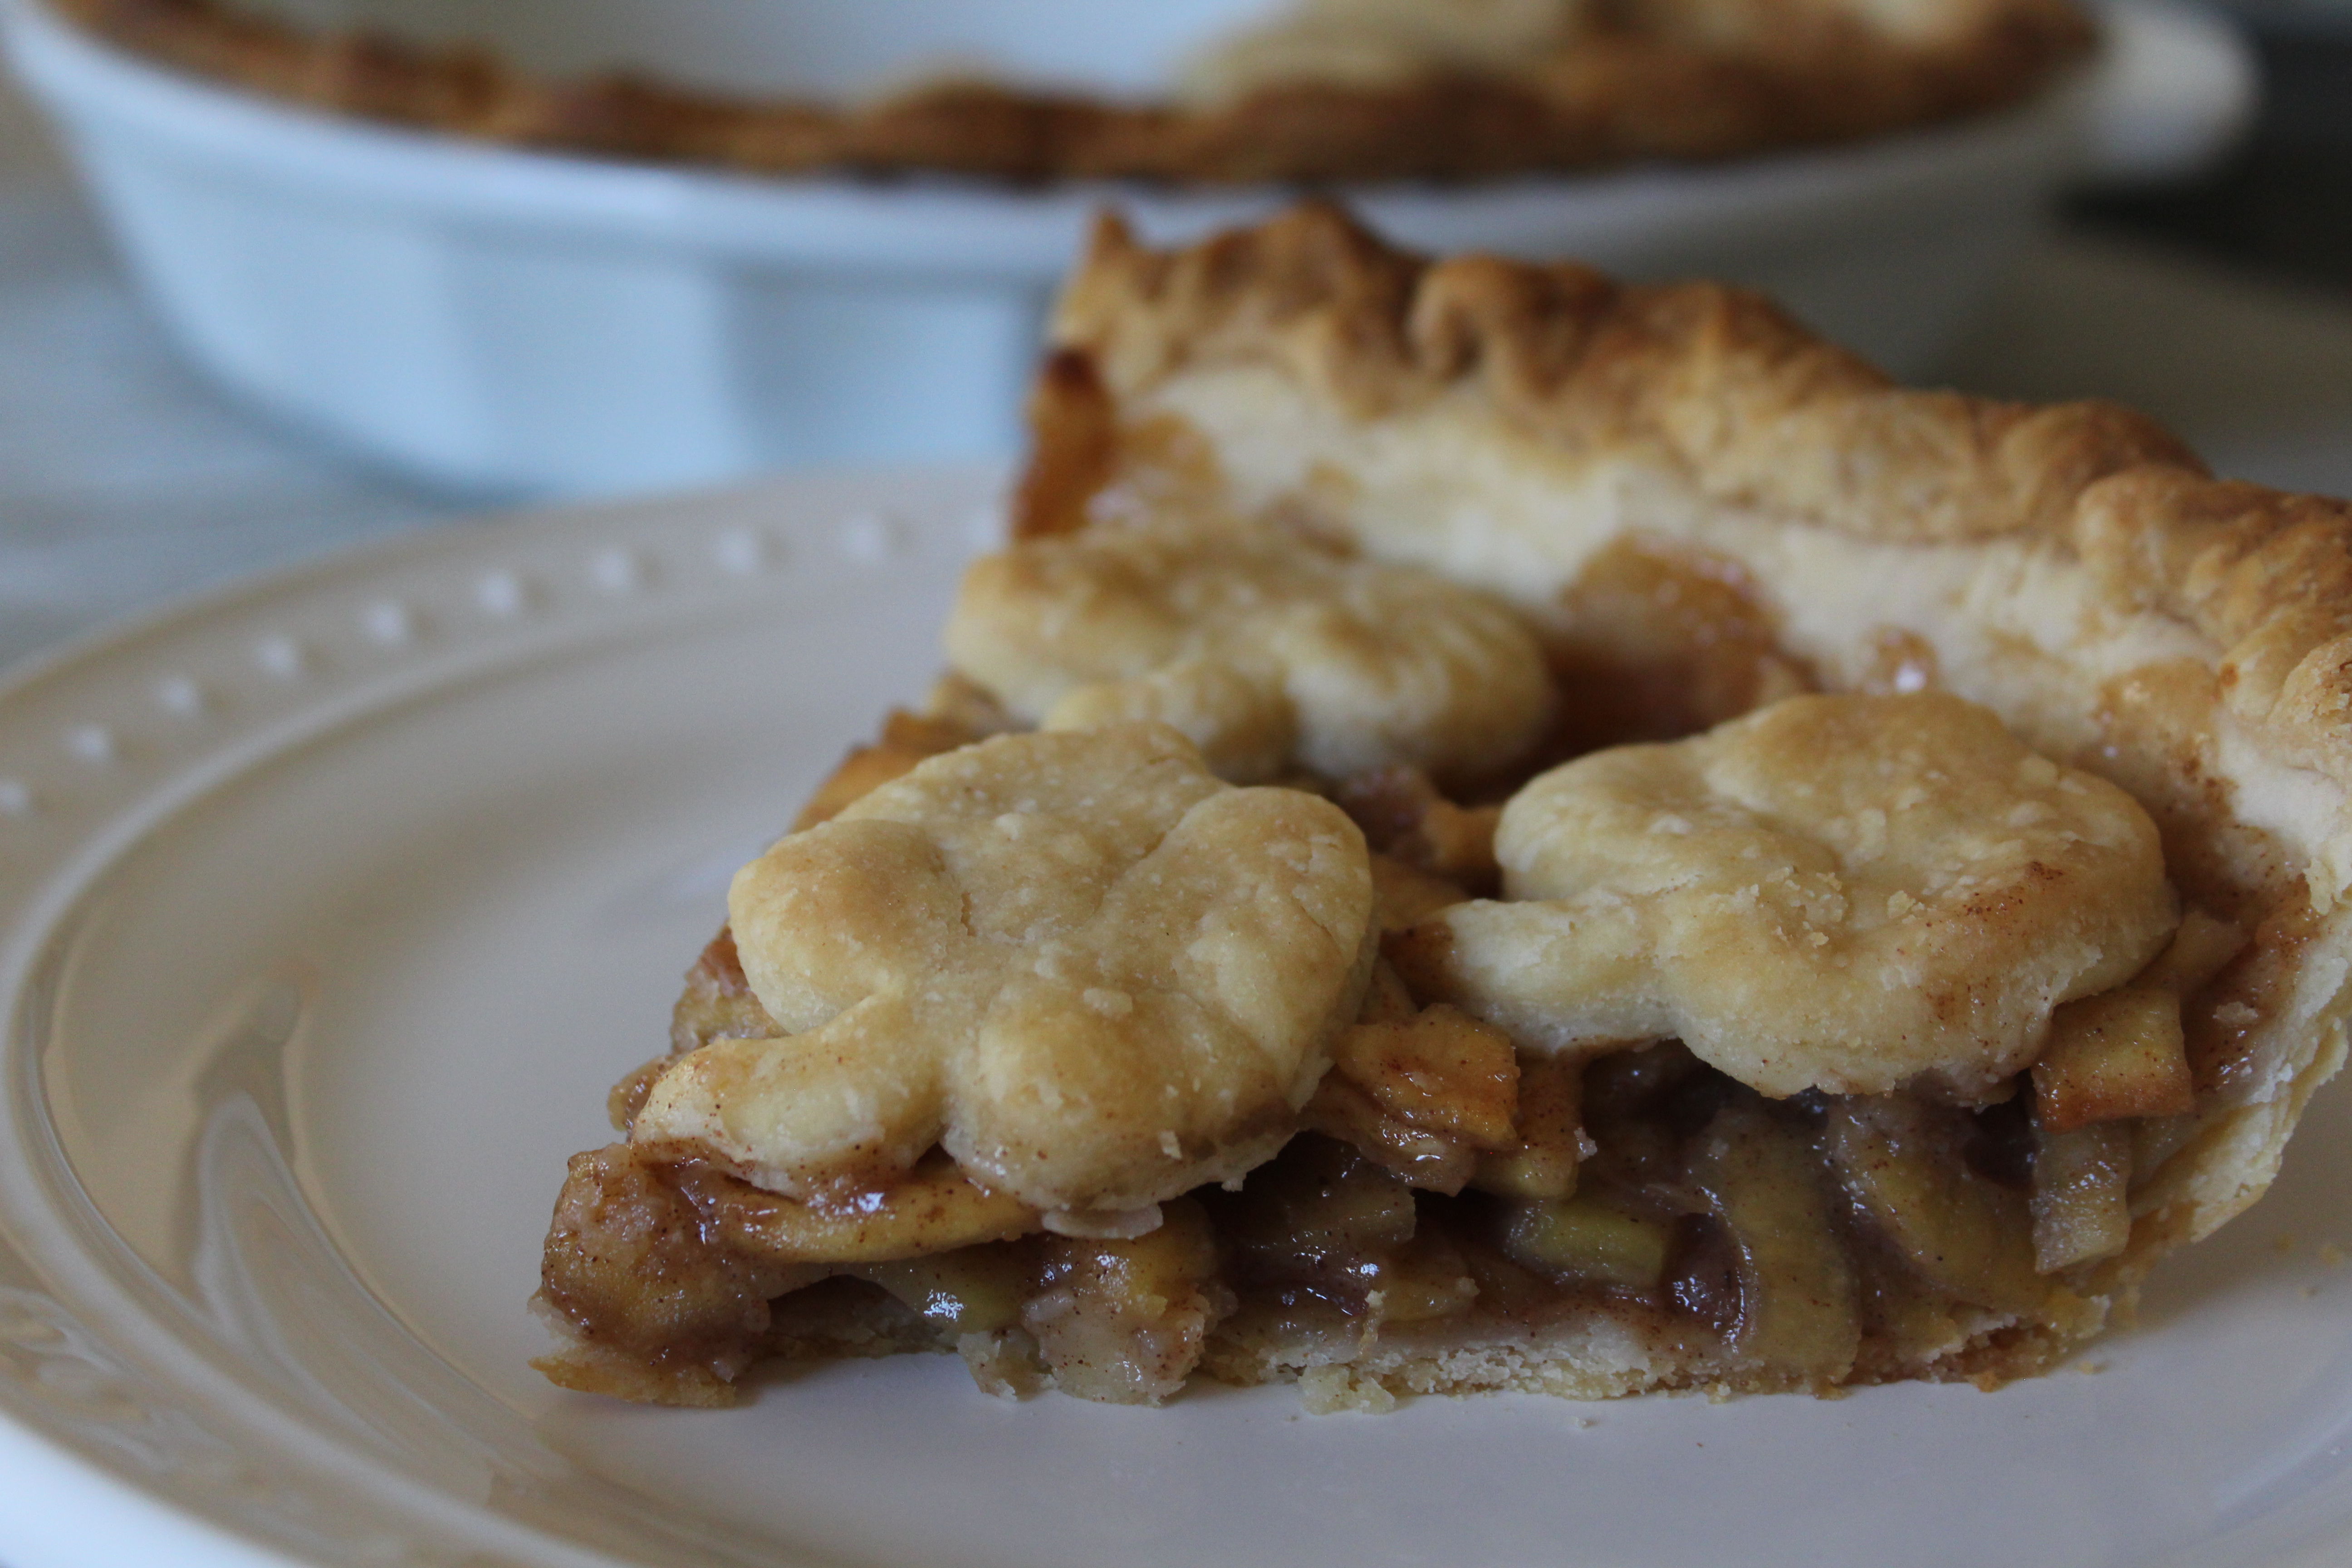
I didn’t photograph it here but my favorite way to eat this is warm topped with vanilla ice cream!
Enjoy! Here is your printable recipe!
- 8-10 granny smith or golden delicious apples peeled, cored, and sliced
- 1 tablespoon lemon juice
- ½ cup sugar
- ¼ cup brown sugar
- 2 tablespoons all purpose flour
- 1½ teaspoons pumpkin pie spice
- 1 tablespoon butter melted
- 1 pie crust rolled out to about ⅛ inch thick and pressed into a 9 inch pie pan
- Peel, core, and slice up your apples and place them in a large bowl. Pour on your lemon juice and stir.
- Add in the sugar, brown sugar, flour, and pumpkin pie spice and then stir.
- Pour into your pie pan lined with your pie crust. Then melt the butter and drizzle it over your pie.
- Top with a second layer of crust or decorate with a lattice or fun shapes.
- Bake in a preheated 400 degree oven for about 35-45 minutes depending on the size of your apples. Just watch the crust towards the end and loosely cover the edges with foil if the crust starts to look too brown.
- Serve warm with vanilla ice cream on top!


Your Apple Pie looks delicious, we would really enjoy it! Thanks so much for sharing with us at Full Plate Thursday and have a great week!
Miz Helen
Thank you Miz Helen!!